
1. Introduction
Thank you for purchasing the GoolRC 1/16 Scale 2.4Ghz High-Speed Off-Road RC Truck. This manual provides essential information for the safe operation, setup, maintenance, and troubleshooting of your new remote-controlled vehicle. Please read this manual thoroughly before operating the product to ensure proper function and longevity.

Image 1.1: GoolRC 1/16 Scale RC Truck and Remote Controller. This image displays the complete RC truck alongside its remote control unit, showcasing the vehicle's design and the controller's layout.
2. Safety Precautions
To prevent injury or damage, always observe the following safety guidelines:
- Do not over-charge or over-discharge batteries.
- Do not expose batteries to high-temperature conditions.
- Do not dispose of batteries in fire or water.
- Always operate the RC truck in open areas, away from people, pets, and obstacles.
- Keep hands, hair, and loose clothing away from moving parts.
- Adult supervision is recommended for users under 16 years of age.
- Ensure all connections are secure before operation.
3. Package Contents
Verify that all items are present in the package:
- 1x GoolRC RC Car
- 1x Remote Controller
- 1x 7.4V 1500mAh Battery
- 1x Charging Cable
- 1x Screwdriver
- 1x Cross Wrench
- 1x Head Up Wheel
- 1x User Manual (this document)
4. Product Overview
The GoolRC 1/16 Scale RC Truck features a robust design with high-performance components for an exhilarating off-road experience.
4.1 Key Features
- High-Speed Performance: Equipped with a powerful brushless motor, achieving speeds up to 70km/h.
- 2.4G Remote Control: Provides a stable connection with anti-jamming capability and a control distance of up to 120 meters.
- Durable Construction: Features a four-wheel independent suspension system, metal oil pressure shock absorption, metal front and rear differentials, metal dog bone, metal ball bearings, and metal drive shafts.
- LED Headlights: Integrated LED headlamps with three modes: normally on, slow flashing, and fast flashing.
- All-Terrain Capability: Anti-slip wheels and shockproof springs allow adaptation to various terrains including beach, snow, grass, and rock roads.
4.2 Component Details

Image 4.1: Six Hard Core Metal Reinforcement. This diagram illustrates the metal components used in the chassis, including metal differential, metal dog bone, metal ball bearing, and metal drive shaft, highlighting their durability.
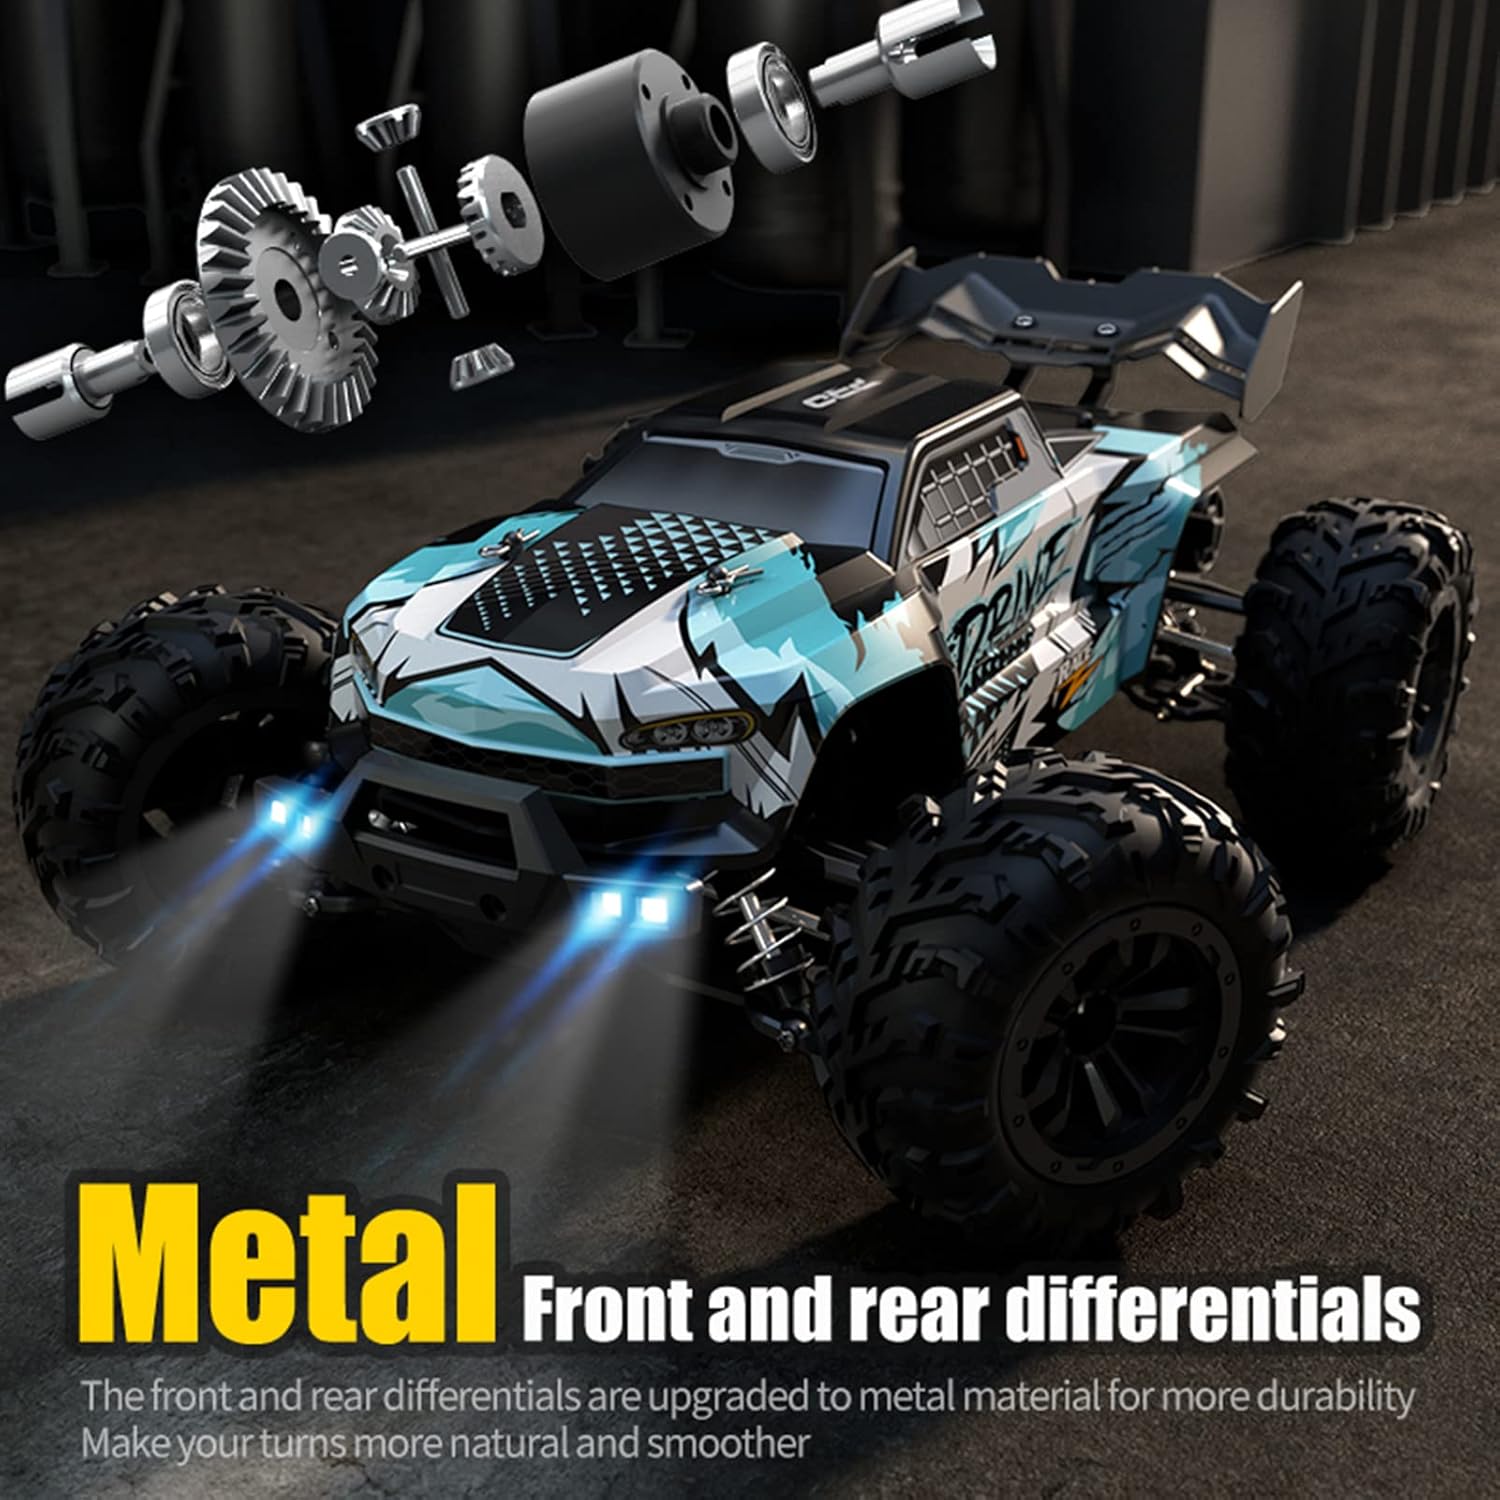
Image 4.2: Metal Front and Rear Differentials. A close-up view of the metal differential components, emphasizing their role in improving durability and smoother turns.

Image 4.3: Anti-Skid and Wear-Resistant Vacuum Tires. This image showcases the robust, high-grip tires designed for various terrains, featuring vacuum liner, indentation, compression, wear resistance, and strong grip.

Image 4.4: Five Powerful Upgrades. This graphic highlights key upgraded components: the 2840 Brushless Motor, 35A 2S Brushless ESC, upgraded metal Differential, 17g Three-wire Steering Gear, and upgraded metal Transmission System.

Image 4.5: Independent Spring Shock Absorber. This image illustrates the independent spring shock absorber system, designed to effectively absorb bumps and provide excellent shock absorption on uneven surfaces.
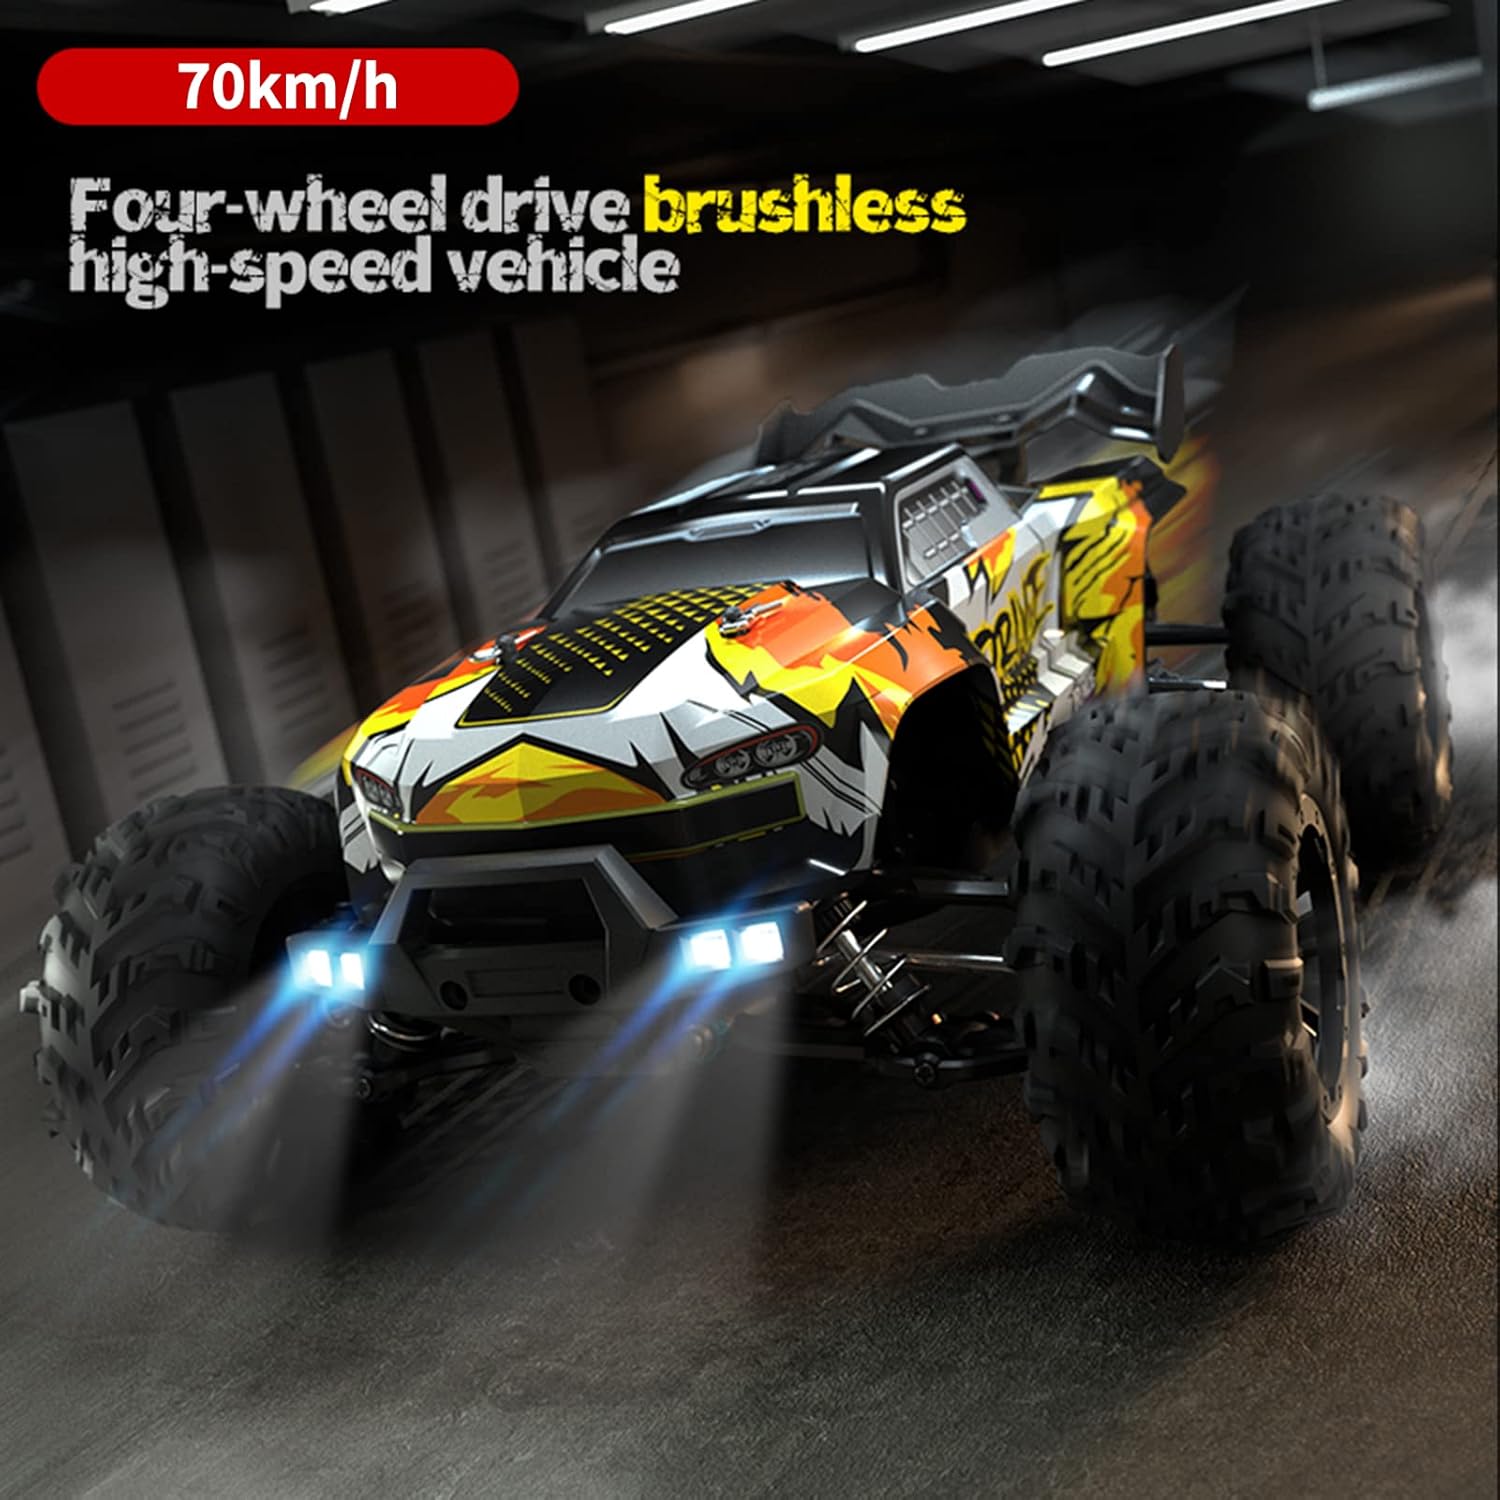
Image 4.6: Exterior Features. This image details the PVC explosion-proof car shell, the head-up wheel for stability during acceleration, the high-toughness rear wing for aerodynamics, and the robust front bumper for impact protection.
5. Setup
5.1 Charging the Vehicle Battery
- Connect the provided charging cable to the vehicle's 7.4V 1500mAh battery.
- Plug the USB end of the charging cable into a suitable USB power adapter (not included).
- The charging indicator will show the charging status. Charging time is approximately 180-210 minutes.
- Once fully charged, disconnect the battery from the charger.
5.2 Installing Vehicle Battery
- Locate the battery compartment on the RC truck.
- Carefully insert the charged battery into the compartment.
- Connect the battery connector to the vehicle's power connector.
- Secure the battery compartment cover.
5.3 Installing Remote Controller Batteries
- Open the battery compartment on the back of the remote controller.
- Insert 3x AA batteries (not included), ensuring correct polarity.
- Close the battery compartment cover securely.
5.4 Pairing the Remote Controller
- Turn on the RC truck's power switch.
- Turn on the remote controller's power switch.
- The remote controller and vehicle should automatically pair. The indicator light on the remote will become solid when paired successfully.
- If pairing fails, turn off both devices and repeat the steps.
6. Operating Instructions
6.1 Basic Controls
- Throttle Trigger: Pull to accelerate forward, push to brake or reverse.
- Steering Wheel: Turn left to steer left, turn right to steer right.
- Trim Adjustments: Use the steering trim dial to fine-tune the steering if the vehicle pulls to one side when the steering wheel is centered.
6.2 Driving Tips
- Start with slow speeds to get accustomed to the controls.
- Avoid driving in wet conditions or through deep puddles to prevent damage to electronics.
- Practice in open spaces before attempting more challenging maneuvers.
- The vehicle's working time is approximately 15-18 minutes per charge. Monitor battery levels to avoid sudden power loss.

Image 6.1: High-Speed Performance. This image depicts the GoolRC RC Truck in action, emphasizing its strong power and ability to reach speeds of 70km/h, suitable for various rough roads.
6.3 LED Headlight Modes
The integrated LED headlights have three modes:
- Normally On: Provides continuous illumination.
- Slow Flashing: Flashes at a slow rate.
- Fast Flashing: Flashes at a rapid rate.
Refer to your remote controller for the specific button or switch to cycle through these modes.
7. Maintenance
7.1 Cleaning
- After each use, gently brush off dirt and debris from the chassis, wheels, and body.
- Use a soft, dry cloth to wipe down the vehicle. Avoid using water or chemical cleaners on electronic components.
7.2 Storage
- Store the RC truck and remote controller in a cool, dry place, away from direct sunlight and extreme temperatures.
- Remove batteries from both the vehicle and the remote controller if storing for extended periods to prevent leakage.
7.3 Battery Care
- Always use the provided charging cable for the vehicle battery.
- Do not leave batteries charging unattended.
- If a battery appears damaged, swollen, or overheated, discontinue use immediately and dispose of it properly.
8. Troubleshooting
| Problem | Possible Cause | Solution |
|---|---|---|
| Vehicle does not respond to remote. | Low battery in vehicle or remote; Not paired; Power switch off. | Charge vehicle battery; Replace remote batteries; Ensure both power switches are ON; Re-pair the remote and vehicle. |
| Short operating time. | Battery not fully charged; Old battery. | Ensure battery is fully charged (180-210 mins); Consider replacing the battery if it's old or degraded. |
| Vehicle pulls to one side. | Steering trim needs adjustment. | Adjust the steering trim dial on the remote controller until the vehicle drives straight. |
| Loss of control range. | Interference; Low remote battery. | Move to an area with less interference; Replace remote batteries. |
9. Specifications
| Feature | Specification |
|---|---|
| Item Name | Off-road Car |
| Scale | 1/16 |
| Main Material | Alloy, PA, PVC |
| Maximum Speed | 70km/h |
| Frequency | 2.4GHz |
| Vehicle Battery | 7.4V 1500mAh |
| Motor | 2840 Brushless Motor 4000 KV |
| Servo | 17g |
| ESC | Brushless 35A 2S ESC |
| Charging Time | 180-210 minutes |
| Working Time | 15-18 minutes |
| Remote Control Distance | About 120 Meters |
| Remote Controller Battery | 3*AA Battery (not Included) |
| Vehicle Size | 30*23*11.5cm |
| Package Dimensions | 12.05 x 9.49 x 5.83 inches |
| Item Weight | 0.6 ounces |
| Manufacturer Recommended Age | 16 years and up |
| Manufacturer | GoolRC |
10. Warranty and Support
For warranty information or technical support, please refer to the contact details provided with your purchase documentation or visit the official GoolRC website. Keep your purchase receipt as proof of purchase.

