
1. Introduction
This manual provides instructions for the SHSTVAME SH-HD27UH 20x HDMI PTZ Camera. This camera is designed for various applications including videoconferencing, distance education, telemedicine, lecture capture, webcasting, and live services. It features 20x optical zoom, 1080p video resolution, and flexible control options.
2. Safety Information
- Ensure the camera is installed in a stable location to prevent falls.
- Use only the provided power adapter.
- Do not expose the camera to moisture or extreme temperatures.
- Avoid disassembling the camera; refer servicing to qualified personnel.
- Keep the camera away from strong electromagnetic fields.
3. Package Contents
Verify that all items are present in the package:
- 20x Conference Camera × 1
- Remote Control × 1
- RS232 Control Cable × 1
- USB Cable × 1
- HDMI Cable × 1
- Power Adapter × 1
- Ceiling bracket × 1
- Manual × 1
4. Product Overview
4.1 Camera Components and Ports
The image below illustrates the camera's rear panel with its various ports and the included remote control for operation.

Image: Rear view of the SHSTVAME PTZ camera showing HDMI, USB 2.0, RS485, RS232, and DC 12V power input ports. The remote control is also displayed, highlighting buttons for camera selection, preset positions, zoom/focus, and pan/tilt.
4.2 Key Features
- 20x Optical Zoom: Allows for detailed close-ups from a distance with a 58.7° Field of View (FOV).
- Full 1080p HD Video: Delivers 1080p resolution at 30 frames per second, utilizing a 1/2.8-inch Progressive HD CMOS sensor.
- Smooth PTZ Movement: Pan rotation of 350° (±175°) and tilt movement of 120° (-30° to +90°).
- Multiple Video Outputs: Features HDMI and USB 2.0 for versatile connectivity.
- Advanced Noise Reduction: Incorporates 2D & 3D intelligent noise reduction and low light automatic correction.
- Preset Positions: Supports up to 255 preset positions, with 10 accessible via remote control.
- Control Protocols: Compatible with Sony Visca Protocol and Pelco P/D protocol via RS485/RS232.
5. Setup
5.1 Mounting Options
The camera can be installed in various configurations:
- Desk Mount: Place the camera on a flat, stable surface.
- Tripod Mount: Attach the camera to a standard tripod using the bottom mounting screw hole.
- Wall Mount: Use the provided ceiling bracket for wall installation.
- Ceiling Mount: Use the provided ceiling bracket for inverted ceiling installation. Ensure proper orientation settings are adjusted in the camera menu if mounted upside down.
5.2 Connecting the Camera
- Power Connection: Connect the provided power adapter to the DC 12V input port on the camera and plug it into a power outlet.
- USB Connection: For computer-based applications, connect the USB 2.0 cable from the camera to an available USB port on your computer. This enables plug-and-play functionality for most video conferencing software.
- HDMI Connection: For direct display or integration with conference terminals, connect the HDMI cable from the camera to an HDMI input on a monitor, TV, projector, or video switcher.
- RS232/RS485 Control (Optional): For external control systems (e.g., joystick controllers), connect the RS232 or RS485 control cable to the corresponding port on the camera and your control device.
6. Operating Instructions
6.1 Powering On/Off
Press the power button on the remote control or ensure the power adapter is connected to turn the camera on. The camera will perform a self-test and move to its home position. To power off, disconnect the power adapter or use the standby function if available.
6.2 PTZ Control
Use the remote control or a connected control system (via USB, RS232/RS485) to adjust the camera's pan, tilt, and zoom.
- Pan/Tilt: Use the directional arrows on the remote control to move the camera horizontally (pan) and vertically (tilt). The camera supports 350° pan and 120° tilt.
- Zoom: Use the 'Zoom In' and 'Zoom Out' buttons on the remote to adjust the 20x optical zoom.
- Focus: The camera features accurate and stable autofocus. Manual focus adjustment may be available via advanced control systems.
6.3 Preset Positions
The camera supports up to 255 preset positions. To set and recall presets:
- Setting a Preset: Adjust the camera to the desired position (pan, tilt, zoom). Press the 'SET' button on the remote, then press a number key (0-9) to save the position.
- Recalling a Preset: Press the desired number key (0-9) on the remote. The camera will move to the saved position.
6.4 Software Compatibility
The camera is compatible with a wide range of video conferencing and streaming platforms via its USB 2.0 output. These include, but are not limited to:
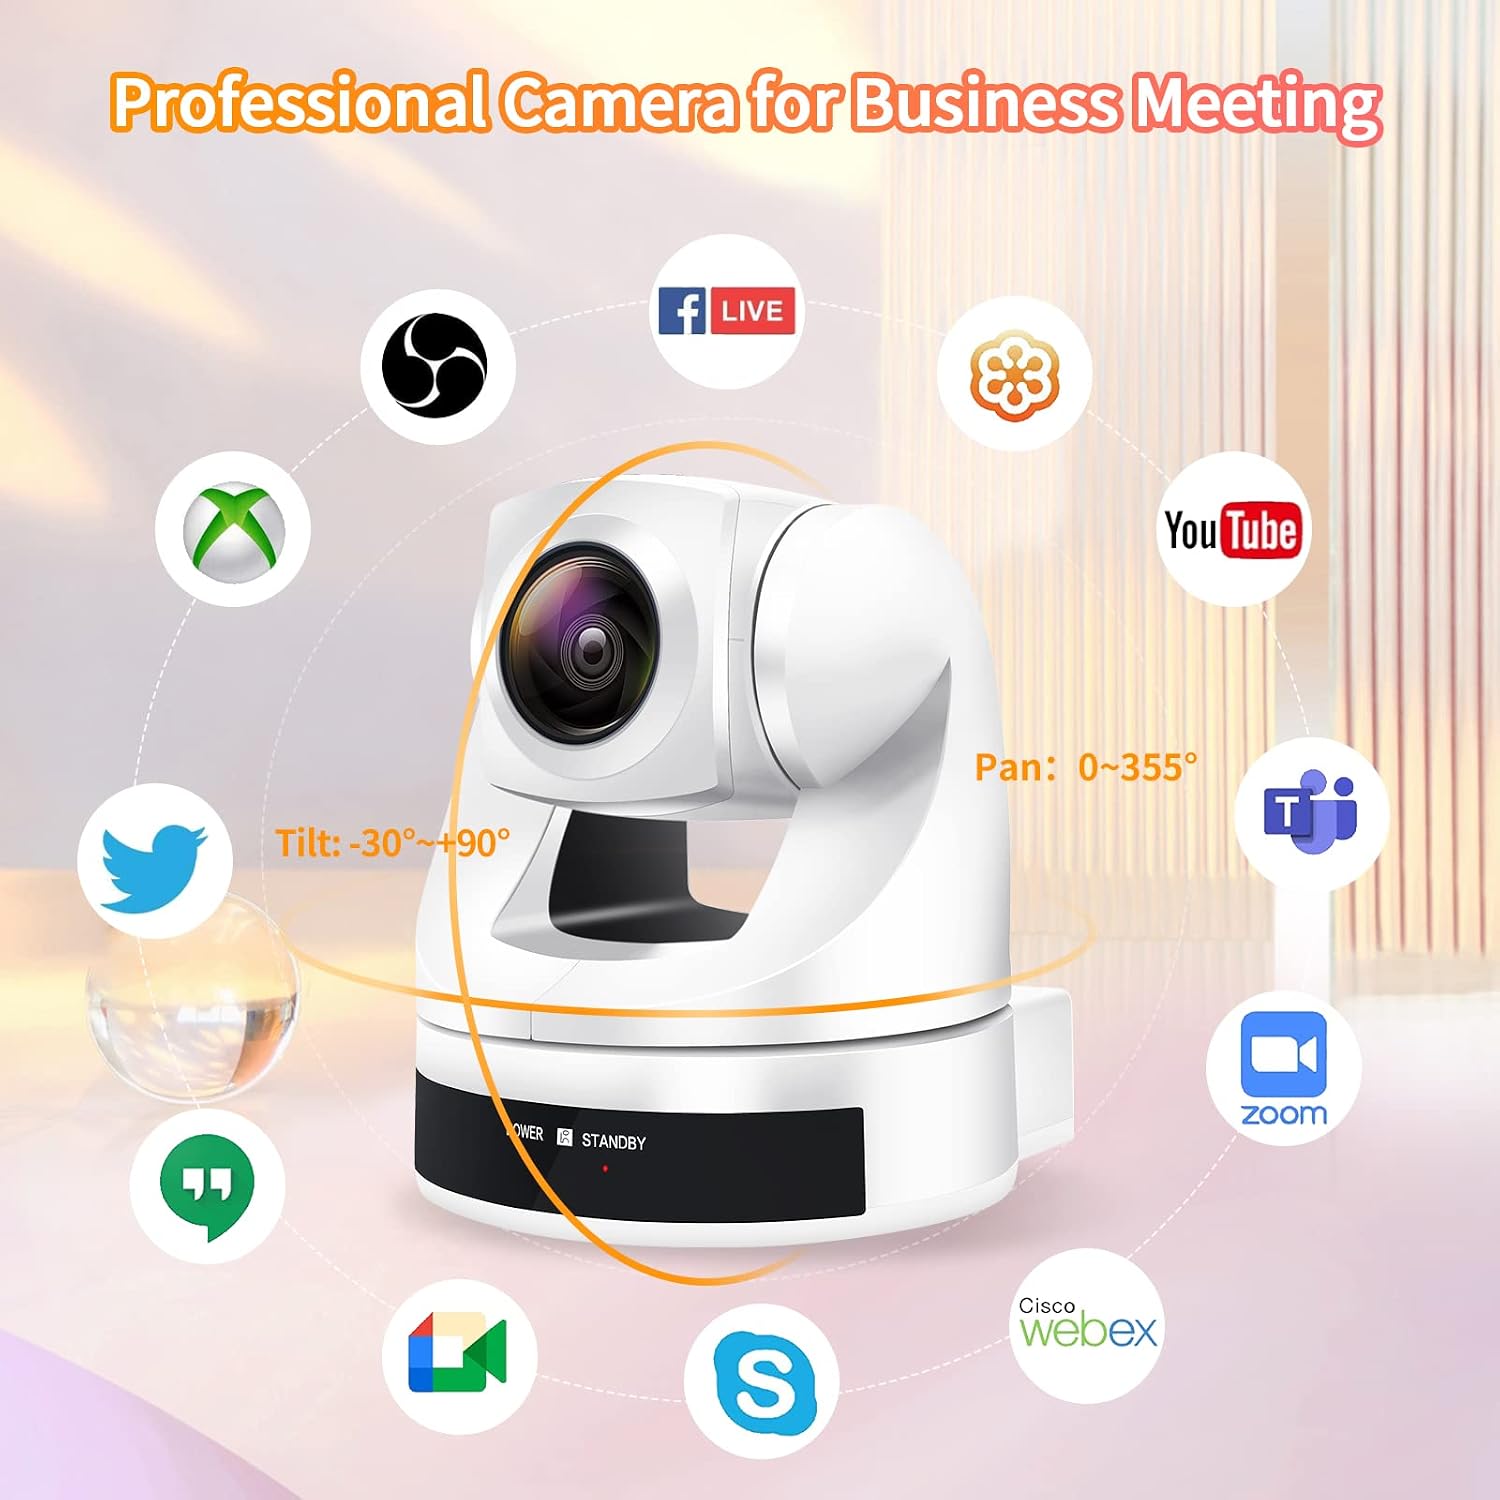
Image: The SHSTVAME PTZ camera surrounded by logos of various compatible applications and platforms, including Zoom, Skype, Google Hangouts, Cisco WebEx, Microsoft Teams, GoToMeeting, BlueJeans, YouTube, and Facebook Live.
Simply connect the camera via USB, and it should be recognized as a webcam device in your chosen software.
7. Maintenance
- Cleaning: Use a soft, dry cloth to clean the camera body. For the lens, use a specialized lens cleaning cloth and solution. Do not use harsh chemicals or abrasive materials.
- Storage: When not in use for extended periods, store the camera in a dry, dust-free environment.
- Firmware Updates: Check the manufacturer's website periodically for firmware updates to ensure optimal performance and access to new features.
8. Troubleshooting
| Problem | Possible Cause | Solution |
|---|---|---|
| No power | Power adapter not connected or faulty. | Ensure power adapter is securely connected to camera and power outlet. Test outlet with another device. |
| No video output via HDMI | HDMI cable loose or faulty; incorrect input selected on display. | Check HDMI cable connections. Select the correct HDMI input on your monitor/TV. Try a different HDMI cable. |
| No video output via USB | USB cable loose or faulty; camera not selected in software. | Check USB cable connections. Ensure the camera is selected as the video source in your conferencing software. Try a different USB port or cable. |
| PTZ control not responding | Remote control batteries low; IR sensor blocked; incorrect control cable connection. | Replace remote control batteries. Ensure no obstructions between remote and camera IR sensor. Verify RS232/RS485 cable connections if using external controller. |
| Image quality is poor | Insufficient lighting; dirty lens; incorrect camera settings. | Ensure adequate lighting in the environment. Clean the camera lens. Check camera settings for resolution and white balance. |
9. Specifications
| Feature | Specification |
|---|---|
| Brand | SHSTVAME |
| Model Number | SH-HD27UH |
| Sensor Type | 1/2.8-inch Progressive HD CMOS |
| Effective Still Resolution | 3.5 MP |
| Video Capture Resolution | 1080p (Full HD) |
| Frame Rate | 30 FPS (1080p) |
| Video Compression | H.264/H.265 |
| Optical Zoom | 20x |
| Field of View (FOV) | 58.7° |
| Pan Rotation | 350° (±175°) |
| Tilt Movement | 120° (-30° to +90°) |
| Focus Type | Auto Focus |
| Connectivity Technology | HDMI, USB 2.0, RS232, RS485 |
| Control Protocols | Sony Visca Protocol, Pelco P/D protocol |
| Preset Positions | 255 (10 via remote control) |
| Image Stabilization | Optical |
| Special Features | Low Light Correction, 2D&3D Noise Reduction |
| Mounting Options | Wall, TV, Desk, Tripod, Ceiling |
| Color | White |
| UPC | 768461356264 |
10. Warranty and Support
The SHSTVAME SH-HD27UH camera comes with a 2-year product warranty from the date of purchase. For technical support, troubleshooting assistance, or warranty claims, please refer to the contact information provided with your purchase documentation or visit the official SHSTVAME website.