
1. Introduction
The TP-Link XC220-G3V AC1200 Wireless Fiber Router is a high-performance device designed to provide superfast dual-band Wi-Fi, full Gigabit wired connections, and VoIP call support for your home or small office. Compliant with ITU-T G.984/G.988 GPON standards, it offers robust and reliable internet access with easy remote management capabilities. This manual provides detailed instructions for setting up, operating, maintaining, and troubleshooting your router to ensure optimal performance.
2. Safety Information
Please read and follow all safety instructions carefully before using the device.
- Do not expose this device to water, fire, humidity, or hot environments.
- Do not attempt to disassemble, repair, or modify the device.
- Do not use damaged charger or USB cable to charge the device.
- Use only power adapters provided by TP-Link.
- Ensure proper ventilation around the device.
- Keep the device away from strong electromagnetic fields.
3. Package Contents
Verify that all items are present in your package:
- AC1200 Wireless VoIP XPON Router (XC220-G3v)
- RJ45 Ethernet Cable
- Power Adapter
- Quick Installation Guide
4. Hardware Overview
Familiarize yourself with the ports, buttons, and LED indicators on your router.
Front Panel: LED Indicators
The front panel features several LED indicators that provide information about the router's status.
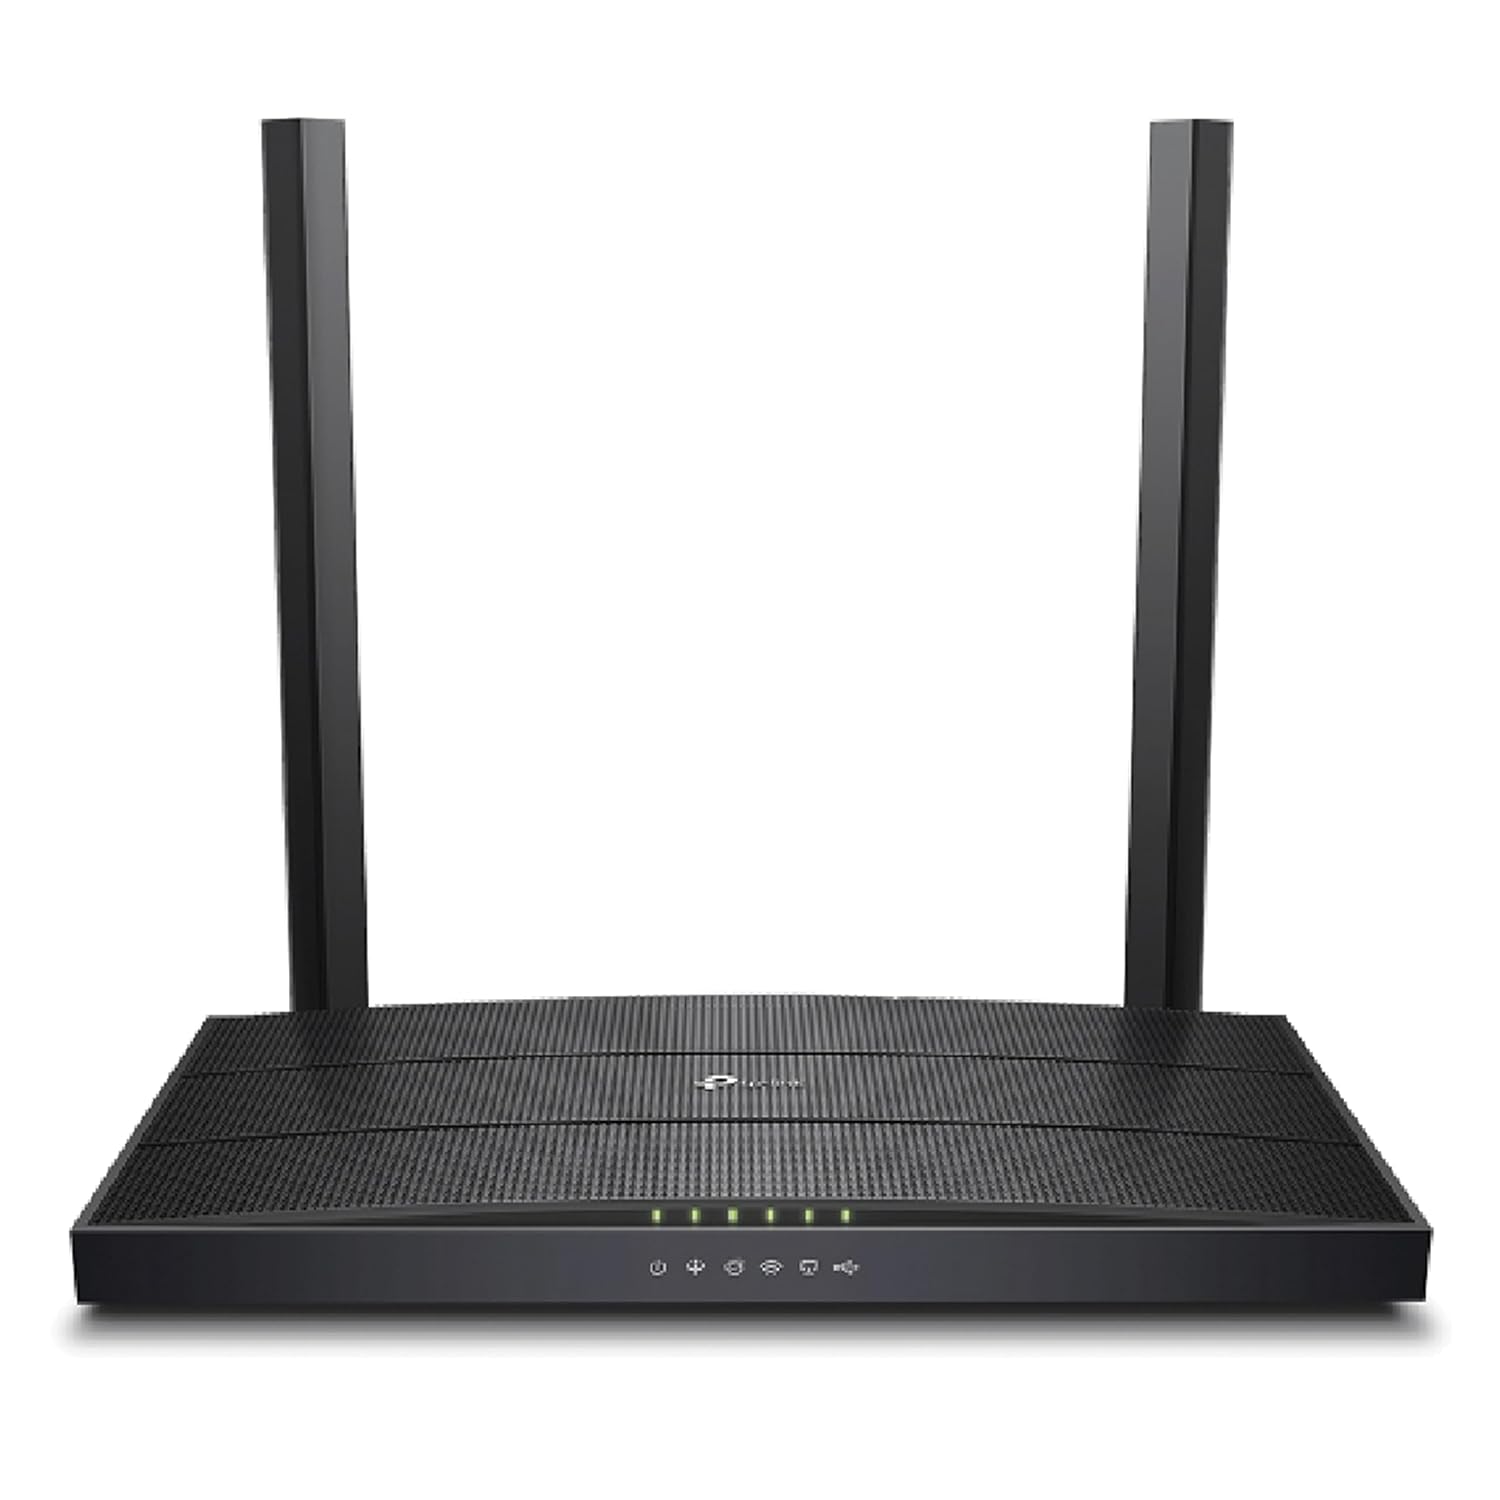
Figure 4.1: Front view of the TP-Link XC220-G3V AC1200 Wireless Fiber Router, displaying its sleek black design and the row of status LED indicators on the front panel. These indicators provide visual feedback on power, internet connectivity, Wi-Fi status, and port activity.
- Power: On when the router is powered on.
- Internet: Indicates internet connection status.
- Wi-Fi (2.4GHz/5GHz): Indicates wireless network activity.
- LAN (1-4): Indicates activity on the respective Gigabit Ethernet ports.
- GPON: Indicates the status of the fiber optic connection.
- Phone: Indicates the status of the VoIP phone service.
Rear Panel: Ports and Buttons
The rear panel contains all the necessary connection ports and control buttons.
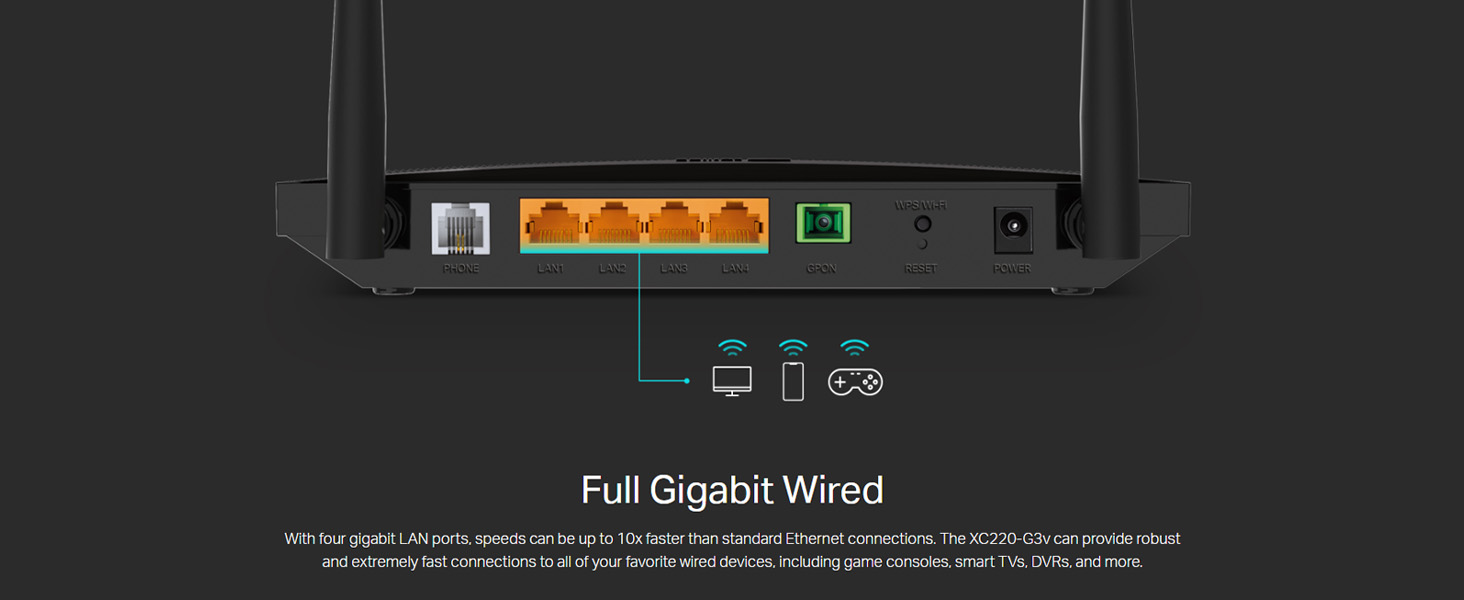
Figure 4.2: Rear view of the TP-Link XC220-G3V AC1200 Wireless Fiber Router, highlighting its various ports including the Phone (FXS) port, four Gigabit LAN ports, the GPON port for fiber connection, a Reset button, and the Power input. This image clearly illustrates the connectivity options available on the device.
- PHONE Port: Connects to an analog telephone for VoIP services.
- LAN Ports (1-4): Connect to wired devices such as computers, smart TVs, or gaming consoles.
- GPON Port: Connects to the fiber optic cable from your Internet Service Provider (ISP).
- RESET Button: Press and hold for several seconds to restore factory default settings.
- POWER Port: Connects to the provided power adapter.
5. Setup
Follow these steps to set up your TP-Link XC220-G3V router.
5.1 Physical Connection
- Power Off: Ensure your existing modem (if any) and computer are turned off.
- Connect Fiber: Connect the fiber optic cable from your ISP's optical network terminal (ONT) or directly from the wall outlet to the GPON port on your router.
- Connect Power: Connect the provided power adapter to the router's POWER port and plug the other end into a power outlet.
- Power On: Press the Power button (if available) or wait for the router to power on automatically. The Power LED should illuminate.
- Connect Wired Devices (Optional): Use an Ethernet cable to connect your computer or other wired devices to any of the LAN ports (1-4).
- Connect Phone (Optional): If using VoIP, connect your analog telephone to the PHONE port.
5.2 Initial Configuration
After physical connection, configure your router via the web management interface.
- Access Web Interface: Open a web browser (e.g., Chrome, Firefox) on a device connected to the router (wired or wirelessly). In the address bar, type
http://tplinkwifi.netor the default IP address (usually192.168.1.1) and press Enter. - Login: A login window will appear. The default username and password are
admin(all lowercase). If you have changed them, use your custom credentials. - Run Quick Setup: Follow the on-screen instructions of the Quick Setup Wizard. This wizard will guide you through basic internet settings, Wi-Fi network name (SSID), and password configuration.
- ISP Settings: You may need specific connection details (e.g., VLAN ID, PPPoE username/password) from your ISP. Enter these details when prompted.
- Save Settings: After completing the wizard, save your settings. The router will reboot.
6. Operating
Learn how to utilize the key features of your XC220-G3V router.
6.1 Superfast Dual Band Wi-Fi
The XC220-G3V supports 802.11ac Wi-Fi, providing speeds up to 1.2Gbps (300Mbps on 2.4GHz and 867Mbps on 5GHz).
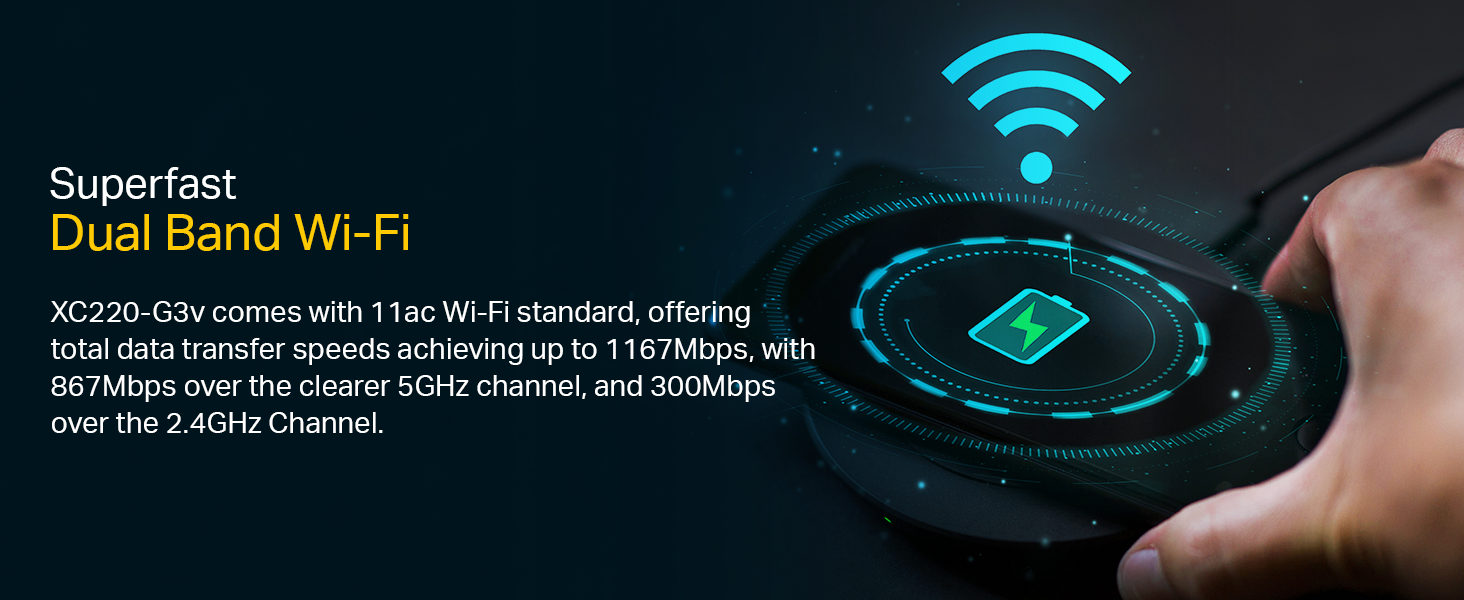
Figure 6.1: A visual representation of the router's dual-band Wi-Fi capabilities, showing the combined speed of up to 1167Mbps, with 867Mbps on the 5GHz band and 300Mbps on the 2.4GHz band. This highlights the high-speed wireless performance of the XC220-G3V.
- Connecting to Wi-Fi: On your wireless device, select the Wi-Fi network name (SSID) you configured during setup and enter the password.
- Managing Wi-Fi Settings: Log in to the web management interface to change SSIDs, passwords, security types, or enable/disable guest networks.
6.2 High-Speed GPON Service
Experience ultra-fast internet with GPON technology, supporting data rates up to 2.488Gbps downstream and 1.244Gbps upstream.
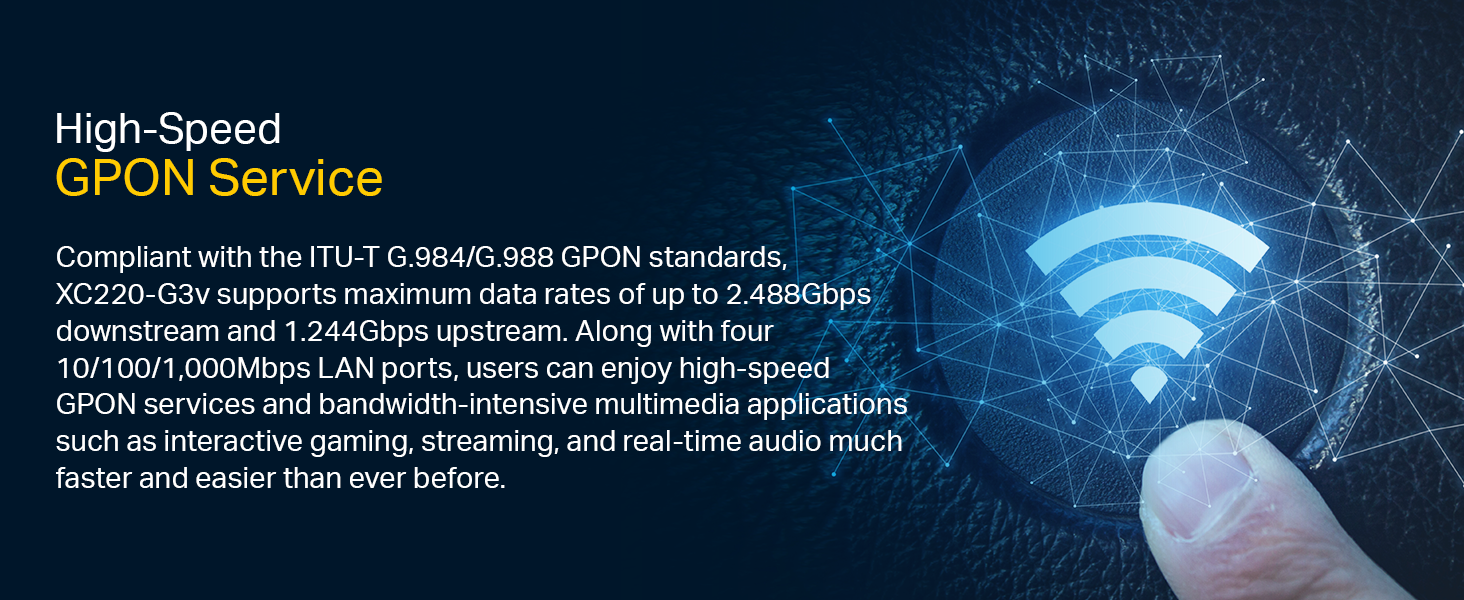
Figure 6.2: An abstract graphic illustrating the high-speed GPON service provided by the XC220-G3V router. The image emphasizes fast data transfer rates, indicating its compliance with ITU-T G.984/G.988 GPON standards for superior internet performance.
This allows for smooth streaming, online gaming, and bandwidth-intensive applications.
6.3 Full Gigabit Wired Connections
The four Gigabit LAN ports provide wired speeds up to 10 times faster than standard Ethernet, ideal for devices requiring stable, high-speed connections.
Figure 6.3: A conceptual image representing the full Gigabit wired capabilities of the XC220-G3V router. It visually conveys the speed and reliability of wired connections, suitable for demanding applications like gaming and high-definition media streaming.
Simply connect your devices using an RJ45 Ethernet cable to any of the yellow LAN ports.
6.4 Supports VoIP Calls
The integrated FXS port allows you to make and receive phone calls over the internet.
Figure 6.4: An image illustrating the VoIP call support feature of the XC220-G3V router. It shows a person holding a tablet with a Wi-Fi symbol, implying seamless internet-based phone communication through the device's FXS port.
Ensure your ISP has configured the VoIP service for your line. Connect your analog phone to the PHONE port.
6.5 Easy Remote Management
The router supports OMCI and TR-069 protocols, enabling easy remote configuration and management by your ISP.

Figure 6.5: A graphic representing the easy remote management capabilities of the XC220-G3V router. It shows a hand interacting with a digital globe, symbolizing the ability to activate, configure, and manage the device remotely via OMCI and TR-069 protocols.
This feature simplifies maintenance and troubleshooting from your service provider's end.
7. Maintenance
Regular maintenance helps ensure the longevity and optimal performance of your router.
- Firmware Updates: Periodically check the TP-Link website for firmware updates. Updating firmware can improve performance, add new features, and fix bugs.
- Regular Reboot: Rebooting the router once a month can help clear its memory and resolve minor performance issues.
- Proper Placement: Place the router in a central location, away from obstructions, large metal objects, and other electronic devices that may cause interference.
- Cleaning: Keep the router clean and free of dust. Use a soft, dry cloth. Do not use liquid cleaners.
- Security: Regularly change your Wi-Fi password and router login password to strong, unique combinations.
8. Troubleshooting
Here are solutions to common issues you might encounter.
- No Internet Access:
- Check if the Internet LED is green. If not, verify the fiber connection to the GPON port.
- Ensure your ISP settings (VLAN ID, PPPoE credentials) are correctly entered in the router's web interface.
- Contact your ISP to confirm service status.
- Wi-Fi Disconnections/Slow Speed:
- Relocate the router to a central position, away from obstacles and interference sources.
- Ensure your devices are connected to the appropriate band (5GHz for faster speeds, 2.4GHz for wider coverage).
- Update your device's wireless adapter drivers.
- Try changing the Wi-Fi channel in the router settings to avoid interference from neighboring networks.
- Cannot Access Web Management Page:
- Ensure your device is correctly connected to the router (wired or wirelessly).
- Verify that you are typing the correct address (
http://tplinkwifi.netor192.168.1.1). - Clear your browser's cache and cookies, or try a different browser.
- Temporarily disable any firewall or antivirus software.
- VoIP Call Issues:
- Check if the Phone LED is lit.
- Ensure your analog phone is correctly connected to the PHONE port.
- Verify VoIP settings with your ISP, as these are often specific to the service provider.
9. Specifications
Detailed technical specifications for the TP-Link XC220-G3V router.
| Feature | Description |
|---|---|
| Brand | TP-Link |
| Model Name | XC220-G3v |
| Connectivity Type | Wi-Fi |
| Wireless Standard | 802.11a/b/g/n/ac |
| Frequency Band Class | Dual-Band (2.4GHz & 5GHz) |
| Wi-Fi Speed | AC1200 (300Mbps 2.4GHz, 867Mbps 5GHz) |
| Ethernet Ports | 4 x Gigabit LAN Ports |
| Fiber Port | 1 x GPON Port |
| VOIP Port | 1 x FXS Port |
| Dimensions (LxWxH) | 50 x 50 x 28 cm |
| Item Weight | 560 g |
| Operating System Support | Windows 98SE/NT/2000/XP/Vista/7/8/8.1/10, MAC OS, NetWare, UNIX, Linux |
| Special Features | Parental Control, QoS, Remote Access, Supports VOIP Calls, WPS |
10. Warranty and Support
For warranty information and technical support, please refer to the details below:
- Manufacturer: TP Link, TP-LINK CORPORATION LIMITED
- Importer: TP-LINK India Private Limited
- Toll Free Contact: 1800 2094 168
- Email Support: support.in@tp-link.com
- Website: Visit the official TP-Link website for the latest drivers, firmware, and support resources.
Please retain your purchase receipt for warranty claims.


