
OttLite CSJ36G5W
OttLite® Wellness Series Capture Clip-On LED Ring Light User Manual
Model: CSJ36G5W
Introduction
Thank you for choosing the OttLite Wellness Series Capture Clip-On LED Ring Light. This versatile lighting solution is designed to provide optimal illumination for various tasks, including computer work, reading, and content creation. Featuring OttLite's exclusive ClearSun LED technology, this light aims to reduce eyestrain and enhance color accuracy. This manual provides essential information for the safe and effective use of your new light.
Important Safety Information
- Read all instructions before using this product to prevent injury or damage.
- Do not operate the light with a damaged cord or plug. If the light malfunctions, discontinue use immediately.
- This light is for indoor use only. Do not expose to water or high humidity.
- Do not attempt to disassemble or modify the light. There are no user-serviceable parts inside.
- Keep the light away from heat sources and direct sunlight to prevent overheating.
- Always unplug the light from the power source before cleaning or when not in use.
- Avoid looking directly into the LED light source for extended periods, as it may cause eye discomfort.
Package Contents
- OttLite Wellness Series Capture Clip-On LED Ring Light
- USB Power Cable
Note: A USB power adapter is not included and must be supplied by the user.
Setup
- Unpack the Light: Carefully remove all components from the packaging.
- Attach the Clip: Securely attach the spring-loaded clip to a stable surface such as a desk, shelf, or table edge. Ensure the clip has a firm grip to prevent the light from falling.
- Connect Power: Insert the small end of the USB power cable into the port on the light's base. Plug the larger end of the USB cable into a compatible USB power adapter (not included) or a computer's USB port.
- Activate Power Switch: Locate the small sliding switch near the USB port on the light's base. Slide it to the 'ON' position. The light will not operate if this switch is in the 'OFF' position, even when plugged in.
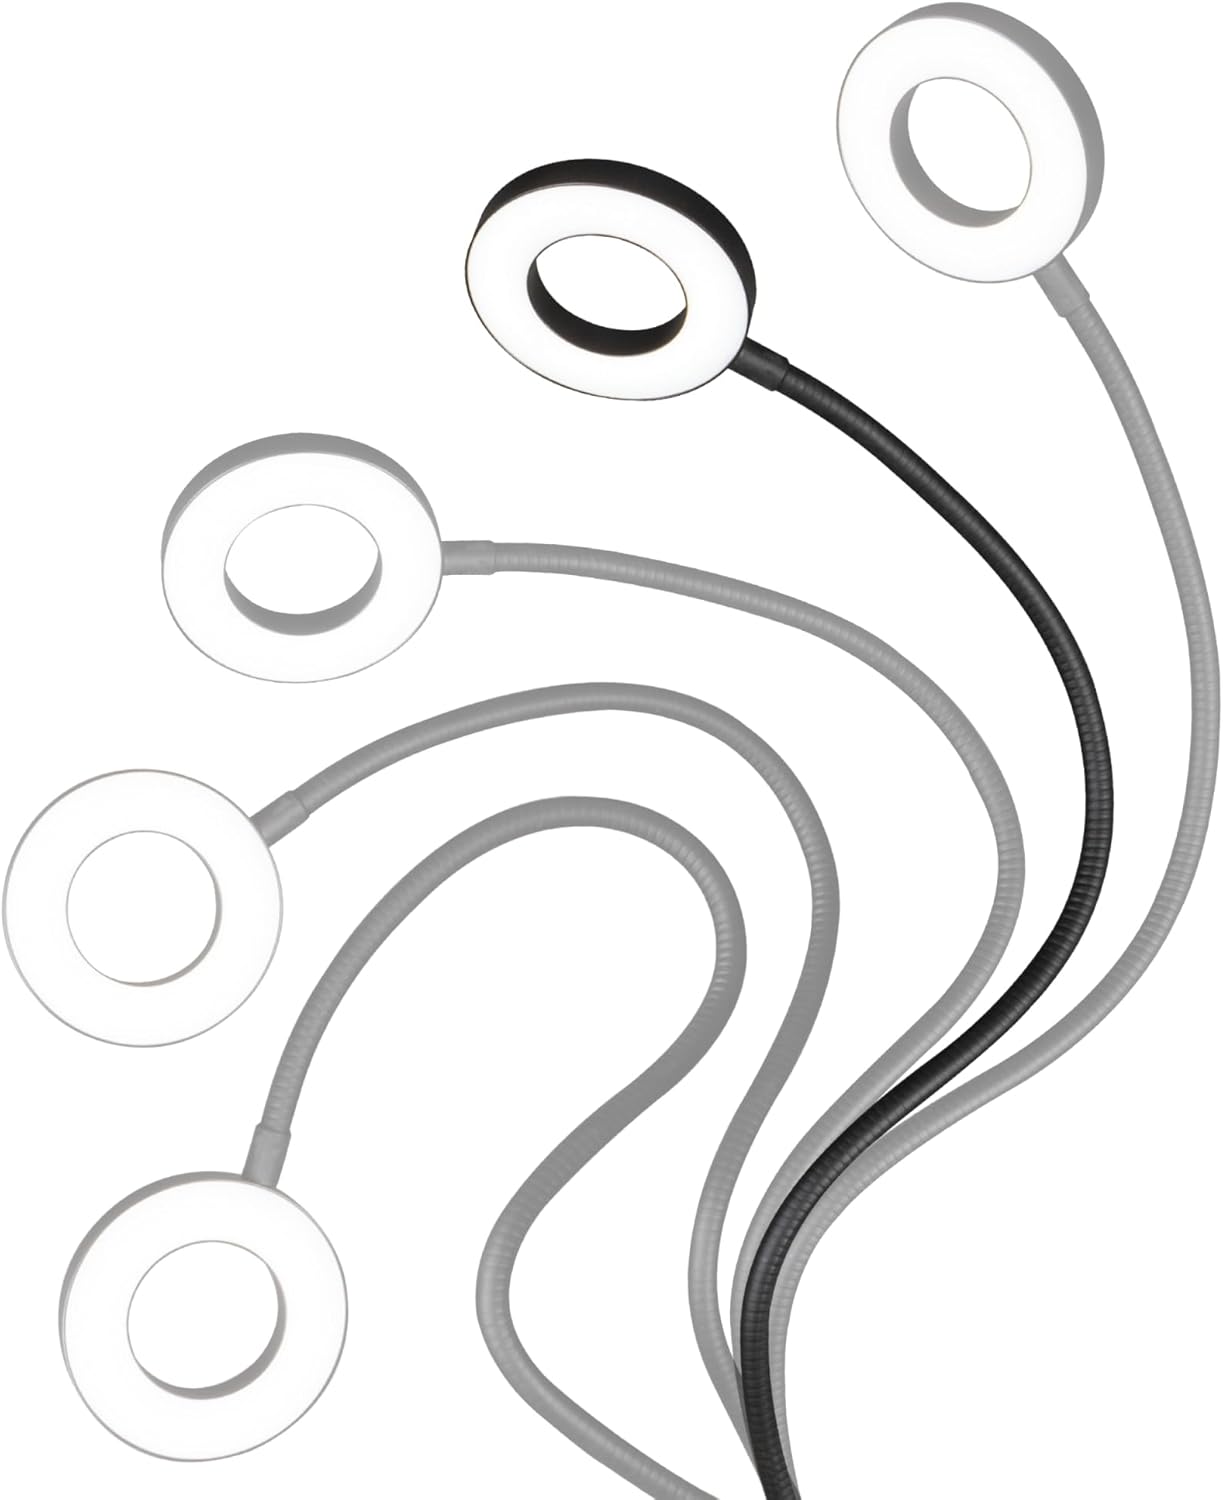
- Position the Light: Adjust the flexible gooseneck to direct the ring light to your desired position and height. The 21.25-inch flexible neck allows for precise light placement.

Operating Instructions
The OttLite Capture Clip-On LED Ring Light features inline cord controls for easy adjustment of power, brightness, and color temperature.

- Power On/Off: Press the ON/OFF button (red power symbol) on the cord controls to turn the light on or off.
- Adjust Brightness: Use the + and - buttons to increase or decrease the brightness level. There are 10 levels of brightness available.
- Change Color Mode: Press the MODE button (circular arrow symbol) to cycle through the three available color temperature modes: Warm White, Bright White, and Natural Daylight.


Maintenance
- Cleaning: Ensure the light is unplugged before cleaning. Use a soft, dry cloth to wipe down the light and its components. Do not use abrasive cleaners, solvents, or harsh chemicals, as these can damage the finish or electrical components.
- Storage: When not in use for extended periods, store the light in a cool, dry place, away from direct sunlight and extreme temperatures.
- LEDs: The LED bulbs are integrated and not replaceable. They are designed for long-lasting performance.
Troubleshooting
| Problem | Possible Cause | Solution |
|---|---|---|
| Light does not turn on. | 1. Power cable not securely connected. 2. USB power adapter not functioning. 3. Side power switch is OFF. | 1. Ensure USB cable is firmly plugged into both the light and the power source. 2. Try a different USB power adapter or USB port. 3. Locate the small sliding switch near the USB port on the light's base and ensure it is in the 'ON' position. |
| Light is dim or flickers. | 1. Low power supply. 2. Brightness setting is too low. | 1. Ensure the USB power source provides sufficient power. Try a different USB adapter. 2. Press the '+' button on the inline cord controls to increase brightness. |
| Cannot change color mode or brightness. | Inline controls are unresponsive. | Ensure the light is powered on and the side power switch is in the 'ON' position. If issues persist, unplug and re-plug the light to reset. |
Specifications
- Model: CSJ36G5W
- Power Source: USB (Adapter not included)
- Light Type: LED
- Color Temperature Modes: 3 (Warm White, Bright White, Natural Daylight)
- Brightness Levels: 10
- Flexible Neck Length: Approximately 21.25 inches
- Ring Light Diameter: Approximately 4.3 inches
- Color Rendering Index (CRI): 95+
- Product Dimensions: 4.5 x 4.5 x 25 inches (assembled)
- Item Weight: 11.2 ounces
- Material: Metal
Warranty and Support
For warranty information and customer support, please refer to the documentation included with your purchase or visit the official OttLite website. Keep your proof of purchase for any warranty claims.
Related documentsCSJ36G5W


Ask a question about this manual
Ask about setup, troubleshooting, compatibility, parts, safety, or missing instructions. Manuals+ will review the question and use this page’s manual context to help answer it.