
1. Introduction
This manual provides detailed instructions for the Focket 2.4GHz Wireless XLR Microphone System. This system is designed to convert any dynamic microphone into a wireless microphone, offering stable and reliable audio transmission for various applications including live performances, public address systems, and recording setups. Please read this manual thoroughly before operating the device to ensure proper use and optimal performance.
2. Package Contents
Verify that all items listed below are included in your package:
- 1 x Wireless XLR Transmitter (MTU-002T)
- 1 x Wireless XLR Receiver (MTU-002R)
- 2 x Dynamic Microphone Converters (6.35mm jack to XLR)
- 2 x USB Charging Cables
- 1 x Gasket
- 1 x User Manual

Image: All components included in the Focket Wireless XLR Microphone System package, laid out neatly.
3. Product Overview
The Focket Wireless XLR Microphone System consists of a transmitter and a receiver, both compact and designed for ease of use. They feature a 2.4GHz wireless band for stable signal transmission.
3.1 Components

Image: The Focket Wireless XLR Transmitter and Receiver units, showing their compact design and XLR connectors.
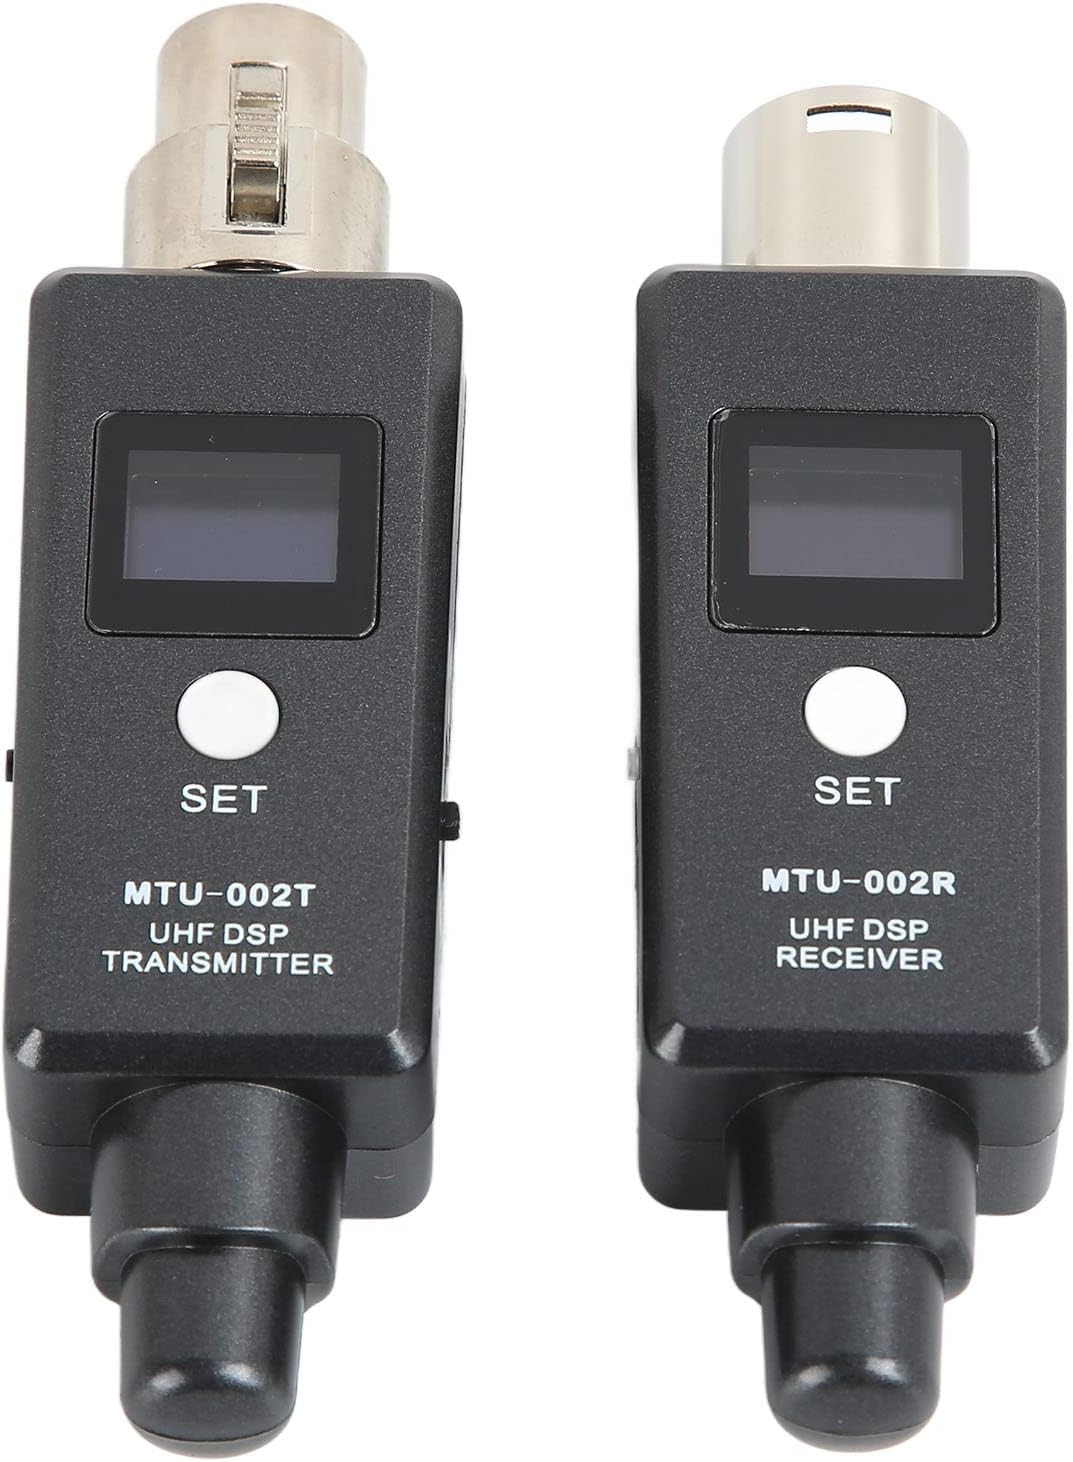
Image: A close-up view of the front panels of the transmitter (MTU-002T) and receiver (MTU-002R), highlighting the display screens and 'SET' buttons.
3.2 Receiver (MTU-002R) Features

Image: A detailed view of the receiver (MTU-002R) with labels pointing to its key components: Microphone Input (XLR), Display screen, Power switch, Frequency keys ('SET' button), USB charging jack, and Antenna.
- Microphone Input: XLR connector for dynamic microphones.
- Display Screen: Shows channel, battery status, and signal strength.
- Power Switch: Turns the unit on or off.
- Frequency Keys (SET): Used for channel selection and pairing.
- USB Charging Jack: For recharging the internal battery.
- Antenna: Integrated for wireless signal reception.
3.3 Transmitter (MTU-002T) Features
The transmitter shares similar features with the receiver, including a display screen, power switch, frequency keys, USB charging jack, and an integrated antenna for sending the wireless signal.

Image: An illustration highlighting the built-in dual antenna design of the Focket wireless system, emphasizing its resistance to WiFi and electromagnetic interference for stronger signal and longer transmission distance.
3.4 Dynamic Microphone Converters

Image: Two dynamic microphone converters, featuring a 6.35mm (1/4 inch) jack on one end and an XLR connector on the other, used to adapt microphones to the wireless system.
4. Setup
Follow these steps to set up your Focket Wireless XLR Microphone System:
- Charge the Units: Before first use, fully charge both the transmitter and receiver using the provided USB charging cables. Connect them to a standard USB power adapter (not included). The charging indicator will show charging status.
- Connect Microphone to Transmitter: Plug your dynamic microphone's XLR output directly into the XLR input of the wireless transmitter (MTU-002T). If your microphone has a 6.35mm jack, use one of the provided dynamic microphone converters.
- Connect Receiver to Audio Device: Plug the wireless receiver (MTU-002R) into the XLR input of your audio mixer, PA system, amplifier, or active speaker. If your audio device has a 6.35mm input, use the other dynamic microphone converter.
- Power On: Press and hold the power button on both the transmitter and receiver until their display screens light up.
- Automatic Pairing: The transmitter and receiver are designed to automatically pair upon power-on. The display will show the selected channel and signal strength once connected. If they do not pair automatically, proceed to the 'Operating Instructions' section for manual channel selection.

Image: A diagram illustrating the Focket Wireless XLR Microphone System connected to various audio devices such as mixers, PA systems, portable speakers, and home theater systems, demonstrating its wide compatibility.
5. Operating Instructions
5.1 Power On/Off
- To power on, press and hold the power button until the display illuminates.
- To power off, press and hold the power button until the display turns off.
5.2 Channel Selection
The system supports 20 channels. If you experience interference or need to change channels:
- With both units powered on, briefly press the 'SET' button on the transmitter. The channel number on the display will change.
- Repeat this on the receiver until both units display the same channel number.
- The units will automatically re-pair on the newly selected channel.
5.3 Usage Tips
- Ensure a clear line of sight between the transmitter and receiver for optimal performance.
- Keep the units away from strong electromagnetic interference sources (e.g., Wi-Fi routers, microwave ovens).
- Monitor the battery indicator on the display to ensure sufficient power for your usage.
6. Specifications
| Feature | Specification |
|---|---|
| Item Type | XLR Microphone Wireless System |
| Material | Metal, ABS |
| Sample Rate | 24 bit / 48 kbps audio |
| Tuning Bandwidth | 470-960MHz |
| Audio Response | 20Hz to 20KHz (-3dB) (depending on microphone type or input signal) |
| Working Distance | Up to 30m / 32.8yd (open environment) |
| Delay | Less than 3ms |
| Dynamic Range | 110dB |
| Number of Channels | 20 Channels |
| RF Sensitivity | -88dBm |
| Total Harmonic Distortion | 0.2% |
| RF Output Power | 10 mW E.I.R.P. Maximum |
| Operating Time | Approximately 5 hours |
| Battery Type | 2000mAh Lithium-ion battery (Built-in) |
| Support | Dynamic Microphone, Mixer, Amplifier Speaker, PA System |
| Package Dimensions | 16.5 x 13.4 x 5.3 cm |
| Weight | 350 g |
7. Troubleshooting
If you encounter issues with your wireless microphone system, refer to the following common problems and solutions:
- No Sound Output:
- Ensure both transmitter and receiver are powered on and fully charged.
- Verify that the microphone is properly connected to the transmitter.
- Check that the receiver is correctly plugged into your audio device's input.
- Confirm that the audio device's volume is turned up and not muted.
- Ensure the transmitter and receiver are paired to the same channel.
- Interference or Dropouts:
- Change the operating channel on both the transmitter and receiver to an unoccupied frequency.
- Reduce the distance between the transmitter and receiver.
- Ensure there are no large metallic objects or walls obstructing the line of sight.
- Move away from other 2.4GHz wireless devices (e.g., Wi-Fi routers, Bluetooth devices).
- Short Battery Life:
- Ensure both units are fully charged before use.
- Battery life can vary based on usage and environmental factors.
- If battery life significantly degrades, contact customer support.
- Units Not Pairing:
- Power off both units, then power them back on simultaneously.
- Manually select the same channel on both the transmitter and receiver using the 'SET' button.
8. Maintenance
To ensure the longevity and optimal performance of your Focket Wireless XLR Microphone System, follow these maintenance guidelines:
- Cleaning: Use a soft, dry cloth to clean the exterior of the units. Do not use liquid cleaners or solvents.
- Storage: Store the system in a cool, dry place away from direct sunlight and extreme temperatures.
- Battery Care: For prolonged storage, charge the batteries to approximately 50% every three months to maintain battery health.
- Avoid Impact: Protect the units from drops and impacts, which can damage internal components.
9. Warranty and Support
This Focket Wireless XLR Microphone System comes with a 12-month warranty. If you experience any issues or have concerns about your purchase, please contact Focket customer support. We are committed to resolving any problems within 24 hours.