
1. Introduction
This manual provides essential instructions for the safe assembly, operation, maintenance, and troubleshooting of your Char-Broil Classic 360 3-Burner Liquid Propane Gas Grill with Side Burner and the accompanying Performance Grill Cover. Please read all instructions carefully before using your grill to ensure safe and optimal performance.

Image 1.1: The Char-Broil Classic 360 3-Burner Liquid Propane Gas Grill with Side Burner, shown alongside its protective cover.
2. Safety Information
WARNING: Failure to follow these instructions could result in fire, explosion, or burn hazard which could cause property damage, personal injury, or death.
- For outdoor use only. Do not operate indoors.
- Read all instructions before assembly and use of the grill.
- Keep children and pets away from the grill at all times.
- Never store a spare liquid propane (LP) cylinder under or near the grill.
- Always check for gas leaks before each use.
- Do not attempt to light the burner with the lid closed.
- Ensure proper ventilation and clearance from combustible materials.
3. Package Contents
Verify that all components are present before beginning assembly. Refer to the assembly diagram for visual identification of parts.
- Grill main body with lid and firebox
- Three stainless steel in-line burners
- Side burner assembly
- Metal side shelf
- Porcelain-coated cooking grates
- Porcelain-coated swing-a-way warming rack
- Grill cart with two fixed legs and two 6-inch wheels
- Hardware pack (bolts, screws, washers, etc.)
- Performance Grill Cover
- Instruction Manual
4. Setup and Assembly
While some assembly is required, the Char-Broil Classic 360 is designed for straightforward setup. Follow the detailed instructions provided in the separate assembly guide included with your product. Ensure all connections are secure and leak-free before first use.
4.1 Connecting the LP Tank
- Ensure the LP tank valve is closed by turning it clockwise.
- Place the LP tank securely in the designated holder on the grill cart.
- Connect the regulator hose to the LP tank valve. Hand-tighten firmly. Do not use tools.
- Perform a leak test: Apply a soapy water solution to all gas connections. Open the LP tank valve slowly. If bubbles appear, there is a leak. Close the tank valve immediately and tighten connections. Repeat the test. If leaks persist, do not use the grill and contact customer service.
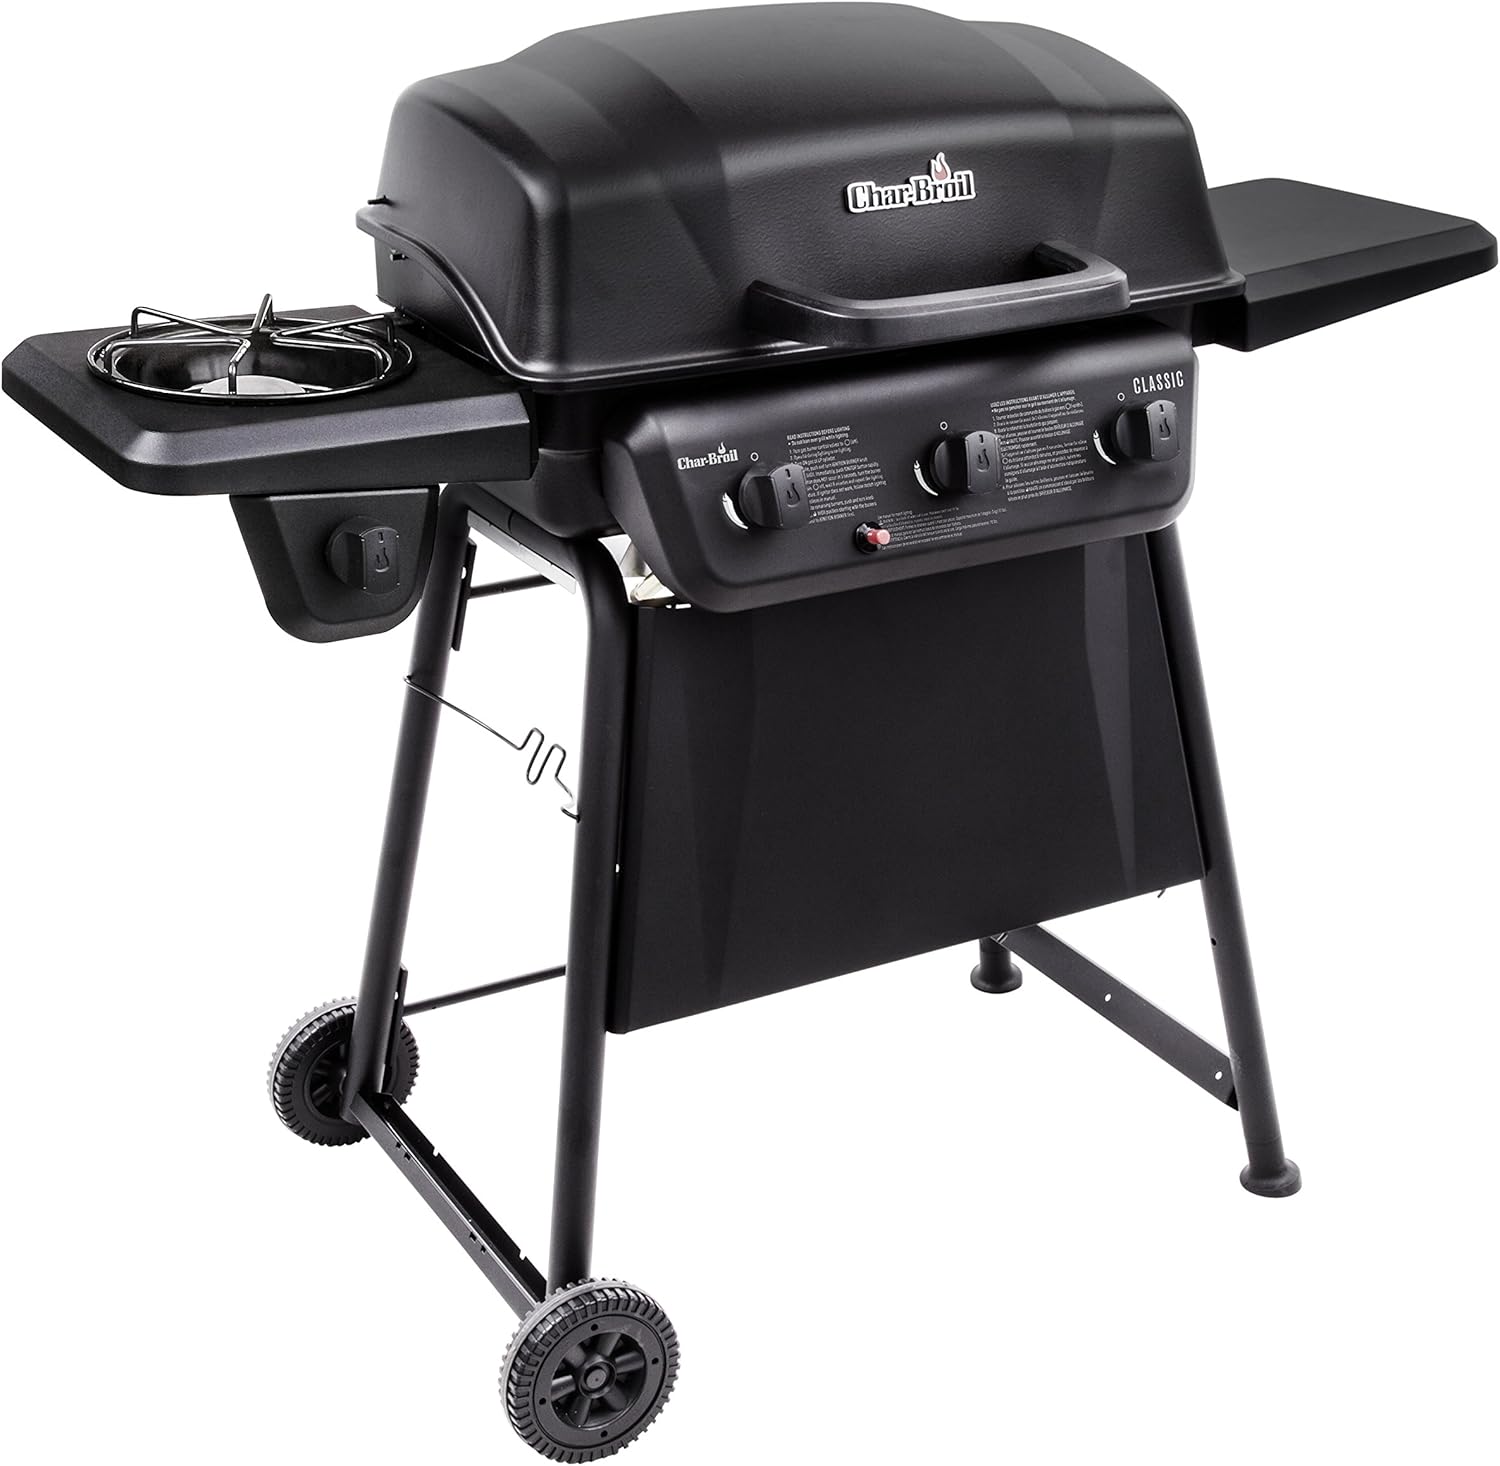
Image 4.1: Fully assembled Char-Broil Classic 360 Gas Grill, showcasing the side burner and side shelf.
5. Operating Instructions
5.1 Lighting the Main Burners
- Open the grill lid.
- Ensure all burner control knobs are in the 'OFF' position.
- Slowly open the LP tank valve fully.
- Push and turn one main burner control knob to 'HIGH'.
- Immediately press the electronic igniter button. You should hear a 'click' and see the burner light.
- If ignition does not occur within 5 seconds, turn the burner control knob to 'OFF', wait 5 minutes for gas to dissipate, and repeat the lighting procedure.
- Once the first burner is lit, you can light adjacent burners by turning their control knobs to 'HIGH'.
5.2 Lighting the Side Burner
- Open the side burner lid.
- Ensure the side burner control knob is in the 'OFF' position.
- Push and turn the side burner control knob to 'HIGH'.
- Immediately press the electronic igniter button.
- If ignition does not occur within 5 seconds, turn the burner control knob to 'OFF', wait 5 minutes, and repeat.
5.3 Pre-heating and Temperature Control
- After lighting, close the grill lid and allow the grill to pre-heat for 10-15 minutes on 'HIGH' for optimal cooking temperature.
- Adjust burner control knobs to achieve desired cooking temperatures. Lower settings reduce heat output.
5.4 Shutting Down the Grill
- Turn all burner control knobs to the 'OFF' position.
- Close the LP tank valve by turning it clockwise until fully closed.
6. Maintenance
Regular cleaning and maintenance will extend the life of your grill and ensure safe operation.
6.1 Cleaning the Cooking Grates
- After each use, while the grates are still warm, use a grill brush to remove food residue.
- For deeper cleaning, allow grates to cool, then wash with warm soapy water and rinse thoroughly. The porcelain-coated grates are rust-resistant and easy to clean.
6.2 Cleaning the Exterior
- Wipe down exterior surfaces with a mild detergent and warm water.
- For stainless steel components, use a stainless steel cleaner and polish in the direction of the grain.
- Avoid abrasive cleaners or pads that can scratch surfaces.
6.3 Grill Cover Usage and Care
The included Char-Broil Performance Grill Cover is designed to protect your grill from the elements.
- Ensure the grill is completely cool before placing the cover on it.
- The cover is made from 18mil polyester fabric with a sun fade protective liner, featuring sealed seams for water resistance and UV protection.
- Clean the cover with a damp cloth and mild soap. Allow to air dry completely before storing.
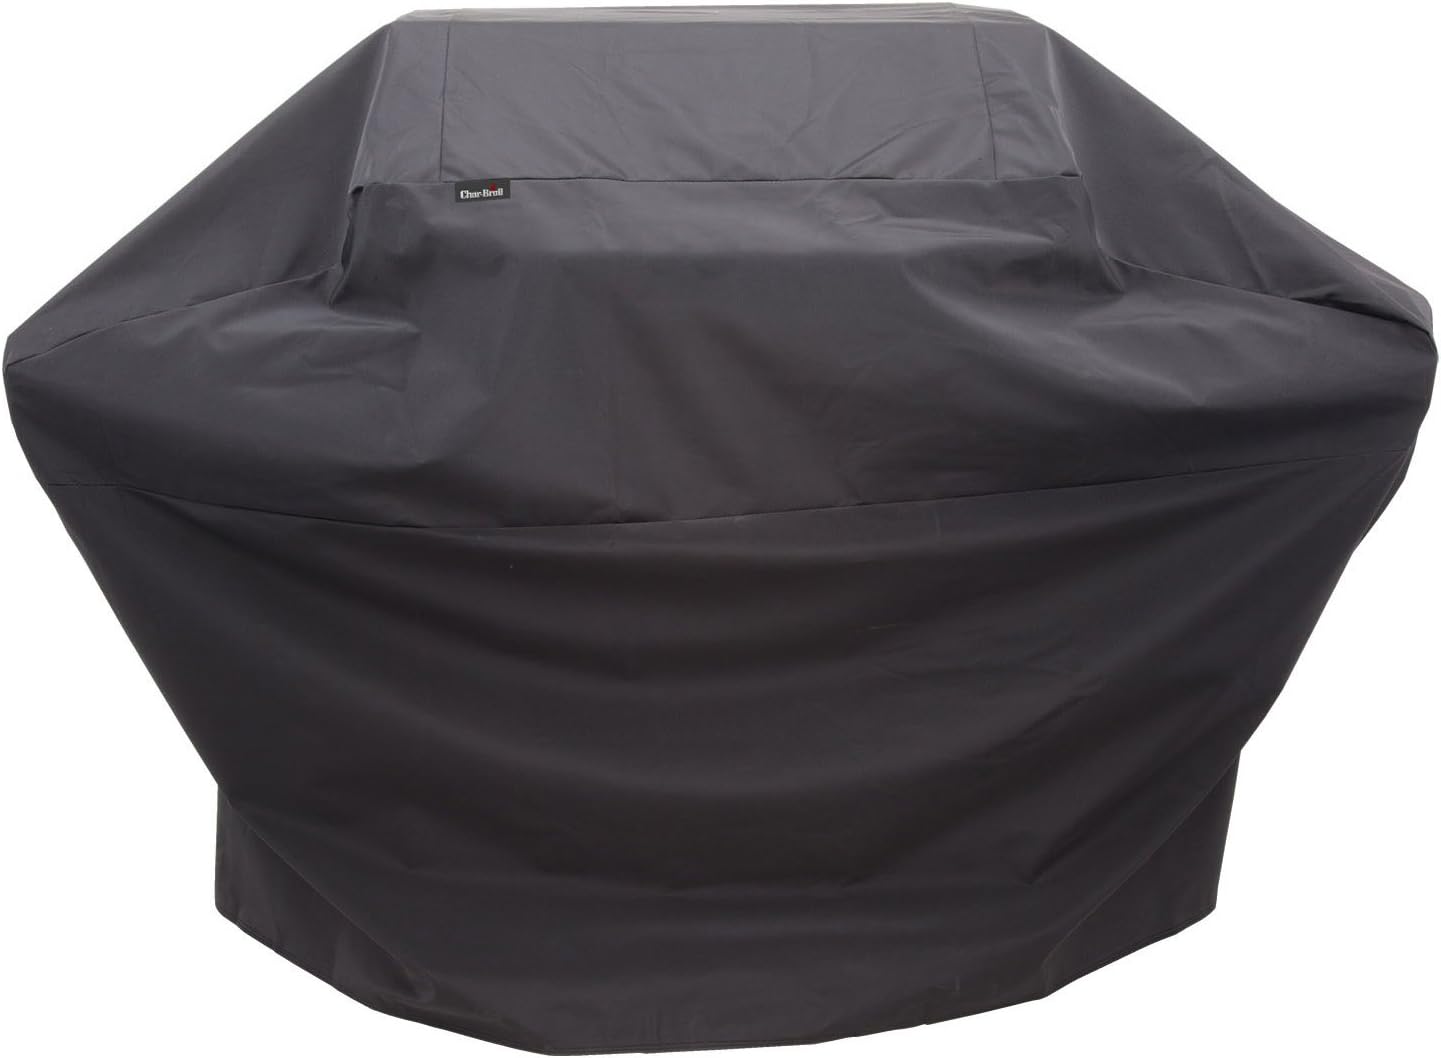
Image 6.1: The Char-Broil Performance Grill Cover, designed for durability and weather protection.

Image 6.2: Cross-section diagram illustrating the multi-layered construction of the Performance Grill Cover, including PVC coating, polyester fabric, and sealed seams.
7. Troubleshooting
| Problem | Possible Cause | Solution |
|---|---|---|
| Burner will not light with igniter | No gas flow; clogged burner port; faulty igniter electrode | Check LP tank connection and gas level. Clean burner ports. Check igniter wire connection. |
| Uneven heat | Clogged burner ports; grease buildup | Clean burner ports. Clean inside of grill and flame tamers. |
| Flare-ups | Excessive grease buildup; high heat setting | Clean grill thoroughly. Reduce heat. Trim excess fat from food. |
| Gas odor | Gas leak | Immediately turn off gas at the tank. Perform leak test. Do not operate if leak persists. |
8. Specifications
Key specifications for the Char-Broil Classic 360 3-Burner Liquid Propane Gas Grill and Performance Grill Cover.
- Grill Dimensions (Assembled): 51.2" W x 24.1" D x 43.5" H
- Weight: Approximately 80 lbs
- Primary Cooking Area: 360 sq. inches (porcelain-coated grates)
- Warming Rack Area: 170 sq. inches (porcelain-coated swing-a-way rack)
- Main Burners: 3 stainless steel in-line burners
- Main Burner BTU: 30,000 BTU total
- Side Burner: 1 side burner
- Side Burner BTU: 8,000 BTU
- Fuel Type: Liquid Propane (LP) Gas
- Ignition: Piezo electronic ignition
- Material: Stainless steel (burners), Porcelain-coated steel (lid, firebox, grates)
- Grill Cover Dimensions: 62" W x 24" D x 42" H
- Grill Cover Material: 18mil polyester fabric with sun fade protective liner

Image 8.1: Dimensional diagram of the Char-Broil Classic 360 Gas Grill, indicating height, width, and depth.
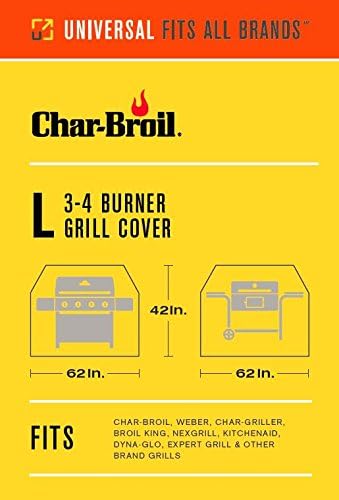
Image 8.2: Diagram illustrating the dimensions of the Char-Broil 3-4 Burner Performance Grill Cover, suitable for grills up to 62 inches wide.
9. Warranty and Support
For warranty information, replacement parts, or technical assistance, please refer to the warranty card included with your product or visit the official Char-Broil website. You may also contact Char-Broil customer support directly for further assistance.
Online Support: www.charbroil.com


