Introduction
Thank you for purchasing the Coby 1080HD Dash Cam. This device is designed to record your on-road experiences in high-definition, providing a reliable eyewitness for any driving situation. This manual will guide you through the setup, operation, and maintenance of your dash cam to ensure optimal performance.
What's in the Box
- Coby 1080HD Dash Cam
- Power Cable
- USB Cable
- User Manual
Note: A memory card is required for recording and is sold separately.
Product Overview
Familiarize yourself with the components of your Coby 1080HD Dash Cam.

Figure 1: Front view of the Coby 1080HD Dash Cam, showing the lens, infrared lights, and control buttons.
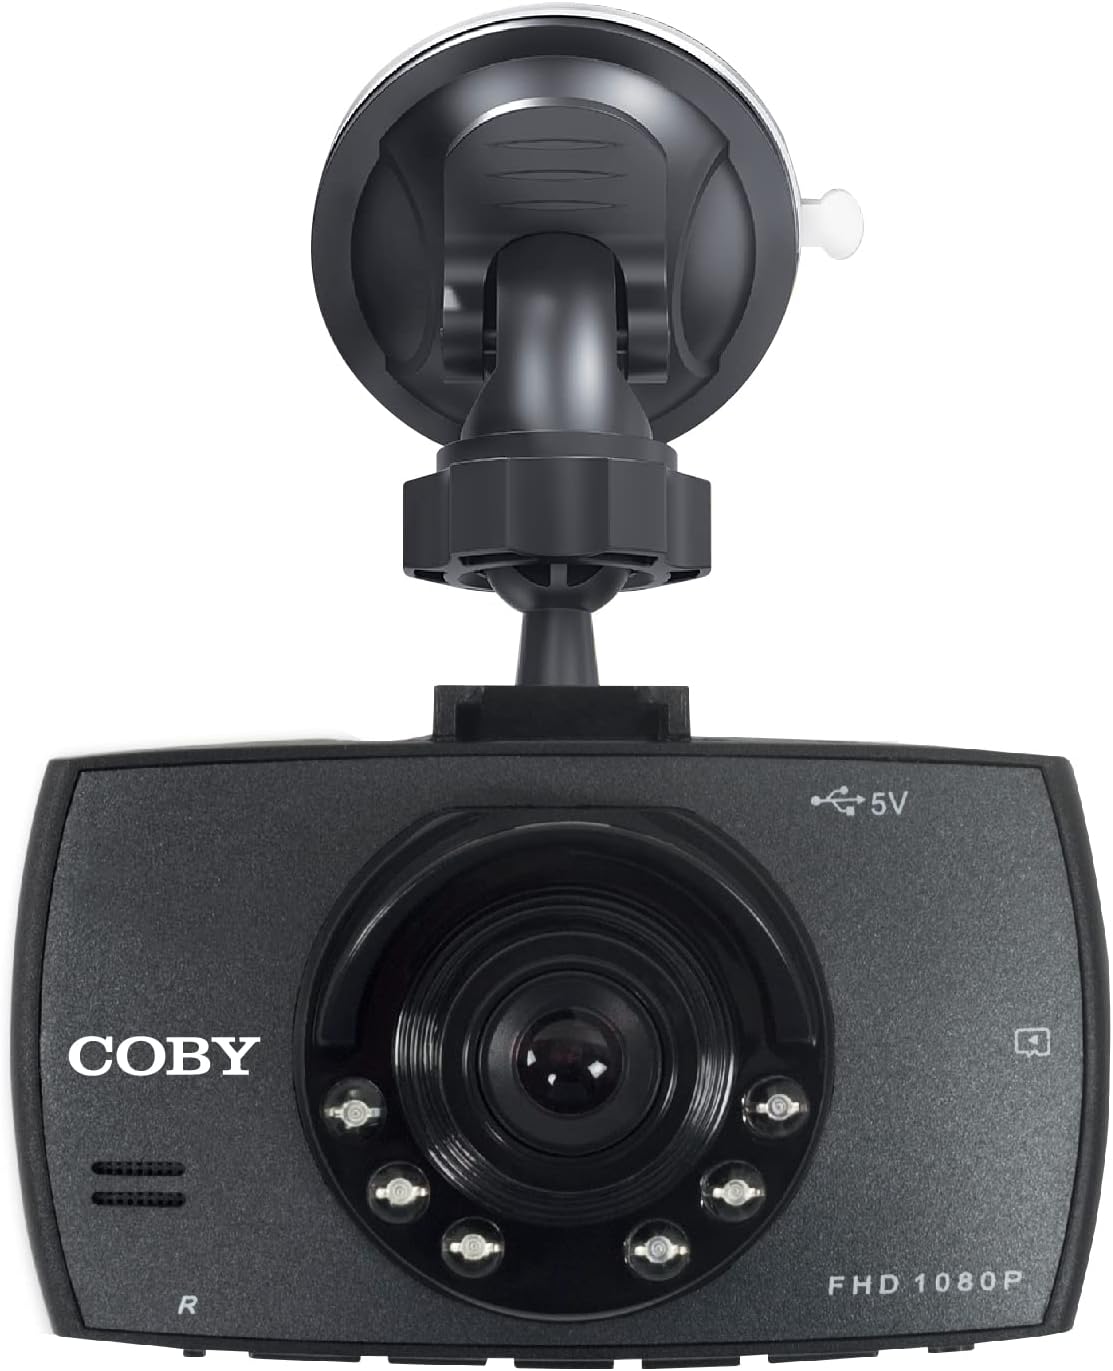
Figure 2: The dash cam attached to its suction cup mount, highlighting the Coby branding and FHD 1080P label.
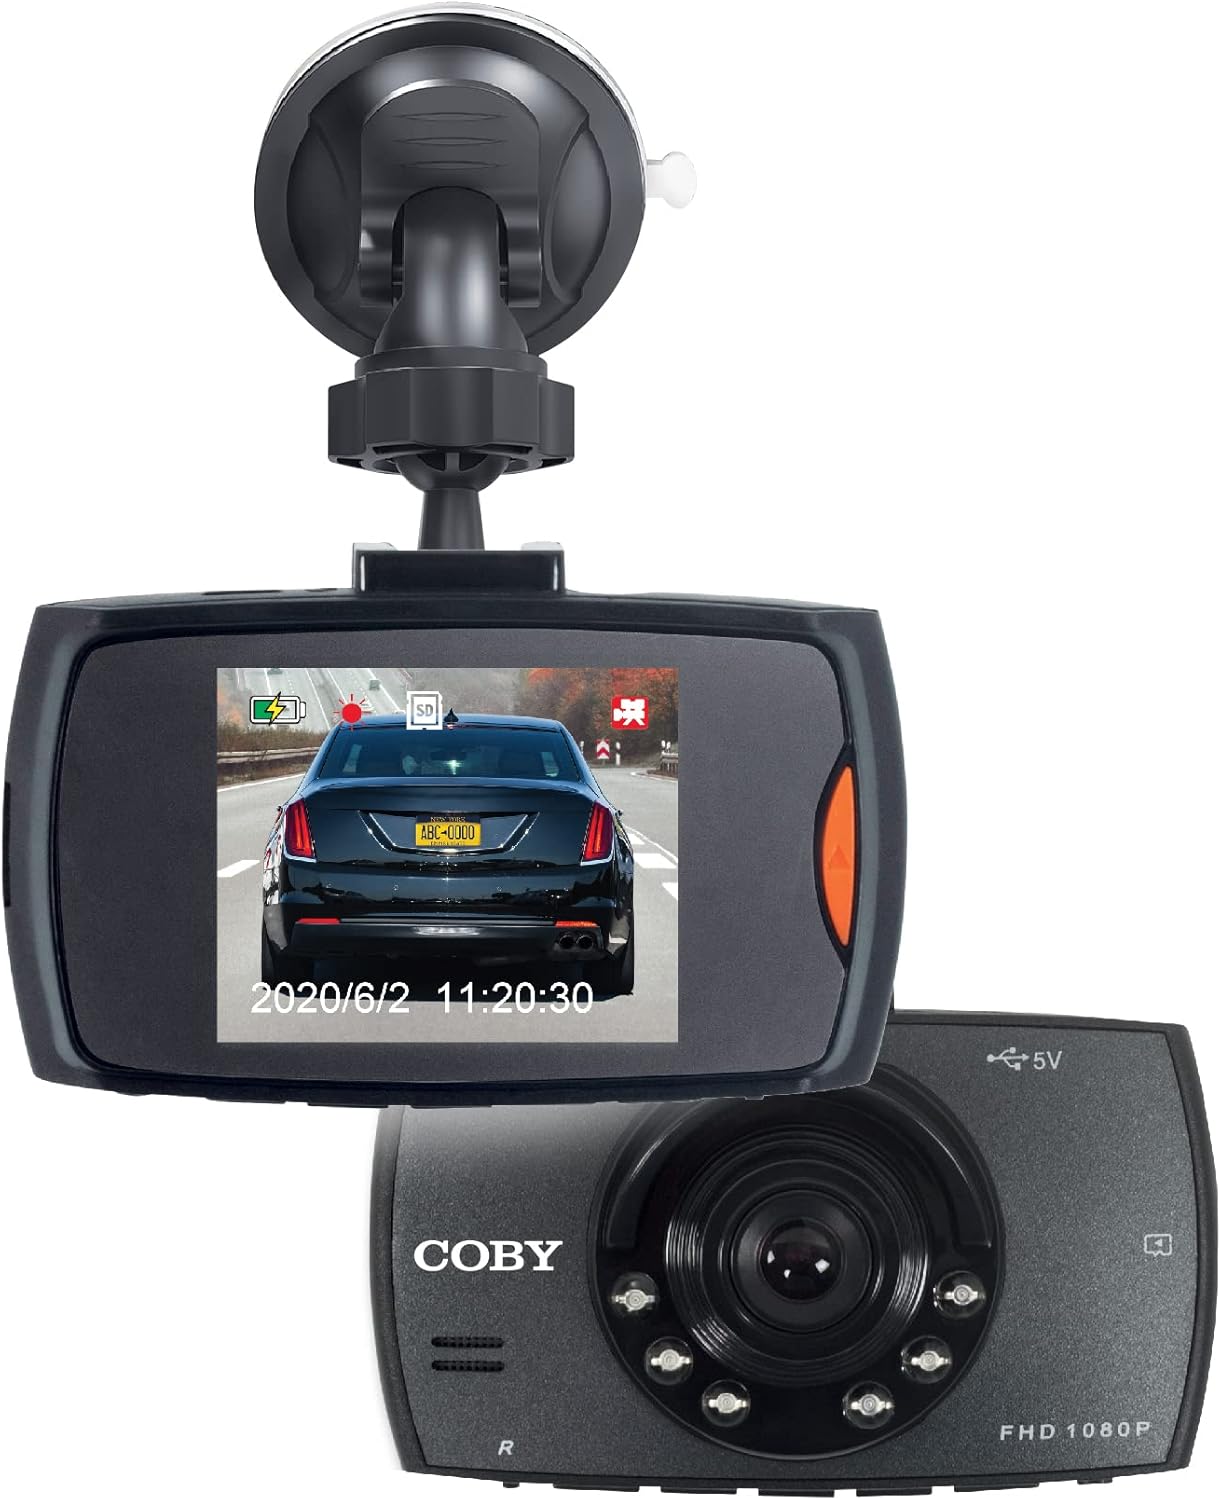
Figure 3: The dash cam displaying a live road view on its screen, with another unit shown for perspective.
Setup
Follow these steps for a quick and easy installation of your dash cam.
- Insert Memory Card: Locate the memory card slot on the dash cam. Gently insert a compatible microSD card (not included) until it clicks into place. Ensure the card is formatted before first use (refer to Operating Instructions for formatting).
- Mount the Dash Cam:
- Attach the suction cup mount to the dash cam.
- Clean the desired area on your windshield, preferably behind the rearview mirror, to ensure a clear view of the road and minimal obstruction to your driving vision.
- Press the suction cup firmly against the windshield and flip the lever to secure it.
- Adjust the camera angle using the 360° swivel head and adjustable ball head to capture the optimal recording angle.
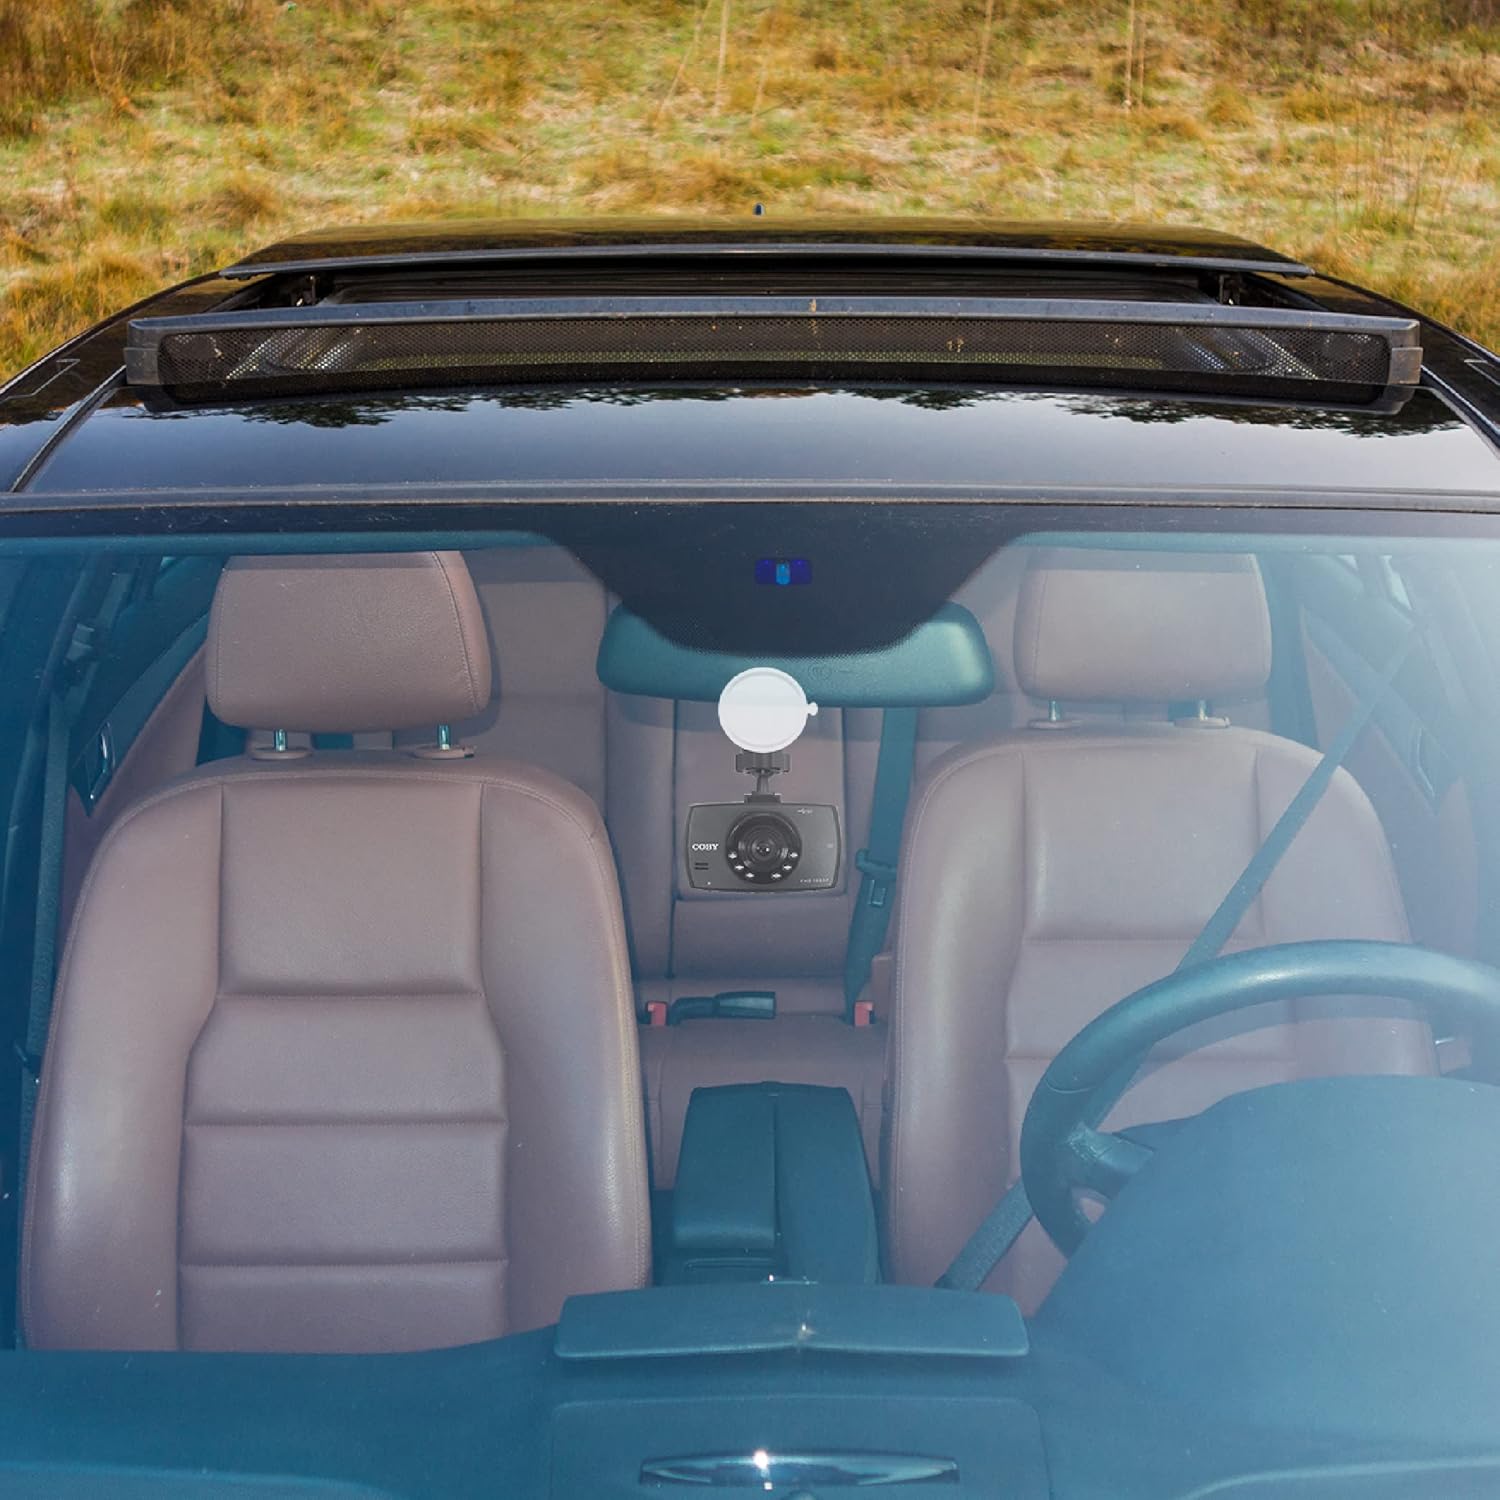
Figure 4: The dash cam mounted on the windshield of a car, showing its discreet placement.
- Connect Power: Connect the provided power cable to the dash cam and plug the other end into your car's 12V power outlet (cigarette lighter socket). The dash cam is designed for true plug-and-play installation.
- Power On: The dash cam will typically power on automatically when your vehicle starts. If not, press the power button.
Operating Instructions
Learn how to use the various functions of your Coby 1080HD Dash Cam.
Basic Operation
- Automatic Recording: Once powered on and a memory card is inserted, the dash cam will automatically begin recording in a continuous loop.
- Manual Recording: Press the Record button to manually start or stop recording.
- Menu Navigation: Use the directional buttons to navigate through the menu options on the 2.2" LCD display. Press the OK button to confirm selections.
Key Features
- 1080p Full HD Video Resolution: The dash cam records in 1080p Full HD, ensuring clear and detailed video footage.
- Loop Recording: When the memory card is full, the dash cam will automatically overwrite the oldest unlocked video files to continue recording. This ensures continuous operation without manual intervention.
- Night Vision Support: The dash cam is equipped with night vision capabilities, allowing it to record clear footage even in low-light conditions or at night.
- 360° Swivel Head & Adjustable Ball Head: The mounting system allows for flexible positioning, enabling you to capture the perfect recording angle or rotate the camera to record other areas of your vehicle.
- Playback: You can review recorded footage directly on the dash cam's screen. Navigate to the playback mode using the menu buttons, select the desired file, and press OK to play.

Figure 5: Visual representation of the dash cam's key features including 1080p resolution, distortion-free coverage, night vision, dynamic display, and smart battery readout.

Figure 6: Illustration of the 360° swivel head and adjustable ball head features for flexible camera positioning.
Maintenance
Proper care will extend the life and performance of your dash cam.
- Cleaning: Use a soft, dry cloth to clean the camera lens and body. Avoid using abrasive cleaners or solvents.
- Memory Card Care: Regularly format your memory card (at least once a month) to prevent data corruption and ensure optimal recording performance. Back up important footage before formatting.
- Temperature: Avoid exposing the dash cam to extreme temperatures for prolonged periods, as this can affect battery life and internal components.
- Secure Mounting: Periodically check that the dash cam is securely mounted to prevent it from falling during driving.
Troubleshooting
If you encounter issues with your dash cam, refer to the following common problems and solutions.
| Problem | Possible Cause | Solution |
|---|---|---|
| Dash cam does not power on. | No power supply; loose connection; faulty power cable. | Check power cable connection to the dash cam and car's 12V outlet. Ensure the car's outlet is functional. Try a different power source if available. |
| Recording stops unexpectedly. | Memory card full; memory card error; low battery. | Format the memory card. Use a high-speed, reputable memory card. Ensure the dash cam is continuously powered. |
| Video footage is blurry or unclear. | Protective film on lens; dirty lens; incorrect focus (unlikely for fixed focus). | Remove any protective film from the lens. Clean the lens with a soft, lint-free cloth. |
| Dash cam freezes or becomes unresponsive. | Software glitch; memory card issue. | Press and hold the power button to force a restart. If the issue persists, try formatting or replacing the memory card. |
Specifications
| Feature | Detail |
|---|---|
| Model Number | DCS407 |
| Video Capture Resolution | 1080p Full HD |
| Display | 2.2" LCD |
| Connectivity Technology | USB |
| Special Features | Loop Recording, 360 Degree Swivel, Night Vision |
| Mounting Type | Windshield Mount |
| Product Dimensions | 10.9 x 14.8 x 14.8 inches |
| Item Weight | 8.4 ounces |
| Color | Black |
| Manufacturer | Summit Electronics, LLC |
Warranty and Support
For warranty information or technical support, please refer to the contact details provided on the product packaging or visit the official Coby website. Keep your purchase receipt as proof of purchase for warranty claims.
You can visit the Coby Store for more information: Coby Official Store


