Introduction
Thank you for choosing the PXN 9607X Wireless Controller. This manual will guide you through the setup, operation, and maintenance of your new controller. Please read these instructions carefully to ensure optimal performance and longevity of your device.
Product Overview
The PXN 9607X is a versatile wireless controller designed for an enhanced gaming experience across multiple platforms. It features advanced functionalities such as adjustable vibration, 6-axis motion sensing, Turbo function, NFC, and a convenient wake-up feature for Nintendo Switch consoles.
Key Features:
- Wireless Connectivity
- Adjustable Dual Motor Vibration
- Sensitive 6-Axis Gyroscope (Motion Sensing)
- Turbo Function (Manual and Auto Modes)
- NFC Functionality
- One-Button Wake-up for Nintendo Switch
- Long Battery Life (12-20 hours playtime)
- Type-C Charging Port
Compatibility:
- Nintendo Switch / Switch Lite / Switch OLED
- PC (Windows)
- iOS (Version 16 and above)

Image: PXN 9607X Wireless Controller compatible with Nintendo Switch, Switch Lite, Switch OLED, PC, and iOS (version 16 only).
Setup & Connection
1. First Wireless Connection (Nintendo Switch)
- On your Nintendo Switch, navigate to the "Controllers" menu.
- Select "Change Grip/Order".
- Long press the power button on the back of the PXN 9607X controller for 3 seconds.
- The 4 LED indicators on the controller will flash cyclically, indicating it has entered pairing mode.
- Once successfully paired, the LED indicator(s) will remain solid.

Image: Rear view of the PXN 9607X controller, highlighting the power button for initial pairing.

Image: Visual guide for the first wireless connection process, showing the power button and LED indicators.
2. Connecting to iOS Devices (iOS 16+)
- Ensure your iOS device is running iOS 16 or above.
- Long press the power button on the back of the controller to turn it on.
- On your iOS device, go to "Settings" > "Bluetooth".
- Turn on Bluetooth.
- In the "Other Devices" list, select "Pro Controller" to connect.
- Once connected, LED1 on the controller will remain solid.
Video: Demonstrates connecting the PXN 9607X Wireless Switch Controller to an iOS device and setting up Genshin Impact.
3. Connecting to PC
The PXN 9607X controller can be connected to a PC via a USB-C cable for wired play or wirelessly via Bluetooth (if your PC has Bluetooth capabilities).
- Wired Connection: Connect the controller to your PC using the provided USB-C cable. The PC should automatically detect and install the necessary drivers.
- Bluetooth Connection:
- Ensure your PC has Bluetooth enabled.
- Long press the power button on the back of the controller to turn it on.
- On your PC, go to "Settings" > "Devices" > "Bluetooth & other devices".
- Click "Add Bluetooth or other device" and select "Bluetooth".
- Choose "Pro Controller" from the list of available devices.
- Once connected, the LED indicator(s) on the controller will remain solid.
Operating Instructions
Turbo Function
The Turbo function allows for rapid, repeated button presses, giving you an advantage in certain games. The controller supports two Turbo modes: Manual and Auto.
- Manual Turbo: Press and hold the desired action button (e.g., A, B, X, Y) and then press the 'T' (Turbo) button. The button will now rapidly repeat as long as you hold it down.
- Auto Turbo: Press the desired action button and then press the 'T' (Turbo) button twice. The button will now rapidly repeat automatically without needing to be held down. To deactivate, press the action button and 'T' button once more.

Image: The PXN 9607X controller showing the Turbo function in action during gameplay on a Nintendo Switch.
Adjustable Vibration Function
The controller features built-in dual motors with 3 levels of adjustable vibration (Weak, Medium, Strong) to enhance your gaming immersion.
- To adjust vibration intensity, press the Vibration button (often represented by a wave icon or similar) and use the D-pad Up/Down to cycle through the levels.
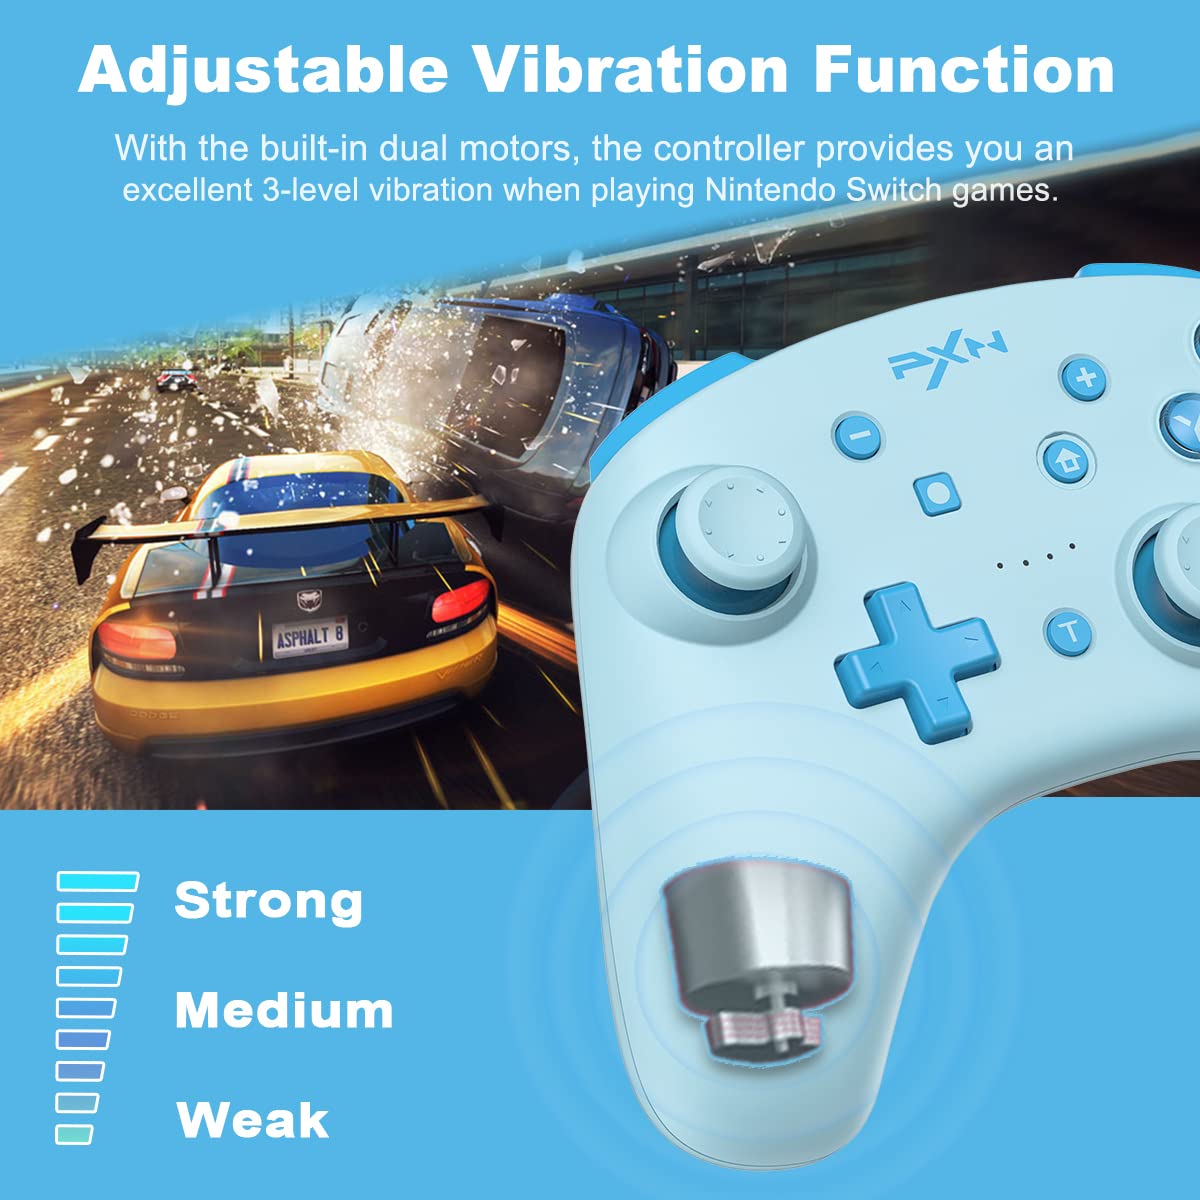
Image: Diagram showing the three adjustable vibration levels (Strong, Medium, Weak) of the PXN 9607X controller.
6-Axis Gyroscope (Motion Sensing)
The built-in 6-axis gyro chip provides precise motion control, making aiming movements smoother and faster in compatible games.
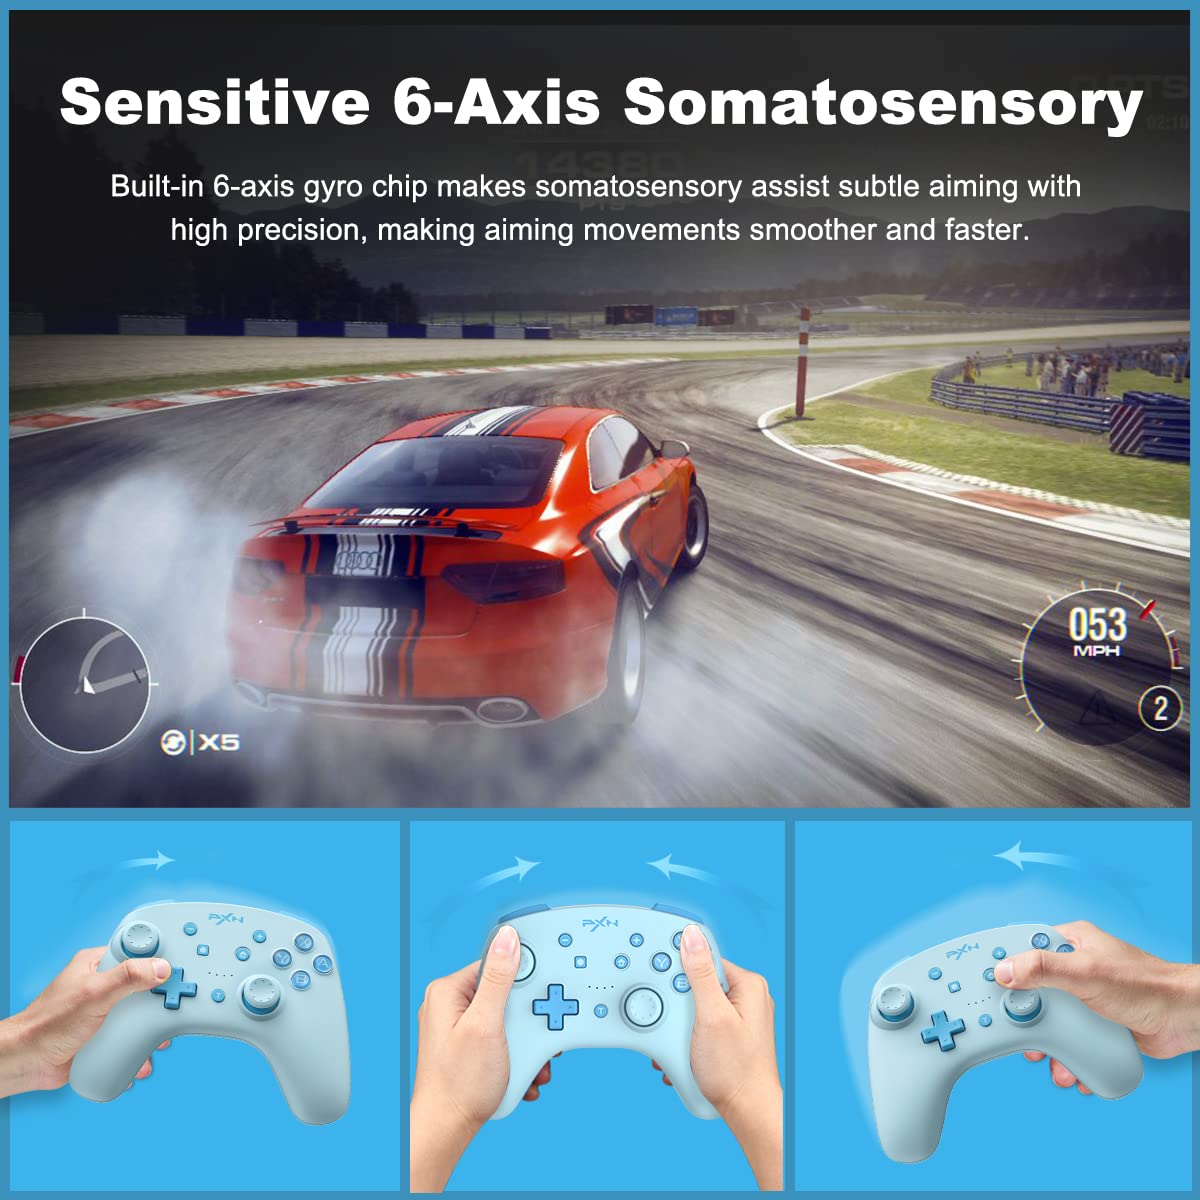
Image: The PXN 9607X controller being used for 6-axis somatosensory control in a racing game.
NFC Function
The PXN 9607X controller includes an NFC function, allowing you to use Amiibo figures or cards with compatible Nintendo Switch games. Simply tap your Amiibo to the NFC touchpoint on the controller to activate its in-game features.

Image: The PXN 9607X controller demonstrating its built-in NFC function with various Amiibo figures.
One-Button Wake-up for Nintendo Switch
To quickly resume your game, simply press and hold the Home button on the controller to remotely wake up your Nintendo Switch console.

Image: The Home button on the PXN 9607X controller being pressed to wake up a Nintendo Switch console.
Charging & Battery Life
The PXN 9607X controller is equipped with a 550mAh battery, providing extended playtime.
- Charging Time: Approximately 2.0 hours for a full charge.
- Working Time: 12-20 hours of continuous gameplay on a full charge.
- Auto-Sleep: The controller will automatically enter sleep mode after 5 minutes of inactivity to conserve battery.
- Charging Indicator: The LED indicators will show charging status and turn off when fully charged.

Image: Information on the PXN 9607X controller's battery life, including 2.0 hours charging time, 12-20 hours working time, and 5-minute auto-sleep.
Firmware Update
To ensure your PXN 9607X controller is always performing at its best and to access the latest features, it is recommended to keep its firmware updated. Follow these steps to update the firmware:
- Visit the official PXN website: www.e-pxn.com.
- Navigate to the "Support" section and click on "Tools".
- Find "PXN-9607X Firmware Update" (ensure it matches your model, e.g., V1.26) and click "Download".
- Open the downloaded file and run the "9607X V1.26 Firmware.exe" application.
- Long press the L3 button (left joystick click) on the controller.
- While holding L3, connect the controller to your PC via the USB-C cable.
- Once the software detects the controller, click "Update Firmware" and follow the on-screen prompts.
- Do not disconnect the USB cable during the upgrade process.
- A "Success!" message will appear upon completion.
Note: Please use a PC with Windows 7 or above to upgrade the firmware. Only 9607X controllers with SN starting with "P21H" can be upgraded to V1.26 firmware.
Troubleshooting
- Controller not connecting: Ensure the controller is charged. Verify Bluetooth is enabled on your device and the controller is in pairing mode. For Switch, ensure "Pro Controller Wired Communication" is enabled in system settings if using wired.
- Input lag or disconnection: Move closer to your device to reduce interference. Ensure no other strong wireless signals are nearby.
- Buttons not responding: Check if the controller is properly paired. Try resetting the controller by pressing the small reset button on the back (if available, usually a pinhole).
- Vibration not working: Ensure the game supports vibration and it's enabled in both game and system settings. Check the controller's vibration intensity setting.
- Firmware update issues: Ensure you are using a compatible Windows PC and following the steps precisely. Do not disconnect during the update.
Specifications
| Model Number: | PXN-9607X |
| Connectivity: | Wireless (Bluetooth), Wired (USB-C) |
| Battery Capacity: | 550mAh |
| Charging Time: | Approx. 2.0 hours |
| Working Time: | 12-20 hours |
| Auto-Sleep: | 5 minutes of inactivity |
| Dimensions: | 6.02 x 2.4 x 4.37 inches |
| Weight: | 13.12 ounces |
Warranty & Support
For warranty information, technical support, or further assistance, please visit the official PXN website or contact their customer service directly. Keep your purchase receipt as proof of purchase for warranty claims.
Official Website: www.e-pxn.com


