1. Introduction
This manual provides detailed instructions for the Nextion 3.2-inch HMI Display Enhanced Series, model NX4024K032. It covers the display's features, specifications, setup procedures, operational guidelines, maintenance tips, and troubleshooting information. Please read this manual thoroughly before using the device to ensure proper functionality and longevity.
The Nextion Enhanced Series HMI display is designed for various applications, offering a user-friendly interface for human-machine interaction. Key features include a Real-Time Clock (RTC), EEPROM for data storage, and 8 digital GPIOs (4 PWM capable).
2. Product Overview
2.1 Key Features
- Display Size: 3.2 inches
- Resolution: 400 x 240 pixels
- Touch Panel: Resistive
- Processor: 48 MHz MCU
- Flash Memory: 16 MB
- SRAM: 3584 Byte
- EEPROM: 1024 Byte for user data storage
- GPIOs: 8 digital GPIOs (4 PWM capable)
- RTC: Integrated Real-Time Clock for accurate timekeeping
- Interface: TTL Serial
2.2 Package Contents
Verify that all items are present in the package:
- Nextion HMI Display (NX4024K032) x 1
- Power Supply Test Board x 1
- XH2.54 4P Wire x 1

Image: Contents of the Nextion NX4024K032 package, showing the display, power supply test board, and XH2.54 4P wire.
3. Setup and Connection
3.1 Hardware Connection
- Identify Ports: Locate the TTL serial interface on the Nextion display. This typically consists of 4 pins: +5V, TX, RX, and GND.
- Connect Power: Connect the +5V pin of the display to a stable 5V power source. Connect the GND pin to the ground of your system. The included Power Supply Test Board can be used for initial power testing.
- Serial Communication: Connect the TX (Transmit) pin of the Nextion display to the RX (Receive) pin of your microcontroller or host device. Connect the RX (Receive) pin of the Nextion display to the TX (Transmit) pin of your microcontroller or host device. Use the provided XH2.54 4P wire for these connections.
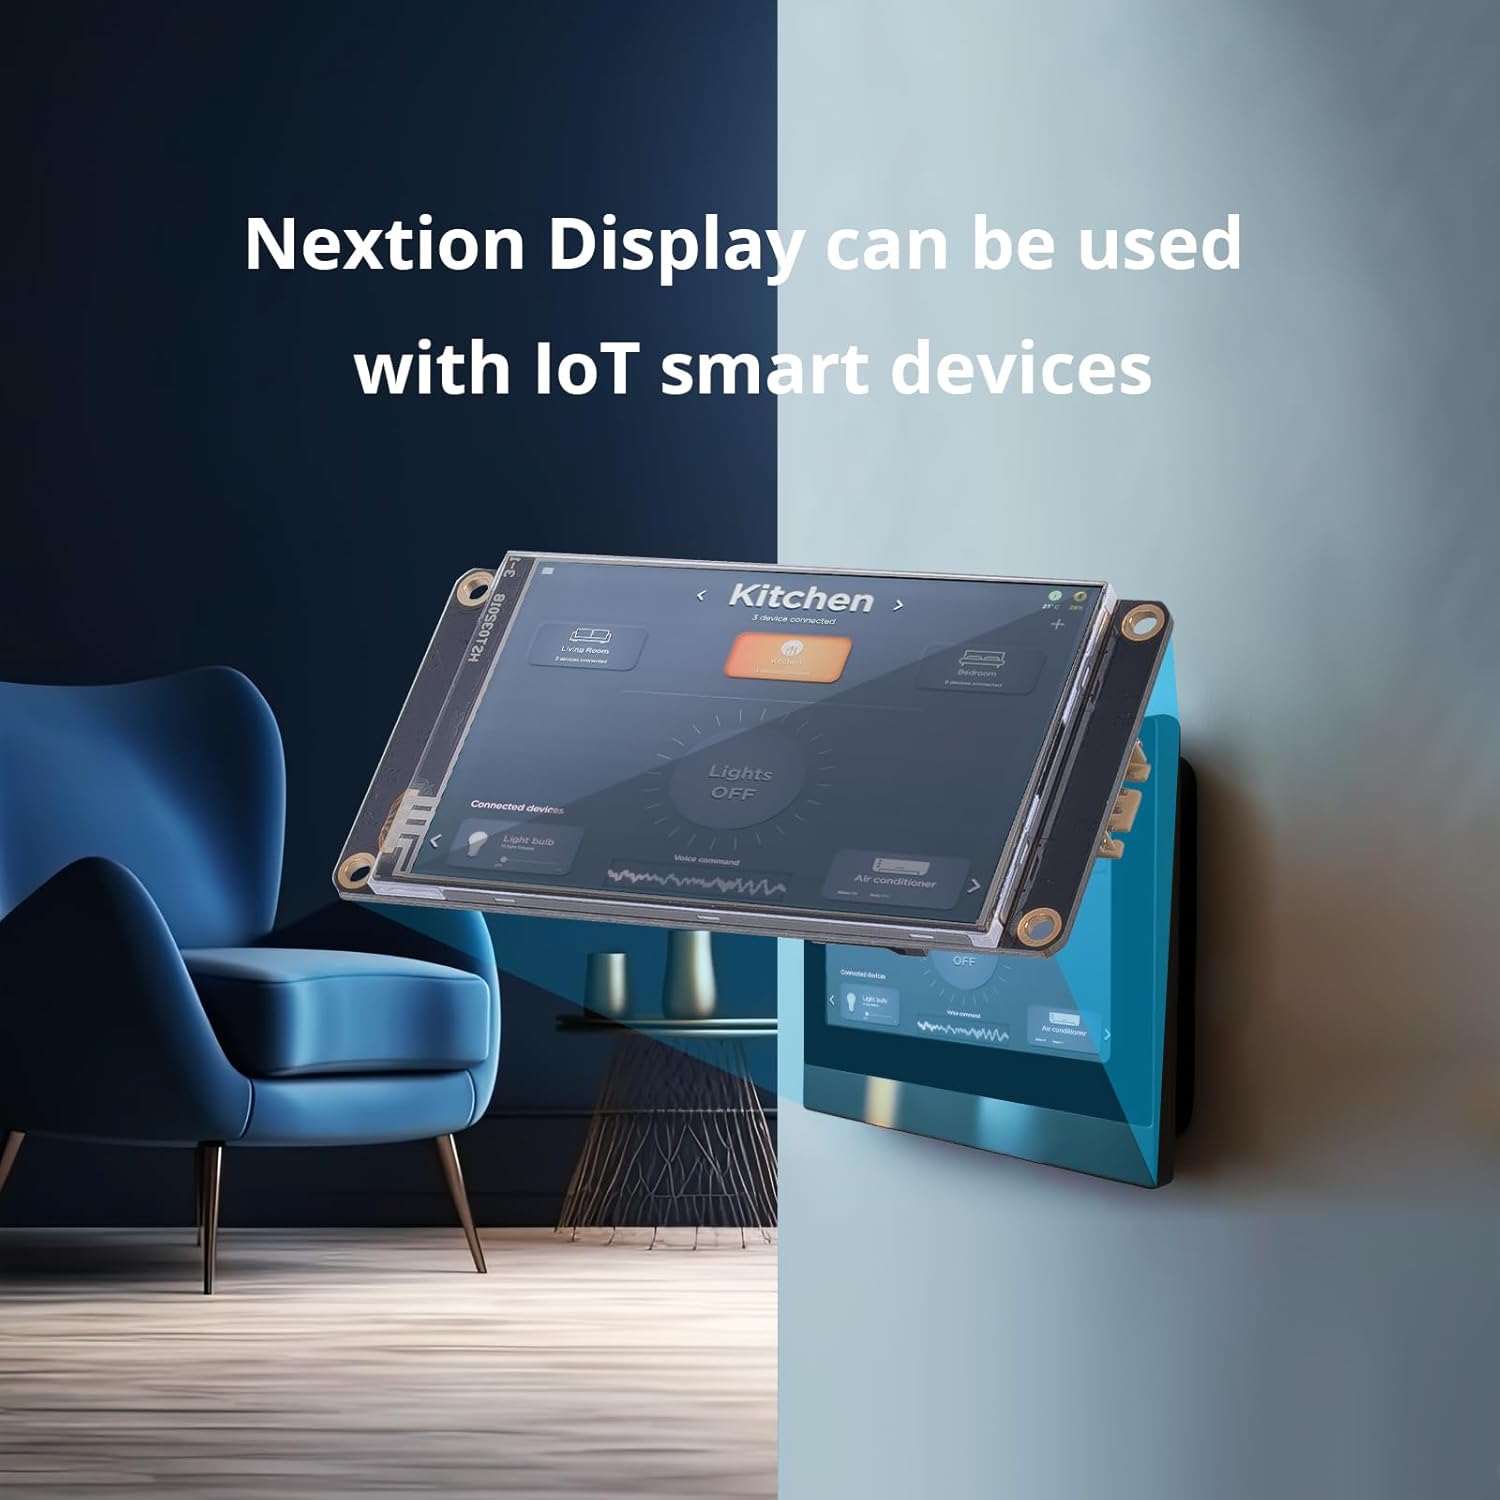
Image: Close-up view of the Nextion NX4024K032 display, illustrating the serial connection pins and their labels.
3.2 Software Setup (Nextion Editor)
The Nextion Editor software is used to design the Graphical User Interface (GUI) and program the display. It is available for free download from the official Nextion website.
- Download Software: Obtain the latest version of the Nextion Editor from nextion.tech/download/.
- Installation: Follow the on-screen instructions to install the software on your computer.
- Project Creation: Launch the Nextion Editor. You can create new projects or open existing ones. The software features a drag-and-drop interface for adding components like buttons, text fields, and progress bars.
- Upload Firmware: After designing your GUI, compile the project and upload the generated .TFT file to the Nextion display. This can be done via a microSD card or directly through the serial port using a USB-to-TTL adapter (not included).

Image: A screenshot of the Nextion Editor software interface, displaying various GUI components available for drag-and-drop design.
4. Operating Instructions
4.1 Basic Operation
Once the GUI is uploaded to the display and connected to a host device, the display will operate according to the programmed instructions. Interaction typically occurs via the resistive touch screen.
- Touch Input: Use a stylus or finger to interact with on-screen elements such as buttons, sliders, and text input fields.
- Data Display: The display will show information sent from the host device or data generated internally (e.g., RTC time).
- GPIO Control: The 8 digital GPIOs can be configured for various functions, including input, output, or PWM, as defined in your Nextion Editor project.
4.2 Real-Time Clock (RTC) Functionality
The integrated RTC allows the display to keep track of time even when power is removed (requires a CR1220 battery, not included). The RTC can be accessed and set via commands from the host device or through the Nextion Editor.
- Battery Installation: If RTC backup is desired, install a CR1220 coin cell battery into the designated holder on the display board. Ensure correct polarity.
- Setting Time: Refer to the Nextion instruction set for commands to read and set the RTC time from your host microcontroller.
4.3 EEPROM Data Storage
The 1024 Byte EEPROM allows for non-volatile storage of user data directly on the display. This is useful for saving settings or calibration values that need to persist across power cycles.
- Reading/Writing: Use specific Nextion commands to read data from and write data to the EEPROM. Consult the Nextion instruction set for details.
5. Maintenance
- Cleaning: Use a soft, dry, lint-free cloth to clean the display surface. Avoid abrasive materials or chemical cleaners, which can damage the screen.
- Environmental Conditions: Operate the display within its specified temperature and humidity ranges. Avoid exposure to direct sunlight, extreme temperatures, or high moisture.
- Firmware Updates: Periodically check the official Nextion website for firmware updates for your display model. Updates can provide new features, performance improvements, or bug fixes. Follow the provided update instructions carefully.
- Power Supply: Ensure a stable 5V power supply is used. Unstable power can lead to erratic behavior or damage to the display.
6. Troubleshooting
| Problem | Possible Cause | Solution |
|---|---|---|
| Display does not power on. | Incorrect power connection; insufficient power supply. | Verify +5V and GND connections. Ensure power supply can provide adequate current. |
| Display shows blank screen or incorrect image. | No firmware uploaded; corrupted firmware; incorrect project settings. | Upload a valid .TFT project file. Recompile and re-upload the project. Check project resolution settings. |
| Touch screen is unresponsive or inaccurate. | Calibration issue; physical damage; software error. | Perform touch screen calibration if supported by your project. Inspect for physical damage. Re-upload project. |
| Serial communication errors. | Incorrect wiring (TX/RX swapped); baud rate mismatch; faulty serial adapter. | Check TX to RX and RX to TX wiring. Ensure baud rates match between display and host. Test with a different serial adapter. |
| RTC not keeping time. | No CR1220 battery installed; battery depleted; incorrect RTC initialization. | Install a fresh CR1220 battery with correct polarity. Verify RTC initialization commands in your code. |
7. Specifications
| Feature | Detail |
|---|---|
| Model Name | NX4024K032 |
| Display Size | 3.2 inches |
| Resolution | 400 x 240 pixels |
| Touch Panel Type | Resistive |
| MCU | 48 MHz |
| Flash Memory | 16 MB |
| SRAM | 3584 Byte |
| EEPROM | 1024 Byte |
| GPIOs | 8 (4 PWM capable) |
| RTC | Yes |
| Operating System | Linux (internal firmware) |
| Product Dimensions | 3.78 x 1.89 x 0.47 inches |
| Item Weight | 1.64 ounces |
8. Warranty and Support
8.1 Product Availability
NEXTION guarantees availability for a minimum of 5 years for all series products, including the NX4024K032.
8.2 Technical Support
For technical assistance, please visit the official NEXTION website or contact their support team. Responsive basic hardware technical service is provided across all time zones.
Official Website: https://nextion.tech/
8.3 Compliance
This product is CE and RoHS compliant.
9. Applications
The Nextion HMI display is versatile and can be integrated into various projects and systems:
- Vehicle HMI: For custom racing dashboards or in-car information systems.
- 3D Printers: As a control panel for monitoring and managing print jobs.
- Medical Devices: For user interfaces in diagnostic or monitoring equipment.
- Beauty Devices: Control panels for professional or personal beauty equipment.
- Production Line: For industrial control interfaces and monitoring systems.
- IoT Smart Devices: As a display and control interface for smart home or industrial IoT applications.

Image: The Nextion HMI display showcasing a graphical user interface designed for a racing dashboard application, displaying speed, RPM, and other vehicle metrics.

Image: A Nextion display functioning as part of a medical device interface, showing vital signs or diagnostic information.

Image: A Nextion display integrated into a 3D printer, serving as the control interface for managing print operations.


