
Bmax B2
Bmax Mini PC Computer E3950 User Manual
Model: B2
Introduction
Welcome and thank you for choosing the Bmax Mini PC Computer E3950. This manual provides essential information for setting up, operating, maintaining, and troubleshooting your new mini PC. Please read this manual thoroughly before using the device to ensure optimal performance and longevity.
Package Contents
Upon unpacking, please verify that all items listed below are present and in good condition:
- Bmax Mini PC (Model B2)
- Power Adapter
- HDMI Cable (x2)
- User Guide
- Metal Bracket
- Screws for mounting

Product Overview
The Bmax Mini PC B2 is a compact and versatile computer designed for various applications, from home entertainment to business tasks. Its small form factor allows for flexible placement, including mounting behind a monitor or TV.

Ports and Connectors
Familiarize yourself with the available ports on your Bmax Mini PC:
- Front Panel:
- 3.5mm Audio/Mic Jack (2-in-1)
- 2x USB 3.0 Ports (Super Speed)
- Power Button
- Reset Button (pinhole)
- Rear Panel:
- 2x HDMI Ports (for dual display output)
- 2x USB 2.0 Ports
- 1x RJ45 Gigabit Ethernet Port
- DC Power Input
- Micro SD Card Slot

Setup
1. Connecting Peripherals
Before powering on your mini PC, connect your essential peripherals:
- Monitor(s): Connect one or two monitors to the HDMI ports on the rear panel using the provided HDMI cables.
- Keyboard and Mouse: Connect your USB keyboard and mouse to any available USB ports (USB 2.0 or USB 3.0).
- Network (Optional): For a wired internet connection, connect an Ethernet cable from your router to the RJ45 port.
2. Powering On
Once all peripherals are connected:
- Connect the power adapter to the DC IN port on the rear panel of the mini PC.
- Plug the power adapter into a working electrical outlet.
- Press the power button located on the front panel of the mini PC. The power indicator light should illuminate.
3. Initial System Configuration
The Bmax Mini PC comes pre-installed with Windows 10 Pro. Upon the first boot, you will be guided through the Windows Out-Of-Box Experience (OOBE). Follow the on-screen instructions to:
- Select your region and keyboard layout.
- Connect to a Wi-Fi network (if not using wired Ethernet).
- Accept the license agreement.
- Create a user account or sign in with a Microsoft account.
4. Mounting the Mini PC (Optional)
The included metal bracket and screws allow you to mount the Bmax Mini PC behind a VESA-compatible monitor or TV, creating a clutter-free workspace.
Operating Instructions
Dual Display Operation
Leverage the two HDMI ports to enhance your productivity or entertainment experience. You can configure Windows to:
- Extend Displays: Use both monitors as a single, larger desktop area.
- Duplicate Displays: Show the same content on both monitors.
To configure display settings, right-click on the desktop, select 'Display settings', and adjust as needed. The mini PC supports 4K Ultra HD resolution at 30Hz.

Storage Expansion
The Bmax Mini PC offers options to expand its internal storage:
- M.2 NVMe/SATA SSD: An empty expansion bay is available for installing an M.2_NVMe_2280 SSD, supporting capacities up to 4TB.
- 2.5-inch HDD: Alternatively, a 2.5-inch HDD can be installed in the expansion bay.
- Micro SD Card: For additional portable storage, insert a Micro SD card (up to 512GB) into the dedicated slot.

Wireless Connectivity
The mini PC supports modern wireless standards:
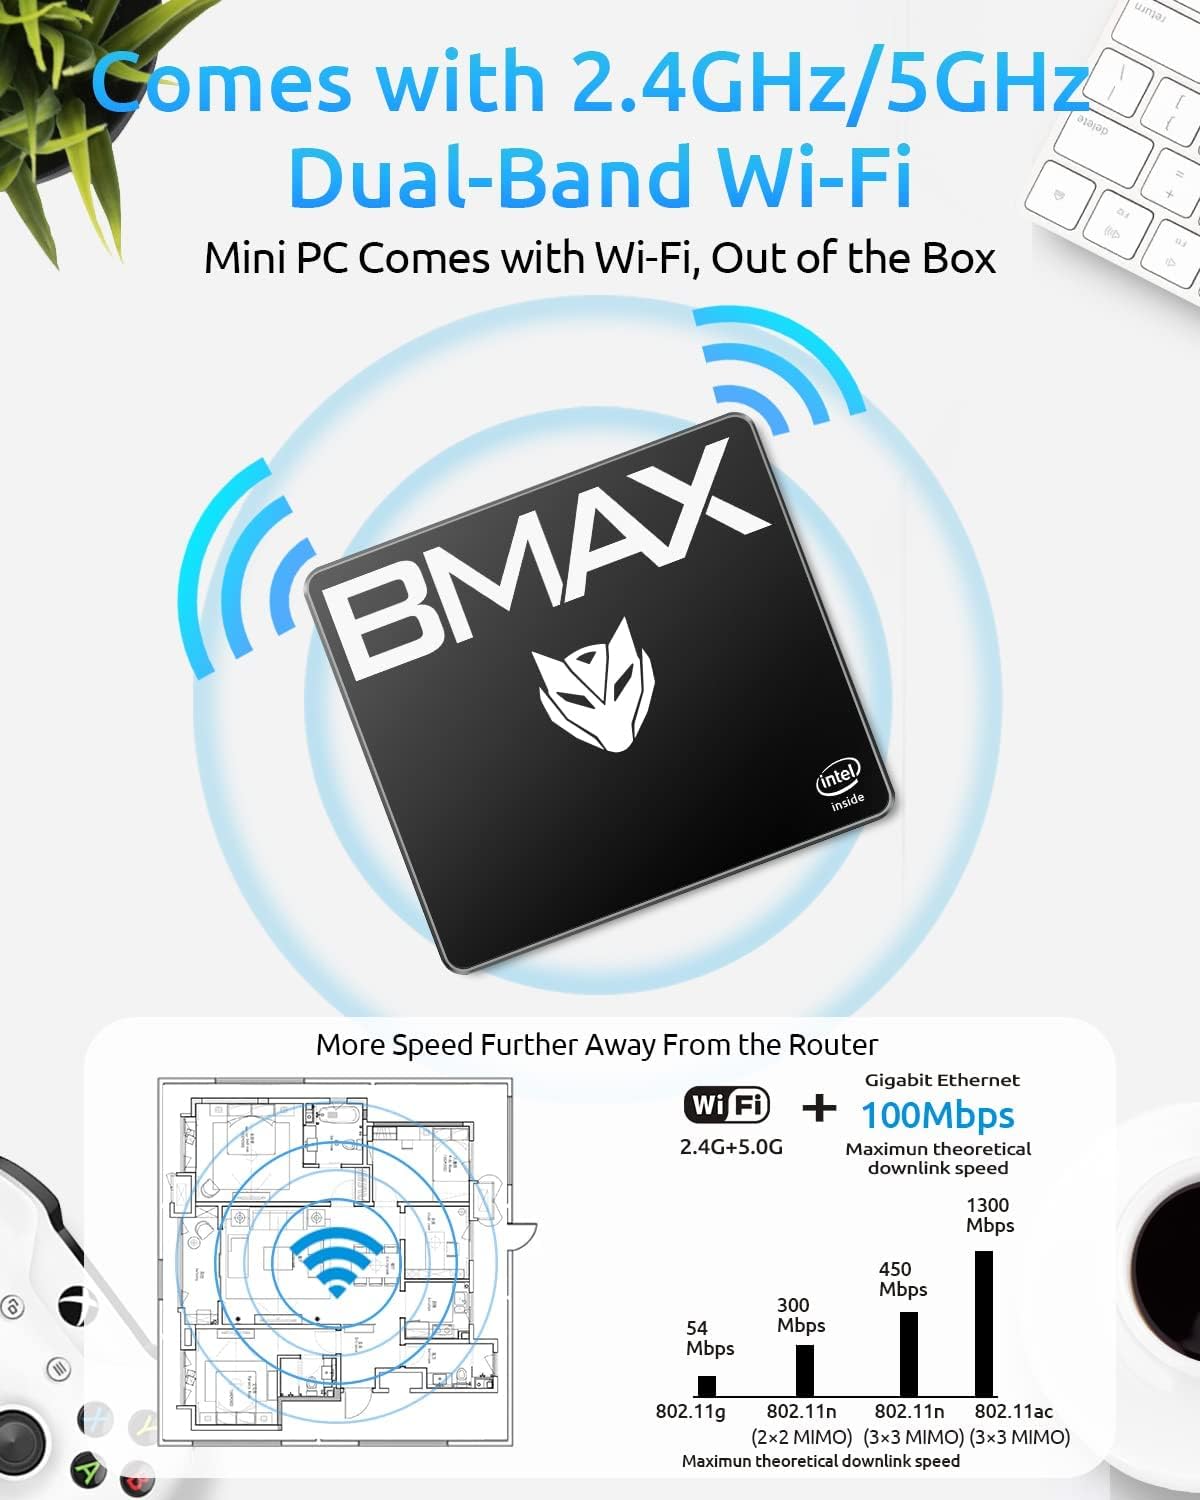
- Wi-Fi: Integrated dual-band Wi-Fi (2.4GHz and 5GHz) provides fast and reliable internet access.
- Bluetooth 4.2: Connect various Bluetooth-enabled devices such as keyboards, mice, headphones, and speakers.


Maintenance
Heat Dissipation
The Bmax Mini PC features a patented cooling design to maintain optimal operating temperatures and ensure quiet performance. To support effective heat dissipation:
- Ensure the ventilation openings on the device are not obstructed.
- Place the mini PC in a well-ventilated area.
- Avoid placing the device on soft surfaces that can block airflow.
General Care
To prolong the life of your Bmax Mini PC:
- Keep the device clean and free from dust. Use a soft, dry cloth for cleaning.
- Avoid exposing the device to extreme temperatures, direct sunlight, or high humidity.
- Do not spill liquids on the device.
- Handle the device with care to prevent physical damage.
Troubleshooting
If you encounter issues with your Bmax Mini PC, refer to the following common troubleshooting steps:
No Power
- Verify the power adapter is securely connected to both the mini PC and a functional electrical outlet.
- Ensure the power button on the front panel has been pressed.
- Test the power outlet with another device to confirm it is working.
No Display Output
- Check that the HDMI cable(s) are securely connected to both the mini PC and the monitor(s).
- Ensure your monitor(s) are powered on and set to the correct input source (e.g., HDMI 1, HDMI 2).
- Try connecting to a different monitor or using a different HDMI cable to rule out faulty equipment.
Slow Performance
- Close any unnecessary applications running in the background.
- Check for and install any pending Windows updates.
- Ensure there is sufficient free space on the primary drive. Consider expanding storage if it is nearly full.
- Run a system scan for malware or viruses.
Wi-Fi or Bluetooth Connectivity Issues
- Ensure Wi-Fi and Bluetooth are enabled in Windows settings.
- Restart the mini PC and your router/modem.
- Check for updated wireless drivers.
- Ensure the device is within range of the Wi-Fi network or Bluetooth device.
Technical Specifications
| Feature | Specification |
|---|---|
| Processor | Intel E3950 4-Core Processor, 2 GHz Celeron |
| RAM | 8 GB DDR3 |
| Internal Storage | 128 GB SSD (mSATA) |
| Expandable Storage | M.2_NVMe_2280 SSD (up to 4TB), 2.5-inch HDD, Micro SD Card (up to 512GB) |
| Graphics | Intel HD Graphics 505, 4K@30Hz Support |
| Video Output | 2x HDMI (Dual Display) |
| USB Ports | 2x USB 3.0, 2x USB 2.0 |
| Network | Gigabit Ethernet (RJ45), Dual-Band Wi-Fi (2.4G/5G) |
| Wireless | Bluetooth 4.2 |
| Operating System | Windows 10 Pro |
| Dimensions (L x W x H) | Approximately 4.9 x 4.4 x 1.7 inches |
| Weight | Approximately 1.61 pounds |
Warranty and Support
Your Bmax Mini PC Computer E3950 is covered by a 12-month warranty from the date of purchase, ensuring protection against manufacturing defects.
For technical assistance, warranty claims, or customer service inquiries, please contact Bmax support through the following channels:
- Refer to the contact information provided in your product packaging.
- Visit the official Bmax website for support resources and contact details.
Return Policy: Returns are accepted within 30 days of purchase. Please ensure the product is in its original condition and packaging for a smooth return process.
Related documentsB2


Ask a question about this manual
Ask about setup, troubleshooting, compatibility, parts, safety, or missing instructions. Manuals+ will review the question and use this page’s manual context to help answer it.