1. Introduction
This manual provides detailed instructions for the operation and maintenance of your Soundmaster DAB280SW Portable DAB+ and FM RDS Digital Radio. The DAB280SW is a versatile portable radio featuring DAB+ and FM RDS reception, a headphone jack, and a practical carrying handle. It offers excellent sound quality and user-friendly controls, including preset station memory and alarm functions.
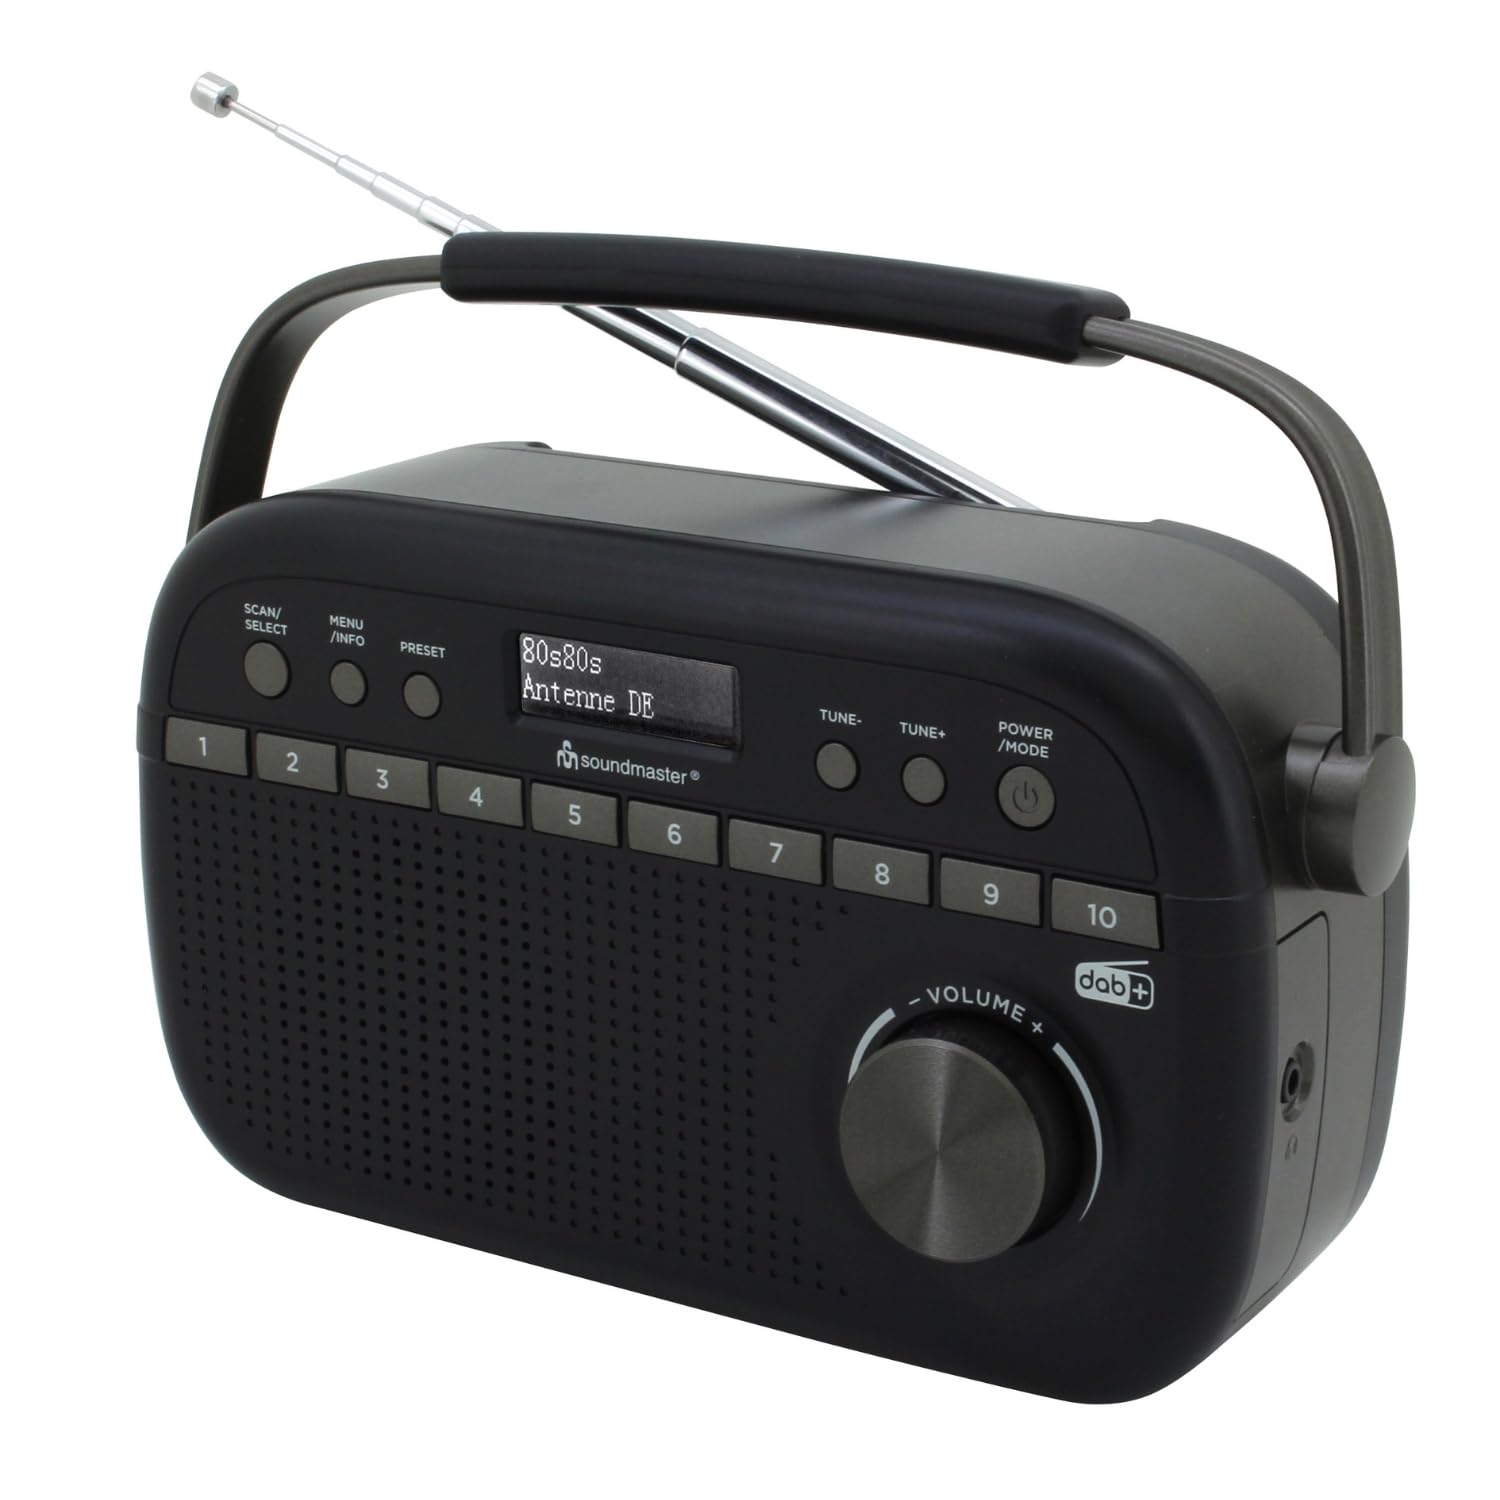
Image 1.1: The Soundmaster DAB280SW Portable DAB+ and FM RDS Digital Radio, showcasing its compact design and carrying handle.
2. Safety Information
- Read all instructions carefully before using the device.
- Do not expose the unit to rain or moisture to prevent fire or electric shock.
- Ensure proper ventilation around the unit. Do not block ventilation openings.
- Use only the specified power adapter or batteries.
- Do not open the casing. Refer all servicing to qualified personnel.
- Keep the unit away from direct sunlight, heat sources, and strong magnetic fields.
- Dispose of batteries responsibly according to local regulations.
3. Package Contents
Please check that all items are present:
- Soundmaster DAB280SW Portable Radio
- AC Power Adapter (if included)
- User Manual
4. Product Features
- DAB+ Digital Radio Tuner
- FM - RDS Radio Tuner
- 10 preset station memory buttons for quick access
- Total of 40 presets available (20 DAB+, 20 FM)
- Dual alarm times
- Sleep and Snooze functions
- 3.5mm Headphone Jack
- Portable design with carrying handle
- Battery or AC powered operation
5. Controls and Display
Familiarize yourself with the controls on your radio:
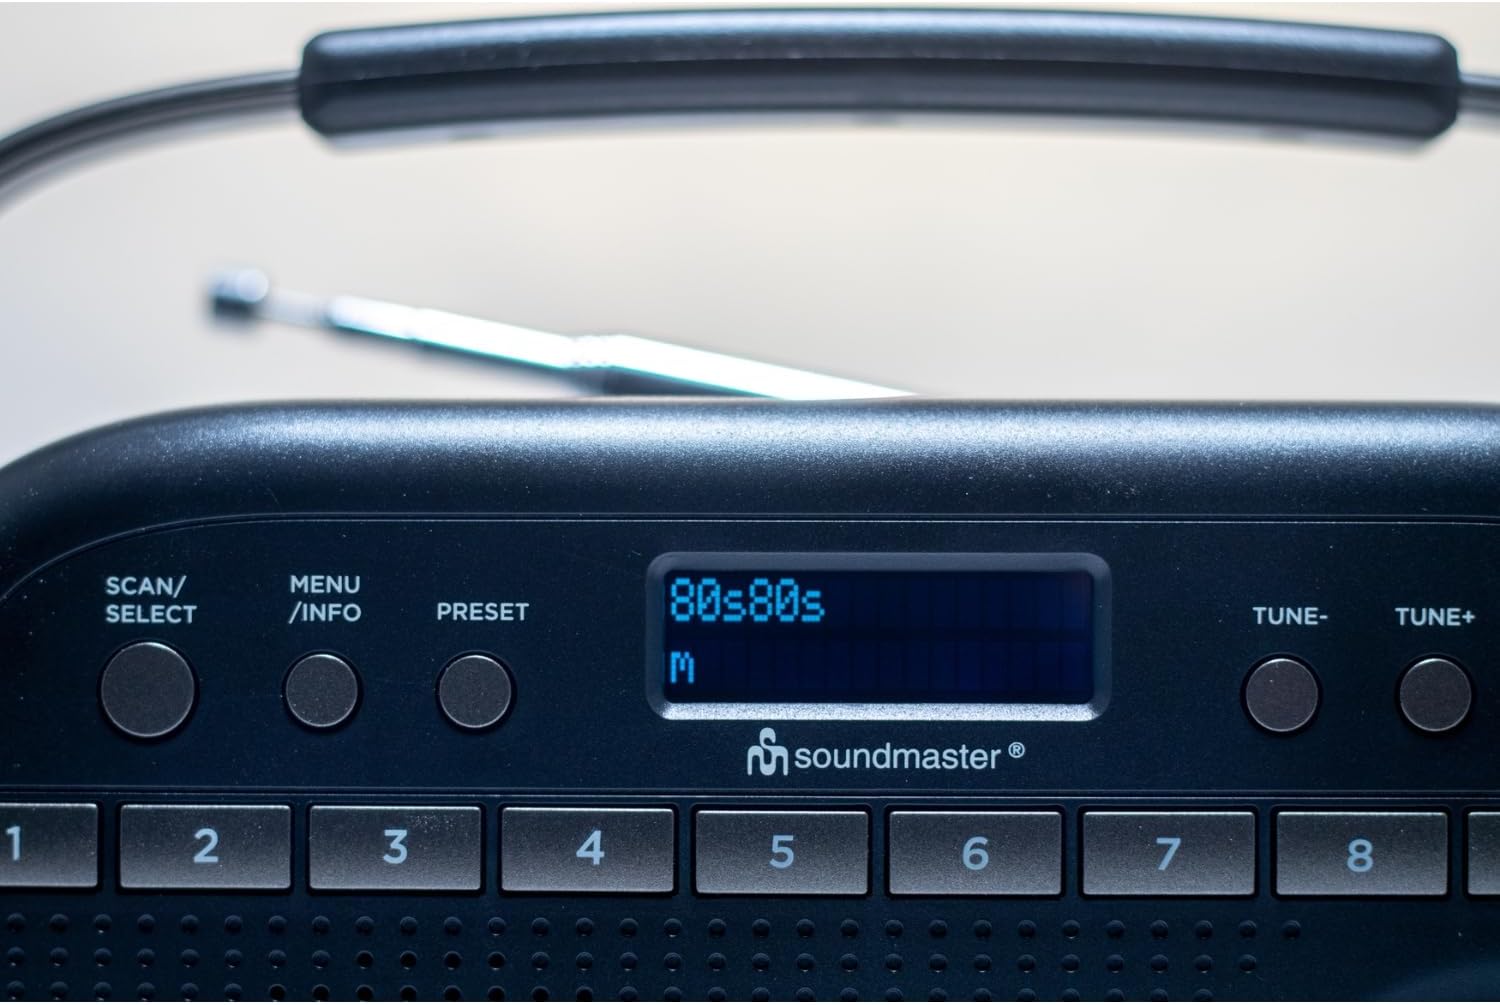
Image 5.1: Top view of the radio showing the display, SCAN/SELECT, MENU/INFO, PRESET buttons, and preset buttons 1-8.
- POWER/MODE Button: Press to turn the unit on or off. Press repeatedly to switch between DAB+ and FM modes.
- TUNE- / TUNE+ Buttons: Used to manually tune frequencies in FM mode or navigate through DAB+ stations/menu options.
- SCAN/SELECT Button: Initiates a scan for stations in DAB+ or FM mode. Also confirms selections in menu.
- MENU/INFO Button: Accesses the menu settings. Press repeatedly to cycle through information display (e.g., program type, signal strength).
- PRESET Button: Used to save and recall favorite stations.
- Preset Buttons (1-10): Direct access buttons for your stored favorite stations.
- VOLUME Knob: Rotate to adjust the audio output level.
- Display: Shows station information, time, menu options, and other relevant data.

Image 5.2: Close-up of the radio display showing a 'Suchlauf...' (scanning) message, indicating station search in progress.
6. Setup
6.1 Powering the Unit
The DAB280SW can be powered by either the included AC power adapter or batteries.
- AC Power: Connect the AC power adapter to the DC IN jack on the rear of the unit and plug the other end into a standard wall outlet.
- Battery Power: Open the battery compartment on the rear of the unit. Insert the required number of batteries (type not specified, typically C or AA) ensuring correct polarity (+/-). Close the battery compartment securely.

Image 6.1: Rear view of the radio, illustrating the battery compartment cover and the AC power input socket.
6.2 Antenna Adjustment
For optimal reception, fully extend the telescopic antenna located on the rear of the unit. Adjust its position and angle to achieve the best signal quality for both DAB+ and FM broadcasts.
7. Operating Instructions
7.1 Power On/Off
Press the POWER/MODE button to turn the radio on. Press and hold the POWER/MODE button to turn the radio off.
7.2 Selecting DAB+ or FM Mode
With the radio powered on, press the POWER/MODE button repeatedly to cycle between DAB+ and FM radio modes. The current mode will be displayed on the screen.
7.3 DAB+ Radio Operation
- First Time Setup: When you first power on the radio in DAB+ mode, it will automatically perform a full scan for available stations. This may take a few minutes.
- Manual Scan: To initiate a full scan at any time, press the SCAN/SELECT button.
- Selecting Stations: After a scan, use the TUNE- or TUNE+ buttons to scroll through the list of available DAB+ stations. Press SCAN/SELECT to confirm your selection.

Image 7.1: The official DAB+ digital radio logo, indicating support for digital audio broadcasting.
7.4 FM Radio Operation
- Auto Scan: In FM mode, press the SCAN/SELECT button to automatically scan for and stop at the next available strong station.
- Manual Tuning: Use the TUNE- or TUNE+ buttons to manually adjust the frequency in small increments. Press and hold these buttons for faster tuning.
7.5 Saving and Recalling Presets
The radio allows you to store up to 20 DAB+ and 20 FM stations as presets.
- To Save a Preset: Tune to the desired station. Press and hold the PRESET button until 'Preset Store' appears on the display. Use the TUNE- or TUNE+ buttons to select a preset number (1-10 for direct access, or 11-20 via menu). Press SCAN/SELECT to confirm. Alternatively, for direct access presets (1-10), press and hold the desired numbered preset button.
- To Recall a Preset: Briefly press the PRESET button, then use TUNE- or TUNE+ to select the desired preset number and press SCAN/SELECT. For direct access presets (1-10), simply press the corresponding numbered preset button.
7.6 Alarm, Sleep, and Snooze Functions
The DAB280SW includes dual alarm times, a sleep timer, and a snooze function. Refer to the detailed menu options for setting these features:
- Setting Alarms: Press the MENU/INFO button to enter the menu. Navigate to the 'Alarm' option using TUNE- or TUNE+ and press SCAN/SELECT. Follow the on-screen prompts to set Alarm 1 and Alarm 2, including time, source (DAB/FM/Buzzer), and duration.
- Sleep Timer: In the menu, select 'Sleep'. Choose a duration (e.g., 15, 30, 60 minutes) after which the radio will automatically turn off.
- Snooze: When an alarm sounds, press any button (except POWER/MODE) to activate the snooze function, which will temporarily silence the alarm for a short period.
7.7 Headphone Use
To listen privately, plug 3.5mm stereo headphones into the headphone jack located on the side of the unit. The internal speaker will automatically mute.
8. Maintenance
- Cleaning: Wipe the unit with a soft, dry cloth. Do not use abrasive cleaners or solvents.
- Battery Replacement: If using batteries, replace them when the low battery indicator appears on the display or when performance degrades. Ensure to use fresh batteries of the correct type and dispose of old batteries properly.
- Storage: If storing the radio for an extended period, remove the batteries to prevent leakage.
9. Troubleshooting
- No Power: Check if the AC adapter is securely connected or if batteries are inserted correctly and are not depleted.
- Poor Reception: Fully extend and adjust the telescopic antenna. Try moving the radio to a different location, away from other electronic devices that may cause interference. Perform a full scan for stations.
- No Sound: Check the volume level. Ensure headphones are not plugged in if you intend to use the speaker.
- DAB+ Stations Missing: Perform a full DAB+ scan. DAB+ coverage may vary by location; check local availability.
- Display Not Working: Try turning the unit off and on again. If the issue persists, contact customer support.
10. Specifications
| Feature | Specification |
|---|---|
| Model | DAB280SW |
| Tuner Technology | DAB+, FM RDS |
| Radio Bands Supported | FM (up to 108 MHz) |
| Preset Stations | 40 (20 DAB+, 20 FM) |
| Audio Output | 3.5mm Headphone Jack |
| Power Source | AC Power Adapter, Battery Powered |
| Product Dimensions (L x W x H) | 25 x 6 x 12 cm |
| Item Weight | 0.6 Kilograms |
| Special Features | Portable, Dual Alarm, Sleep/Snooze |

Image 10.1: The Soundmaster DAB280SW radio with its approximate dimensions (25cm length, 6cm width, 12cm height) indicated.
11. Warranty and Support
Your Soundmaster DAB280SW radio comes with a standard manufacturer's warranty. Please refer to the warranty card included in your package for specific terms and conditions. For technical support, troubleshooting assistance, or warranty claims, please contact your retailer or the Soundmaster customer service department. Contact information can typically be found on the manufacturer's website or on the product packaging.


