
1. Introduction
This manual provides detailed instructions for the installation, operation, and maintenance of your Generico Dual Lens Vehicle BlackBox DVR Super HD 1296P. Please read this manual thoroughly before using the device to ensure proper functionality and safety. This device is designed to record video footage while driving, offering features such as loop recording, G-sensor protection, and parking monitoring.
2. Product Overview
2.1 Package Contents
- Dual Lens Vehicle BlackBox DVR
- Car Charger
- Car Mount (Windshield Mount)
- Charging Cable
- Cable Clip
2.2 Device Layout
Familiarize yourself with the various parts and controls of your DVR unit as illustrated below:

Image 1: Front and side view of the DVR unit with labels for its components. Key features include the 4.0 inch IPS display, USB power interface, reversing camera interface, Mode button, Up button, OK and Power on/off button, Down button, Menu button, TF card slot, and Speaker. The main camera lens is also visible with '170° Wide Angle Lens' and '12.0 Mega Pixels F1.8' markings.
- 4.0 inch IPS Display: Main screen for viewing recordings and navigating menus.
- USB Power Interface: Connects to the car charger for power.
- Reversing Camera Interface: For connecting an optional rear camera.
- Mode Button: Switches between video, photo, and playback modes.
- Up Button: Navigates up in menus or scrolls through options.
- OK / Power On/Off Button: Confirms selections, starts/stops recording, or powers the device on/off.
- Down Button: Navigates down in menus or scrolls through options.
- Menu Button: Accesses the device settings.
- TF Card Slot: Insert a MicroSD (TF) card for storage.
- Speaker: For audio playback.
- Reset Button: Resets the device to factory settings (use a thin object to press).
- Main Camera Lens: 170-degree wide-angle lens for front-view recording.
3. Setup
3.1 Installing the Memory Card
The DVR requires a MicroSD (TF) card for storing recordings. Ensure the card is formatted before first use.

Image 2: Close-up view of the DVR unit highlighting the TF card slot. The device supports 8-32GB extended memory cards.
- Locate the TF card slot on the side of the DVR unit.
- Insert a compatible MicroSD card (8-32GB recommended) into the slot until it clicks into place.
- To remove, gently push the card in until it clicks, then release, and it will eject.
3.2 Mounting the DVR
Use the provided windshield mount to secure the DVR in your vehicle.
- Clean the area on your windshield where you intend to mount the DVR.
- Attach the suction cup mount to the windshield, ensuring a firm grip.
- Slide the DVR unit onto the mount until it locks securely.
- Adjust the angle of the camera to ensure a clear view of the road ahead.
3.3 Power Connection
Connect the DVR to your vehicle's power supply using the car charger.
- Plug the car charger into your vehicle's cigarette lighter socket.
- Connect the charging cable from the car charger to the USB power interface on the DVR.
- The DVR will typically power on automatically when the vehicle starts and power off when the vehicle is turned off.
4. Operating Instructions
4.1 Basic Operation
- Power On/Off: Press and hold the OK/Power button to manually turn the device on or off.
- Recording: Once powered on, the DVR will typically start recording automatically. A red indicator or icon on the screen will confirm recording is active. Press the OK button to manually start or stop recording.
- Mode Switching: Press the Mode button to switch between video recording, photo mode, and playback mode.
4.2 Loop Recording
This feature ensures continuous recording by overwriting the oldest unlocked files when the memory card is full.
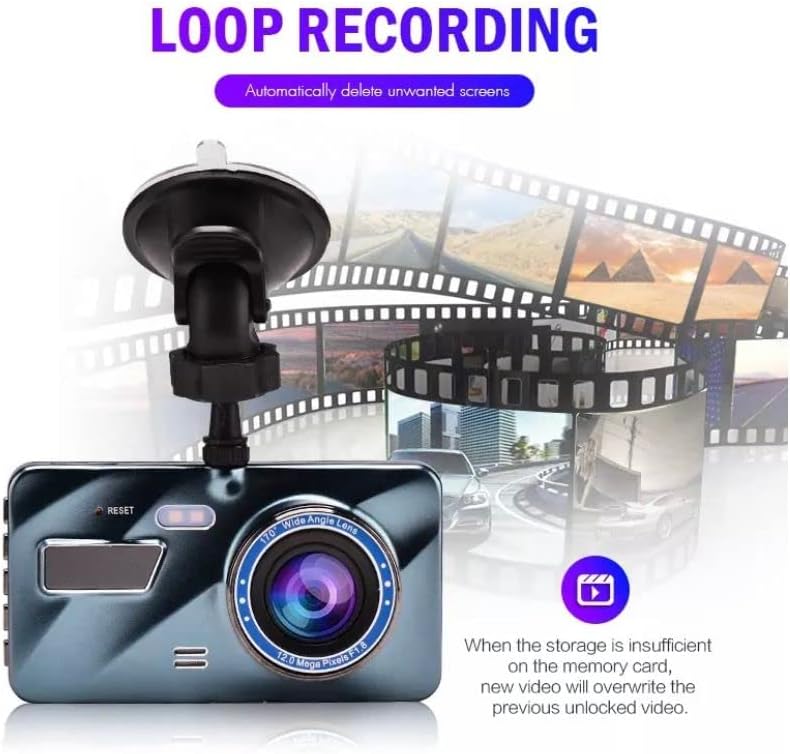
Image 3: Visual representation of the loop recording feature. When the storage on the memory card is insufficient, new video will automatically overwrite the previous unlocked video segments, ensuring continuous recording without manual intervention.
- In the menu settings, you can adjust the duration of each video segment (e.g., 1, 3, or 5 minutes).
- When the memory card reaches its capacity, the DVR will automatically delete the oldest unlocked video files to make space for new recordings.
4.3 G-Sensor (Gravity Sensor)
The G-Sensor detects sudden movements or impacts, such as collisions, and automatically locks the current video file to prevent it from being overwritten by loop recording.
- The sensitivity of the G-Sensor can be adjusted in the settings menu (Low, Medium, High, Off).
- A higher sensitivity setting will cause the G-Sensor to trigger more easily.
4.4 Parking Monitoring
This feature allows the DVR to monitor your vehicle for motion or impact while parked, even when the engine is off.
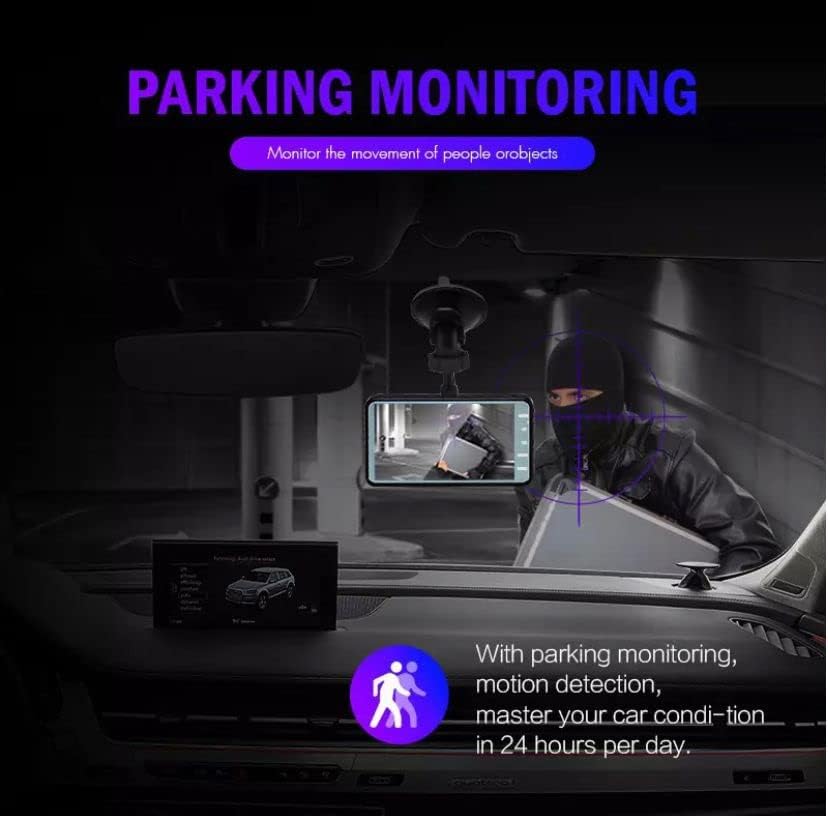
Image 4: Illustration of the parking monitoring feature. The DVR can detect motion or impacts around the vehicle and automatically record, helping to monitor your car's condition 24 hours a day.
- When enabled, if the DVR detects a vibration or motion while the vehicle is parked, it will automatically power on and record a short video segment.
- Ensure the DVR has a continuous power supply (e.g., hardwired kit, not included) for this feature to function effectively over extended periods.
4.5 Night Vision Effect
The DVR is equipped with technology to enhance video clarity in low-light conditions, making recordings visible even at night or in rainy weather.

Image 5: Example of the night vision effect. The DVR can capture clear video footage even in rainy conditions or during nighttime with low ambient light.
4.6 170° Wide Angle Lens
The camera features a 170-degree wide-angle lens, providing a broad field of view to capture more of the road.

Image 6: Diagram showing the expansive 170-degree wide-angle coverage of the lens, capable of monitoring up to five lanes of traffic simultaneously.
4.7 WDR (Wide Dynamic Range)
WDR technology helps the camera capture balanced video in challenging lighting conditions, such as strong backlighting or sudden changes from dark to bright areas.

Image 7: Comparison demonstrating the effect of Wide Dynamic Range (WDR). The WDR setting produces a more delicate and clear picture by balancing exposure in scenes with both very bright and very dark areas.
5. Menu Settings
To access and adjust settings, press the Menu button. Use the Up and Down buttons to navigate through options and the OK button to confirm selections.
- Video Resolution: Adjust recording quality (e.g., 1296P, 1080P).
- Loop Recording: Set video segment length (e.g., 1/3/5 minutes).
- G-Sensor Sensitivity: Adjust sensitivity for impact detection.
- Parking Monitor: Enable or disable parking surveillance.
- Date/Time: Set the correct date and time for accurate timestamps on recordings.
- Language: Select your preferred language.
- Format: Format the MicroSD card (this will erase all data).
6. Maintenance
- Cleaning: Use a soft, dry cloth to clean the camera lens and screen. Avoid abrasive cleaners or solvents.
- Storage: If not using the DVR for an extended period, store it in a cool, dry place away from direct sunlight.
- Memory Card: Regularly format your MicroSD card (e.g., once a month) to maintain optimal performance and prevent data corruption. Back up important files before formatting.
7. Troubleshooting
| Problem | Possible Cause | Solution |
|---|---|---|
| DVR does not power on. | No power supply; faulty car charger/cable. | Check car charger connection; try a different USB cable or car charger; ensure vehicle's cigarette lighter socket is functional. |
| Recording stops unexpectedly. | Memory card full; faulty memory card; G-Sensor triggered. | Format the memory card; replace the memory card; adjust G-Sensor sensitivity. |
| Video footage is blurry. | Lens is dirty; protective film still on lens. | Clean the lens with a soft cloth; remove any protective film. |
| Buttons are unresponsive. | Device frozen. | Press the Reset button using a thin object. |
| Date/Time is incorrect. | Settings not saved or battery depleted. | Set the date and time in the menu settings and ensure the device is powered on for a period to charge the internal battery. |
8. Specifications
| Feature | Detail |
|---|---|
| Model Name | Super HD 1296P |
| Video Capture Resolution | 1296p |
| Screen Size | 4 inches |
| Field Of View | 170 degrees |
| Special Features | G-Sensor, Loop Recording, Parking Monitoring, Night Vision, WDR |
| Mounting Type | Windshield Mount |
| Control Method | Touch (referring to screen interaction, though physical buttons are present) |
| Item Dimensions (D x W x H) | 1.2" x 4.2" x 2.2" |
| Item Weight | 4.16 ounces |
| Compatible Memory Card | MicroSD (TF) card, 8-32GB |
9. Warranty and Support
This product comes with a standard manufacturer's warranty. For specific warranty details, please refer to the documentation provided at the time of purchase or contact your retailer. For technical support or inquiries, please reach out to the customer service department of your purchase point.