
1. Introduction
This manual provides essential information for setting up, operating, maintaining, and troubleshooting your DreamQuest Mini PC. Please read this manual thoroughly before using the device to ensure proper functionality and longevity.
Package Contents
Verify that all items are present in the package:
- DreamQuest Mini PC
- HDMI Cable (80CM)
- Power Adapter (12V/3A 36W)
- Wall-Mounted Bracket
2. Product Overview
The DreamQuest Mini PC is a compact desktop computer designed for various applications, from business and home office tasks to casual entertainment. It features an Intel Celeron J4125 processor, 8GB RAM, and a 256GB SSD, running Windows 11 Pro.
Key Features
- Processor: Intel Celeron J4125 (2GHz to 2.7GHz) Quad Core
- Operating System: Pre-installed 64-bit Windows 11 Pro
- Memory: 8GB DDR4 RAM (2400MHz)
- Storage: 256GB M.2 2242 SSD (expandable with 2.5-inch HDD/SSD)
- Graphics: Intel Graphics 600, supports 4K HD (3840x2160) at 60Hz
- Connectivity: 2.4G+5.0G Dual Band Wi-Fi, Bluetooth 4.2, Gigabit Ethernet
- Ports: 4x USB 3.0, 1x HDMI 2.0, 1x VGA, 1x Micro SD Card slot, 1x 3.5mm Audio jack, 1x RJ45 Ethernet port
Physical Dimensions and Ports
The Mini PC is designed for a small footprint, measuring approximately 5.47 x 1.54 x 5.47 inches and weighing 2.14 pounds.
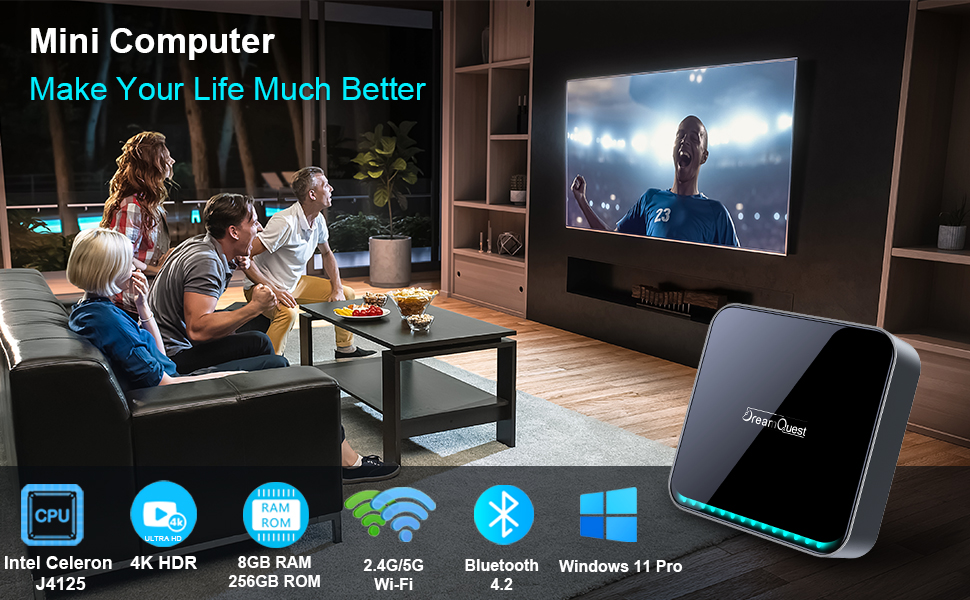
Image 2.1: Front and rear view of the DreamQuest Mini PC with all ports labeled for easy identification.
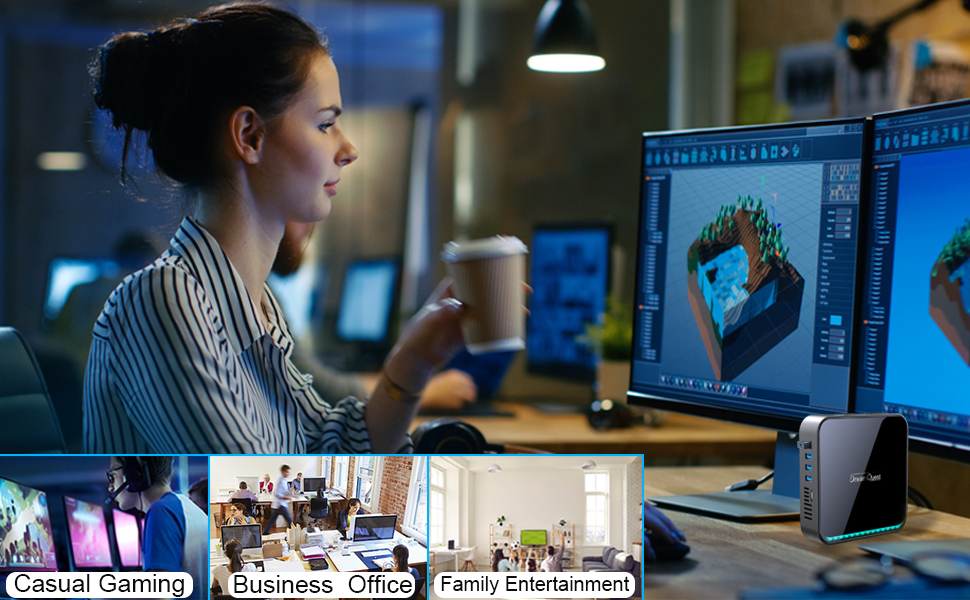
Image 2.2: Size comparison of the DreamQuest Mini PC with a typical smartphone, highlighting its compact design.
Internal Components
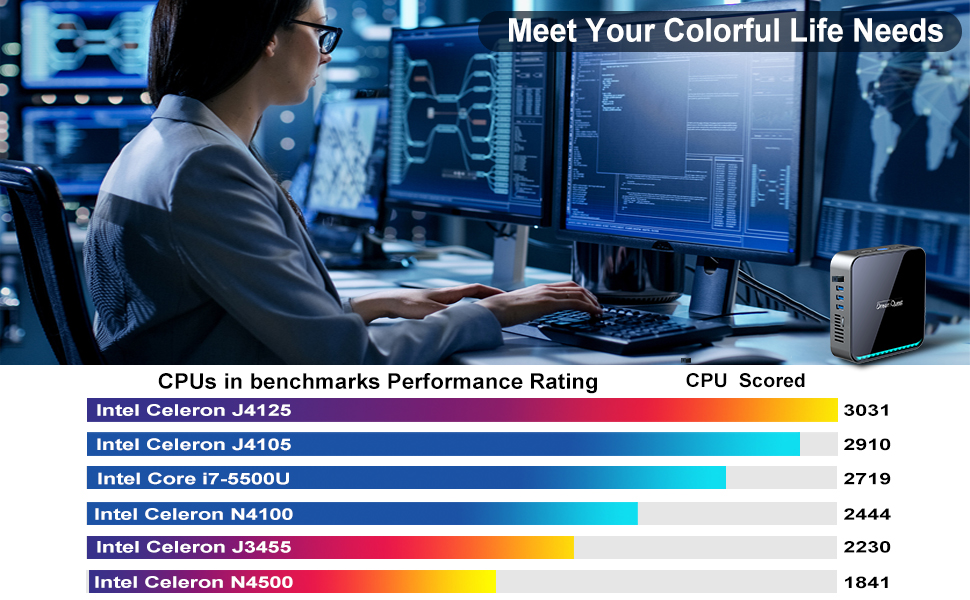
Image 2.3: Exploded view illustrating the internal layout and key components of the Mini PC.
3. Setup Instructions
Follow these steps to set up your DreamQuest Mini PC:
- Connect to Display: Connect your monitor or TV to the Mini PC using the provided HDMI cable. Alternatively, use a VGA cable if your display supports it. The device supports dual display output.
- Connect Peripherals: Plug in your keyboard, mouse, and any other USB devices into the available USB 3.0 ports.
- Connect to Network: For a wired connection, connect an Ethernet cable to the RJ45 port. For wireless, ensure your Wi-Fi network is available after powering on.
- Connect Power: Plug the power adapter into the DC 12V 3A port on the Mini PC, then plug the adapter into a power outlet.
- Power On: Press the power button located on the front of the Mini PC. The power indicator light will illuminate.
- Initial Setup: Follow the on-screen instructions to complete the Windows 11 Pro initial setup, including language, region, and network settings.
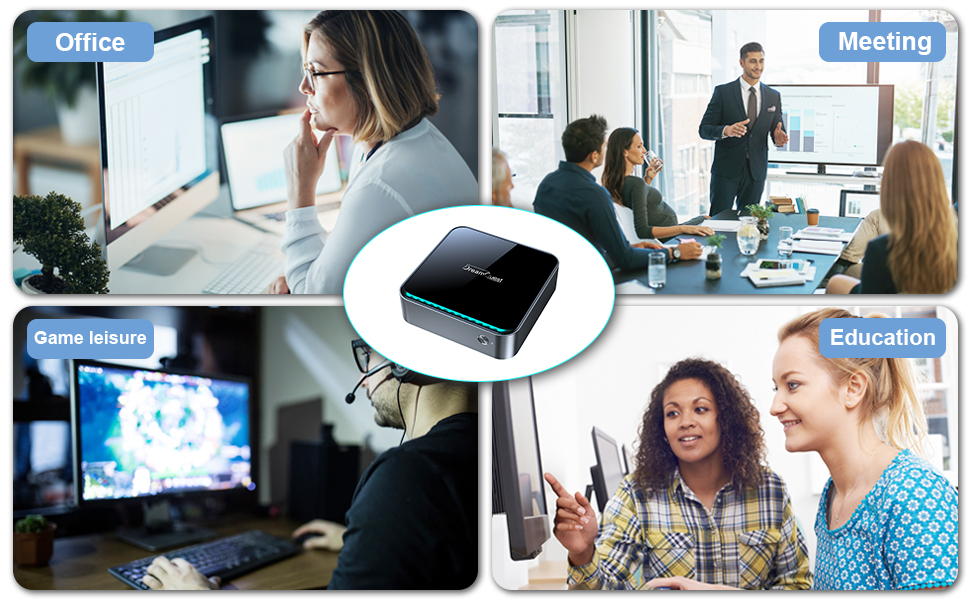
Image 3.1: The Mini PC connected to two displays via HDMI and VGA, illustrating its multi-monitor support.
4. Operating Instructions
Your DreamQuest Mini PC comes with Windows 11 Pro pre-installed, offering a familiar and user-friendly operating environment.
Basic Operation
- Power On/Off: Press the power button to turn the PC on. To turn off, use the Windows Start menu to select 'Shut down' or 'Restart'. A short press on the power button will put the PC to sleep.
- Network Connectivity: The Mini PC supports both wired Gigabit Ethernet and 2.4G/5.0G dual-band Wi-Fi. To connect to Wi-Fi, click the network icon in the taskbar, select your network, and enter the password.
- Bluetooth Devices: To connect Bluetooth devices (e.g., headphones, speakers), go to Windows Settings > Bluetooth & devices, and follow the pairing instructions.
- Storage Expansion: The Mini PC supports adding a 2.5-inch HDD or SSD via a SATA 3.0 interface for additional storage. Ensure the M.2 2242 SSD is correctly seated if replacing.
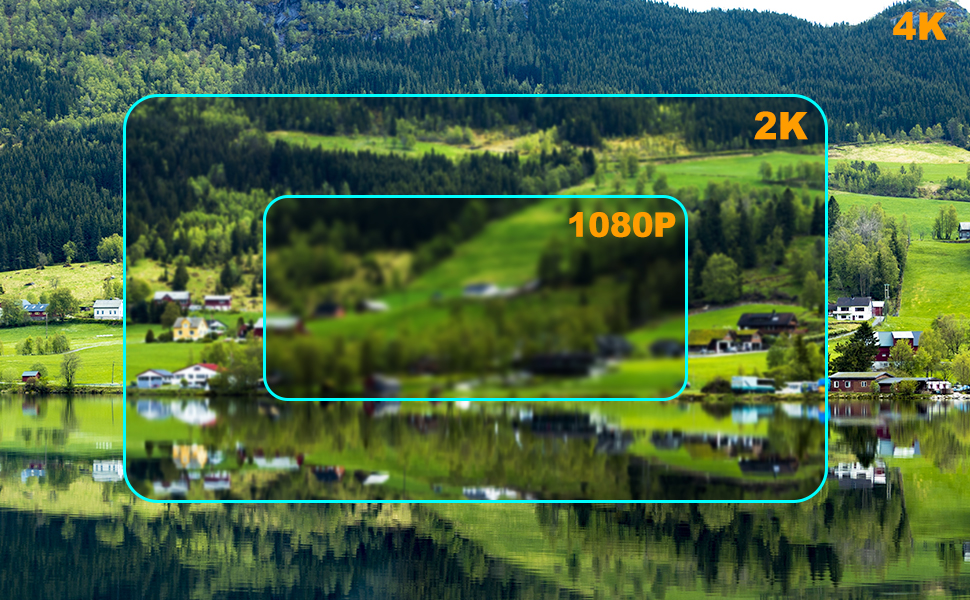
Image 4.1: The Mini PC's network capabilities, including Gigabit Ethernet and dual-band Wi-Fi.
Video Playback and Display
The integrated Intel Graphics 600 supports 4K HD (3840x2160) resolution at 60Hz, providing a clear visual experience for media consumption and productivity.

Image 4.2: The Mini PC in a typical work environment, demonstrating its capability for multi-tasking and display output.
Video 4.1: An overview of the DreamQuest Mini PC, showcasing its design, ports, and multi-display capabilities.
5. Maintenance
Regular maintenance helps ensure the optimal performance and longevity of your Mini PC.
- Cleaning: Use a soft, dry cloth to clean the exterior of the Mini PC. For vents, use compressed air to remove dust buildup. Do not use liquid cleaners directly on the device.
- Software Updates: Regularly check for and install Windows updates to ensure system stability and security. Go to Settings > Windows Update.
- Driver Updates: Ensure all device drivers are up to date. Windows Update typically handles this, but you can manually check the device manager if issues arise.
- Ventilation: Ensure the Mini PC is placed in a well-ventilated area. Do not block the air vents to prevent overheating.
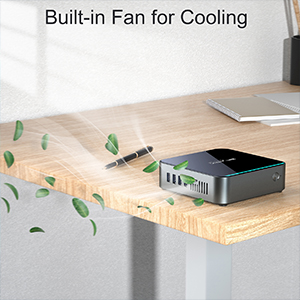
Image 5.1: Illustration of the Mini PC's built-in cooling fan and ventilation system.
6. Troubleshooting
If you encounter issues with your DreamQuest Mini PC, refer to the following common problems and solutions:
| Problem | Possible Solution |
|---|---|
| No power/PC does not turn on |
|
| No display on monitor |
|
| Wi-Fi or Bluetooth not working |
|
| Slow performance |
|
7. Specifications
Detailed technical specifications for the DreamQuest Mini PC-2023:
| Feature | Specification |
|---|---|
| Brand | DreamQuest |
| Model Name | 2023-DreamQuest Mini PC |
| Processor | Intel Celeron J4125 (2.7 GHz) |
| RAM | 8 GB DDR4 |
| Hard Drive | 256 GB SSD (M.2 2242) |
| Graphics Card | Integrated Intel Graphics 600 |
| Max Screen Resolution | 3840x2160 Pixels (4K@60Hz) |
| Operating System | Windows 11 Pro |
| Wireless Type | 2.4G+5.0G Wi-Fi, Bluetooth 4.2 |
| USB Ports | 4x USB 3.0 |
| Other Ports | HDMI 2.0, VGA, RJ45 Ethernet, Micro SD Card, 3.5mm Audio Jack |
| Item Weight | 2.14 pounds |
| Product Dimensions | 5.47 x 1.54 x 5.47 inches |
8. Warranty and Support
DreamQuest offers comprehensive support for your Mini PC.
- Warranty: One Year Free Warranty.
- Technical Support: Lifetime Technical Support is provided.
- Contact: For any questions or assistance, please contact us via Amazon's Message service.
For more information and products, visit the official DreamQuest Store: DreamQuest Store on Amazon

