1. Introduction
This manual provides detailed instructions for the setup, operation, and maintenance of your Aivuidbs RG353V Retro Handheld Game Console. The RG353V features a dual operating system, supporting both Android 11 and a Linux 64-bit system compatible with 32-bit applications, offering a versatile gaming and entertainment experience. It includes support for 5G WiFi, Bluetooth 4.2, HDMI output, and Moonlight streaming for enhanced connectivity and gameplay options.
2. Package Contents
Verify that all items listed below are present in your package:
- 1x Aivuidbs RG353V Handheld Game Console
- 1x Giftbox
- 1x Type-C Charging Cable
- 1x Screen Protector
- 1x User Manual
- 1x 64GB TF Card (Pre-installed with games)
- 1x 16GB TF Card (Operating System)
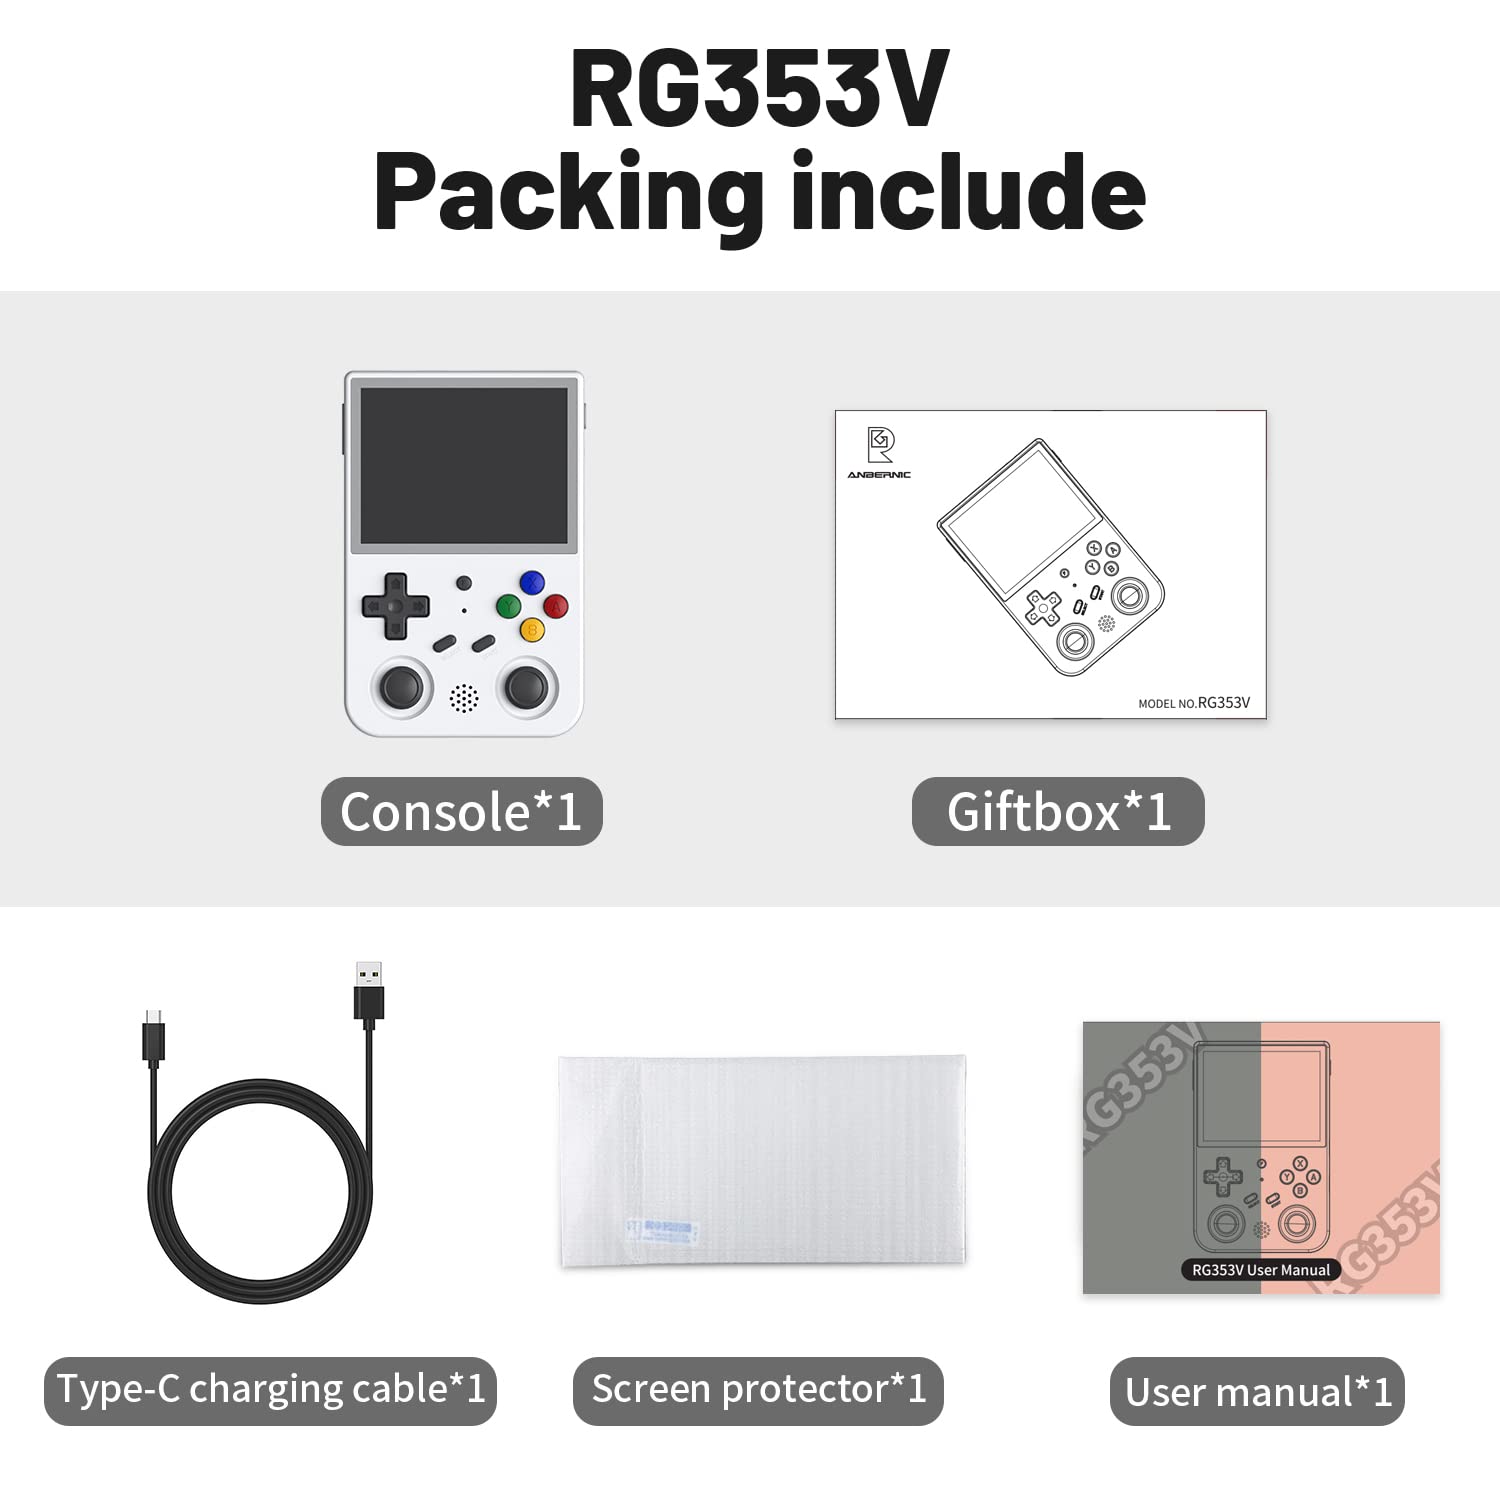
Image: Aivuidbs RG353V package contents, showing the console, charging cable, screen protector, and two TF cards (16GB and 64GB).
3. Device Overview
Familiarize yourself with the physical components of your RG353V console.
3.1 Front View
- 3.5-inch IPS Touch Screen: Main display for games and Android interface.
- D-Pad: Directional control for navigation and gameplay.
- Action Buttons (A, B, X, Y): Primary input for games.
- Analog Sticks: Dual joysticks for precise control in compatible games.
- SELECT/START Buttons: Game and system functions.
- Speaker: Audio output.

Image: Front view of the Aivuidbs RG353V, highlighting the screen, D-pad, action buttons, and analog sticks.
3.2 Top/Bottom/Side Views
- L1/L2/R1/R2 Shoulder Buttons: Additional game controls.
- HDMI Output: Connect to an external display.
- USB-C Ports: For charging and data transfer.
- 3.5mm Headphone Jack: For audio output.
- TF Card Slots: Two slots for operating system and game storage.
- Power Button: To turn the device on/off and access system menus.
- Reset Button: For system reset.

Image: Side view of the Aivuidbs RG353V, detailing the shoulder buttons, HDMI port, USB-C ports, and headphone jack.
4. Setup
4.1 Initial Power On
- Ensure the 16GB TF card (containing the operating system) is inserted into the designated OS slot and the 64GB TF card (with pre-installed games) is in the game storage slot.
- Press and hold the Power Button until the device screen illuminates.
- The device will boot into the default operating system.
4.2 OS Selection (Android / Linux)
The RG353V supports dual boot functionality. To switch between Android and Linux:
- While the device is on, press and hold the F key (Function button) and then press the Reset button.
- The device will restart and present an option to select your desired operating system.
- Use the D-Pad to navigate and the A button to confirm your selection.
4.3 Network Connection (WiFi & Bluetooth)
The RG353V supports 2.4G/5G WiFi and Bluetooth 4.2 for online features and accessory connectivity.
- WiFi: Access the system settings (in Android OS, use the touchscreen) to connect to a wireless network. This enables online fighting, streaming, and content downloads.
- Bluetooth: In system settings, enable Bluetooth to pair with compatible devices such as external controllers or headphones.
5. Operating the Console
5.1 Navigating the Interface
Use the D-Pad and action buttons (A, B, X, Y) to navigate through menus and select options. In Android OS, the 3.5-inch IPS screen supports multi-touch for direct interaction.
5.2 Playing Games
The 64GB TF card comes pre-installed with 4452 games across various formats. Navigate to the game selection menu in your chosen OS to browse and launch games.
5.3 Connecting to External Displays (HDMI)
Connect the RG353V to a larger screen using an HDMI cable for an enhanced gaming experience.
- Connect one end of an HDMI cable to the RG353V's HDMI port.
- Connect the other end to an HDMI input on your television or monitor.
- Select the corresponding HDMI input on your external display.

Image: The RG353V connected to an external monitor, demonstrating its use as a wired gamepad.
5.4 Moonlight Streaming
The RG353V supports Moonlight streaming, allowing you to play PC games on the handheld device. Ensure your PC is set up for Moonlight streaming and both devices are on the same network.

Image: The RG353V displaying a game streamed via Moonlight from a PC.
6. Maintenance
6.1 Battery Charging
The device is equipped with a 3200 mAh Li-polymer battery, providing approximately 5-6 hours of usage. To charge:
- Connect the provided Type-C charging cable to the console's USB-C charging port.
- Connect the other end to a compatible USB power adapter (not included).
- A full charge typically takes 2-3 hours.
6.2 Cleaning
Use a soft, dry cloth to clean the console's exterior. For the screen, use a microfiber cloth specifically designed for electronics. Avoid using harsh chemicals or abrasive materials.
7. Troubleshooting
| Issue | Possible Cause | Solution |
|---|---|---|
| Device does not power on. | Low battery; improperly inserted TF card. | Charge the device for at least 30 minutes. Ensure the OS TF card is correctly inserted. |
| Cannot switch OS. | Incorrect button combination. | Press and hold the F key, then press the Reset button. |
| Games not loading or missing. | Game TF card not inserted or corrupted. | Ensure the game TF card is properly inserted. If issues persist, the card may be corrupted and require re-imaging. |
| Bluetooth controller not connecting. | Controller not in pairing mode; compatibility issue. | Put the Bluetooth controller into pairing mode. Check device settings for compatibility. |
8. Specifications
| Feature | Detail |
|---|---|
| Model | RG353V |
| Operating System | Dual OS: Android 11, Linux 64-bit (compatible with 32-bit applications) |
| Processor | RK3566 Quad-core 64-bit Cortex-A55, up to 1.8Ghz |
| RAM | LPDDR4 2GB |
| Display | 3.5-inch IPS full viewing angle, OCA full-fit, 640*480 resolution, Multi-touch (Android only) |
| Battery | 3200 mAh Li-polymer, 5-6 hours battery life |
| Connectivity | 2.4G/5G WiFi, Bluetooth 4.2, HDMI Output |
| Storage | Supports TF cards (16GB for OS, 64GB for games included) |
| Dimensions | 4.9"L x 3.2"W x 0.8"H (17.4cm x 8.4cm x 2.1cm) |
| Weight | 11.3 ounces |
| Material | Plastic |
9. Warranty and Support
For warranty information and technical support, please refer to the contact details provided with your purchase or visit the official Aivuidbs website. Keep your proof of purchase for warranty claims.


