
1. Introduction
This manual provides essential information for the setup, operation, and maintenance of your YLIMPC M3 i7 Mini PC. Please read this manual thoroughly before using the device to ensure proper functionality and to prevent damage.
2. Safety Information
- Ensure the power adapter is compatible with your local power supply.
- Do not expose the device to water, moisture, or extreme temperatures.
- Avoid placing the device in direct sunlight or near heat sources.
- Do not open the casing unless performing authorized upgrades (e.g., RAM/SSD installation) as described in this manual.
- Keep ventilation openings clear to prevent overheating.
- Use only accessories specified by the manufacturer.
3. Package Contents
Verify that all items are present in your package:
- YLIMPC M3 i7 Mini PC
- Power Adapter
- User Manual (this document)
- (Optional, depending on bundle): HDMI Cable, VESA Mount, Screws
4. Product Overview
The YLIMPC M3 i7 Mini PC is a compact desktop computer designed for various computing tasks, from office work to 4K media streaming. It features a robust Intel Core i7 10810U processor and versatile connectivity options.
4.1. Front and Rear Panels

Image: Front and rear views of the YLIMPC M3 Mini PC, highlighting the various ports and power button.
The front panel provides easily accessible ports for common peripherals, while the rear panel houses essential connectivity for displays, network, and power.
Front Panel Ports:
- USB 3.0 (x3): For connecting USB devices such as keyboards, mice, and external storage.
- USB-C (x1): Versatile port for data transfer.
- 3.5mm Audio Jack (Mic/SPK): For headphones or external speakers and microphone.
- Power Button: To turn the device on or off.
Rear Panel Ports:
- DC 12V Power Input: Connect the provided power adapter here.
- USB 3.0 (x2): Additional ports for USB devices.
- DisplayPort (DP): For connecting to a display.
- HDMI 2.0: For connecting to a display.
- 2.5Gbps RJ45 Ethernet: For wired network connection.

Image: Detailed diagram illustrating the various input/output ports on the YLIMPC M3 Mini PC.
This diagram provides a visual guide to the location and type of each port on the device.
4.2. Internal Components

Image: A visual representation of the Intel 10th Gen Core i7-10810U processor, highlighting its core specifications.
The YLIMPC M3 is powered by an Intel Core i7 10810U processor, featuring 6 cores and 12 threads, with a maximum turbo frequency of 4.9GHz. It is designed for efficient performance with a 15W CPU power consumption.

Image: Internal view of the YLIMPC M3 Mini PC, showing the all-metal copper fan for heat dissipation.
The device incorporates an all-metal copper fan for efficient heat dissipation, ensuring stable operation even under load.
5. Setup Instructions
Follow these steps to set up your YLIMPC M3 Mini PC:
- Connect Peripherals: Connect your keyboard, mouse, and any other USB devices to the available USB ports on the front or rear panels.
- Connect Display: Connect your monitor or TV to either the HDMI or DisplayPort on the rear panel using a compatible cable. For 4K resolution, ensure you use a high-quality HDMI 2.0 or DisplayPort cable.
- Connect Network (Optional): For a wired internet connection, connect an Ethernet cable from your router or modem to the 2.5Gbps RJ45 Ethernet port on the rear panel. Wireless connectivity (Wi-Fi) will be configured later.
- Connect Power: Connect the provided power adapter to the DC 12V input port on the rear panel, then plug the adapter into a power outlet.
- Power On: Press the power button located on the front panel. The device should boot up, and you will see the operating system loading on your connected display.
6. Operating Instructions
6.1. Initial Boot and Windows 11 Pro Setup
Upon first power-on, the system will guide you through the Windows 11 Pro initial setup process. Follow the on-screen prompts to configure language, region, network, user accounts, and other settings.
6.2. Network Connectivity
- Wired (Ethernet): If an Ethernet cable is connected, the system should automatically detect and connect to the network.
- Wireless (Wi-Fi): During Windows setup or via the Windows Settings menu (Settings > Network & internet > Wi-Fi), select your desired Wi-Fi network and enter the password. The device supports 2.4G/5G Wi-Fi.
- Bluetooth: To connect Bluetooth devices (e.g., headphones, keyboards), go to Windows Settings > Bluetooth & devices, and follow the pairing instructions. The device supports Bluetooth 5.0.
6.3. Display Configuration
The YLIMPC M3 supports dual 4K@60Hz display output via HDMI and DisplayPort.

Image: Illustration of the YLIMPC M3 Mini PC connected to two monitors for a dual-screen display setup.
To configure multiple displays in Windows, right-click on the desktop, select "Display settings," and arrange your displays as needed (Extend, Duplicate, or Show only on 1/2).
6.4. Power Management
- Power On: Press the power button on the front panel.
- Shut Down: Click the Start button in Windows, then Power > Shut down.
- Restart: Click the Start button in Windows, then Power > Restart.
- Sleep: Click the Start button in Windows, then Power > Sleep.
7. Memory and Storage Expansion
The YLIMPC M3 Mini PC offers options for upgrading its RAM and storage. This process requires careful handling of internal components.
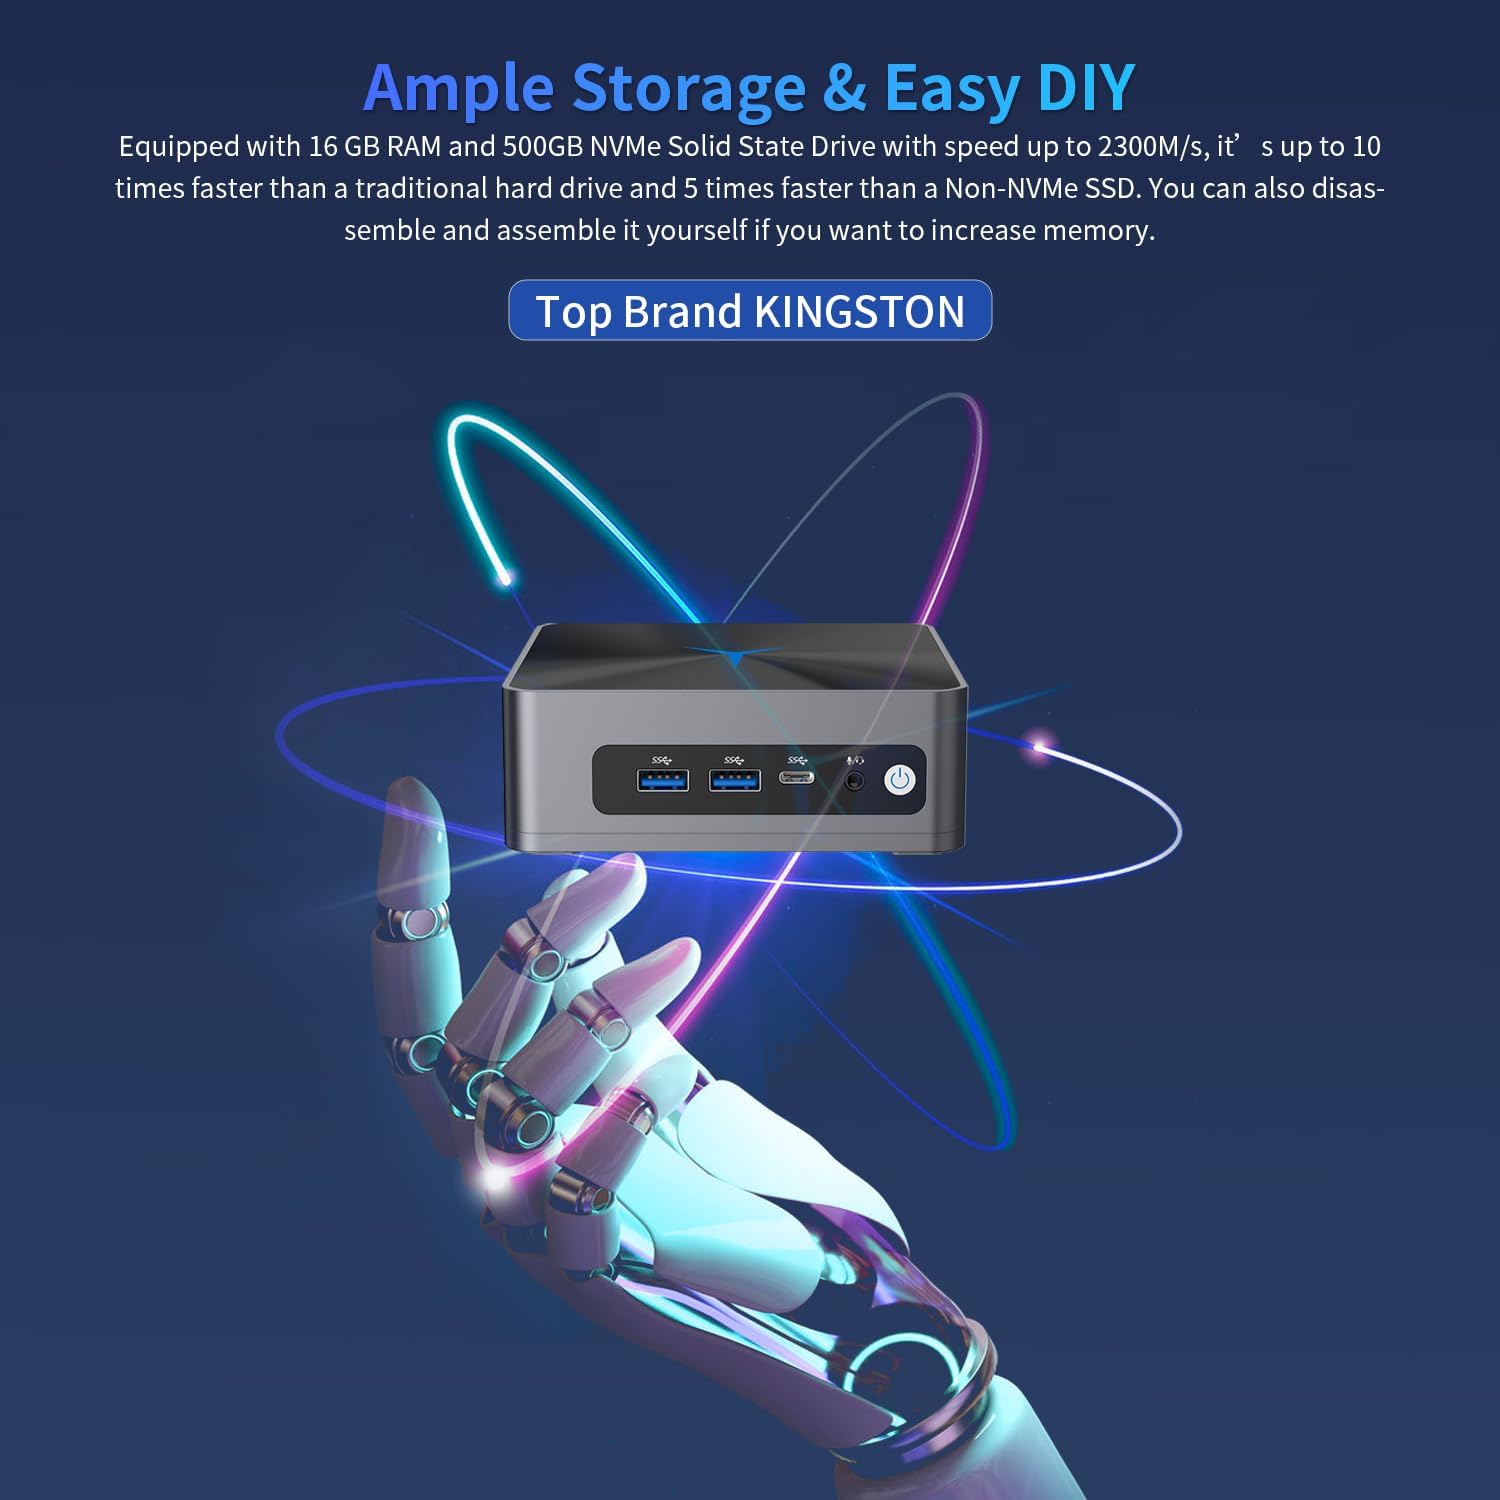
Image: A conceptual image suggesting the ease of upgrading storage and memory in the YLIMPC M3 Mini PC.
The device comes with 16GB RAM and a 500GB NVMe SSD pre-installed. It supports:
- RAM: 2 x SODIMM RAM slots, expandable up to 64GB.
- M.2 SSD: 1 x M.2 2280 SSD slot, expandable up to 8TB.
- 2.5" SSD/HDD: 1 x 2.5" SSD/HDD slot, expandable up to 2TB.
Warning: Opening the device for upgrades should be done with caution. Refer to specific instructions or seek professional assistance if unsure. Ensure the device is powered off and unplugged before performing any internal modifications.
8. Maintenance
- Cleaning: Use a soft, dry cloth to clean the exterior of the device. Do not use liquid cleaners or aerosols. Keep ventilation openings free of dust.
- Software Updates: Regularly check for and install Windows updates and driver updates to ensure optimal performance and security.
- Storage Management: Periodically clean up unnecessary files and applications to maintain system speed.
9. Troubleshooting
| Problem | Possible Solution |
|---|---|
| No display output. |
|
| Device does not power on. |
|
| Wi-Fi or Bluetooth not working. |
|
| System is slow or unresponsive. |
|
If you encounter issues not listed here or require further assistance, please contact YLIMPC customer support.
10. Specifications
| Feature | Detail |
|---|---|
| Brand | YLIMPC |
| Model | M3 (YPC-M3) |
| Operating System | Windows 11 Pro 64Bit |
| Processor | Intel Core i7 10810U (6 Cores/12 Threads, 1.1GHz to 4.9GHz) |
| Processor Graphics | Intel UHD Graphics for 10th Gen Intel Processors |
| RAM | 16GB DDR4 SODIMM (Expandable up to 64GB) |
| Storage | 500GB NVMe SSD (Expandable: M.2 up to 8TB, 2.5" SSD/HDD up to 2TB) |
| Wireless Connectivity | Wi-Fi 2.4G/5G, Bluetooth 5.0 |
| Ethernet | 1 x 2.5Gbps RJ45 (Intel i225-V) |
| Video Output | 1 x HDMI 2.0, 1 x DisplayPort (Supports dual 4K@60Hz) |
| USB Ports | 4 x USB 3.0, 1 x USB-C |
| Audio | 1 x 3.5mm Audio Jack |
| TPM | TPM 2.0 module onboard |
| Dimensions | 12.5 x 11.33 x 4.19 cm |
| Weight | 871 g |
11. Warranty and Support
YLIMPC products are covered by a limited warranty. For specific warranty terms and conditions, please refer to the documentation included with your purchase or visit the official YLIMPC website.
For technical support, troubleshooting assistance, or warranty claims, please contact YLIMPC customer service through their official channels. Contact information can typically be found on the product packaging or the YLIMPC website.
Note: If you cannot find the auto power settings in the BIOS, please contact YLIMPC support for assistance.


