
TECURS KB510
TECURS KB510 Wireless Mechanical Gaming Keyboard User Manual
Model: KB510 | Brand: TECURS
1. Introduction
Thank you for choosing the TECURS KB510 Wireless Mechanical Gaming Keyboard. This keyboard offers versatile connectivity options, vibrant RGB lighting, and a compact, ergonomic design for an enhanced typing and gaming experience. This manual provides detailed instructions on setting up, operating, maintaining, and troubleshooting your keyboard.

Image: The TECURS KB510 keyboard showcasing its compact design and colorful RGB backlighting.
2. Setup
2.1 Package Contents
- TECURS KB510 Wireless Mechanical Gaming Keyboard
- USB Cable
- 2.4GHz USB Receiver (typically stored in the keyboard's battery compartment or a dedicated slot)
2.2 Charging the Keyboard
The keyboard features a built-in 3000 mAh rechargeable battery. Before first use, fully charge the keyboard using the provided USB cable. Connect the USB cable to the keyboard's Type-C port and the other end to a USB power source (e.g., computer USB port, USB wall adapter).
The charging indicator light will show the charging status. A full charge typically takes 6-7 hours.
2.3 Connectivity Modes
The KB510 keyboard supports three connectivity modes: Wired, 2.4GHz Wireless, and Bluetooth.
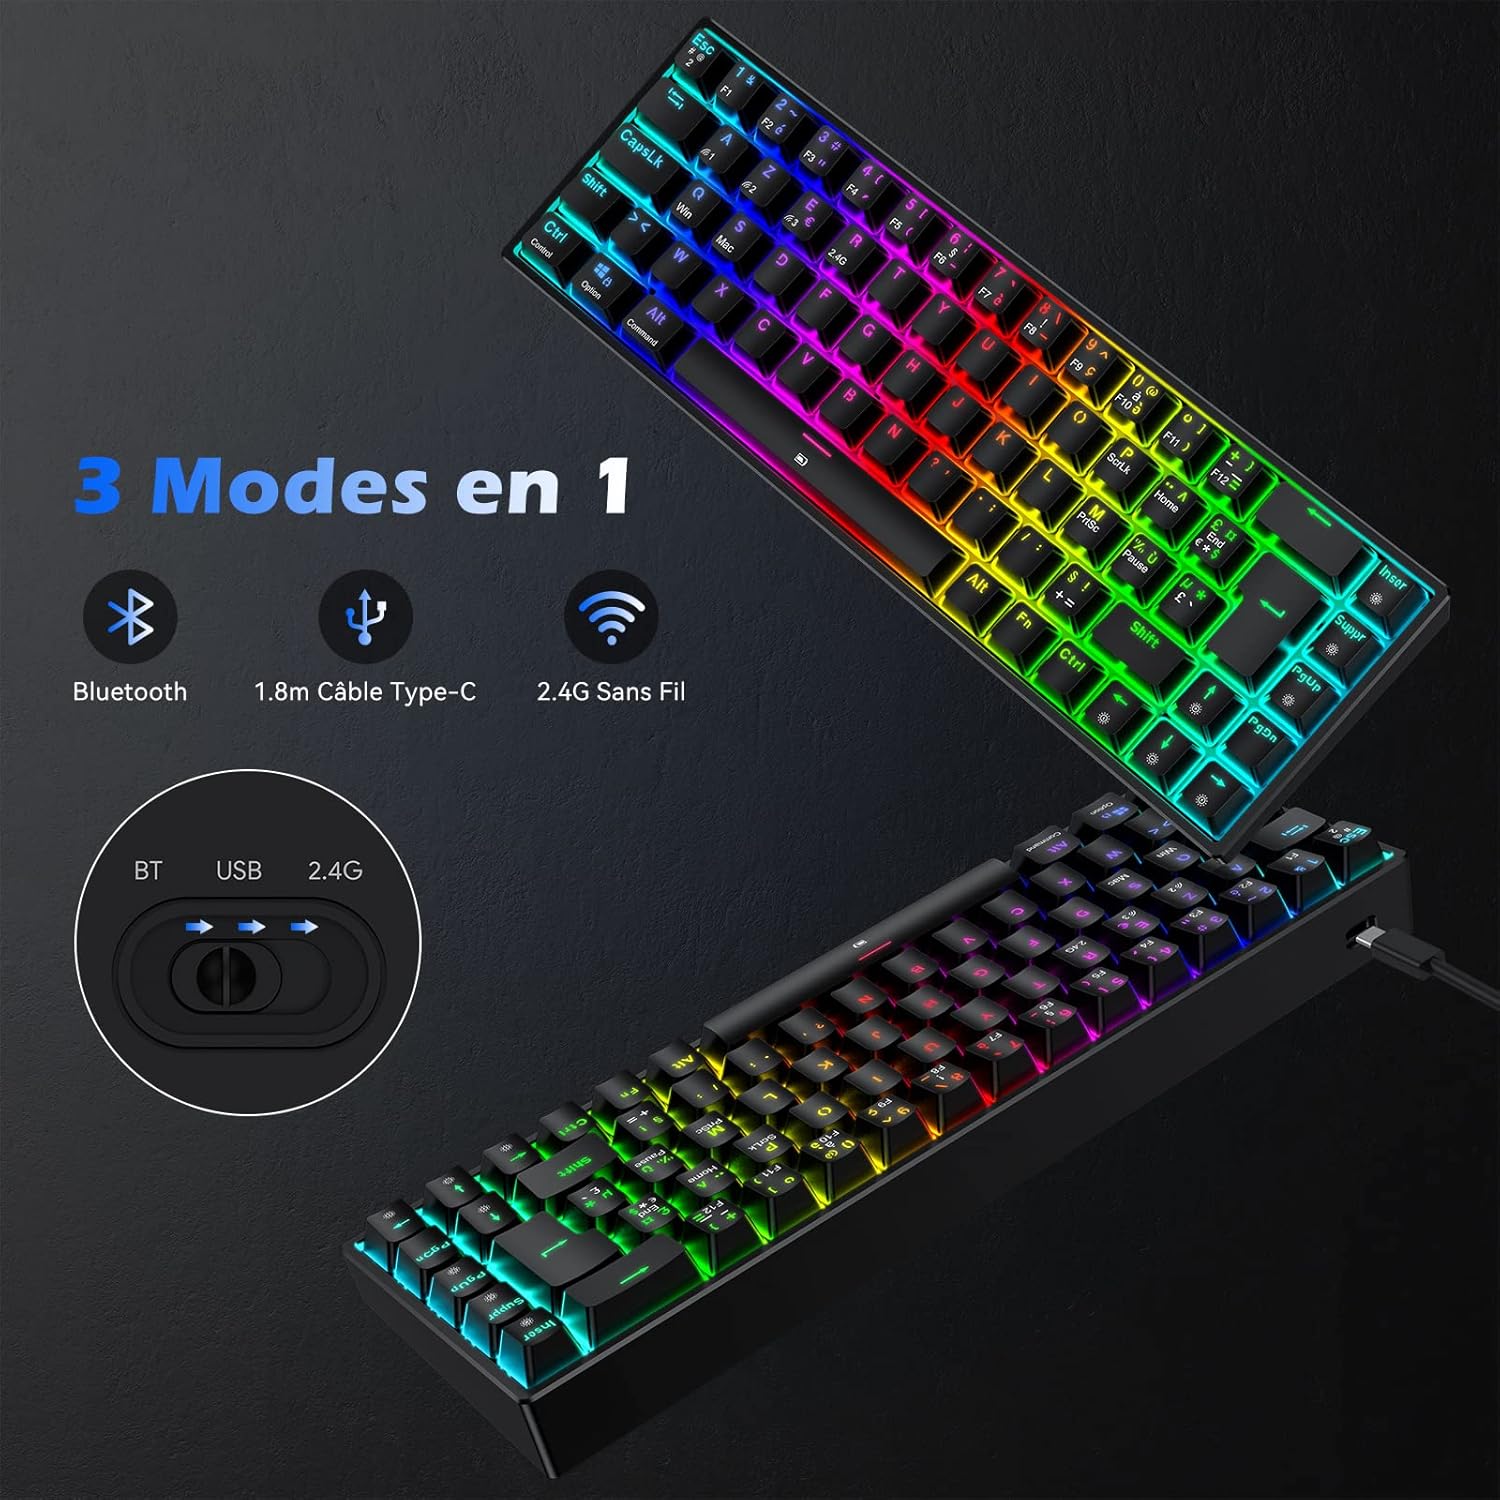
Image: Visual representation of the keyboard's triple connectivity modes: Bluetooth, wired USB-C, and 2.4GHz wireless.
2.3.1 Wired Mode
- Connect the provided USB cable to the keyboard's Type-C port.
- Connect the other end of the USB cable to an available USB port on your computer.
- The keyboard will be automatically recognized and ready for use.
2.3.2 2.4GHz Wireless Mode
- Locate the 2.4GHz USB receiver.
- Plug the USB receiver into an available USB port on your computer.
- Ensure the keyboard's mode switch (usually on the back or side) is set to 2.4G mode.
- The keyboard should connect automatically.
2.3.3 Bluetooth Mode
The keyboard can connect to up to three Bluetooth devices.
- Ensure the keyboard's mode switch is set to Bluetooth mode.
- Press and hold FN + A, FN + Z, or FN + E for 3-5 seconds to enter pairing mode for Bluetooth device 1, 2, or 3 respectively. The indicator light will flash rapidly.
- On your device (PC, iPad, Mac, PS4), open Bluetooth settings and search for new devices.
- Select "TECURS Keyboard" (or similar name) from the list of available devices to pair.
- Once paired, the indicator light will stop flashing and remain solid.
2.4 System Compatibility Switching
The keyboard supports various operating systems. Use the following key combinations to switch between systems:
- Press FN + Q to switch to Windows system mode.
- Press FN + S to switch to Mac system mode.
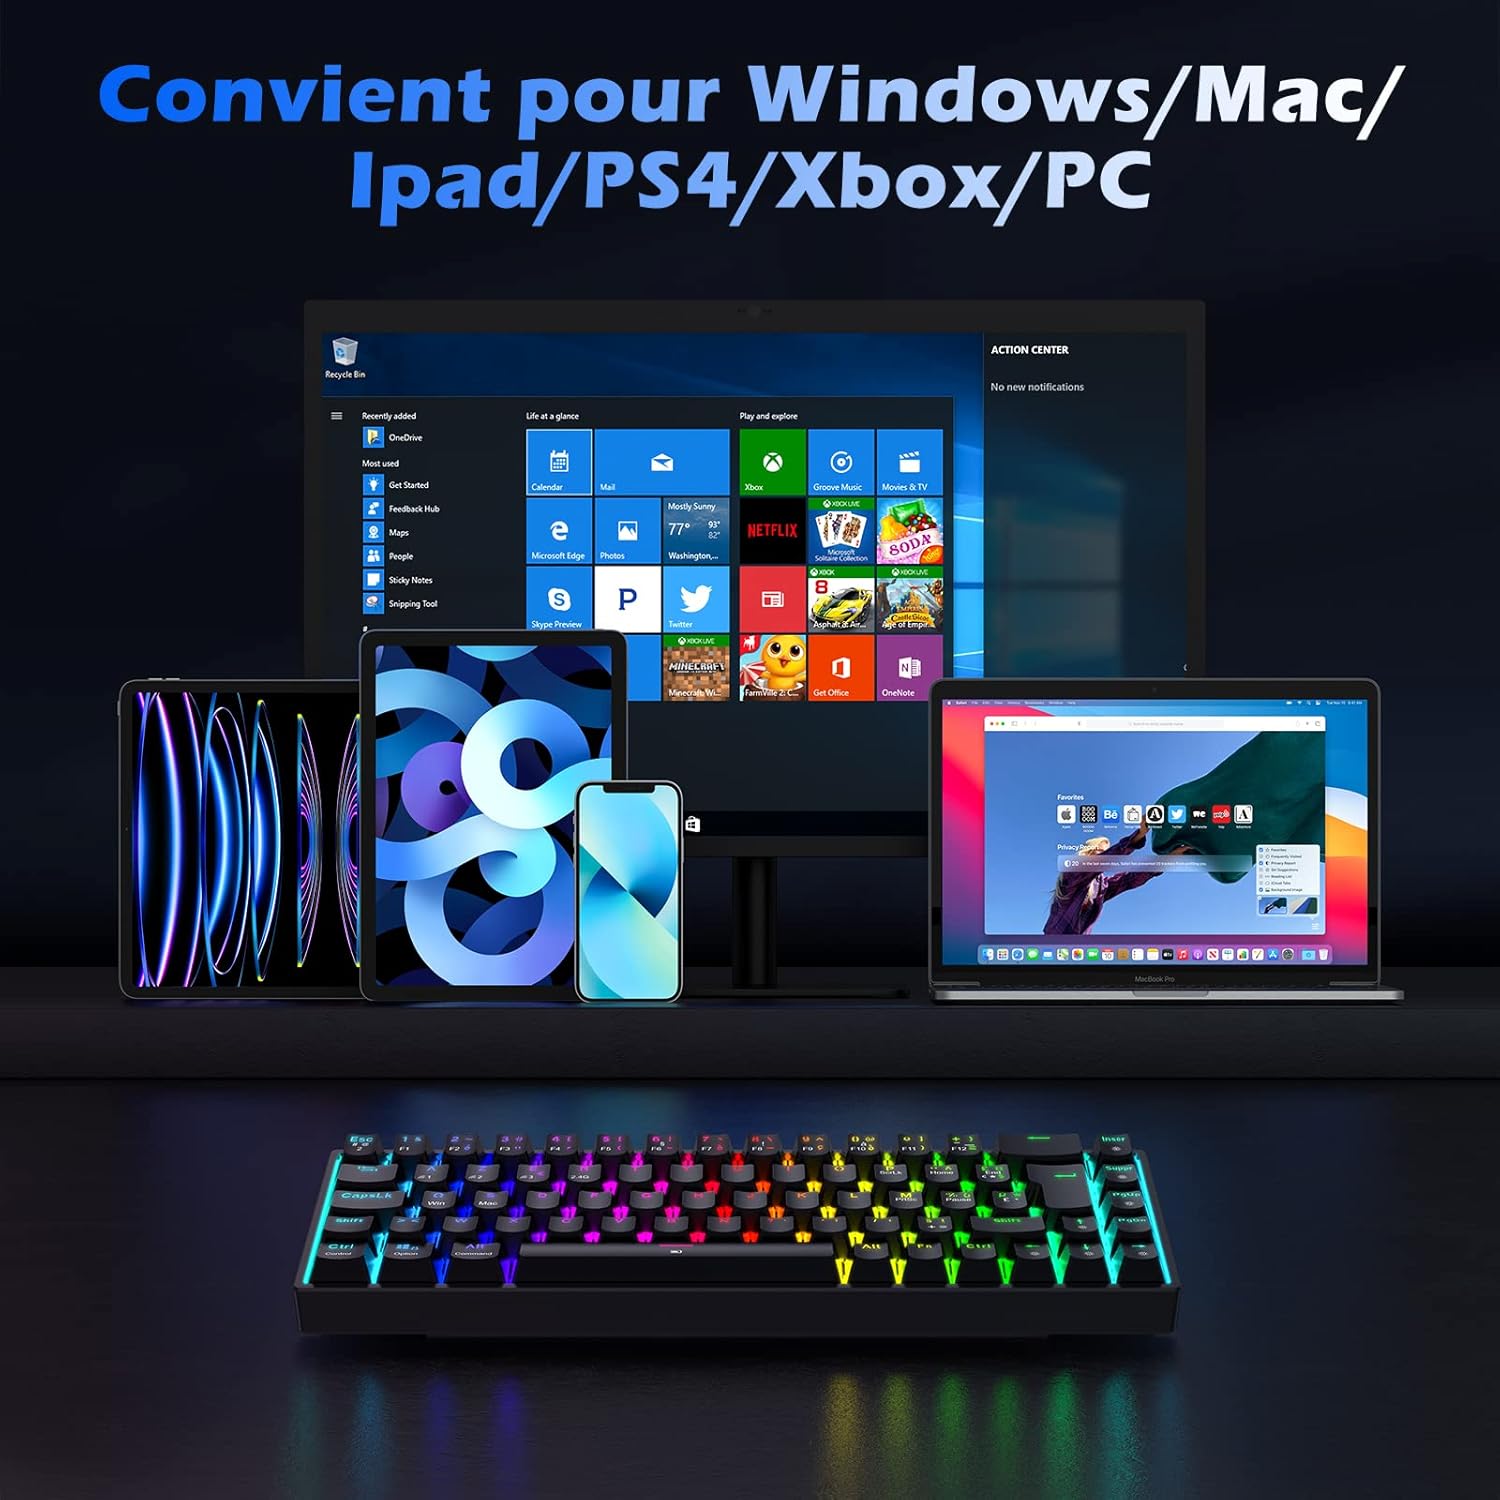
Image: The keyboard shown with various compatible devices including laptops, tablets, and smartphones, highlighting its broad compatibility.
3. Operating Instructions
3.1 RGB Backlighting
The keyboard features 15 preset RGB lighting modes and customizable lighting options.
- Press FN + \| to cycle through different lighting effects.
- Use FN + ↑ / FN + ↓ to adjust brightness.
- Use FN + ← / FN + → to adjust lighting speed.
- Specific key combinations may exist for custom lighting zones or colors; refer to the quick guide for advanced customization.

Image: The keyboard displaying its dynamic RGB lighting, highlighting the customizable illumination.
3.2 Battery Level Indicator
To check the remaining battery level, press FN + SPACE. The F1-F10 keys will light up to indicate the battery percentage (e.g., F1-F10 lit means 100%, F1-F5 lit means 50%).

Image: Illustration of how to check the keyboard's battery level using the FN + Space key combination, with F-keys indicating charge percentage.
3.3 Anti-Ghosting and N-Key Rollover
The keyboard features full N-key rollover and anti-ghosting technology, ensuring that every key press is registered accurately, even during rapid, simultaneous key inputs, which is crucial for gaming.

Image: A visual demonstrating the keyboard's conflict-free key input, ensuring smooth and responsive typing and gaming.
3.4 Ergonomic Design
The keyboard is designed with adjustable height settings to provide an ergonomic typing angle, reducing strain during long periods of use.

Image: A diagram illustrating the three adjustable height levels of the keyboard, designed for ergonomic comfort.
4. Maintenance
4.1 Cleaning the Keyboard
- Disconnect the keyboard from all devices before cleaning.
- Use a soft, lint-free cloth slightly dampened with water or a mild cleaning solution to wipe the keycaps and surface.
- For dust and debris between keys, use compressed air or a small brush.
- Avoid using harsh chemicals or abrasive materials.
4.2 Keycap Replacement
The keycaps are replaceable for easy cleaning or customization. Gently pull the keycap upwards to remove it. Align the new keycap with the switch stem and press down firmly until it clicks into place.
4.3 Battery Care
- Avoid fully discharging the battery frequently.
- Store the keyboard in a cool, dry place when not in use for extended periods.
- Charge the keyboard regularly to maintain battery health.
5. Troubleshooting
5.1 Keyboard Not Responding
- Wired Mode: Ensure the USB cable is securely connected to both the keyboard and the computer. Try a different USB port or cable.
- 2.4GHz Wireless Mode: Ensure the 2.4GHz USB receiver is properly plugged in. Check if the keyboard's mode switch is set to 2.4G. Try re-pairing by unplugging and re-plugging the receiver.
- Bluetooth Mode: Ensure Bluetooth is enabled on your device. Check if the keyboard is paired correctly (FN+A/Z/E). Try unpairing and re-pairing the keyboard. Ensure the keyboard's mode switch is set to Bluetooth.
- Battery: Check the battery level (FN+SPACE) and charge the keyboard if the battery is low.
5.2 RGB Lighting Not Working
- Ensure the keyboard is powered on.
- Press FN + \| to cycle through lighting modes.
- Adjust brightness using FN + ↑.
- If the battery is very low, RGB lighting may be disabled to conserve power. Charge the keyboard.
5.3 Keys Not Registering / Ghosting
- The keyboard has anti-ghosting. If specific keys are not registering, ensure no debris is under the keycap.
- Try cleaning the key switch area with compressed air.
- If the issue persists, contact customer support.
6. Specifications
| Feature | Specification |
|---|---|
| Brand | TECURS |
| Model Number | KB510 |
| Connectivity Technology | Bluetooth, 2.4GHz Wireless, Wired (USB Type-C) |
| Keyboard Description | Gaming, Mechanical |
| Layout | AZERTY (French), 65% Compact (68 keys) |
| Switch Type | Red Switch |
| Backlight | RGB (15 modes) |
| Battery Capacity | 3000 mAh |
| Battery Life (approx.) | 70h (without RGB), 25h (with RGB) |
| Compatible Devices | Game Console, Computer, Tablet |
| Operating System Compatibility | Windows, Mac OS, iOS, Linux, Chrome OS |
| Special Features | Ergonomic, Rechargeable, Backlit, Anti-Ghosting |
7. Warranty
The TECURS KB510 Wireless Mechanical Gaming Keyboard comes with a 2-year manufacturer's warranty. Please retain your proof of purchase for warranty claims. The warranty covers defects in materials and workmanship under normal use. It does not cover damage caused by misuse, accidents, unauthorized modifications, or normal wear and tear.
8. Support
For further assistance, technical support, or warranty inquiries, please contact TECURS customer service through the retailer's platform or the official TECURS website. Provide your product model number (KB510) and a detailed description of the issue to receive prompt support.
Related documentsKB510


Ask a question about this manual
Ask about setup, troubleshooting, compatibility, parts, safety, or missing instructions. Manuals+ will review the question and use this page’s manual context to help answer it.