
1. Introduction
Thank you for choosing the Superboost WiFi Range Extender. This device is designed to expand your existing wireless network coverage, eliminate Wi-Fi dead zones, and provide a stable, high-speed internet connection throughout your home or office. With its easy setup and versatile operating modes, the Superboost extender ensures seamless connectivity for all your devices.

A white Superboost WiFi Range Extender with two external antennas, plugged into a standard wall power outlet. The device features indicator lights on its front panel.
2. Product Features
- Extended Coverage: Eliminates Wi-Fi dead zones, extending coverage up to 9000 sq ft.
- High Speed: Supports data transfer speeds of up to 300 Mbps on the 2.4 GHz band.
- Multiple Operating Modes: Functions as a Wireless Router, Repeater, Access Point, Client, and WISP.
- One-Touch Setup (WPS): Simplifies installation with a single button press.
- Ethernet Port: Provides wired connectivity for devices like smart TVs, gaming consoles, or PCs.
- Advanced Security: Supports WEP/WPA/WPA2 encryption protocols for network protection.
- Universal Compatibility: Works with any standard router or gateway.

A front-facing image of the Superboost WiFi Extender, displaying its power, WiFi, and WPS indicator lights, which provide status information during operation.
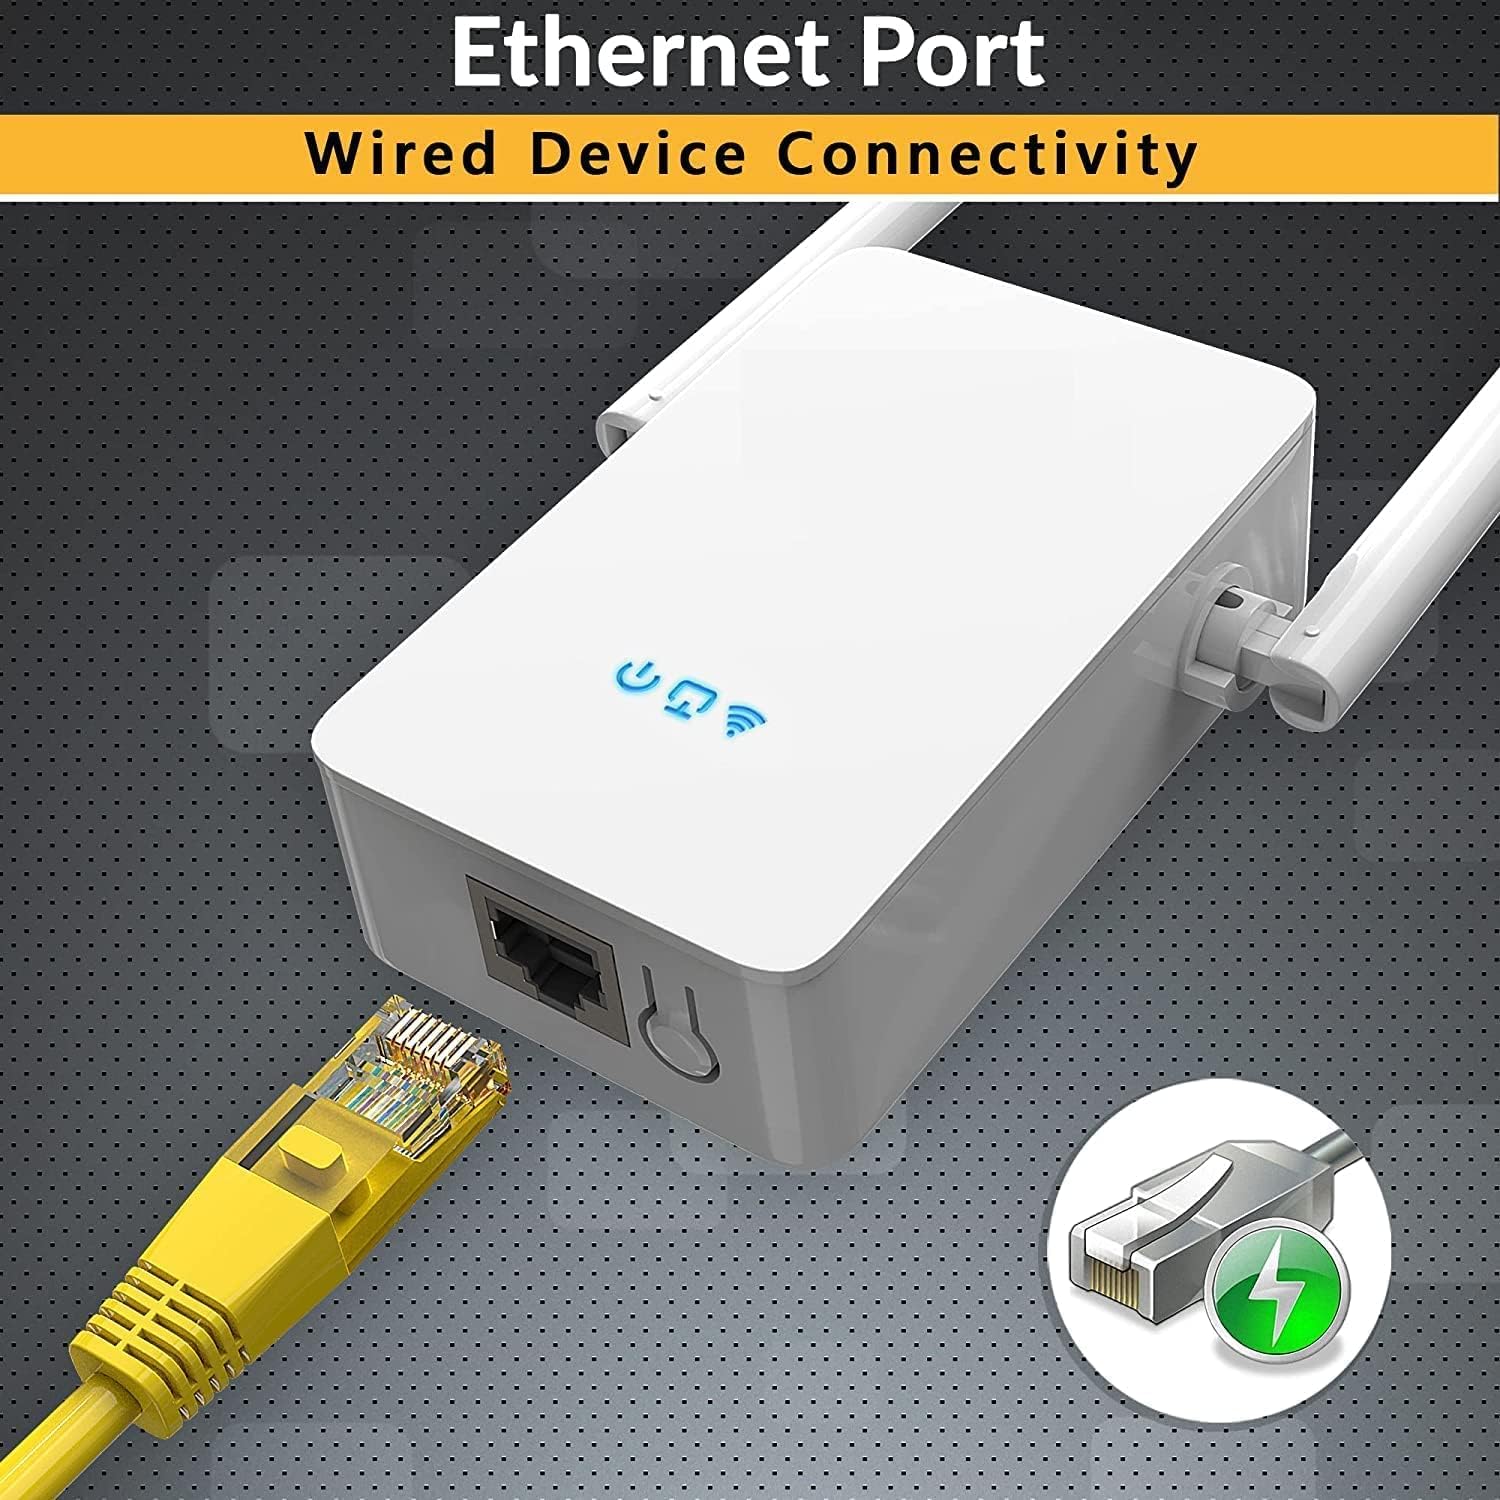
A detailed view of the Superboost WiFi Extender's bottom, highlighting the Ethernet port. A yellow Ethernet cable is shown plugged into the port, indicating its wired connectivity capability.
3. Setup Guide
3.1. WPS (Wi-Fi Protected Setup) Method
The WPS method is the quickest way to set up your Superboost extender if your router supports WPS.
- Plug the Superboost extender into a power outlet near your existing router.
- Wait for the Power LED on the extender to turn solid blue.
- Press the WPS button on your router.
- Within 2 minutes, press the WPS button on the Superboost extender.
- The Extender's Wi-Fi LED will blink and then turn solid blue, indicating a successful connection.
- Unplug the extender and relocate it to a desired location within your router's Wi-Fi range, ensuring optimal signal strength.

This image shows the Superboost WiFi Extender plugged into a wall, with an arrow indicating the connection process to a router via the WPS (Wi-Fi Protected Setup) button. A smartphone screen is also visible, suggesting easy configuration.
3.2. Manual Setup Method (Via Web Browser)
If your router does not support WPS or you prefer manual configuration:
- Plug the Superboost extender into a power outlet near your existing router.
- Connect your computer or mobile device to the extender's default Wi-Fi network (e.g., "Superboost_Ext"). No password is required initially.
- Open a web browser and enter the default IP address (check the device label or manual for the exact address, commonly 192.168.10.1 or similar).
- Follow the on-screen instructions to log in (default username/password is usually "admin"/"admin").
- Select "Repeater Mode" or your desired mode.
- Scan for available Wi-Fi networks and select your home network.
- Enter your home Wi-Fi password and confirm the settings.
- The extender will restart. Once the Wi-Fi LED is solid blue, the setup is complete.
4. Operating Modes
The Superboost WiFi Range Extender supports five operating modes to suit various networking needs:
- Repeater Mode: Extends the range of an existing wireless network.
- Access Point (AP) Mode: Transforms a wired network connection into a wireless one.
- Wireless Router Mode: Functions as a primary router, creating a new wireless network.
- Client Mode: Allows wired-only devices to connect to a wireless network.
- WISP Mode: Connects to a wireless ISP network and shares the internet connection wirelessly.

A detailed diagram showing how the Superboost WiFi Extender effectively expands wireless coverage across multiple rooms and floors in a home, eliminating dead zones.
5. Optimal Placement
For best performance, consider the following when placing your Superboost extender:
- Place the extender halfway between your router and the Wi-Fi dead zone.
- Avoid placing it near large metal objects, concrete walls, or appliances that emit electromagnetic noise (e.g., microwaves, cordless phones).
- Ensure it is in a clear line of sight to your router if possible, or at least with minimal obstructions.
- Use the signal indicator lights on the extender (if available) to find the optimal spot with good signal strength from your router.

An illustration demonstrating the Superboost extender's capability to maintain strong signal integrity even when passing through common household obstacles like walls and doors.
6. Maintenance
To ensure the longevity and optimal performance of your Superboost WiFi Range Extender:
- Keep the device clean and free from dust. Use a soft, dry cloth for cleaning.
- Do not expose the device to extreme temperatures, humidity, or direct sunlight.
- Avoid blocking the ventilation holes on the device.
- Periodically check for firmware updates on the manufacturer's website to ensure the latest features and security enhancements.
- If the device becomes unresponsive, try unplugging it from the power outlet for 10 seconds and then plugging it back in.

An exploded view of the Superboost WiFi Extender, revealing its internal components such as the overvoltage protection controller, intelligent WiFi chip, and security encryption module, emphasizing its superior quality and design.
7. Troubleshooting
If you encounter issues with your Superboost WiFi Range Extender, refer to the following common problems and solutions:
- No Internet Access After Setup:
- Ensure the extender is within range of your main router.
- Verify that the Wi-Fi password entered during setup is correct.
- Try restarting both your router and the extender.
- If using Repeater mode, ensure your router's Wi-Fi is working correctly.
- Slow Connection Speed:
- Relocate the extender closer to your main router.
- Check for interference from other electronic devices.
- Ensure your main router is providing adequate speed.
- Cannot Access Web Management Page:
- Ensure your device is connected to the extender's Wi-Fi network.
- Verify the IP address entered in the browser is correct.
- Clear your browser's cache and cookies, or try a different browser.
- WPS Setup Fails:
- Ensure your router supports WPS and it is enabled.
- Try the manual setup method via web browser.
- Forgot Login Password:
- Perform a factory reset on the extender by pressing and holding the reset button for 5-10 seconds. This will revert all settings to default.
8. Specifications
| Feature | Specification |
|---|---|
| Model | WFR-N300 |
| Brand | TECHFACTURE |
| Wireless Standard | 802.11a/b/g/n, 802.11abg |
| Frequency | 2.4 GHz |
| Data Transfer Rate | Up to 450 Megabytes Per Second (Mbps) |
| Security Protocols | WEP, WPA, WPA2 |
| Ports | 1 x Ethernet (RJ45) |
| Dimensions | 8 x 4 x 8 cm |
| Weight | 100 g |
| Compatible Devices | Router, Wireless Devices, Wired Devices |
9. Warranty and Support
TECHFACTURE products are designed for reliability and performance. For specific warranty details, please refer to the warranty card included with your product or visit the official TECHFACTURE website. If you require technical assistance or have questions not covered in this manual, please contact TECHFACTURE customer support through their official channels.

A man smiling while looking at his smartphone, with the Superboost WiFi Extender and a WPS button icon in the foreground, illustrating the ease of setup and fast connection.
