
1. Introduction
This manual provides detailed instructions for the installation, operation, and maintenance of the MOOKAKA 12.3-inch Digital Instrument Cluster, Model FJ01. This product is designed as an upgrade for Toyota FJ Cruiser models manufactured between 2007 and 2021, replacing the original instrument panel with a high-resolution digital display.
The digital instrument cluster integrates various vehicle information displays into a single 12.3-inch LCD screen, enhancing the driving experience with clear and comprehensive data presentation.

Figure 1: MOOKAKA 12.3-inch Digital Instrument Cluster (Model FJ01)
This image displays the MOOKAKA 12.3-inch Digital Instrument Cluster, showcasing its sleek design and digital display interface. The unit is designed to fit seamlessly into the dashboard of compatible Toyota FJ Cruiser models.
2. Product Compatibility and Model Selection
This digital instrument cluster is compatible with Toyota FJ Cruiser models from 2007 to 2021. It is crucial to select the correct model (FJ01 or FJ02) based on your vehicle's original dashboard configuration.

Figure 2: Model Selection Guide for FJ01 and FJ02
This diagram illustrates how to determine whether to choose the FJ01 or FJ02 model. Observe the location of the small car icon on your original dashboard. If the icon is positioned near the tachometer, select FJ01. If the car icon is located at the top left of the speedometer, select FJ02.
For Model FJ01: Choose this model if the small car icon on your original dashboard is located at the tachometer.
3. Installation
The MOOKAKA Digital Instrument Cluster is designed for a plug-and-play installation, requiring no cutting or modification of existing wires. This ensures no damage to the original vehicle's wiring system.
3.1. Installation Steps
- Preparation: Ensure the vehicle's ignition is off and the battery is disconnected before beginning installation. Gather necessary tools for disassembling the original instrument panel.
- Remove Original Instrument: Carefully use an appropriate installation tool to disassemble and remove the original car instrument panel.
- Disconnect Power Cord: Unplug the power cord and any other connectors from the original instrument panel.
- Connect New Instrument: Plug the new MOOKAKA Digital Instrument Cluster into the vehicle's existing power cord and other relevant connectors. Ensure all connections are secure.
- Install New Instrument: Carefully position and install the new digital instrument cluster into the dashboard opening. Secure it using the original mounting points or provided hardware.
- Reconnect Battery: Reconnect the vehicle's battery.
- Test Functionality: Turn on the ignition and verify that the new digital instrument cluster powers on and displays information correctly.
No drilling is required for installation, preserving the integrity of your vehicle's interior.
4. Operating Instructions
The 12.3-inch Full LCD screen provides a clear and comprehensive display of various driving information. The system supports multiple languages including Spanish, English, and Chinese.
4.1. Displayed Information
- Driving Information: Fuel consumption, mileage, tire pressure, and turn signals are displayed on the digital instrument panel.
- Four-Wheel Drive Display: The steering angle of all four tires can be displayed, assisting in judging steering angles during off-road or specific driving conditions.
- Original Car Information: Displays total kilometers, fault code indications, and body tilt angle.
- Time Display: Current time is shown.
- Indicator Light Display: Various vehicle indicator lights are clearly presented.

Figure 3: Overview of Original Car Data Display
This image highlights the various original car data points displayed on the digital instrument cluster, including time, tire pressure monitoring system (TPMS), indicator lights, body tilt angle, and fuel consumption.

Figure 4: Advanced Display Features and Customization Options
This image demonstrates the advanced capabilities of the digital cluster, including precise data display for complex road conditions, personalized customization options, and beep alerts for driving safety. It also shows an optional body color display, which is a visual theme option.
4.2. Steering Wheel Control
Utilize the BC button on your steering wheel to access and adjust various functions of the instrument cluster. This includes changing theme colors and other display settings.
4.3. TPMS Integration
The system supports Tire Pressure Monitoring System (TPMS) integration, allowing for real-time display of tire pressure information directly on the digital dashboard for enhanced safety.

Figure 5: Digital Instrument Cluster and TPMS Integration
This image illustrates the MOOKAKA Digital Instrument Cluster alongside a visual representation of a vehicle chassis with wheels, emphasizing its compatibility and integration with Tire Pressure Monitoring Systems (TPMS).
5. Maintenance
To ensure the longevity and optimal performance of your digital instrument cluster, follow these general maintenance guidelines:
- Cleaning: Use a soft, lint-free cloth to gently wipe the screen. Avoid abrasive cleaners, solvents, or harsh chemicals that could damage the display surface.
- Environmental Conditions: While designed for automotive use, avoid exposing the unit to extreme temperatures or direct sunlight for prolonged periods when the vehicle is parked, as this can affect screen longevity.
- Software Updates: Periodically check the manufacturer's website or contact support for any available software updates that may improve performance or add features.
6. Troubleshooting
If you encounter issues with your MOOKAKA Digital Instrument Cluster, consider the following basic troubleshooting steps:
- No Power/Blank Screen:
- Check all power connections to ensure they are securely plugged in.
- Verify the vehicle's battery is properly connected and charged.
- Inspect relevant fuses in the vehicle's fuse box.
- Incorrect Information Displayed:
- Ensure the correct model (FJ01) was installed for your vehicle's original dashboard configuration (refer to Section 2).
- Restart the vehicle to reset the system.
- If specific data (e.g., fuel level, tire pressure) is incorrect, check the corresponding sensors in your vehicle.
- Steering Wheel Controls Not Responding:
- Confirm that the wiring harness for steering wheel controls is correctly connected.
- Refer to your vehicle's original manual for troubleshooting steering wheel button functionality.
For persistent issues or problems not covered here, please contact MOOKAKA customer support.
7. Specifications
| Feature | Detail |
|---|---|
| Display Size | 12.3 inches |
| Display Type | Full LCD IPS Screen |
| Resolution | 1920 x 720 |
| Applicable Models | Toyota FJ Cruiser (2007-2021) |
| Supported Languages | Spanish, English, Chinese |
| Installation Type | Plug and Play, No cutting/modification |
| Product Dimensions | 17.72 x 9.25 x 20.87 inches |
| Manufacturer | MOOKAKA |
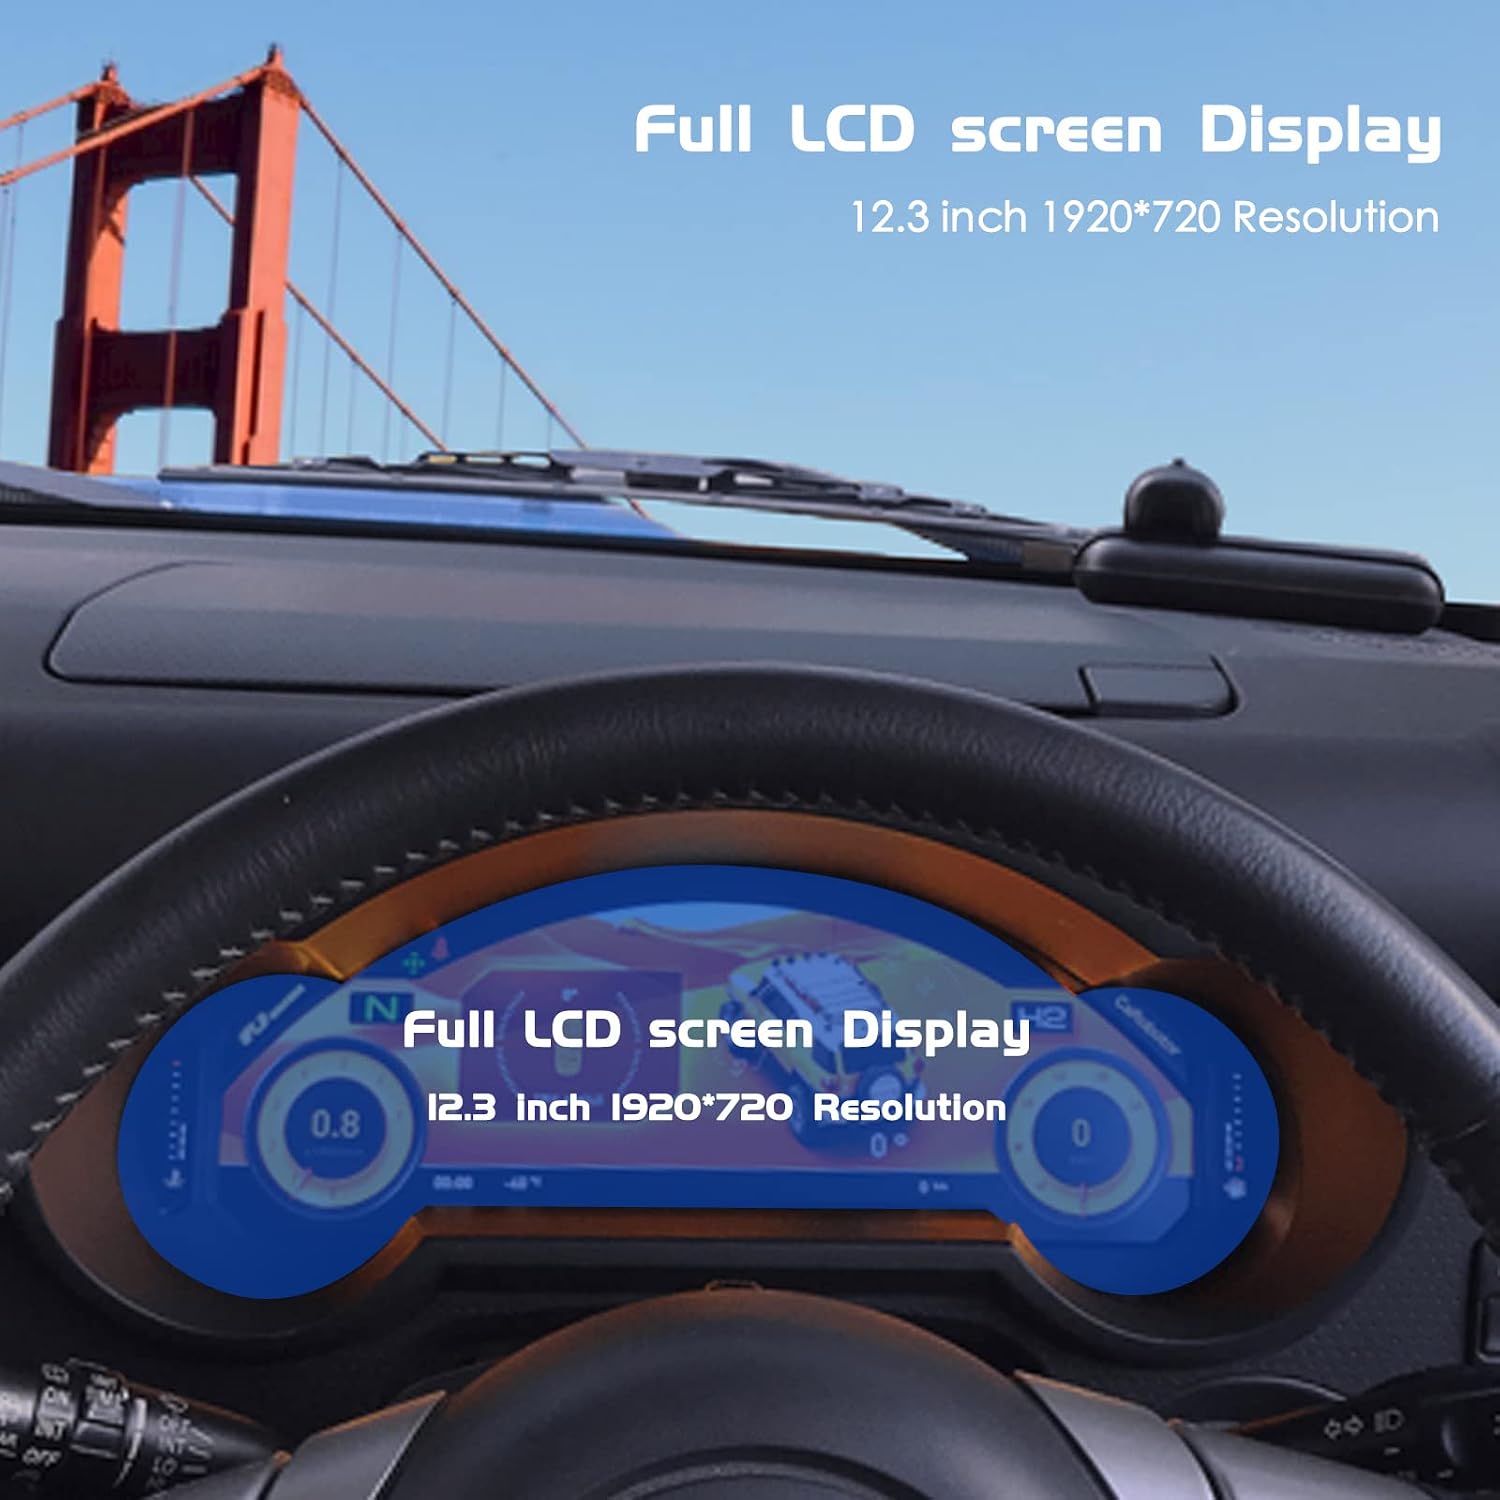
Figure 6: Full LCD Screen Display
This image highlights the 12.3-inch Full LCD screen with a resolution of 1920x720, showcasing the clarity and size of the digital display within the vehicle's dashboard.
8. Warranty and Support
MOOKAKA provides a one-year warranty for this product. Additionally, lifetime after-sales service is available to assist with any questions or issues you may encounter.
For technical support, warranty claims, or general inquiries, please contact MOOKAKA customer service through the official channels provided at the point of purchase or on the MOOKAKA website.