
JULIAQUA GUI-50W
JULIAQUA Aquarium Heater Instruction Manual
Model: GUI-50W | Brand: JULIAQUA
1. Introduction and Overview
Thank you for choosing the JULIAQUA Aquarium Heater. This device is designed to maintain a stable and optimal temperature for your aquatic environment, ensuring the health and comfort of your fish and other aquatic pets. This manual provides essential information for the safe and effective use of your new heater.

Image 1.1: The JULIAQUA Aquarium Heater GUI-50W, showing its compact design and digital temperature display.
2. Safety Information
Please read all safety warnings carefully before use to prevent injury or damage to the product and your aquarium.
- The heater must be completely immersed in water during operation. It cannot be used if any part of it is touching the surface of the water. Operating the heater out of water can cause damage and is a fire hazard.
- If the power plug is damaged or the heater itself is compromised, do not attempt to repair it. Discard the unit and replace it.
- The heater should not be buried in sand or substrate. This can impede heat dissipation and lead to overheating.
- Before cleaning the fish tank or performing any maintenance, always unplug the heater and wait at least 10 minutes for it to cool down.
- This product requires a leak protection device (e.g., GFCI outlet) for safe operation.
- Keep this product out of the reach of children.
- If the product emits smoke, unusual sounds, or if water leaks into the heater, immediately cut off the power supply and discontinue use.

Image 2.1: The heater displaying an 'E1' error, indicating it is not fully submerged. Ensure full submersion for safe operation.

Image 2.2: Product packaging highlighting important safety cautions regarding immersion and handling.
3. Product Features
The JULIAQUA Aquarium Heater is equipped with several features to provide efficient and reliable temperature control for your aquatic habitat:
- Smart Temperature Control & Digital Display: Features an adjustable thermostat (68°F–95°F / 20°C–35°C) with a clear digital display for real-time temperature monitoring.
- Auto Shut-off: Automatically powers off when the set temperature is reached, conserving energy and maintaining stable tank conditions.
- Optimal Heating Performance: Designed for fast and even heat distribution, especially when placed near water circulation.
- Safety Features: Automatically powers off and displays an error code (E1/E2) if not fully submerged, preventing dry-run damage. Includes anti-scald protection and a non-slip silicone protective case.
- Compact & Space-Saving Design: Slim profile maximizes swimming space for fish and growth area for plants.
- Durable & High-Quality: Made with shatterproof materials and precision temperature control for long-term reliability.

Image 3.1: Detailed view of the heater's features: anti-scald protection, non-slip silicone protective case, and European 2-pin plug.
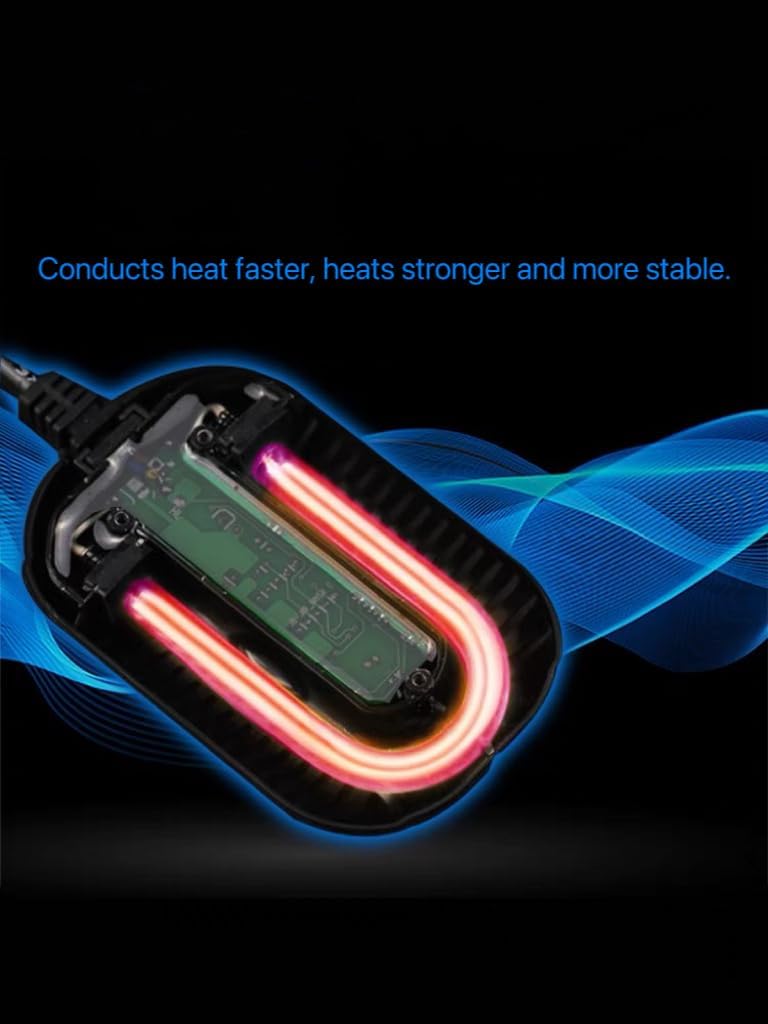
Image 3.2: Illustration of the internal heating element, designed for fast and stable heat conduction.
4. Setup
Follow these steps to properly set up your JULIAQUA Aquarium Heater:
- Unpack: Carefully remove the heater and all components from the packaging.
- Placement: Install the heater inside your aquarium. For optimal and even heat distribution, place the heater near the water outlet or filter flow. This ensures that heated water is circulated throughout the tank.
- Submersion: Ensure the heater is fully submerged in water. The heater can be placed horizontally or vertically, but it must be completely covered by water to function correctly and safely.
- Secure: Use the included suction cups to firmly attach the heater to the inside wall of your aquarium.
- Connect Power: Once the heater is securely placed and fully submerged, connect the power plug to a suitable electrical outlet, preferably one with a leak protection device (GFCI).

Image 4.1: Visual guide for correct (fully submerged, horizontal or vertical) and incorrect (partially submerged, buried in sand) heater installation.
5. Operating Instructions
Operating your JULIAQUA Aquarium Heater is straightforward:
- Power On: After proper installation and submersion, plug the heater into a power outlet. The digital display on the heater will light up, showing the current water temperature.
- Set Temperature: Use the 'SET' button on the external controller to adjust the desired temperature. Each press of the button will cycle through the available temperature settings (68°F–95°F / 20°C–35°C). Stop pressing when your desired temperature is displayed.
- Automatic Operation: The heater will automatically begin heating the water until it reaches the set temperature. Once the target temperature is achieved, the heater will enter standby mode and only activate again if the water temperature drops below the set point.
- Monitoring: Regularly check the digital display to monitor the water temperature and ensure it remains stable.

Image 5.1: The heater installed in an aquarium, demonstrating the external controller used to set the desired temperature.
6. Maintenance
Proper maintenance will extend the life of your JULIAQUA Aquarium Heater:
- Regular Cleaning: Periodically clean the heater to prevent algae and mineral buildup, which can affect its efficiency.
- Before Cleaning: Always unplug the heater from the power outlet and wait at least 10 minutes for it to cool down completely before removing it from the water for cleaning.
- Cleaning Method: Gently wipe the heater's surface with a soft cloth or sponge. For stubborn buildup, a soft brush can be used. Avoid using harsh chemicals or abrasive materials.
- Inspection: Regularly inspect the power cord and the heater unit for any signs of damage, cracks, or wear. If any damage is found, discontinue use immediately.
7. Troubleshooting
If you encounter issues with your JULIAQUA Aquarium Heater, refer to the following common problems and solutions:
| Problem | Possible Cause | Solution |
|---|---|---|
| Heater displays 'E1' or 'E2' error code. | Heater is not fully submerged in water (dry-run protection activated). | Ensure the heater is completely submerged. If it was out of water, unplug it, let it cool, then re-submerge and plug back in. |
| Water temperature is not reaching the set point. | Heater wattage may be insufficient for the tank size or room temperature. | If your room temperature is 10°F (5.5°C) or more colder than your target aquarium temperature, consider upgrading to a higher-wattage heater (e.g., 100W or 150W for larger tanks). Ensure proper water circulation around the heater. |
| Heater is not turning on. | No power, damaged cord, or internal malfunction. | Check power outlet. Inspect the power cord for damage. If damaged, discontinue use. Ensure the heater is fully submerged. |
| Temperature fluctuates significantly. | Poor water circulation or heater placement. | Relocate the heater near the water outlet or filter flow to improve heat distribution. Ensure the heater is not buried in substrate. |
Image 7.1: The heater displaying an 'E1' error, indicating a common issue related to insufficient submersion.
8. Specifications
| Specification | Detail |
|---|---|
| Model | GUI-50W |
| Power | 50W |
| Recommended Tank Size (US Version) | Up to 11.00 Gallons |
| Temperature Range | 68°F–95°F (20°C–35°C) |
| Dimensions (US Version) | 2.56 x 4.13 x 0.98 inches |
| Cable Length (US Version) | 4.92 ft |
| Item Weight | 7 ounces |
| Manufacturer | JULIAQUA |
| ASIN | B0BFPS8ZRW |
| Date First Available | June 27, 2023 |

Image 8.1: Detailed dimensions and specifications for various wattage models, including the GUI-50W.
9. Warranty & Support
JULIAQUA stands behind the quality of its products. If you have any questions, concerns, or require assistance with your aquarium heater, our aquatic specialists are ready to help.
- Warranty: Please refer to the product packaging or contact customer support for specific warranty details.
- Customer Support: For technical support or inquiries, please contact us via email at contact@evatmaster.com.
- Manufacturer: JULIAQUA

Image 9.1: Product box showing the model number GUI-50W and a barcode (X001MZ3WCD).
Ask a question about this manual
Ask about setup, troubleshooting, compatibility, parts, safety, or missing instructions. Manuals+ will review the question and use this page’s manual context to help answer it.