
LEKATO LOOP 3
Contents
LEKATO Looper Pedal Instruction Manual
Model: LOOP 3
Introduction
The LEKATO Looper Pedal is a compact and versatile effect pedal designed for electric guitarists, offering robust looping capabilities, a built-in tuner, and easy data management. This manual provides comprehensive instructions for setting up, operating, maintaining, and troubleshooting your looper pedal to ensure optimal performance and longevity.
Setup
Follow these steps to properly set up your LEKATO Looper Pedal:
- Power Connection: Connect the included 9V 0.6A power supply adapter to the DC 9V input on the looper pedal. Ensure the power supply is a central negative polarity (5.5mm*2.1mm barrel connector) to prevent damage.

Image: The LEKATO Looper Pedal shown alongside its 9V 0.6A power supply adapter, illustrating the complete package for setup.

Image: A close-up of the 9V power adapter, detailing its input and output specifications for proper power delivery.

Image: A diagram clearly indicating the required central negative polarity for the power adapter's barrel connector, essential for preventing damage to the pedal.
- Instrument Connection: Connect your electric guitar to the input jack of the looper pedal using a standard 1/4-inch instrument cable.
- Amplifier Connection: Connect the output jack of the looper pedal to your amplifier's input using another 1/4-inch instrument cable.
- Power On: Once all connections are secure, plug the power adapter into a wall outlet. The pedal's display should illuminate.
Operating the Looper Pedal
The LEKATO Looper Pedal features intuitive controls for recording, playback, and managing your loops.
Basic Looping Functions
All primary looping functions are controlled via the single footswitch button:
- Record: Tap the footswitch once to start recording. The display will show red lights indicating recording mode.
- Stop Recording/Start Playback: Tap the footswitch again to stop recording and immediately begin playback of your loop. Blue lights on the display indicate playback mode.
- Overdub: While a loop is playing (blue lights), tap the footswitch once to enter overdub mode. The lights will turn red, indicating that new audio is being added to the existing loop. Tap again to stop overdubbing and return to playback.
- Undo Last Overdub: While playing, hold the footswitch down for approximately 1 second to undo the last recorded overdub.
- Redo Last Overdub: After undoing, hold the footswitch down for approximately 1 second again to redo the undone overdub.
- Stop Playback: Double-tap the footswitch quickly to stop playback.
- Clear All Loops: While playback is stopped, double-tap the footswitch and then hold it down until the display clears. This will erase all recorded loops from the current bank.

Image: A foot pressing the footswitch of the LEKATO Looper Pedal, demonstrating its single-button operation for various functions like recording and playback.

Image: The looper pedal's display showing its three memory banks, synchronous recording capability, unlimited overdubs, and volume adjustment features.
Multi-Function Button (Top Right)
The small button located on the top right of the pedal serves multiple purposes:
- Select Tracks (Loops): Press once to cycle through the three available loop banks (1, 2, 3). Each bank offers up to 6 minutes of recording time, for a total of 18 minutes.
- Enter Synchronous Recording Mode: Hold the button for 1 second to enter synchronous recording mode, allowing you to start recording at any point during playback without missing a beat.
- Enter Tuning Mode: Hold the button for 3 seconds to activate the built-in high-sensitivity tuner. The display will show tuning indicators.

Image: A close-up of the looper pedal's multi-function button, detailing its different press and hold actions for track selection, synchronous recording, and tuner access.
Level Control
The large knob on the top left of the pedal controls the playback volume of your recorded loops. Adjust it to balance the loop volume with your live guitar signal.
Operational Demonstration Video
Video: A detailed demonstration of the LEKATO Guitar Looper Pedal's features, including recording, overdubbing, clearing tracks, accessing loop banks, and using the built-in tuner. This video provides a visual guide to the pedal's functionality and user interaction.
Data Management (USB Interface)
The LEKATO Looper Pedal allows for easy transfer of your recorded loops to and from a computer.
- Import/Export WAV Files: Connect the looper pedal to your PC or Mac using the included USB cable. You can then import or export lossless WAV loop files directly.
- Automatic Saving: Recorded files are automatically saved even when the unit is powered off, ensuring your creative work is preserved.
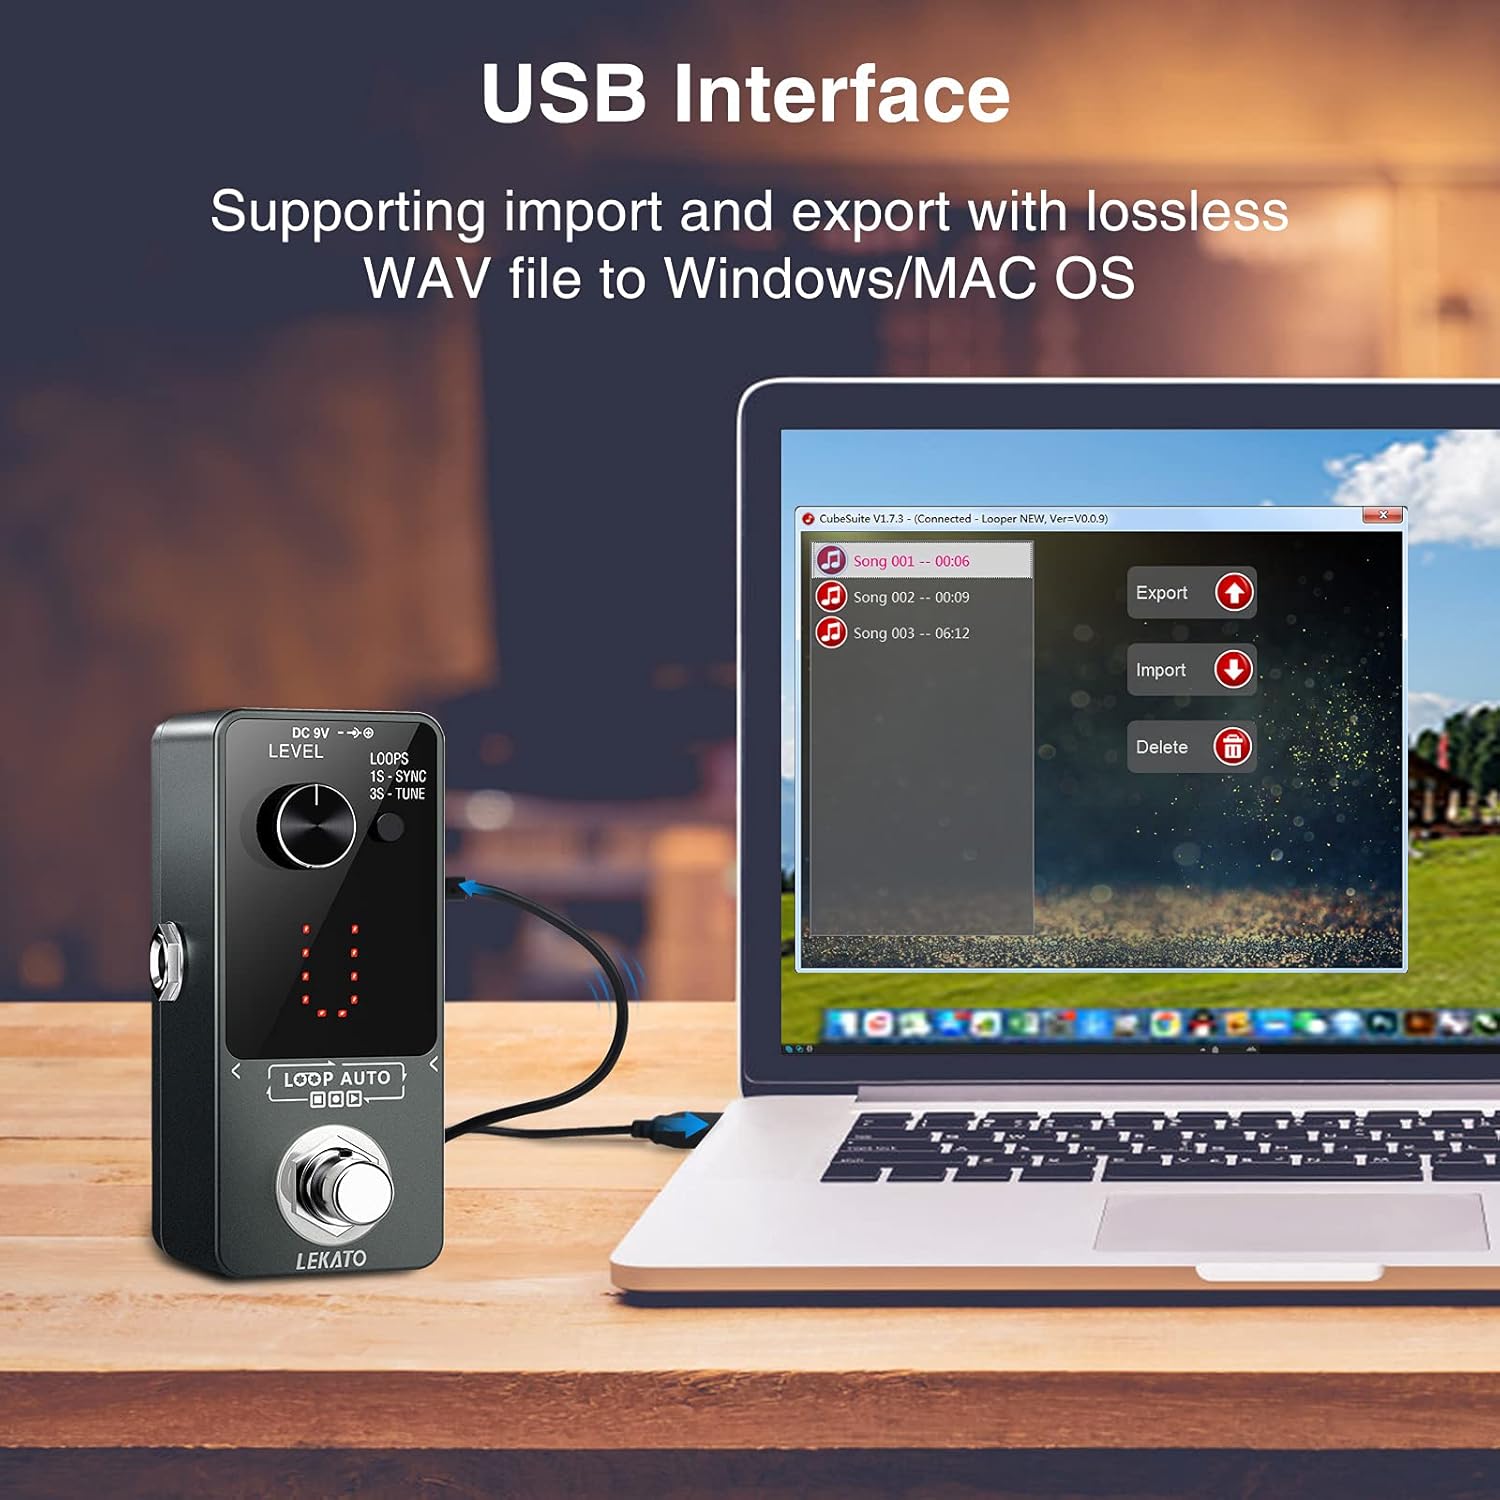
Image: The LEKATO Looper Pedal connected to a laptop, demonstrating its USB interface for importing and exporting WAV files, showing the software interface on the screen.
Maintenance
Proper maintenance ensures the longevity and optimal performance of your looper pedal.
- Cleaning: Use a soft, dry cloth to clean the pedal's surface. Avoid using abrasive cleaners or solvents.
- Storage: Store the pedal in a cool, dry place away from direct sunlight and extreme temperatures.
- Power Supply: Always use the original or a compatible 9V central negative power supply. The included adapter features over-current, over-voltage, overload, short circuit, and temperature protection.

Image: The power adapter highlighting its wide compatibility and various protection features, including over-current, over-voltage, overload, short circuit, and temperature protection, ensuring safe operation.
Troubleshooting
If you encounter issues with your LEKATO Looper Pedal, refer to the following common problems and solutions:
| Problem | Possible Cause | Solution |
|---|---|---|
| No power/display off | Incorrect power supply, loose connection, power outlet issue. | Ensure 9V central negative adapter is used and connected securely. Check power outlet. |
| No sound output | Incorrect cable connection, amplifier off, volume knob too low. | Verify all cables are correctly connected (input/output). Check amplifier power and volume. Adjust pedal's Level knob. |
| Recording not working | Not in recording mode, full memory bank. | Tap footswitch to enter recording mode (red lights). Clear current loop or switch to another bank if memory is full. |
| Static or unwanted noise | Interference, faulty cable, power supply issues. | Use shielded cables. Ensure power supply is stable. Try a different power outlet. |
Specifications
- Model: LOOP 3
- Recording Time: 18 minutes total (3 loops, 6 minutes per loop)
- Sampling Rate: 48K/24bit (Lossless, Uncompressed Audio)
- Power Supply: DC 9V 0.6A (Central Negative)
- Interface: USB for Import/Export WAV files
- Functions: Record, Overdub, Playback, Undo/Redo, Clear, Tuner, Synchronous Recording
- Dimensions: 3.54 x 1.57 x 1.95 inches
- Item Weight: 14.9 ounces
- Power Cable Length: 5.0 Feet

Image: The extended 5.0 feet power cord, providing ample reach for connecting the pedal to a power source.
Warranty and Support
LEKATO products are designed for reliability and performance. For any questions, technical assistance, or warranty claims, please contact LEKATO customer support through the retailer where the product was purchased or visit the official LEKATO website for support resources.
Please retain your proof of purchase for warranty purposes.
Documents and downloads
Ask a question about this manual
Ask about setup, troubleshooting, compatibility, parts, safety, or missing instructions. Manuals+ will review the question and use this page’s manual context to help answer it.