
1. Product Overview
The COTINSE Wireless Motion Sensor LED Light system provides a reliable security alert for various environments. It features a motion sensor (transmitter) and a plug-in receiver, designed for easy installation and expandable coverage.
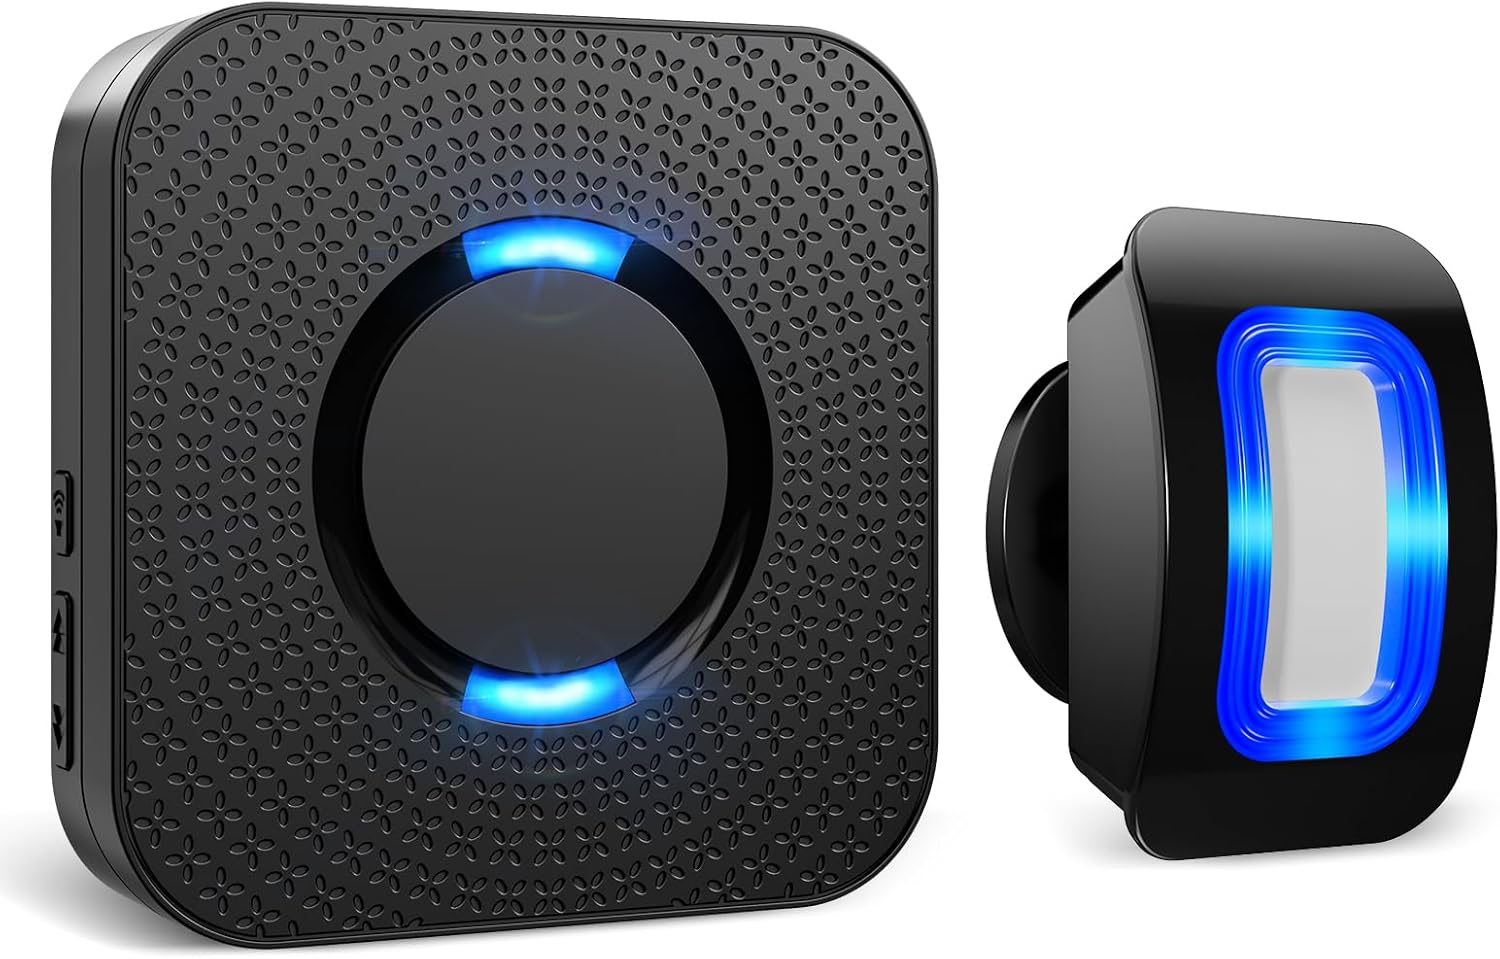
Image 1: The COTINSE Wireless Motion Sensor LED Light system, including the plug-in receiver and the battery-powered motion sensor.
Key Features:
- 58 Ringtones & 5 Volume Levels: Customize your alert sound with a wide selection of tones and adjustable volume from 0-110dB.
- Expandable Wireless System: The system can be expanded with additional sensors and receivers to cover larger areas. Each receiver can work with up to 20 motion sensors.
- Super Long Receiving Range: Enjoy an operating range of up to 500 feet between the receiver and transmitter. The infrared sensor detects motion within 13-16.5 feet.
- Easy Installation: The sensor is battery-powered (2x AAA, included) and the receiver plugs into a standard outlet.

Image 2: Visual representation of the system's key features, including ringtone variety, volume control, wireless range, expandability, and LED light.
Product Components:
- 1 x Plug-in Receiver
- 1 x Motion Sensor (Transmitter)
- 2 x AAA Batteries (for sensor)
- Mounting Hardware (screws, anchors)
2. Setup Instructions
2.1. Installing the Motion Sensor (Transmitter)
- Insert Batteries: Open the battery compartment on the back of the motion sensor. Insert two AAA batteries, ensuring correct polarity.
- Mounting: Choose a suitable location for the sensor, such as near a door, window, or hallway. The sensor can detect motion up to 110 degrees. Use the provided mounting hardware to securely attach the sensor to a wall or door frame. The sensor features 360° rotation, 90° swivel, and 90° tilt for optimal positioning.
- Power On: Ensure the sensor's power switch is in the 'ON' position.

Image 3: Details of the motion sensor, illustrating its adjustable mounting, dimensions, and battery installation.

Image 4: Visual instructions for mounting the sensor and replacing its batteries.
2.2. Installing the Receiver
- Plug In: Plug the receiver into a standard electrical outlet in your desired location. The receiver will light up, indicating it is powered on.
2.3. Pairing the Sensor and Receiver
The sensor and receiver are typically pre-paired from the factory. If they are not paired or if you are adding new components, follow these steps:
- Plug in the receiver.
- Press and hold the 'Volume/Pairing Button' on the receiver for 5 seconds until it 'dings' and the LED flashes. This indicates it's in pairing mode.
- Wave your hand in front of the motion sensor to trigger it. The receiver will ring, confirming successful pairing.
Video 1: Instructions on how to pair the motion sensor with the receiver.
2.4. Expanding Your System (Adding More Transmitters)
To add more motion sensors to your existing receiver:
- Ensure the new transmitter has batteries installed and is powered on.
- Put the receiver into pairing mode by pressing and holding the 'Volume/Pairing Button' for 5 seconds.
- Trigger the new transmitter by waving your hand in front of it. The receiver will ring, indicating successful pairing.

Image 5: The system's expandability, showing how multiple sensors can be connected to a single receiver for wider coverage.
Video 2: Guide on how to add additional transmitters to your existing setup.
3. Operating Instructions
3.1. Adjusting Volume
The receiver has 5 adjustable volume levels. Press the 'Volume/Pairing Button' on the side of the receiver to cycle through the volume settings until you reach your desired level.

Image 6: The receiver with its control buttons labeled for volume and ringtone selection.
3.2. Changing Ringtones
The receiver offers 58 different ringtones. To change the ringtone:
- Press the 'Up Button' or 'Down Button' on the side of the receiver to cycle through the available ringtones. Stop when you hear your preferred tone.
- To set the selected ringtone, press and hold the 'Volume/Pairing Button' for 5 seconds, or briefly press the 'Volume' and 'Down' buttons simultaneously until the receiver 'dings' and the LED flashes.
- Wave your hand in front of the sensor to trigger it. The receiver will ring with your newly selected ringtone, confirming it is set.
Video 3: Step-by-step guide on selecting and setting your preferred ringtone.
3.3. Sensing Modes
The motion sensor offers two sensing modes and an option to disable the blue LED lights. These settings are controlled by internal switches (SW1 and SW2) located inside the sensor unit.
- Sensing Mode 1 (SW2 to the left): Detects motion every 1-2 seconds.
- Sensing Mode 2 (SW2 to the right - Default Setting): Detects motion every 5-8 seconds.
- LED Light Control (SW1):
- SW1 to the left: Three LEDs (D2, D3, D6) will light up when motion is detected.
- SW1 to the right: Three LEDs (D2, D3, D6) will NOT light up when motion is detected.

Image 7: Internal view of the sensor showing switches for sensing modes and LED light control.
4. Maintenance
4.1. Battery Replacement
When the sensor's battery is low, the red LED (D1) will flash. To replace the batteries:
- Carefully remove the sensor from its mounting bracket.
- Open the battery compartment on the back.
- Remove the old AAA batteries and insert new ones, observing correct polarity.
- Close the compartment and reattach the sensor to its bracket.
4.2. General Care
- Keep the devices clean by wiping them with a soft, dry cloth.
- Avoid exposing the devices to extreme temperatures, direct sunlight, or moisture.
- Ensure the sensor's detection area is clear of obstructions for optimal performance.
5. Troubleshooting
5.1. Receiver Does Not Sound
- Check Power: Ensure the receiver is properly plugged into a working electrical outlet.
- Test Receiver: Press the 'Volume/Pairing Button' on the receiver to see if it rings. If it does not, the receiver may be faulty.
- Check Sensor Battery: If the receiver rings when tested, check the transmitter's batteries. Replace them if they are low or depleted.
- Pairing Issue: The receiver and transmitter may not be paired. Follow the pairing instructions in Section 2.3.
5.2. Operating Range Reduced
- Obstructions: Metal structures, thick walls, or PVC door frames can reduce the wireless range. Try repositioning the devices.
- Interference: Other electronic equipment can cause radio interference. Keep the devices away from other wireless devices.
- Weak Batteries: Low batteries in the transmitter will reduce the operating range. Replace them if necessary.
5.3. Resetting the System
If you experience persistent issues or wish to clear all pairings, you can reset the doorbell and transmitter:
- Plug the doorbell receiver into an outlet.
- Press and hold the 'Down Button' on the receiver for approximately 10 seconds. You will hear a ring, indicating the reset is complete.
- After resetting, the receiver will no longer ring when the transmitter is triggered. You will need to re-pair the transmitter(s) following the instructions in Section 2.3.
Video 4: Instructions on how to perform a factory reset for the system.
6. Specifications
| Brand | COTINSE |
| Model Number | FX-B26-YB-1T1-B-HXY-1 |
| Color | Black |
| Power Source | Battery Powered (Sensor), Plug-in (Receiver) |
| Item Weight | 0.22 Kilograms |
| Maximum Wireless Range | 500 Feet |
| Sensor Detection Angle | Up to 110 degrees |
| Sensor Detection Range | 13-16.5 Feet |
| Mounting Type | Door Mount |
| Battery Description | AAA (2x for sensor) |
| Compatible Devices | Security Systems, Home Automation Hubs, Lighting Controls |
7. Warranty and Support
COTINSE offers a 30-day return policy and a 1-year refund/replacement policy through the seller for any product defects or customer dissatisfaction. For any questions or support needs, please email us with your order number and specific questions. Our customer service team aims to reply within 24 hours.
For further assistance, please visit the COTINSE Store on Amazon.
