
OWON SDS1102
OWON SDS1102 Digital Storage Oscilloscope User Manual
Model: SDS1102
1. Introduction
This manual provides detailed instructions for the operation and maintenance of the OWON SDS1102 Digital Storage Oscilloscope. The SDS1102 is a 2-channel desktop oscilloscope offering a 100MHz bandwidth and a 1GS/s real-time sample rate. It features a 7-inch high-resolution LCD and supports SCPI commands and LabVIEW for advanced control and data acquisition. Please read this manual thoroughly before using the device to ensure proper and safe operation.
2. Safety Information
To prevent electric shock or personal injury, and to avoid damage to the oscilloscope or connected equipment, observe the following safety precautions:
- Ground the Product: The oscilloscope must be properly grounded.
- Connect and Disconnect Probes Properly: Connect the probe output to the oscilloscope before connecting the probe to the circuit under test. Disconnect the probe from the circuit under test before disconnecting it from the oscilloscope.
- Observe All Terminal Ratings: To prevent fire or shock hazard, observe all ratings and markings on the product. Consult the product manual for more information about ratings before making connections to the product.
- Do Not Operate Without Covers: Do not operate the product with covers or panels removed.
- Use Proper Fuse: Use only the specified fuse type and rating.
- Avoid Exposed Circuitry: Do not touch exposed connections or components when power is present.
- Do Not Operate in Wet/Damp Conditions: Do not operate the product in wet or damp conditions.
- Do Not Operate in Explosive Atmosphere: Do not operate the product in an explosive atmosphere.
- Keep Product Surfaces Clean and Dry: Keep product surfaces clean and dry to prevent contamination.
3. Package Contents
Verify that all items listed below are included in your package. If any items are missing or damaged, please contact your distributor.

Figure 3.1: OWON SDS1102 Digital Storage Oscilloscope with included accessories. The image displays the main oscilloscope unit, two oscilloscope probes, a power cord, a USB cable, and a software CD.
- OWON SDS1102 Digital Storage Oscilloscope Unit
- Oscilloscope Probes (2 units)
- Power Cord
- USB Cable
- Quick Guide / Software CD (may vary by region)
4. Product Overview
The OWON SDS1102 is designed for precise waveform analysis with its intuitive interface and robust features.
4.1 Key Features
- 100MHz Bandwidth, 2 Channels
- 1GS/s Real-time Sample Rate
- 7-inch (800x480 pixels) High-Resolution Color LCD
- Supports SCPI Remote Commands and LabVIEW
- USB Host for U-disk storage and firmware upgrades
- Built-in 6-bit hardware frequency meter
- 30 types of automatic measurements
- Ultra-thin body design (70mm thickness, 1.1kg weight)
4.2 Front Panel

Figure 4.1: Front view of the OWON SDS1102 Oscilloscope highlighting its display and controls. The image shows the 7-inch LCD screen, control knobs, function buttons, and input connectors for channels 1 and 2. Key specifications like 1GS/s Sample rate, 10K Record Length, 2-Channel, 100 MHz Bandwidth, and 7 inch high resolution LCD are overlaid.
The front panel includes the 7-inch LCD display, various control buttons, rotary knobs for horizontal and vertical adjustments, trigger controls, and the input connectors for Channel 1 (CH1) and Channel 2 (CH2). A USB host port is conveniently located on the front for data storage and firmware updates.

Figure 4.2: Detail of the front-sided USB port. This image emphasizes the USB port on the front panel, indicating its use for saving data (waveform records) and its capacity for up to 10K sampling points.
4.3 Physical Dimensions

Figure 4.3: Physical dimensions and weight of the SDS1102. The image shows the oscilloscope with its dimensions: 11.85 inches (301mm) width, 5.98 inches (152mm) height, and 2.75 inches (70mm) thickness. The total weight is 1.1 kg. It also highlights the ultra-thin design and the side-mounted power socket.
The SDS1102 features an ultra-thin design, measuring 301mm (width) x 152mm (height) x 70mm (thickness) and weighing approximately 1.1 kg, making it highly portable and space-efficient for desktop use.
4.4 Display Interface

Figure 4.4: The 7-inch color LCD display. This image focuses on the oscilloscope's 7-inch color LCD screen, emphasizing its 800 x 480 pixel resolution for clear and concise waveform readings.
The 7-inch (800x480 pixels) color LCD provides a clear and detailed display of waveforms and measurement parameters. The display grid is 8x12, offering ample space for waveform visualization.
5. Setup
5.1 Power Connection
- Ensure the oscilloscope's power switch is in the OFF position.
- Connect the provided power cord to the power input socket on the side of the oscilloscope.
- Plug the other end of the power cord into a grounded AC power outlet (100V-240V AC, 50/60Hz).
5.2 Probe Connection
- Connect the BNC connector of the oscilloscope probe to the CH1 or CH2 input connector on the front panel.
- Ensure the probe is securely twisted into place.
- Attach the probe ground clip to a known ground point in your circuit.
- Set the probe attenuation switch (usually on the probe itself) to the desired setting (e.g., 1X or 10X). Remember to match this setting in the oscilloscope's channel menu for accurate readings.
5.3 Initial Power On
After connecting power and probes, press the power button on the front panel to turn on the oscilloscope. The device will perform a self-test and display the main waveform interface.
6. Operating Instructions
6.1 Basic Waveform Display
Use the vertical (VOLTS/DIV) and horizontal (SEC/DIV) knobs to adjust the scale of the displayed waveform. The position knobs allow you to move the waveform vertically and horizontally on the screen.
6.2 Triggering
The trigger system stabilizes repetitive waveforms and captures single-shot events. Adjust the trigger level and mode using the dedicated trigger controls on the front panel to achieve a stable display.
6.3 Cursor Measurements
The SDS1102 supports cursor measurements for precise analysis of waveform parameters.

Figure 6.1: Example of cursor measurements. This image shows the oscilloscope display with two vertical cursors (A and B) placed on a sine wave. The measurement results, including time difference (Δx) and voltage difference (Δy), are displayed on the screen.
To use cursor measurements:
- Press the Cursor button.
- Select the desired cursor type (e.g., Voltage, Time, Track) from the menu.
- Use the multipurpose knob to position the cursors on the waveform.
- The measured values (e.g., ΔV, ΔT) will be displayed on the screen.
6.4 Automatic Measurements
The oscilloscope offers 30 types of automatic measurements, providing quick and accurate parameter readings.

Figure 6.2: Automatic measurement results. This image displays a comprehensive list of automatic measurements for a waveform, including Max, Min, PK-PK, Vpp, Mean, RMS, Cycle RMS, Rise Time, Fall Time, Frequency, Period, Duty Cycle, and more.
To access automatic measurements:
- Press the Measure button.
- Select the desired measurement type from the menu.
- The results will be displayed on the screen.
6.5 Waveform Storage and Recall
The SDS1102 allows for storing and recalling waveforms. You can save waveforms to the internal memory or to a USB flash drive connected to the front-sided USB port.

Figure 6.3: Waveform storage menu. This image shows the oscilloscope's menu for saving and recalling waveforms, with options to select different waveform slots (Wave 8 to Wave 15) and to save or recall the selected waveform.
6.6 PC Communication (SCPI and LabVIEW)
The SDS1102 supports communication with a host computer via USB, enabling remote control using SCPI commands and integration with LabVIEW for advanced data analysis and automation.
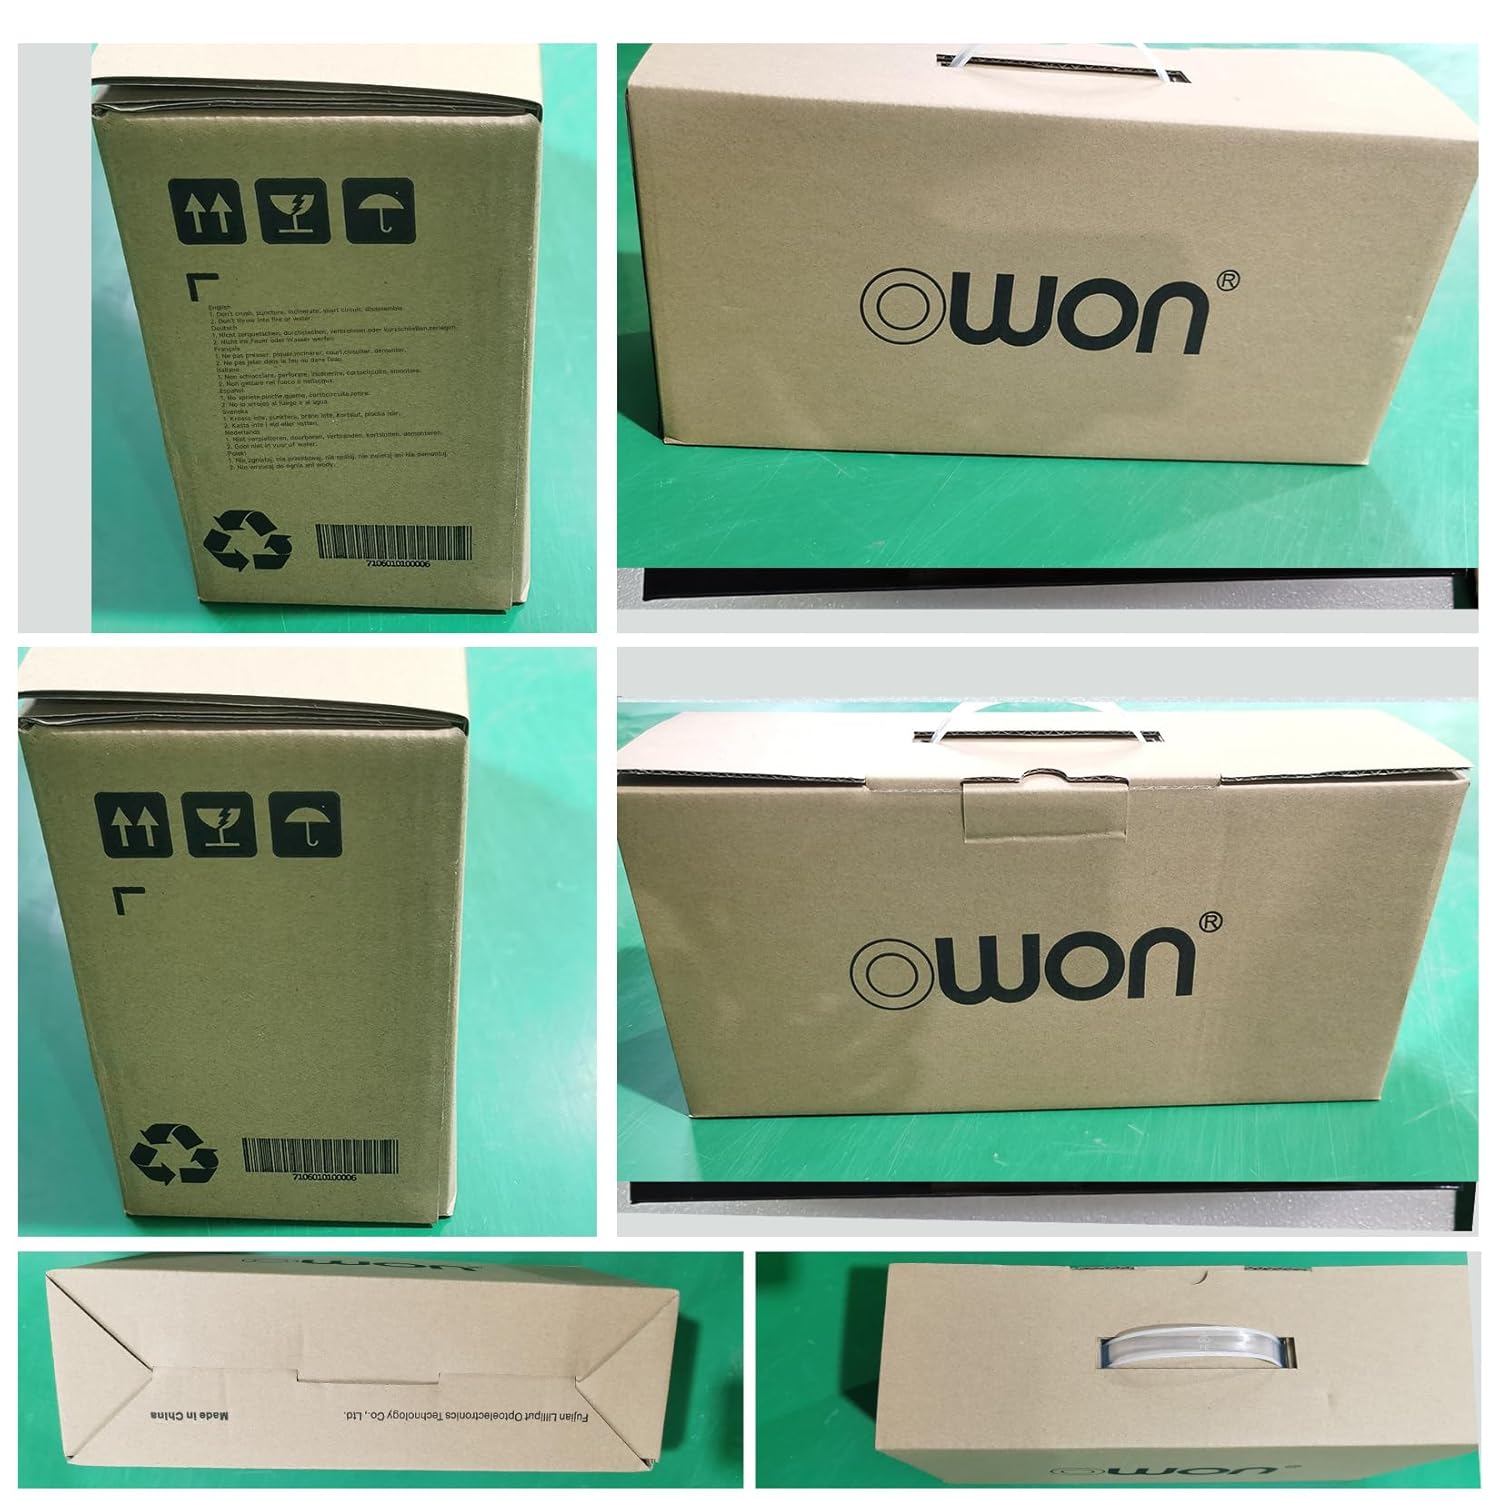
Figure 6.4: Oscilloscope connected to a laptop for PC communication. The image shows the OWON SDS1102 oscilloscope connected to a laptop via a USB cable, demonstrating its capability for communication and remote control using SCPI and LabVIEW.
To establish PC communication:
- Install the necessary drivers and software (e.g., LabVIEW drivers, SCPI command interface) on your computer.
- Connect the oscilloscope to your computer using the provided USB cable.
- Refer to the OWON website or software documentation for detailed instructions on using SCPI commands or LabVIEW integration.
7. Maintenance
7.1 Cleaning the Oscilloscope
To maintain the performance and appearance of your oscilloscope:
- Disconnect the power cord before cleaning.
- Use a soft cloth dampened with mild detergent and water to clean the exterior surfaces.
- Do not use abrasive cleaners or solvents that may damage the plastic parts.
- Ensure no liquid enters the device.
7.2 Firmware Updates
Firmware updates may be released periodically to improve performance or add new features. These updates can typically be performed via the front-sided USB port using a USB flash drive.
- Visit the official OWON website for the latest firmware versions and detailed update instructions.
- Download the firmware file to a USB flash drive.
- Follow the on-screen prompts or specific instructions provided with the firmware update.
8. Troubleshooting
This section provides solutions to common issues you might encounter.
| Problem | Possible Cause | Solution |
|---|---|---|
| No waveform displayed |
|
|
| Unstable waveform |
|
|
| No power |
|
|
If the problem persists after attempting these solutions, please contact OWON customer support.
9. Specifications
| Parameter | Detail |
|---|---|
| Model | SDS1102 |
| Bandwidth | 100 MHz |
| Channels | 2 |
| Sample Rate | 1 GS/s (Real-time) |
| Display | 7-inch Color LCD, 800 x 480 pixels |
| Record Length | 10K points |
| Interface | USB Host, USB Device (supports SCPI, LabVIEW) |
| Automatic Measurements | 30 types |
| Power Supply | 100V-240V AC, 50/60Hz |
| Dimensions (L x H x W) | 301 x 152 x 70 mm (11.85 x 5.98 x 2.75 inches) |
| Weight | 1.1 kg (2.43 lbs) |
10. Warranty and Support
OWON products are designed and manufactured to high-quality standards. For warranty information, please refer to the warranty card included with your product or visit the official OWON website.
For technical support, service, or inquiries, please contact OWON customer service through their official website or the contact information provided in your product documentation. When contacting support, please have your product model (SDS1102) and serial number ready.
Manufacturer: OWON
Related documentsSDS1102


Ask a question about this manual
Ask about setup, troubleshooting, compatibility, parts, safety, or missing instructions. Manuals+ will review the question and use this page’s manual context to help answer it.