
1. Introduction
Thank you for choosing the senri Mini Security Camera. This manual provides essential instructions for setting up, operating, and maintaining your camera to ensure optimal performance and security. Please read this guide thoroughly before use.
2. Product Features
- 1080P HD Video: Captures clear and sharp video footage.
- Wireless Connectivity: Supports 2.4GHz Wi-Fi for remote viewing.
- Motion Detection: Alerts you to detected movement.
- Automatic Night Vision: Switches to infrared night vision in low light conditions.
- Compact Design: Small and discreet for various indoor placements.
- Multi-platform Viewing: Access live feed and recordings via iOS and Android mobile applications.
- Micro SD Card Support: For local video storage.
- Battery Powered: For flexible placement options.

Image 2.1: Overview of the senri Mini Security Camera's main features, including HD 1080P, Wi-Fi, built-in magnet, motion sensor, wide-angle lens, no glow IR light, USB port, Micro SD card slot, and multi-platform viewing capabilities.
3. Setup Guide
3.1. Charging the Camera
Before initial use, fully charge the camera using the provided USB cable and a standard 5V USB power adapter. The charging indicator light will typically change color or turn off when charging is complete.
3.2. Inserting a Micro SD Card
Locate the Micro SD card slot on the camera. Gently insert a compatible Micro SD card (up to 32GB, Class 10 recommended) with the gold contacts facing down until it clicks into place. This card is necessary for local video storage.
3.3. Downloading the Mobile Application
Search for the designated mobile application (refer to your product packaging or a quick start guide for the exact app name) on the Apple App Store (for iOS devices) or Google Play Store (for Android devices). Download and install the application.
3.4. Connecting to Wi-Fi and Pairing
- Ensure your mobile device is connected to a 2.4GHz Wi-Fi network. This camera does not support 5GHz Wi-Fi networks.
- Power on the camera. The indicator light will begin to flash, indicating it is ready for pairing.
- Open the installed mobile application and follow the on-screen instructions to add a new device.
- You may be prompted to scan a QR code on the camera or connect to the camera's temporary Wi-Fi hotspot.
- Enter your 2.4GHz Wi-Fi network password when prompted.
- Once connected, the camera's indicator light will typically become solid, and the camera will appear online in the app.
4. Operating Instructions
4.1. Live Viewing
Open the mobile application and select your camera from the device list to access the live video feed. You can view real-time footage from anywhere with an internet connection.
4.2. Recording
- Manual Recording: Within the live view interface, tap the record button to manually start and stop video recording.
- Motion-Activated Recording: Enable motion detection in the app settings. The camera will automatically record when motion is detected and save the footage to the Micro SD card.
4.3. Night Vision
The camera features automatic night vision. In low-light conditions, it will automatically switch to infrared mode to provide clear black and white video. Some models may offer full-color night vision in certain low-light scenarios.
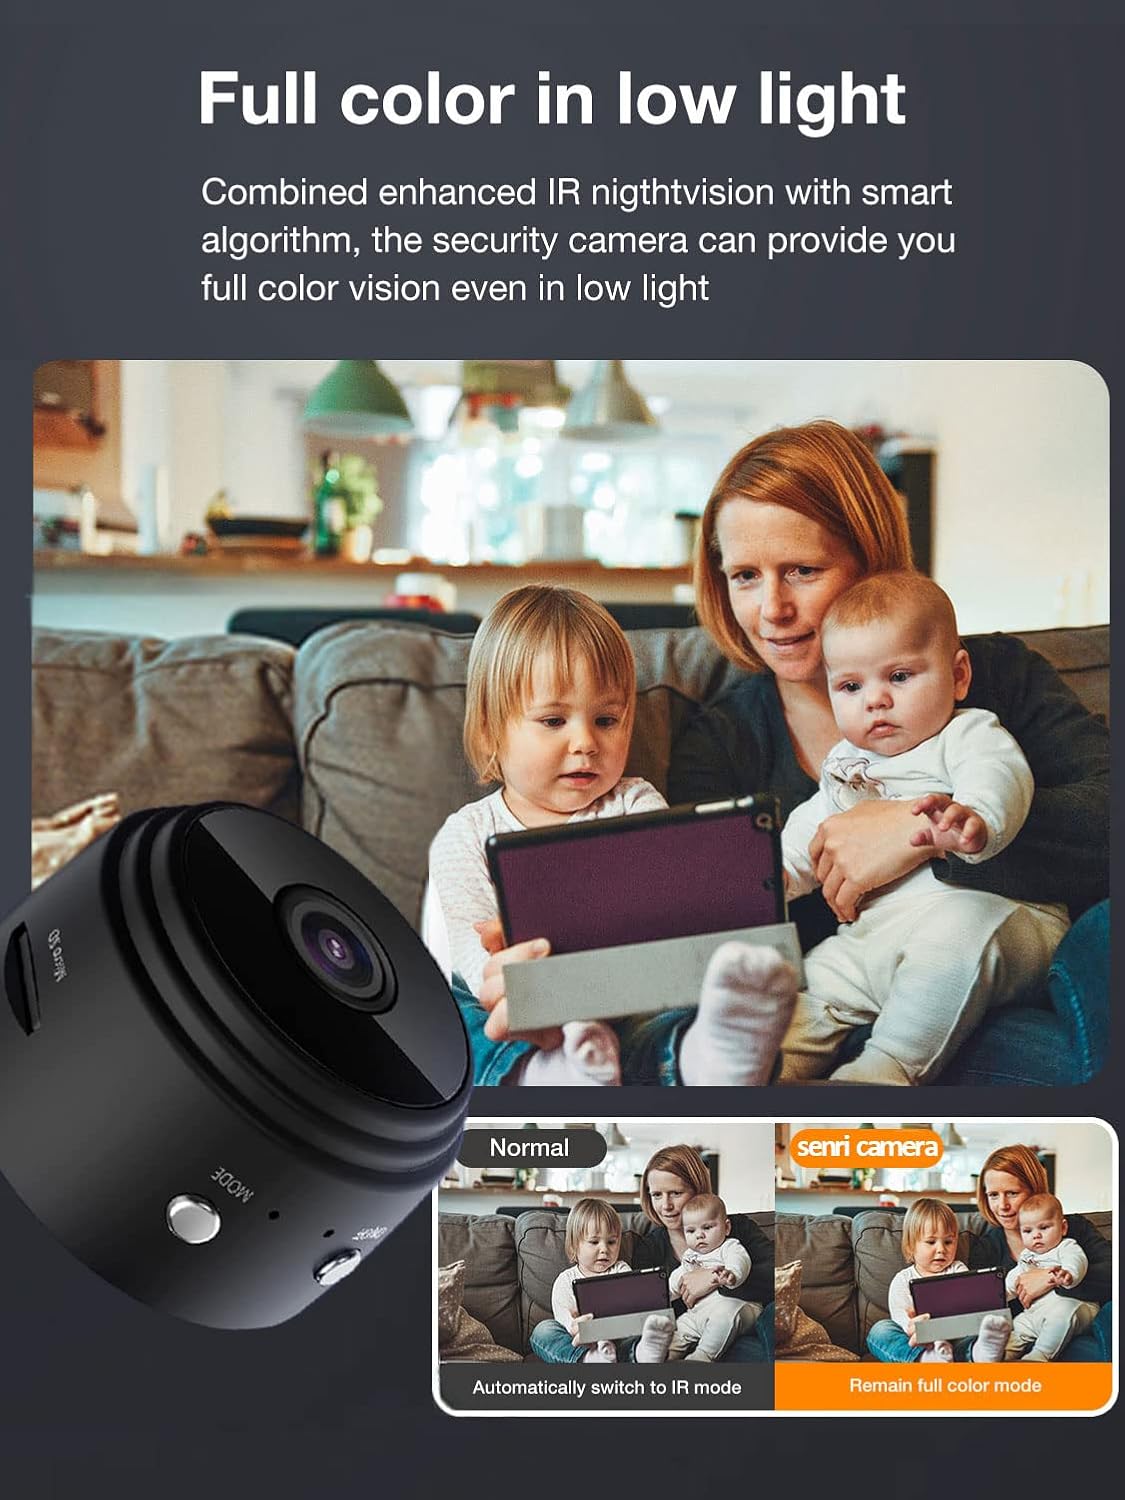
Image 4.1: The camera's ability to provide full-color vision in low light conditions, combined with enhanced IR night vision and smart algorithms. This image shows a family in a living room, illustrating the camera's performance in varying light.

Image 4.2: Illustration of the camera's smart automatic night vision feature, which activates when ambient light is low, transitioning from a daytime view to a clear night view of a living space.
4.4. Motion Detection Alerts
Configure motion detection sensitivity and alert notifications within the app settings. You will receive push notifications on your mobile device when motion is detected by the camera.

Image 4.3: Visual representation of the motion detection feature, highlighting how the camera identifies and reacts to movement within its field of view, such as a person entering the monitored area.
4.5. Multi-User and Multi-View
The mobile application supports multiple users viewing the camera simultaneously. You can also share access to your camera with family members through the app's sharing features.

Image 4.4: This image demonstrates the camera's support for multiple users and multiple viewing platforms, showing a live feed being accessed simultaneously on a laptop and a smartphone, allowing for shared monitoring.
5. Maintenance
5.1. Cleaning
Use a soft, dry cloth to clean the camera lens and body. Avoid using liquid cleaners or abrasive materials that could damage the device.
5.2. Battery Care
To prolong battery life, avoid exposing the camera to extreme temperatures. Recharge the battery regularly, even if the camera is not in constant use.
5.3. Firmware Updates
Periodically check the mobile application for available firmware updates. Keeping the camera's firmware updated ensures optimal performance and access to new features.
5.4. Micro SD Card Management
Regularly review and back up important recordings from your Micro SD card. Format the Micro SD card periodically through the app settings to maintain its performance and free up space.
6. Troubleshooting
- Camera not connecting to Wi-Fi:
Ensure your Wi-Fi network is 2.4GHz. This camera does not support 5GHz networks. Verify the Wi-Fi password is correct and the camera is within range of your router. Try restarting your router and the camera. - Camera not turning on:
Ensure the camera is fully charged. Connect it to a power source and check if the charging indicator light activates. - Poor video quality:
Check your Wi-Fi signal strength. A weak signal can affect video streaming quality. Ensure the camera lens is clean and free from obstructions. - Motion detection not working:
Verify that motion detection is enabled in the app settings and that the sensitivity is adjusted appropriately. Ensure the camera's field of view is clear. - App issues or crashes:
Ensure your mobile application is updated to the latest version. Try restarting the app or your mobile device. If issues persist, reinstall the application. - Micro SD card not recording:
Ensure the Micro SD card is correctly inserted and formatted. Check if the card is full; if so, back up data and format it. The card must be Class 10 or higher.
7. Specifications
| Feature | Detail |
|---|---|
| Model | B0BD7PQT4H |
| Video Resolution | 1080P HD |
| Connectivity | Wireless (Wi-Fi 2.4GHz) |
| Indoor/Outdoor Usage | Indoor |
| Special Features | Motion Sensor, Night Vision |
| Compatible Devices | iOS, Android |
| Mount Type | Wall Mount (via built-in magnet) |
| Power Source | Battery Powered |
| Field Of View | 150 Degrees |
| Item Dimensions | 1.7 x 1.5 x 0.98 inches |
| Storage | Micro SD Card (not included) |
8. Warranty Information
Please refer to the warranty card or product packaging included with your senri Mini Security Camera for detailed warranty terms and conditions. Warranty coverage typically includes manufacturing defects for a specified period from the date of purchase.
9. Customer Support
If you encounter any issues or have questions not covered in this manual, please contact senri customer support. Refer to your product packaging or the official senri website for contact information.
