
Kittyhok B0BD7MJCWK
Kittyhok Wireless Security Camera System User Manual
Model: B0BD7MJCWK
1. Introduction
This manual provides detailed instructions for the setup, operation, and maintenance of your Kittyhok Wireless Security Camera System. This system includes a 10-channel NVR with a 12-inch monitor and a 1TB hard drive, along with 2K WiFi security cameras and PTZ outdoor security cameras featuring 360-degree viewing, auto-tracking, human detection, and spotlight capabilities. Please read this manual thoroughly to ensure proper installation and optimal performance of your security system.
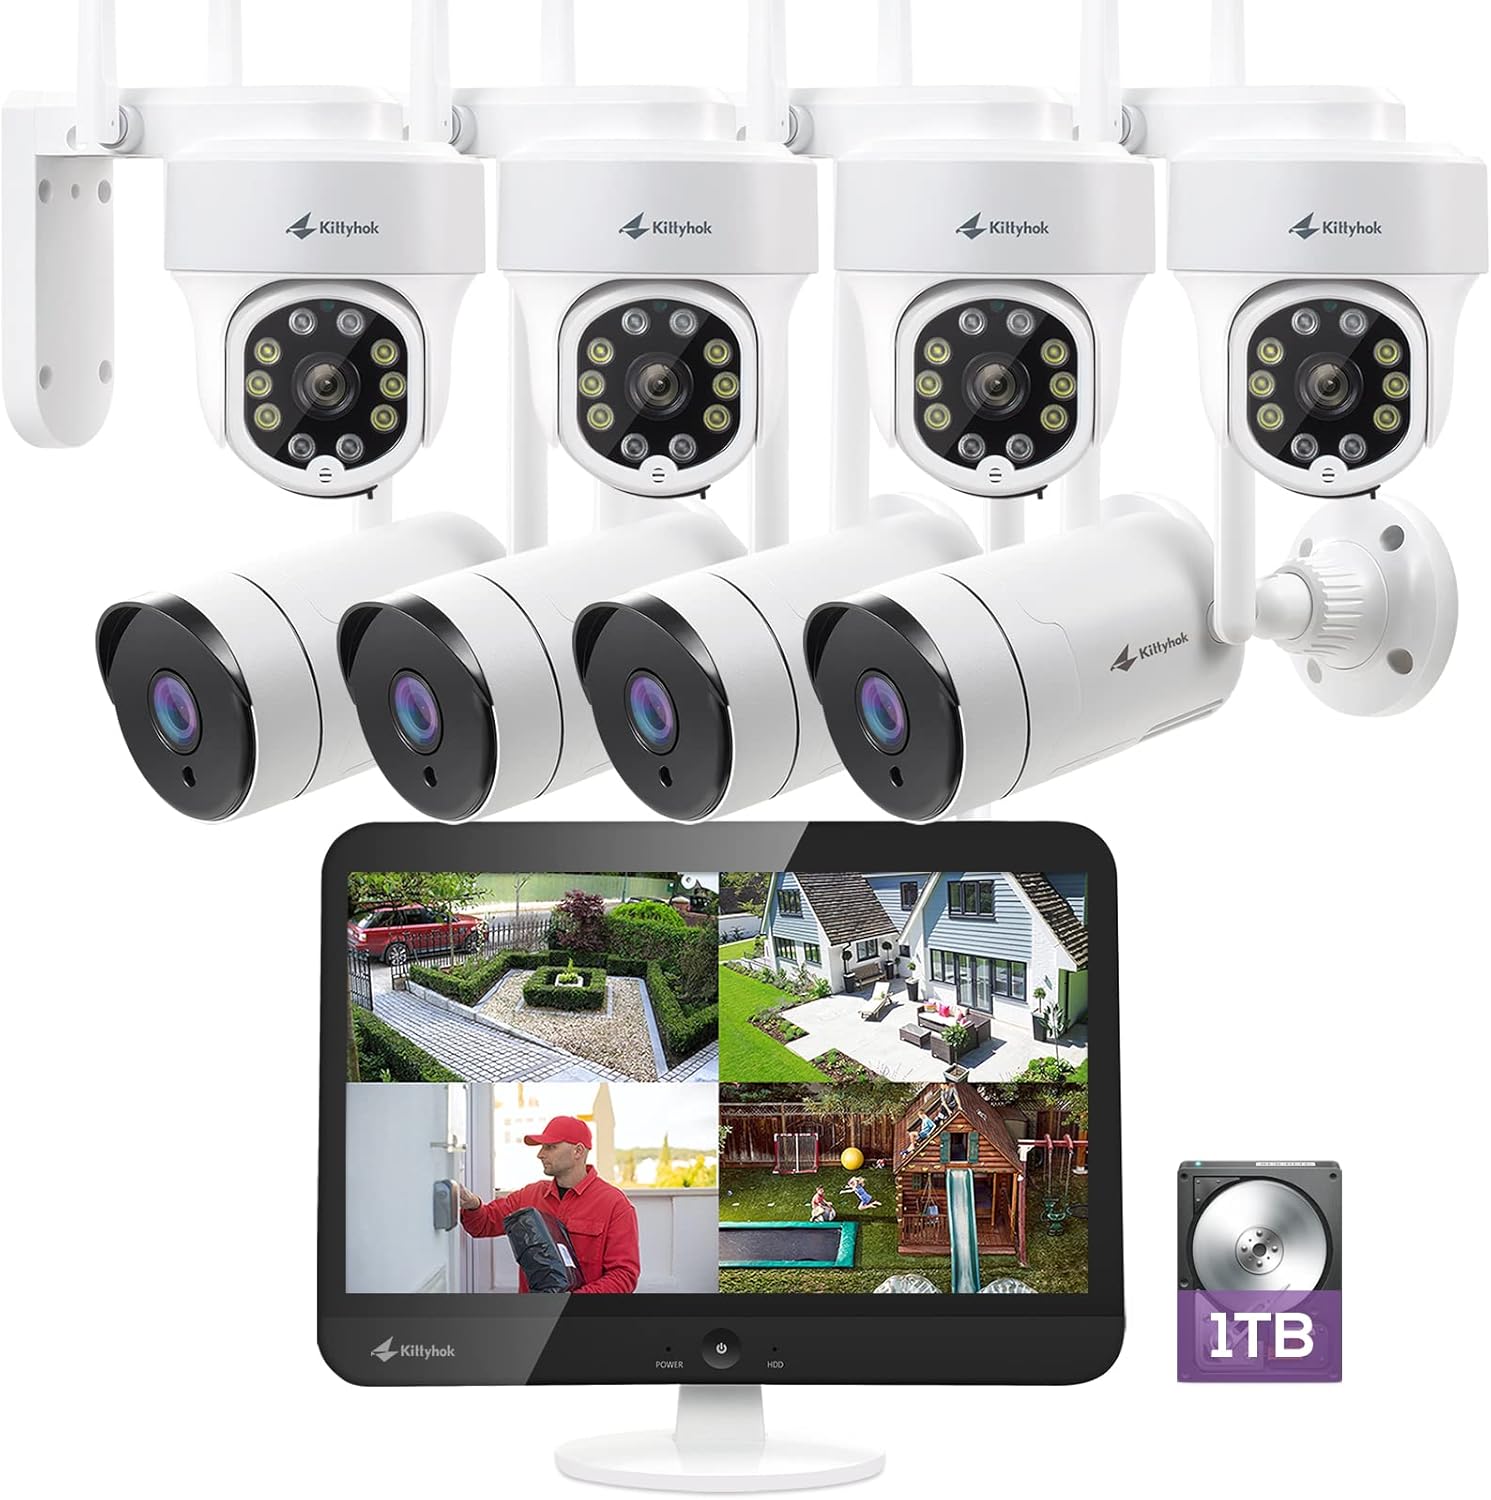
Figure 1.1: Overview of the Kittyhok Wireless Security Camera System components.
2. What's in the Box
Verify that all components are present and in good condition upon unboxing. The exact quantity of cameras may vary based on your specific model number.
- Mini NVR or Monitor Built-in NVR
- Dome or Bullet Camera(s)
- NVR Power Adapter
- Camera Power Adapter (1 per camera)
- RJ-45 Ethernet Cable
- HDMI Cable
- USB Mouse
- Mounting Hardware (screws, anchors)

Video 2.1: Unboxing and contents of the Kittyhok Wireless Security System.
3. NVR Introduction
Familiarize yourself with the ports and indicators on your NVR (Network Video Recorder) for proper connection and operation.
NVR Front Panel Indicators:
- Power Indicator
- HDD Indicator
- Network Indicator
NVR Rear Panel Ports:
- 12V DC In (Power Input)
- USB Port (for mouse)
- HDMI Video Output (for external monitor)
- RJ-45 (Ethernet) Port
- Reset Button
- Micro SD Card Slot
- NVR Antennas
- Speaker
- SATA Hard Drive Dock (for internal HDD)

Figure 3.1: NVR and camera connection diagram.
4. Camera Introduction
Understand the different components of your security cameras.
Common Camera Components:
- Antenna
- Mounting Bracket
- Lens
- Infrared & Spotlight 2-in-1 LEDs
- Built-in Mic
- Speaker
- Power Port
- Ethernet Port (for wired connection, if applicable)
- Reset Button (for restoring factory settings)
- Micro SD Card Slot (for local storage, if applicable)
- Daylight Sensor

Figure 4.1: PTZ camera with 360-degree viewing.
5. Setup
5.1 Connecting Your System
- Connect the NVR to power using the included power adapter.
- Connect the USB mouse to the NVR's USB port.
- Connect the NVR to a PC monitor or TV with an HDMI cable if your NVR does not have a built-in monitor.
- Connect the NVR to your router with an Ethernet cable for remote access, or configure Wi-Fi settings via the NVR's Network Setting menu.
- Power on all cameras using their included power adapters.
Note: Ensure all cameras are powered on and within range of the NVR's Wi-Fi signal for optimal performance. The system is designed for auto-pairing.

Figure 5.1: Plug and Play setup for the Kittyhok system.
5.2 Positioning Your NVR and Cameras
- Camera distance from NVR can reach up to 1300 ft. wirelessly in line of sight. Proper placement of the wireless NVR in your home will help ensure maximum coverage.
- Avoid placing the NVR near high voltage wires or other sources of electrical interference, as this can degrade signal quality.
- Install cameras 2-3 meters (7-10 ft.) above the ground. This height maximizes the detection range of the motion sensor.
- For dome cameras, they should be installed upside down for better waterproof performance and motion sensor efficiency.
- For better motion detection performance, install cameras angularly.

Figure 5.2: Auto WiFi Relay technology for extended coverage.
6. Operating Your System
6.1 Accessing Your System via Smartphone
Download the Kittyhok App from the App Store (iOS) or Google Play (Android) and install it on your smart device. Launch the app, register an account, and log in. Tap the '+' button and then 'Scan to add' to scan the QR code on the NVR or manually add the device.

Figure 6.1: Remote access via phone, tablet, and PC.
6.2 Accessing Your System via PC and Mac
Download and install the CMS (Central Management Software) on your computer. Log in with your phone app user account, and your system will automatically sync to the CMS.
6.3 Key Features
- 360° Viewing: Utilize the Pan-Tilt-Zoom (PTZ) cameras to cover every angle and eliminate blind spots. Digitally zoom in or out for detailed viewing.
- Auto Tracking: When motion is detected, the PTZ camera will automatically pan and tilt to follow the source of the motion. It returns to its 'Home Point' when the motion ceases.
- Human Detection: Minimize false notifications by only receiving alerts when a person is detected on your property.
- Active Deterrence: Deter unwanted guests with a motion-activated LED warning light and a remotely triggered siren.
- 2-Way Talk: Communicate with visitors or deter intruders using the built-in microphone and speaker on the cameras.
- Color Night Vision: Experience clear, full-color video even in low-light conditions.
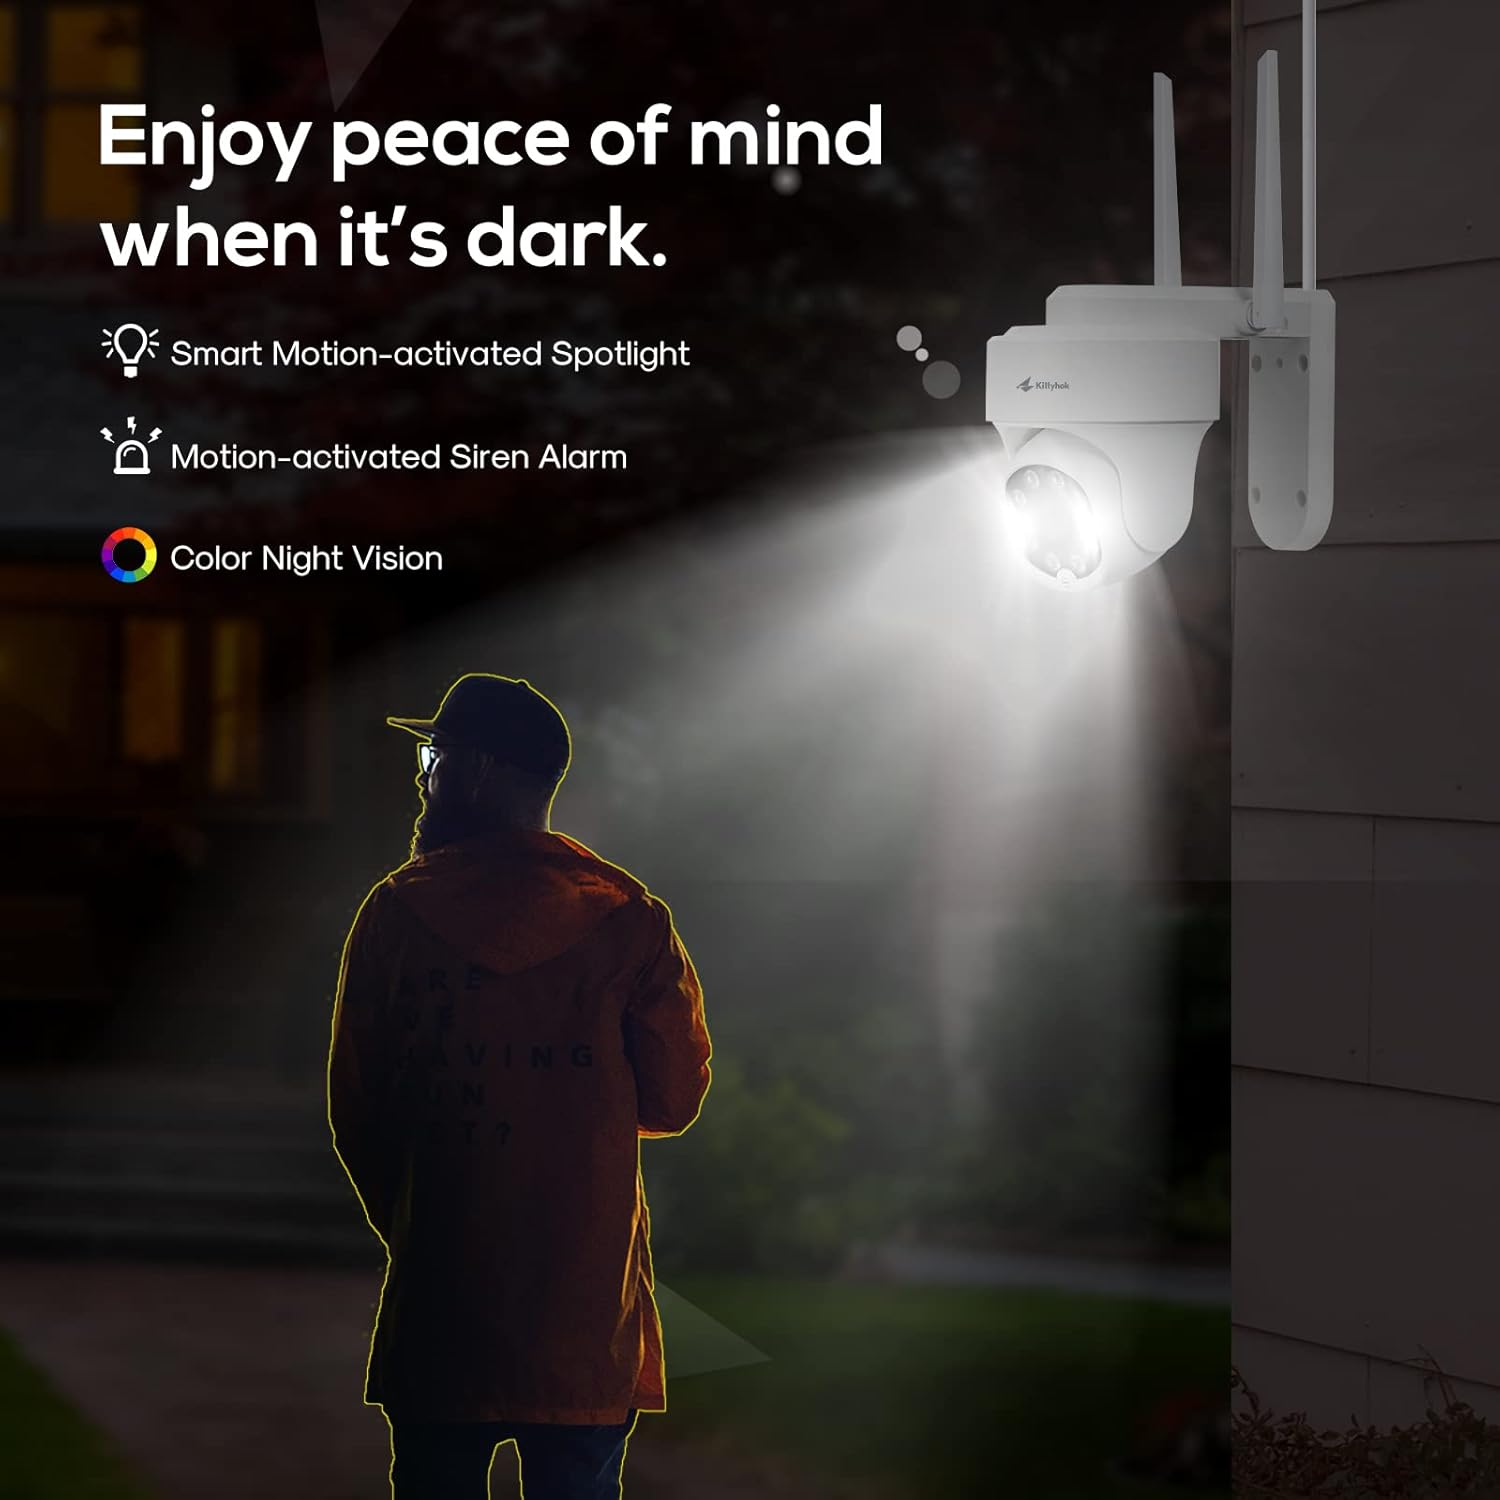
Figure 6.2: Active deterrence features including spotlight and siren.

Figure 6.3: Two-way talk functionality.
7. Maintenance
Regular maintenance ensures the longevity and optimal performance of your security system.
- Cleaning: Periodically clean the camera lenses with a soft, damp cloth to remove dust and smudges that may affect image clarity. Ensure the power is off before cleaning.
- Firmware Updates: Check the Kittyhok website or app regularly for firmware updates. Keeping your system updated ensures you have the latest features and security enhancements.
- Hard Drive Health: The 1TB HDD is pre-installed for 24/7 recording. Monitor its health through the NVR interface to prevent data loss.
- Cable Management: Ensure all cables are securely connected and protected from environmental damage.
- Environmental Protection: While cameras are weatherproof, extreme weather conditions can impact performance. Ensure proper installation to protect against direct exposure to harsh elements.

Figure 7.1: Weatherproof design of Kittyhok cameras.
8. Troubleshooting (Frequently Asked Questions)
- Does my NVR have to be connected to the Internet to work?
No, your NVR does not have to be connected to the Internet to work. You can view live feed and recordings by connecting it to a TV/Monitor via HDMI or VGA. - Will I be able to view my system while away from home?
In order to view your system remotely, your NVR will need to be connected to a modem/router either with the included Ethernet cable or via Wi-Fi. You can view your system using the free Kittyhok App on your smart device or CMS client on a PC/Mac®. - How do the cameras transmit video to the NVR?
Our NVRs have built-in Wi-Fi for communicating with the cameras. Each camera comes paired to the NVR by default, so your initial setup should be hassle-free. - Why my camera's PTZ control is not responding in real-time?
That normally means your camera is not having strong Wi-Fi signal. Watch the camera while controlling from App, you will see it moves immediately on your control, but the live video is not feeding in real-time due to poor Wi-Fi signal. Please mount the camera closer/ with less walls to your Wi-Fi router/ NVR so it has at least 3-bar of Wi-Fi to work smoothly, or simply use an Ethernet cable to hard wire the camera. - Does my NVR have to be connected to a TV or monitor?
For initial setup, you will need to connect your NVR to a TV or monitor. After completing the initial setup, your NVR does not need to be connected to a TV or monitor to view or capture recordings. - Why is the Kittyhok App not accepting my password?
The Kittyhok App requires two passwords to configure: one password will be used to login to the app itself and the second will be the admin password of your NVR. In order to add a device to the app, you will need to enter the NVR's admin password. - Why can't I connect using the WallPixel App or CMS Software?
If you are having trouble connecting using our mobile app or client software, A) the Wi-Fi network you are trying to connect to is not stable, B) the latest firmware or client software may not be installed on your computer or mobile device, C) the password may have been entered incorrectly, or D) you may need to restart your NVR and try again.
9. Specifications
| Feature | Specification |
|---|---|
| Brand | Kittyhok |
| Connectivity Technology | Wireless |
| Video Capture Resolution | 1520p (2K) |
| Special Feature | Motion Sensor, Auto Tracking, Human Detection, Spotlight, 2-Way Talk |
| Number of Channels | 10 |
| Memory Storage Capacity | 1 TB HDD |
| Power Source | Corded Electric |
| Compatible Devices | Personal Computers, Smartphones (iOS, Android) |
| Signal Format | Digital |
| Frame Rate | 30 FPS |
| Recording Mode | HD Video |
| Optical Sensor Technology | CMOS |
| Hardware Interface | 802.11 ac/b/g/n |
| Lens Type | Varifocal |
| Viewing Angle | 360 Degrees (PTZ cameras) |
10. Warranty and Support
Kittyhok is committed to providing excellent customer service and support for your security system.
- 1-Year Warranty: The product comes with a 1-year warranty for replacement, not repair.
- 24/7 Online Support: Dedicated one-to-one online support is available for any queries or issues you may encounter.
- 30-Day Money Back Guarantee: Enjoy peace of mind with a 30-day money-back guarantee.
- No Monthly Fees: There are no recurring monthly fees for using the core features of the system.

Figure 10.1: Benefits of choosing Kittyhok.
For further assistance, please visit the official Kittyhok website or contact their customer support team.
Related documentsB0BD7MJCWK


Ask a question about this manual
Ask about setup, troubleshooting, compatibility, parts, safety, or missing instructions. Manuals+ will review the question and use this page’s manual context to help answer it.