
1. Introduction
This user manual provides detailed instructions for the safe and effective use of your DOGlinsen Dog Training Collar. This system is designed to assist in training dogs through various modes, promoting better behavior and communication between you and your pet. Please read this manual thoroughly before operating the device.
2. Safety Information
The safety and well-being of your dog are paramount. Adhere to the following guidelines:
- Age Requirement: This training collar is suitable for dogs at least 6 months old.
- Wearing Duration: Do not leave the collar on your dog for more than 6 hours per day to prevent skin irritation.
- Proper Fit: Ensure the collar is snug but not too tight. You should be able to fit one finger comfortably between the collar and your dog's neck.
- Contact Points: Always use the silicone protective caps on the contact points to make them softer and reduce the risk of irritation. Regularly check your dog's neck for any signs of redness or sores. If irritation occurs, discontinue use immediately and consult a veterinarian.
- Supervised Use: Always supervise your dog when the training collar is in use.
3. Package Contents
Verify that all items listed below are included in your package:

Image: All components included in the DOGlinsen Dog Training Collar package.
- 1x Remote Transmitter
- 2x Receiver Collars
- 2x Adjustable Collar Belts (one black, one blue)
- 1x Micro USB Charging Cable (dual charging)
- 1x Remote Lanyard
- 8x Silicone Protective Caps
- 8x Alloy Steel Contact Points (various lengths)
- 1x Test Light
- 1x Retrieve Card Pin
- 1x User Manual
4. Product Features
- Remote Range: Up to 3300 feet (approximately 1000 meters) in open areas.
- Dog Size Compatibility: Suitable for small, medium, and large breed dogs weighing 8-120 lbs.
- Training Modes: Features 5 useful modes: Beep, Vibration, Static, Light, and Automatic Bark Mode.
- Adjustable Levels: Vibration and Static modes offer 1-100 adjustable intensity levels.
- Waterproof Rating: IP67 waterproof receiver collars, allowing use in various weather conditions and during water activities (up to 3 ft submersion).
- Dual Display Remote: The remote features a clear dual display for easy monitoring of settings.
- Multi-Dog Support: Capable of training up to 2 dogs simultaneously with individual channel control.
- Long Battery Life: Remote control lasts up to 180 days on a single charge, receiver collars up to 160 days, with over 200 days standby time.
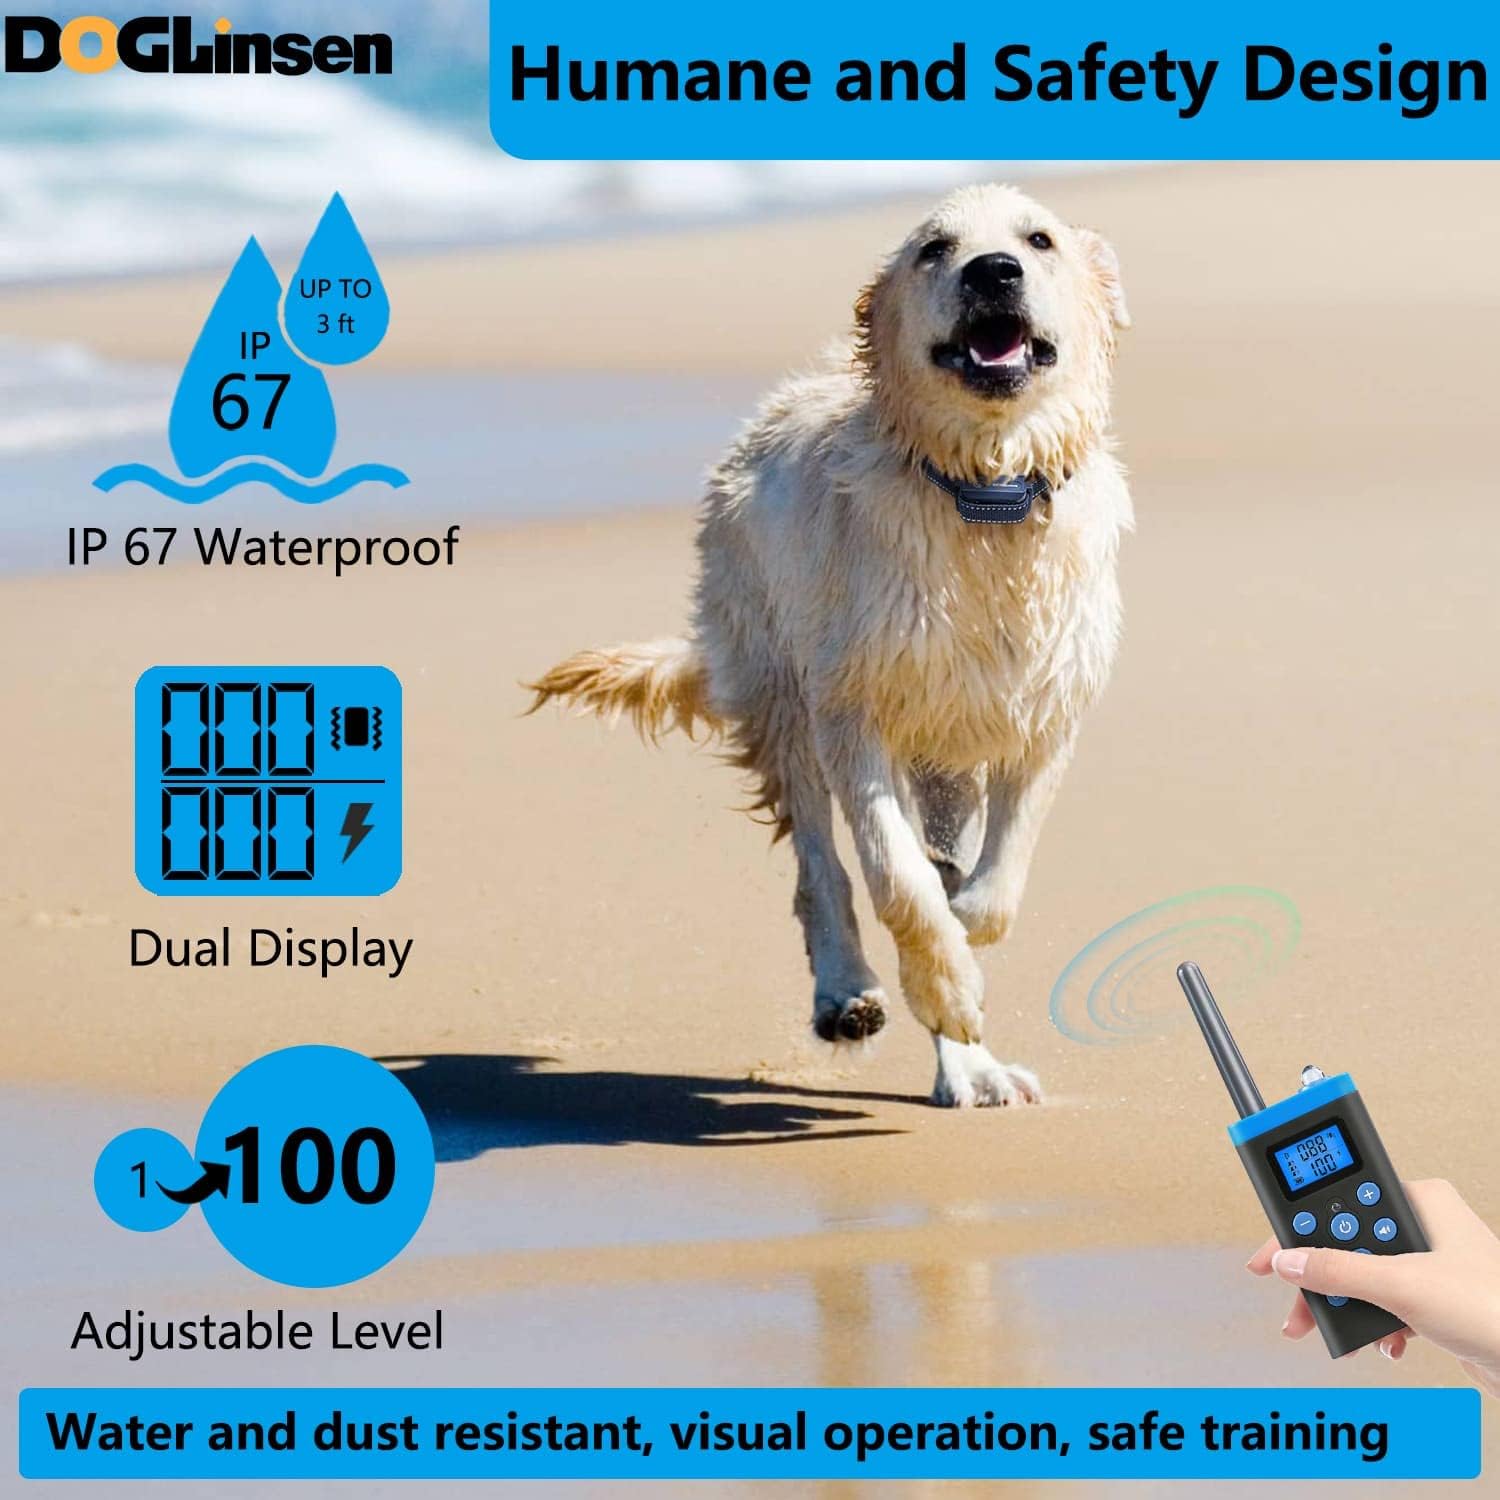
Image: Collar's IP67 waterproof design and adjustable levels.

Image: Remote range and multi-dog training capability.
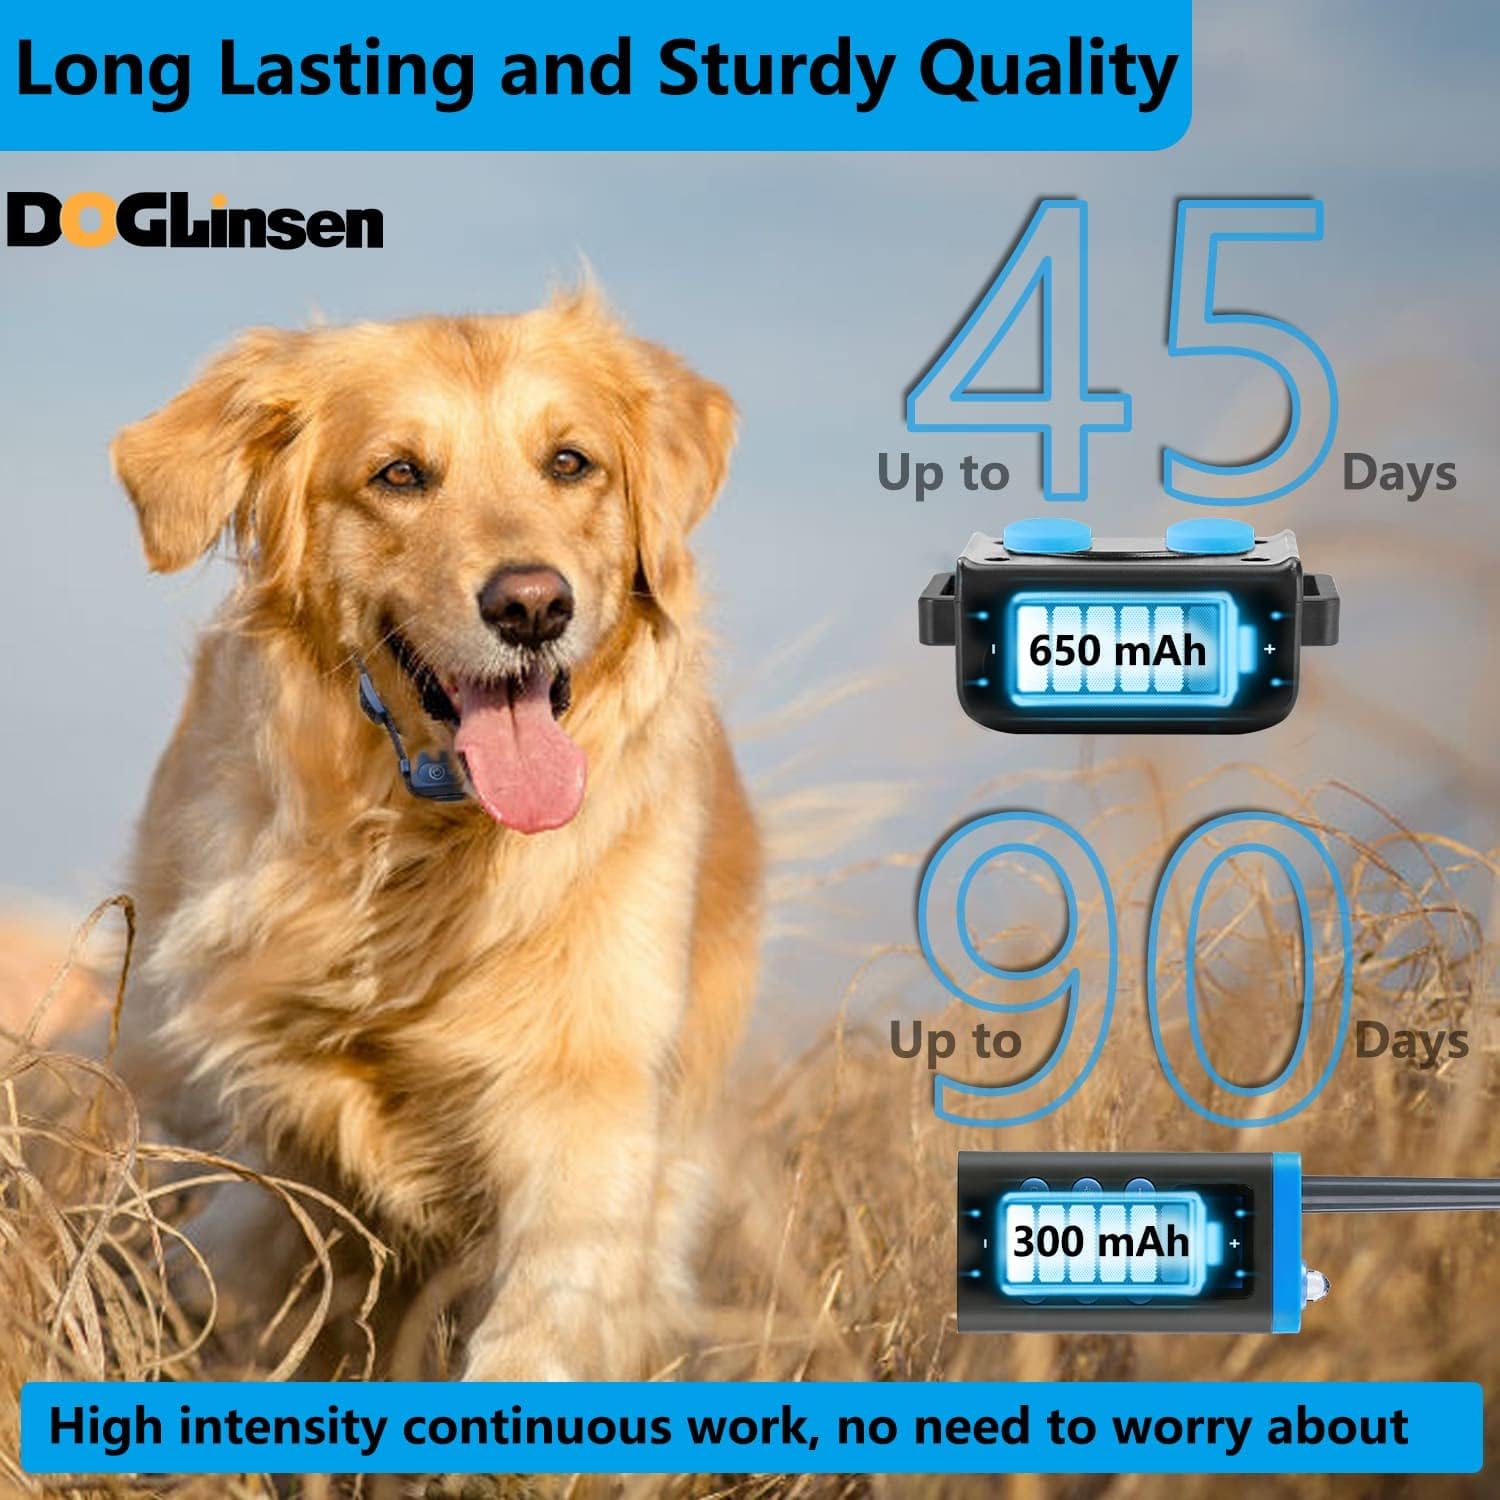
Image: Extended battery life of the collar and remote.
5. Setup
5.1 Charging the Devices
Before first use, fully charge both the remote transmitter and the receiver collars. Use the provided dual Micro USB charging cable. A full charge typically takes about 2 hours.
- Connect the charging cable to the charging ports on the remote and receiver(s).
- Plug the USB end into a standard USB power adapter (not included).
- The battery indicator on the remote and receiver will show charging status.
5.2 Pairing the Remote and Receiver(s)
The devices are usually pre-paired from the factory. If re-pairing is needed or you are adding a second collar:
- Turn on the remote transmitter.
- Select the desired channel (Dog 1 or Dog 2) using the 'CH' button on the remote.
- With the receiver collar turned off, press and hold the power button on the receiver until the indicator light flashes rapidly.
- Within 10 seconds, press the 'Beep' or 'Vibration' button on the remote. The receiver light will stop flashing and remain solid, indicating successful pairing.
5.3 Fitting the Collar
Proper fit is essential for the collar's effectiveness and your dog's comfort.

Image: The DOGlinsen remote and two receiver collars.
- Attach the receiver to the adjustable collar belt.
- Select the appropriate length contact points (short for short-haired dogs, long for long-haired dogs) and screw them into the receiver. Always place the silicone protective caps over the contact points.
- Place the collar around your dog's neck, ensuring the contact points touch the skin.
- Adjust the strap so it is snug but not restrictive. You should be able to slide one finger between the collar and your dog's neck. A loose collar will not deliver consistent stimulation and may cause irritation due to rubbing.

Image: Visual guide for correct collar fitting.
6. Operating Instructions
The DOGlinsen training collar offers multiple modes to suit various training needs.

Image: Overview of the four primary training modes.
6.1 Training Modes
- Beep Mode (
 ): Delivers an audible tone to get your dog's attention. This is often the first mode used for training.
 - Vibration Mode (
 ): Provides a non-harmful vibration. Levels 1-100 are adjustable.
 - Static Mode (
 ): Delivers a static stimulation. Levels 1-100 are adjustable. This mode should be used as a last resort and at the lowest effective level.
 - Light Mode (
 ): Activates a flashlight on the remote for visibility in low-light conditions.
 - Automatic Bark Mode (
 ): The collar automatically detects and corrects excessive barking without remote intervention.

Image: Features of the automatic bark mode.
6.2 Using the Remote
The remote control allows you to switch between modes and adjust intensity levels.
- Power Button: Turns the remote on/off.
- CH Button: Switches between Dog 1 and Dog 2 channels.
- Mode Buttons: Dedicated buttons for Beep, Vibration, Static, and Light modes.
- '+' and '-' Buttons: Adjust intensity levels for Vibration and Static modes.

Image: Detailed view of the remote control's display.
7. Training Tips
Effective training requires consistency and positive reinforcement.
- Start with Beep: Always begin training with the Beep mode. If your dog does not respond, move to Vibration. Static mode should be the last option.
- Lowest Effective Level: When using Vibration or Static modes, start at the lowest intensity level and gradually increase until your dog responds.
- Consistency: Use the collar consistently with commands. Repeat and reinforce commands for better understanding.
- Positive Reinforcement: Always reward your dog with treats, praise, or affection for desired behaviors.
- Short Sessions: Keep training sessions short and positive to maintain your dog's engagement.

Image: Training considerations for small dogs.

Image: Training considerations for medium dogs.

Image: Training considerations for large dogs.
8. Maintenance
- Cleaning: Wipe the collar and receiver with a damp cloth. Do not use harsh chemicals.
- Contact Points: Regularly inspect the contact points for dirt or corrosion. Clean them as needed.
- Battery Care: To prolong battery life, avoid fully discharging the devices frequently. Charge them when the battery indicator is low.
- Storage: Store the collar and remote in a dry, cool place when not in use.
9. Troubleshooting
| Problem | Possible Cause | Solution |
|---|---|---|
| Collar not responding to remote. | Low battery on remote or receiver; Not paired; Out of range; Incorrect channel selected. | Charge both devices; Re-pair the devices; Ensure within 3300ft range; Select correct dog channel (Dog 1/Dog 2). |
| Collar not delivering stimulation. | Contact points not touching skin; Collar too loose; Intensity level too low; Silicone caps not removed (for static). | Adjust collar fit; Ensure contact points are appropriate length and touching skin; Increase intensity level gradually; Ensure silicone caps are used for comfort, but if static is not felt, verify contact. |
| Automatic Bark Mode not working. | Mode not activated; Collar not detecting bark correctly. | Ensure Auto Bark Mode is enabled; Check collar fit and position. |
| Remote screen blinking or unresponsive. | Low battery; Software glitch. | Recharge the remote; Try resetting the remote (refer to specific instructions in the included user manual if available, or power cycle). |
10. Specifications
- Manufacturer: DOGLinsen
- Item Model Number: shock collar for small dogs 5-15lbs (Note: Product supports 8-120lb dogs as per title)
- Product Dimensions: 15.49 x 9.98 x 5.49 cm; 372 g
- Batteries: 3 Lithium Polymer batteries required (included)
- Date First Available: September 2, 2022
11. Warranty and Support
DOGlinsen is committed to providing quality products and customer satisfaction. If you encounter any issues with your training collar, please contact DOGlinsen customer support. Information regarding specific warranty terms and contact details can typically be found in the packaging or on the official DOGlinsen website.


