
Brita Chrome Faucet Mount Bundle
Brita Faucet Filtration System User Manual
Model: Chrome Faucet Mount Bundle
Introduction
Thank you for choosing the Brita Chrome Faucet Filtration System. This system is designed to provide healthier, great-tasting water directly from your tap by reducing common contaminants. This manual provides detailed instructions for installation, operation, maintenance, and troubleshooting to ensure optimal performance and longevity of your filtration system.
Safety Information
- Do not use with water that is microbiologically unsafe or of unknown quality without adequate disinfection before or after the system.
- This system is designed for use with municipal tap water.
- Ensure all connections are secure to prevent leaks.
- Keep out of reach of children.
- Do not expose the system to freezing temperatures.
Setup and Installation
What's in the Box
- Brita Faucet Filtration System (Chrome)
- Brita Faucet Filters (2 Count)
- Assorted Adapters (if applicable)
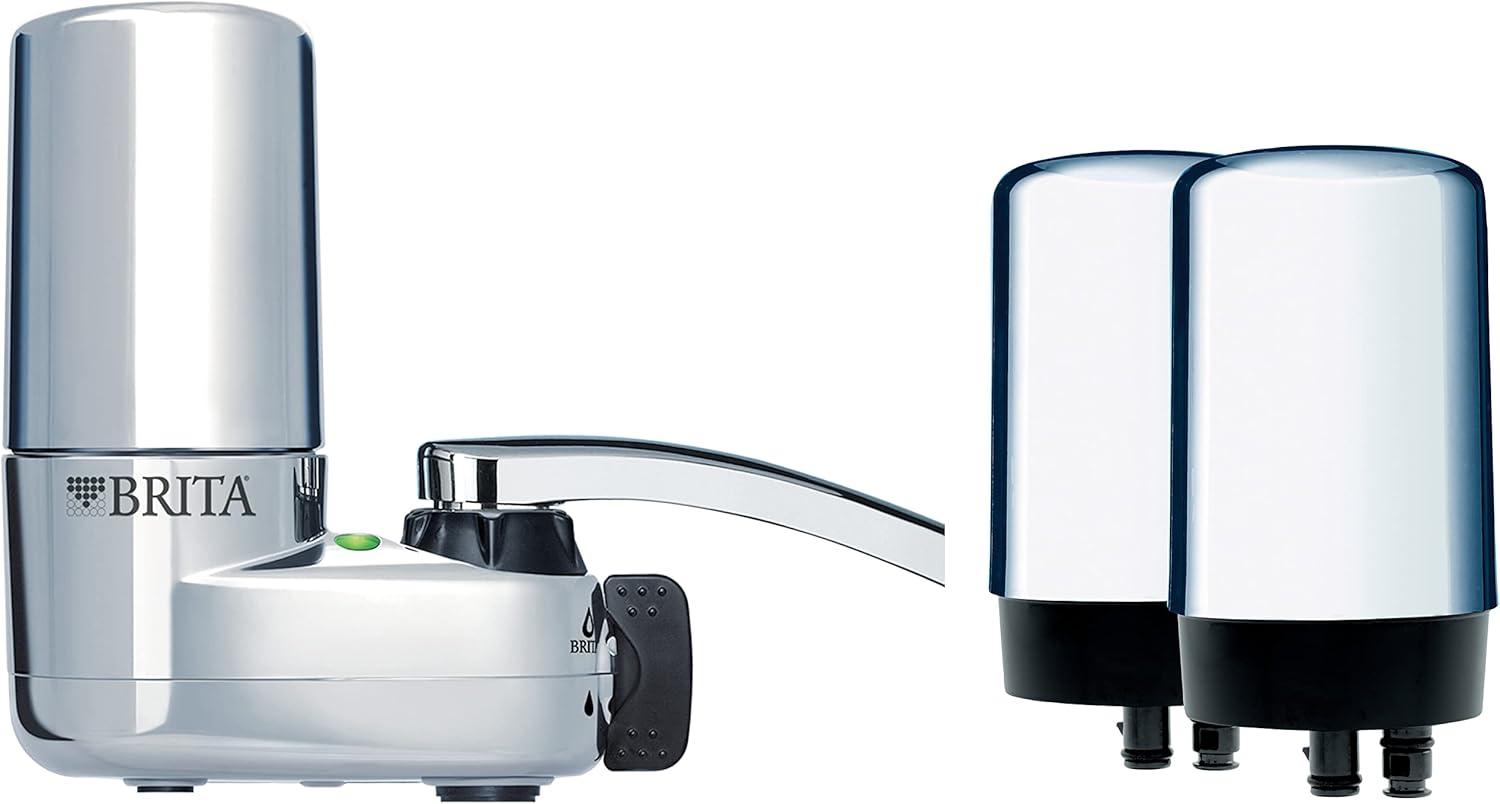
Image: Brita Chrome Faucet Filtration System and two replacement filters, as typically included in the bundle.
Installation Steps
- Prepare your Faucet: Unscrew and remove the aerator from your existing faucet. Ensure the faucet spout is clean and free of debris.
- Select the Correct Adapter: The Brita system comes with various adapters to fit different faucet types. Choose the adapter that best fits your faucet's threading. If no adapter is needed, proceed to the next step.
- Attach the System: Screw the Brita Faucet Filtration System directly onto your faucet spout. Hand-tighten until snug. Do not overtighten.
- Install the Filter: Insert one of the Brita faucet filters into the designated slot on the system. Push firmly until it clicks into place.
- Flush the Filter: Turn on the cold water and run it through the filtered setting for approximately 5 minutes to flush out any carbon dust and prepare the filter for use.

Image: A user demonstrating the use of the Brita Faucet Filtration System, showing filtered water being dispensed.
Operation
Using the Filtered Water
The Brita Faucet Filtration System allows you to switch between filtered and unfiltered water. Locate the diverter lever or button on the side of the unit. Move the lever to the filtered position to dispense filtered water. Move it back to the unfiltered position for regular tap water, which is useful for washing dishes or hands.
Filter Indicator
The system includes a built-in filter indicator light. This light will signal when it's time to replace the filter. Typically, the filter should be replaced after approximately 100 gallons of filtered water or every 4 months, whichever comes first. Refer to the indicator light for precise timing.
Maintenance
Filter Replacement
Regular filter replacement is crucial for optimal performance and water quality. Replace the filter when the indicator light signals or after 4 months of use.
- Remove Old Filter: Press the filter release button (if applicable) or firmly pull the old filter straight out from the system.
- Insert New Filter: Align the new Brita faucet filter with the slot and push it firmly into place until it clicks.
- Flush New Filter: Run cold water through the filtered setting for 5 minutes to flush out any carbon dust.
- Reset Indicator: If your model has a manual reset button for the filter indicator, press and hold it until the light resets.
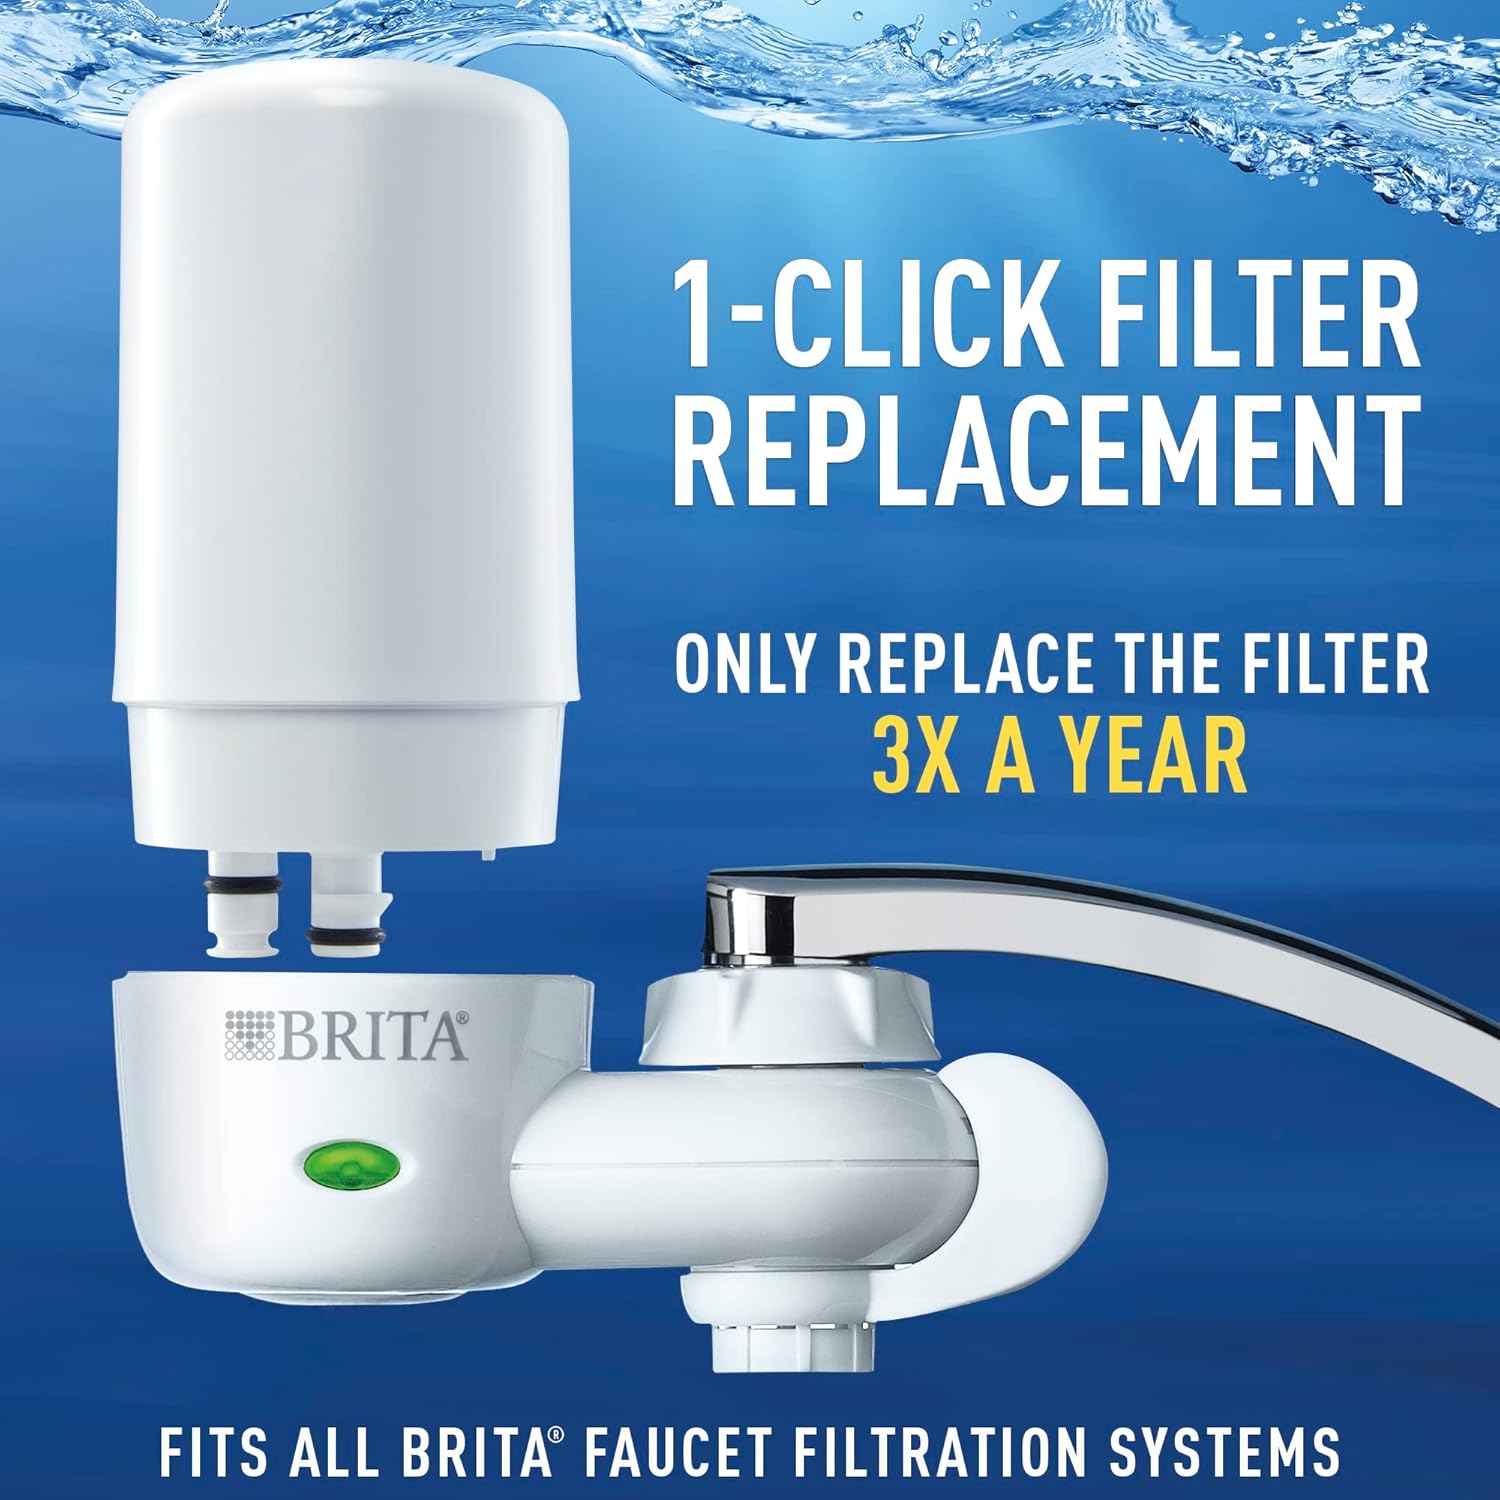
Image: Visual guide demonstrating the simple 1-click filter replacement process for Brita faucet filters.
Cleaning the System
Periodically wipe down the exterior of the Brita Faucet Filtration System with a damp cloth. Do not use abrasive cleaners or solvents. If the system becomes clogged, remove the filter and flush the system with water to clear any debris from the internal components.
Troubleshooting
| Problem | Solution |
|---|---|
| Water flow is slow or stopped. | The filter may be clogged or nearing the end of its life. Replace the filter. Ensure the system is not clogged with debris. |
| System is leaking from connections. | Ensure all connections are hand-tightened securely. Check if the adapter is correctly seated. Replace O-rings if damaged. |
| Filtered water tastes or smells unusual. | The filter may need to be replaced or was not properly flushed. Replace the filter and flush for 5 minutes. |
| Filter indicator light is not working. | Ensure the filter is correctly installed. If battery-operated, check or replace batteries. Contact customer support if the issue persists. |
Specifications
| Feature | Detail |
|---|---|
| Brand | Brita |
| Model Name | Chrome On Tap / Faucet Mount Bundle |
| Product Dimensions | 5.28"L x 4.8"W x 5.28"H |
| Color | Chrome |
| Purification Method | Sedimentation, Carbon Filtration |
| Contaminant Reduction | Reduces 99% of lead, chlorine (taste and odor), asbestos, particulates, Benzene, and more. |
| Filter Life | Up to 100 gallons or 4 months |
| Installation Type | Faucet Mount (simple installation) |

Image: Diagram showing the Brita filter's ability to reduce 60 contaminants, including 99% of lead.
Warranty Information
Brita products are manufactured to high-quality standards. For specific warranty details, please refer to the warranty card included with your product or visit the official Brita website. Generally, Brita offers a limited warranty covering defects in materials and workmanship under normal use.
Customer Support
If you have any questions, require assistance with installation, or need to troubleshoot an issue not covered in this manual, please contact Brita Customer Support. You can find contact information on the Brita website or on the product packaging.
For more information and to register your product, please visit: www.brita.com
Related documentsChrome Faucet Mount Bundle


Ask a question about this manual
Ask about setup, troubleshooting, compatibility, parts, safety, or missing instructions. Manuals+ will review the question and use this page’s manual context to help answer it.