
Princess 01.221054.01.001
Princess 8-in-1 Multi-Function Food Processor User Manual
Model: 01.221054.01.001
1. Introduction
The Princess 01.221054.01.001 is a versatile 8-in-1 multi-function food processor designed to simplify various kitchen tasks. This appliance combines the functions of a food processor, chopper, blender, and juicer, enabling you to grate, mix, chop, slice, crush ice, and squeeze citrus fruits. With its powerful 1000W motor and multiple accessories, it is an essential tool for preparing a wide range of dishes for your family.
Key features include:
- Multi-function food processor with 1.2L bowl and various discs for grating, slicing, and making emulsions.
- 1.75L blender for smoothies, milkshakes, soups, and more.
- Compact chopper for purees and pestos.
- Citrus juicer attachment.
- 1000W motor with 2 speeds and a pulse function.
- Ice crushing capability.
- Safety features including 2 safety switches and overheating protection.
- Non-slip feet for stability.

Figure 1: Overview of the Princess 8-in-1 Multi-Function Food Processor and its included accessories.
2. Important Safety Instructions
Please read all instructions carefully before using the appliance and retain them for future reference. Failure to follow these instructions may result in electric shock, fire, or serious injury.
- Always ensure the appliance is unplugged from the power outlet before assembling, disassembling, or cleaning.
- Do not immerse the motor base in water or any other liquid. Clean with a damp cloth only.
- Keep hands and utensils out of the processing bowl or blender jar while operating to prevent severe injury to persons or damage to the food processor.
- Blades are sharp. Handle with extreme care when assembling, disassembling, or cleaning.
- Ensure all parts are correctly assembled and locked into place before operating the appliance. The appliance is equipped with safety switches to prevent operation if not properly assembled.
- Do not process hot liquids in the blender or food processor as they may cause scalding. Allow hot ingredients to cool before processing.
- Do not operate the appliance with a damaged cord or plug, or after the appliance malfunctions or has been dropped or damaged in any manner.
- This appliance is for household use only. Do not use outdoors.
- Supervise children closely when the appliance is in use or stored near them.
- Do not overload the appliance. Refer to the maximum fill lines on the bowls/jars.
- The appliance has overheating protection. If it stops working due to overheating, unplug it and let it cool down for at least 30 minutes before resuming use.
3. Setup and Assembly
Before first use, wash all removable parts in warm soapy water, rinse thoroughly, and dry. The motor base should be wiped clean with a damp cloth.
3.1 Assembling the Food Processor
- Place the motor base on a stable, flat surface.
- Attach the 1.2L food processor bowl onto the motor base, aligning the notches and twisting clockwise until it locks securely.
- Carefully place the desired blade or disc onto the central shaft inside the bowl.
- For chopping, mixing, or pureeing: Use the S-blade (Figure 2.1).
- For kneading dough: Use the plastic dough blade (Figure 2.2).
- For slicing or grating: Insert one of the stainless steel discs (Figure 2.3 & 2.4).
- For sauces and emulsions: Use the plastic emulsifying disc (Figure 2.5).
- Place the lid onto the food processor bowl, aligning the tab on the lid with the slot on the handle, and twist clockwise until it locks. Ensure the pusher is in the feeding tube if not adding ingredients during operation.
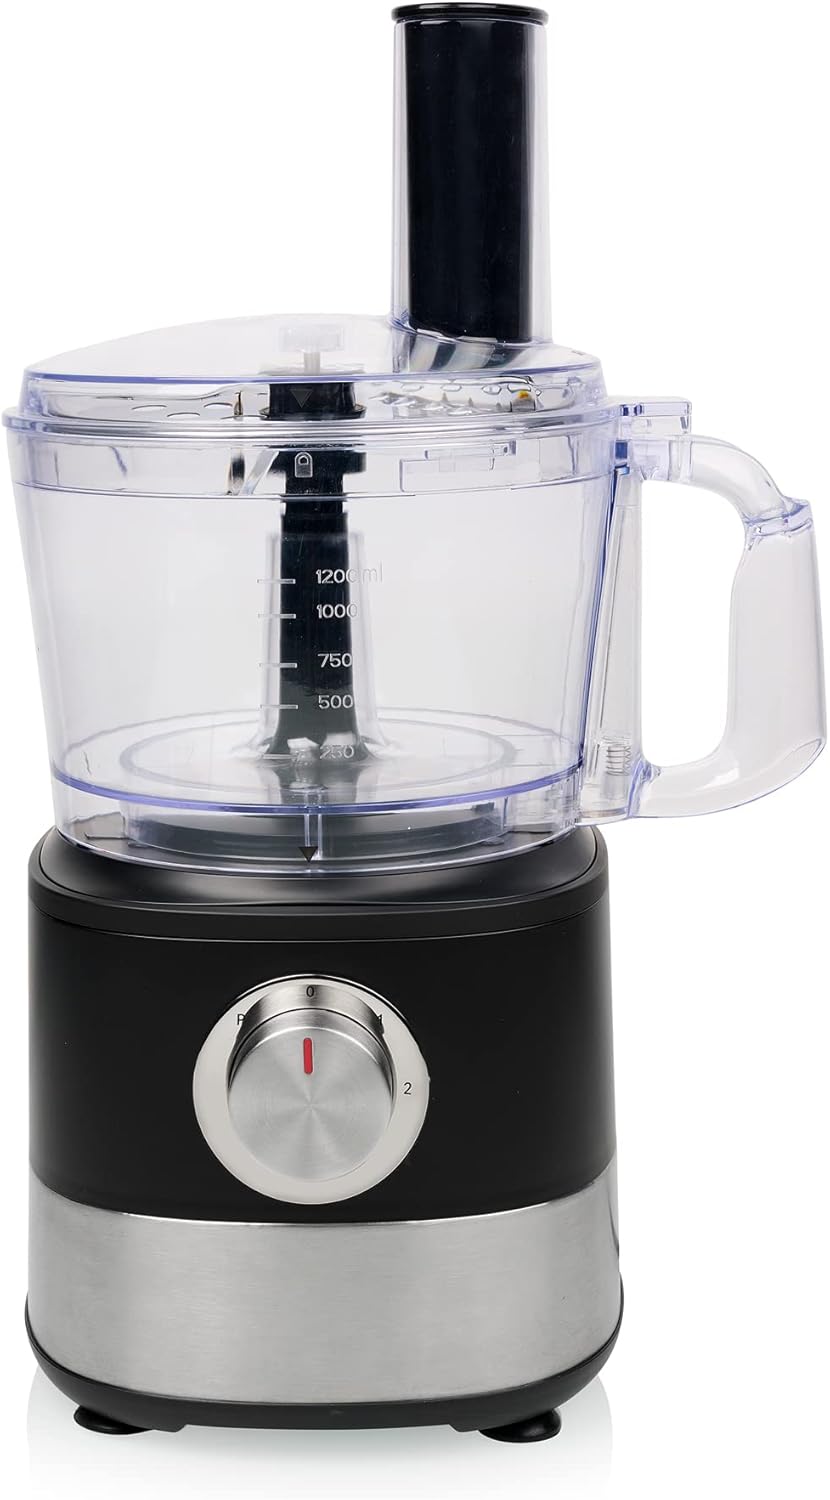
Figure 2: Food processor bowl assembly.

Figure 2.1: Stainless steel S-blade for chopping.
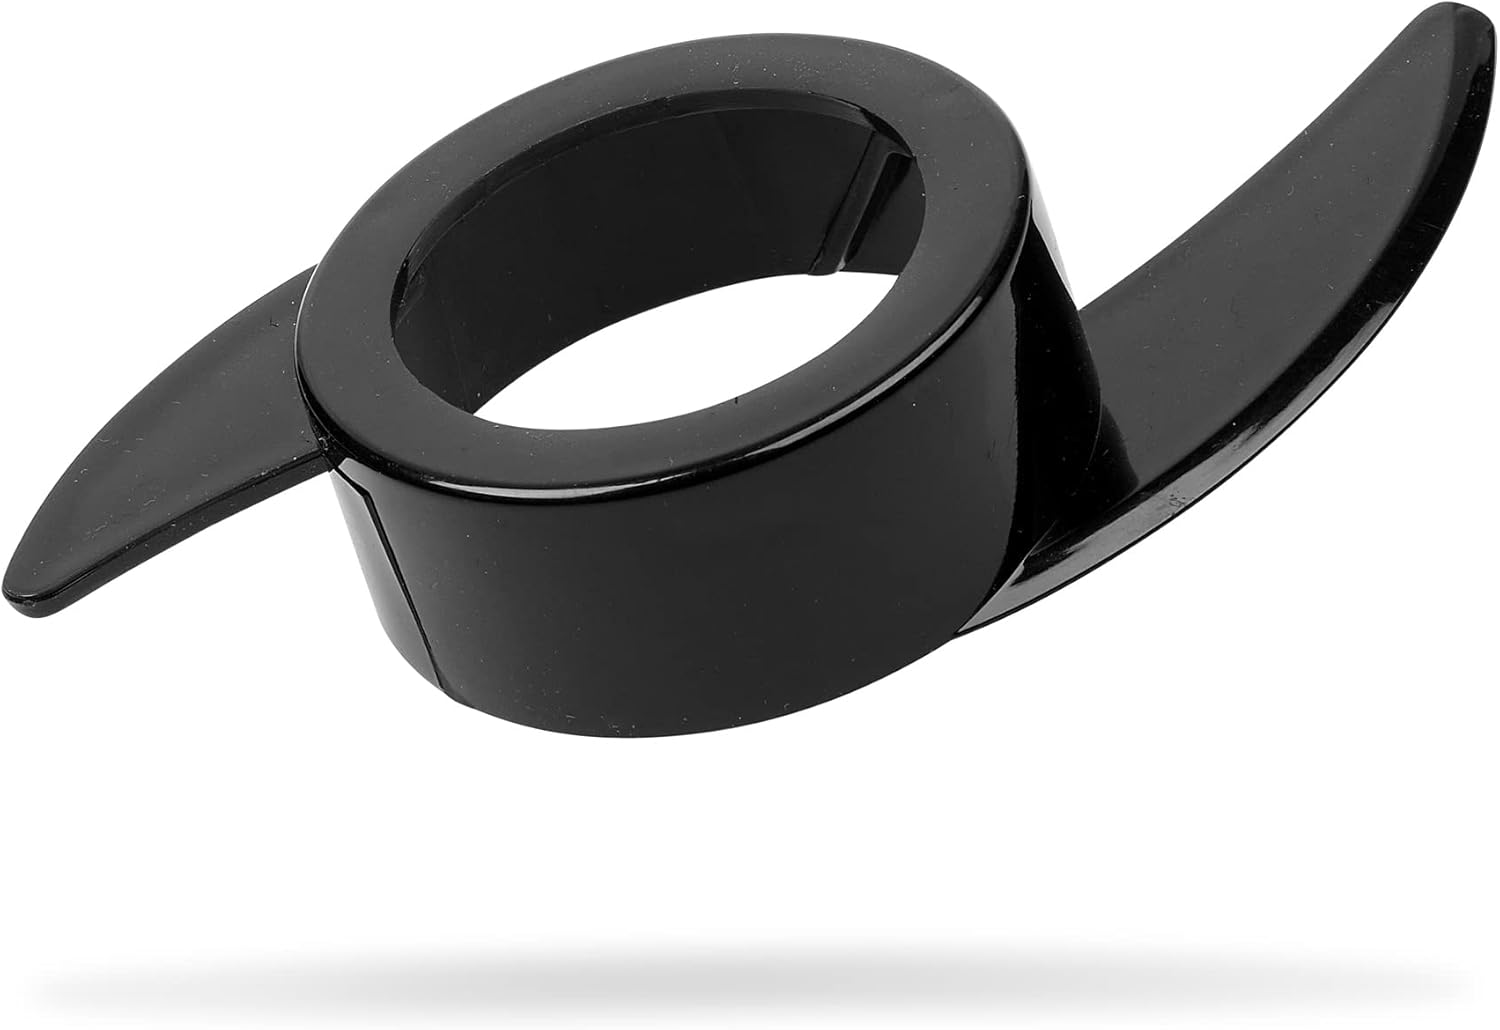
Figure 2.2: Plastic dough blade.
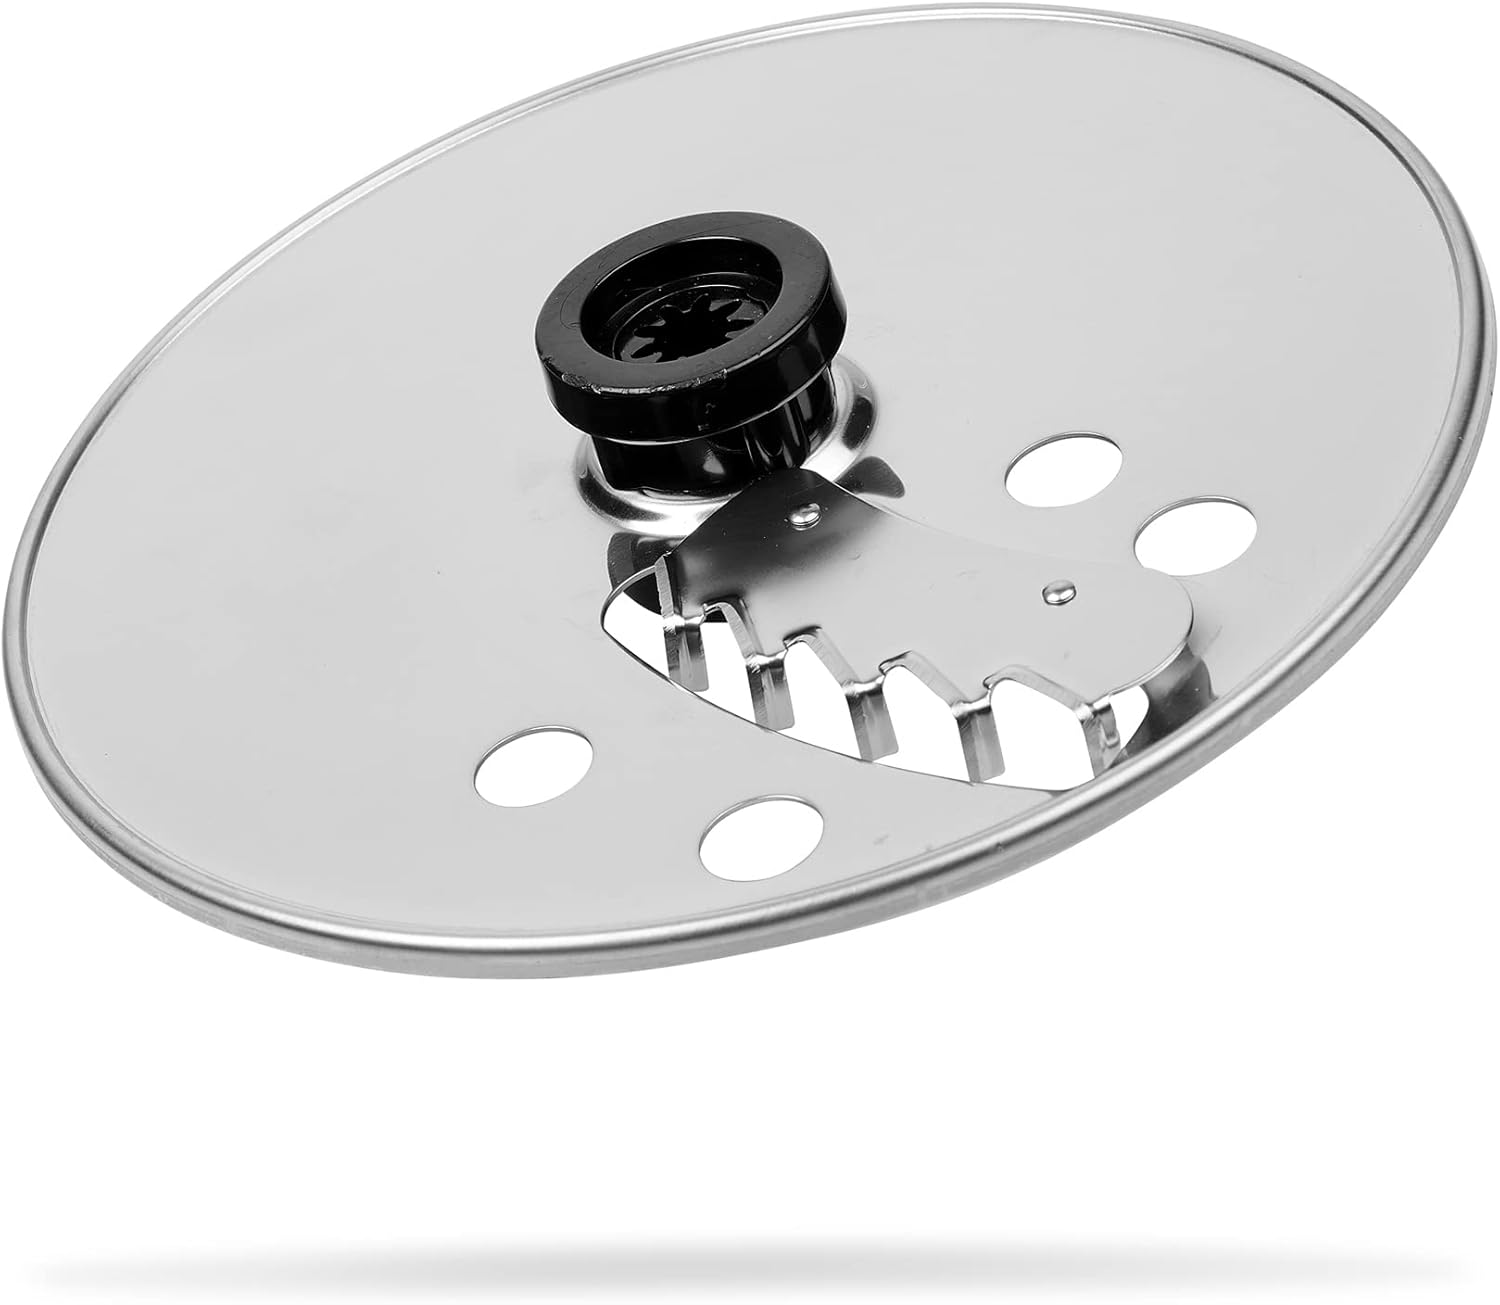
Figure 2.3: Stainless steel disc for slicing and julienne.

Figure 2.4: Stainless steel disc for slicing and grating (e.g., cheese, fries).
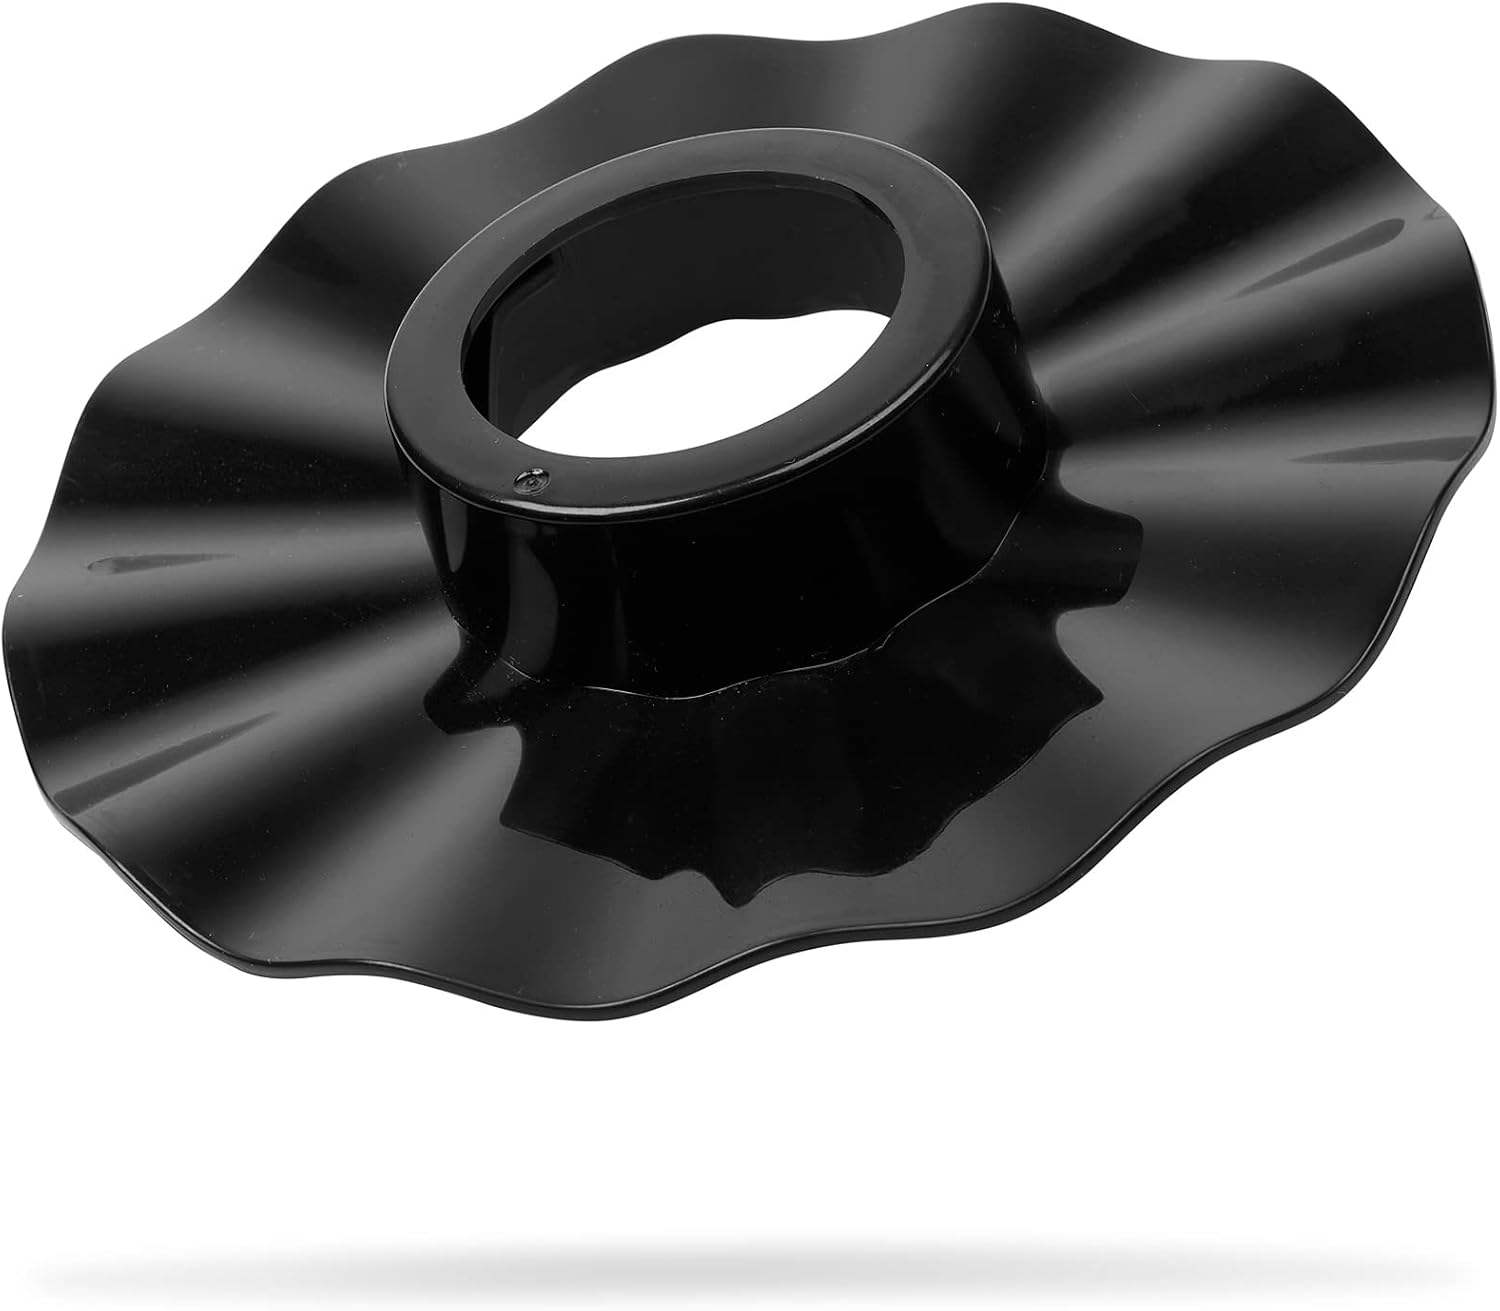
Figure 2.5: Plastic emulsifying disc for sauces and batters.
3.2 Assembling the Blender
- Place the motor base on a stable, flat surface.
- Ensure the blender jar (Figure 3.1) has its integrated blades securely attached at the bottom.
- Place the 1.75L blender jar onto the motor base, aligning the notches and twisting clockwise until it locks securely.
- Place the lid onto the blender jar, ensuring it is firmly sealed. The lid has a removable cap for adding ingredients during operation.
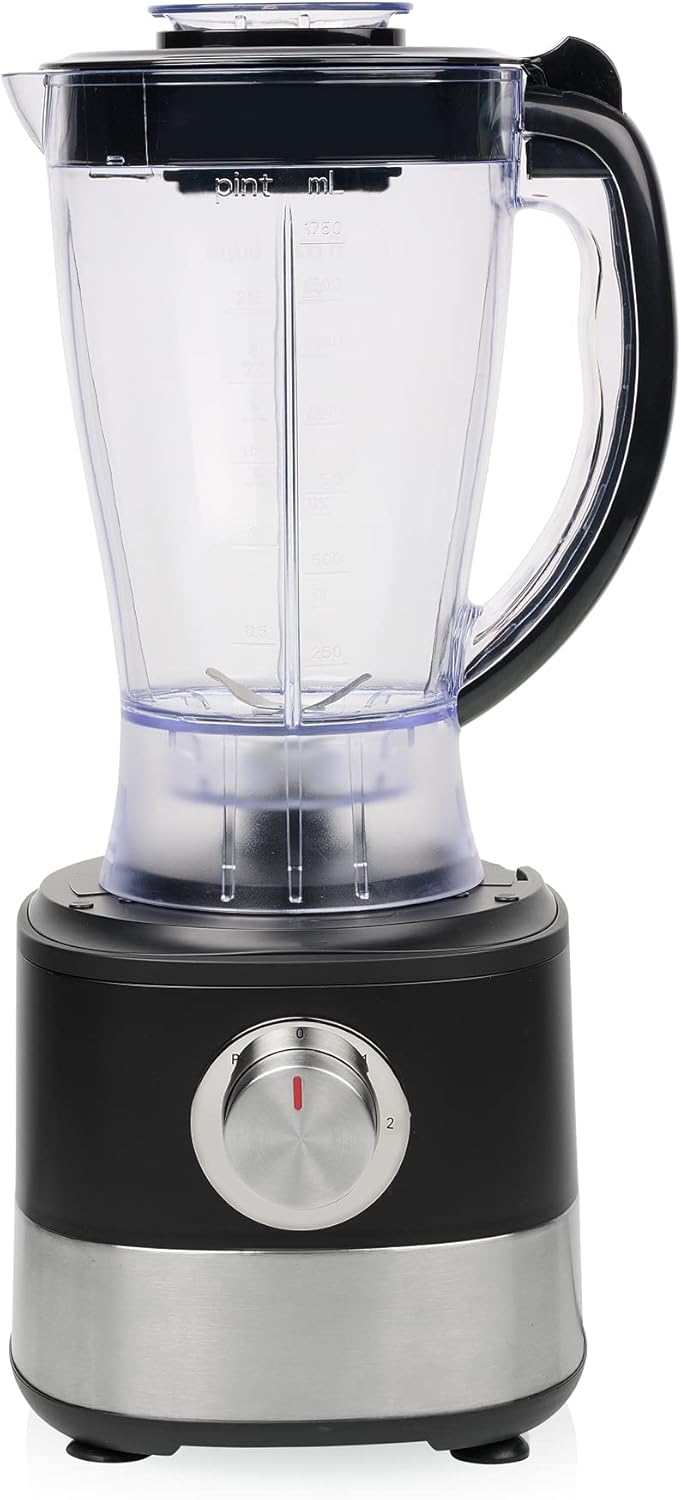
Figure 3: Blender assembly.
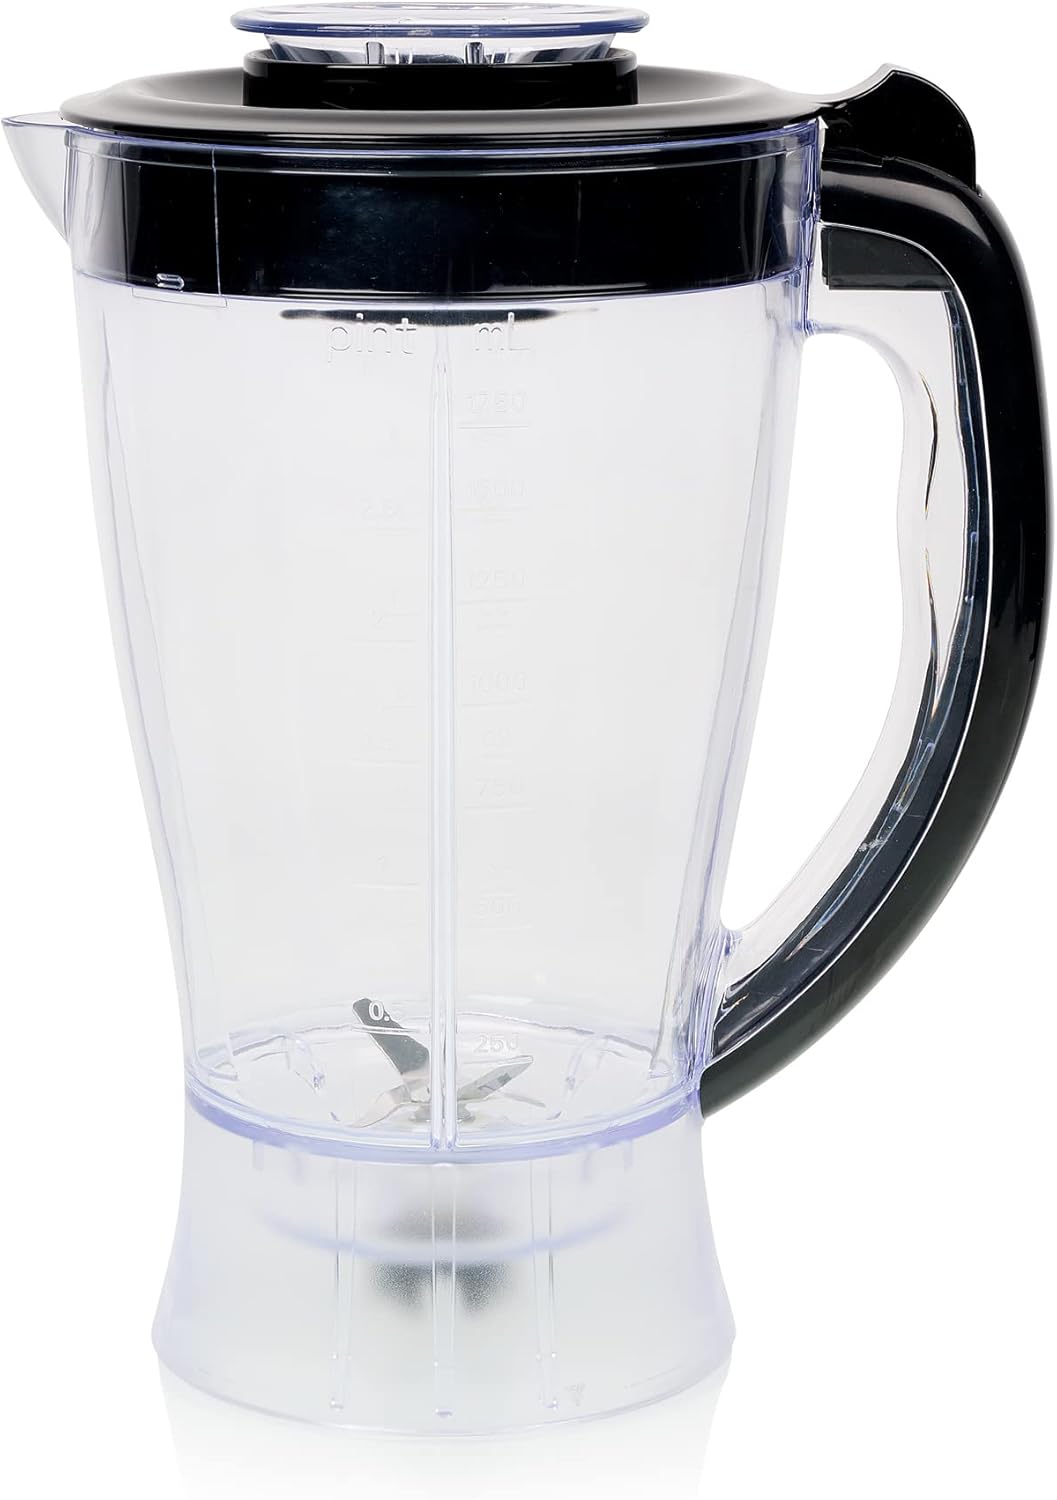
Figure 3.1: 1.75L Blender pitcher.
3.3 Assembling the Chopper
- Place the motor base on a stable, flat surface.
- Place the chopper blade onto the pin inside the chopper cup (Figure 4.1).
- Add ingredients to the chopper cup.
- Place the chopper cup onto the motor base, aligning the tabs and twisting clockwise until it locks securely.
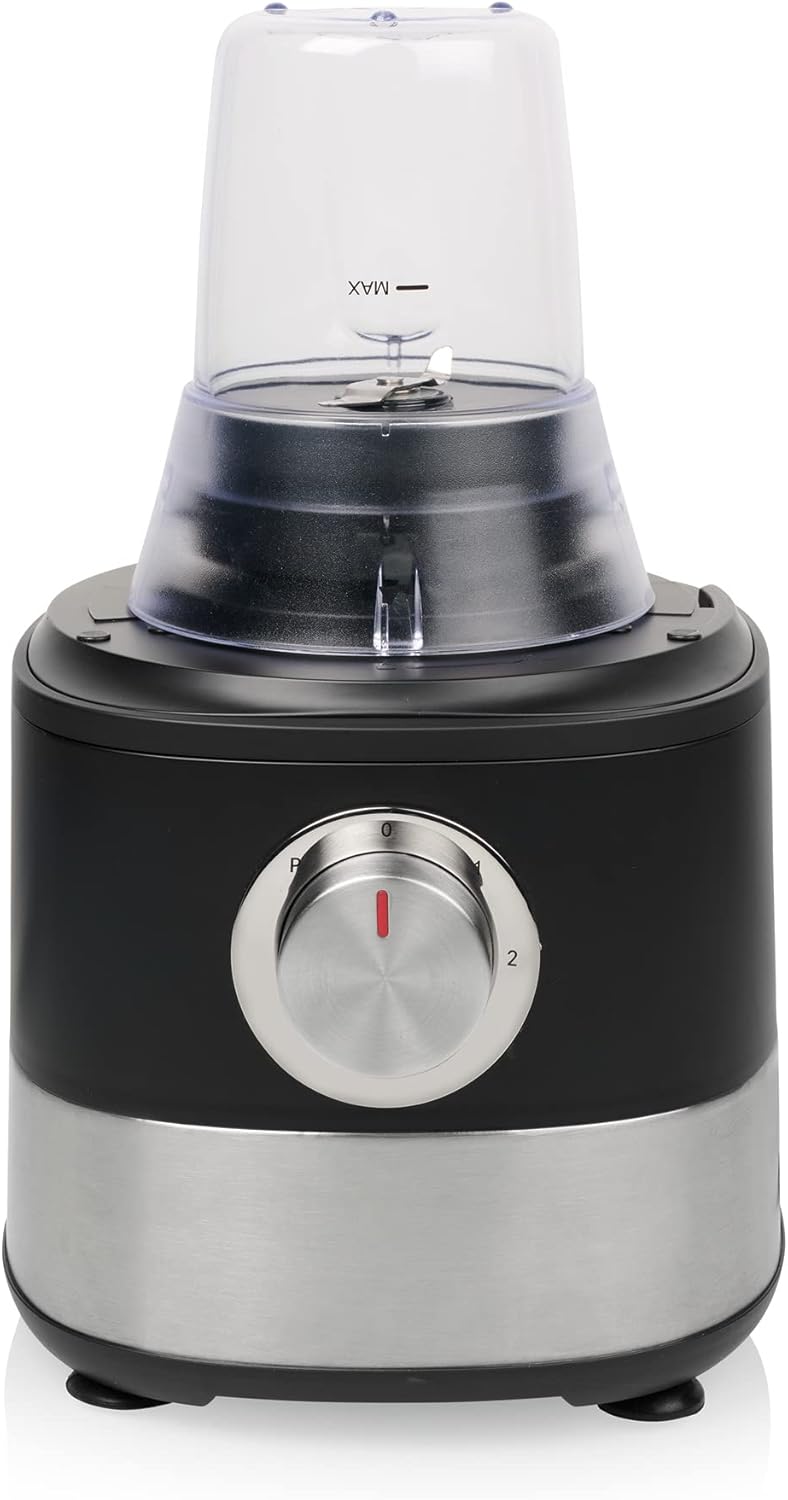
Figure 4: Chopper assembly.
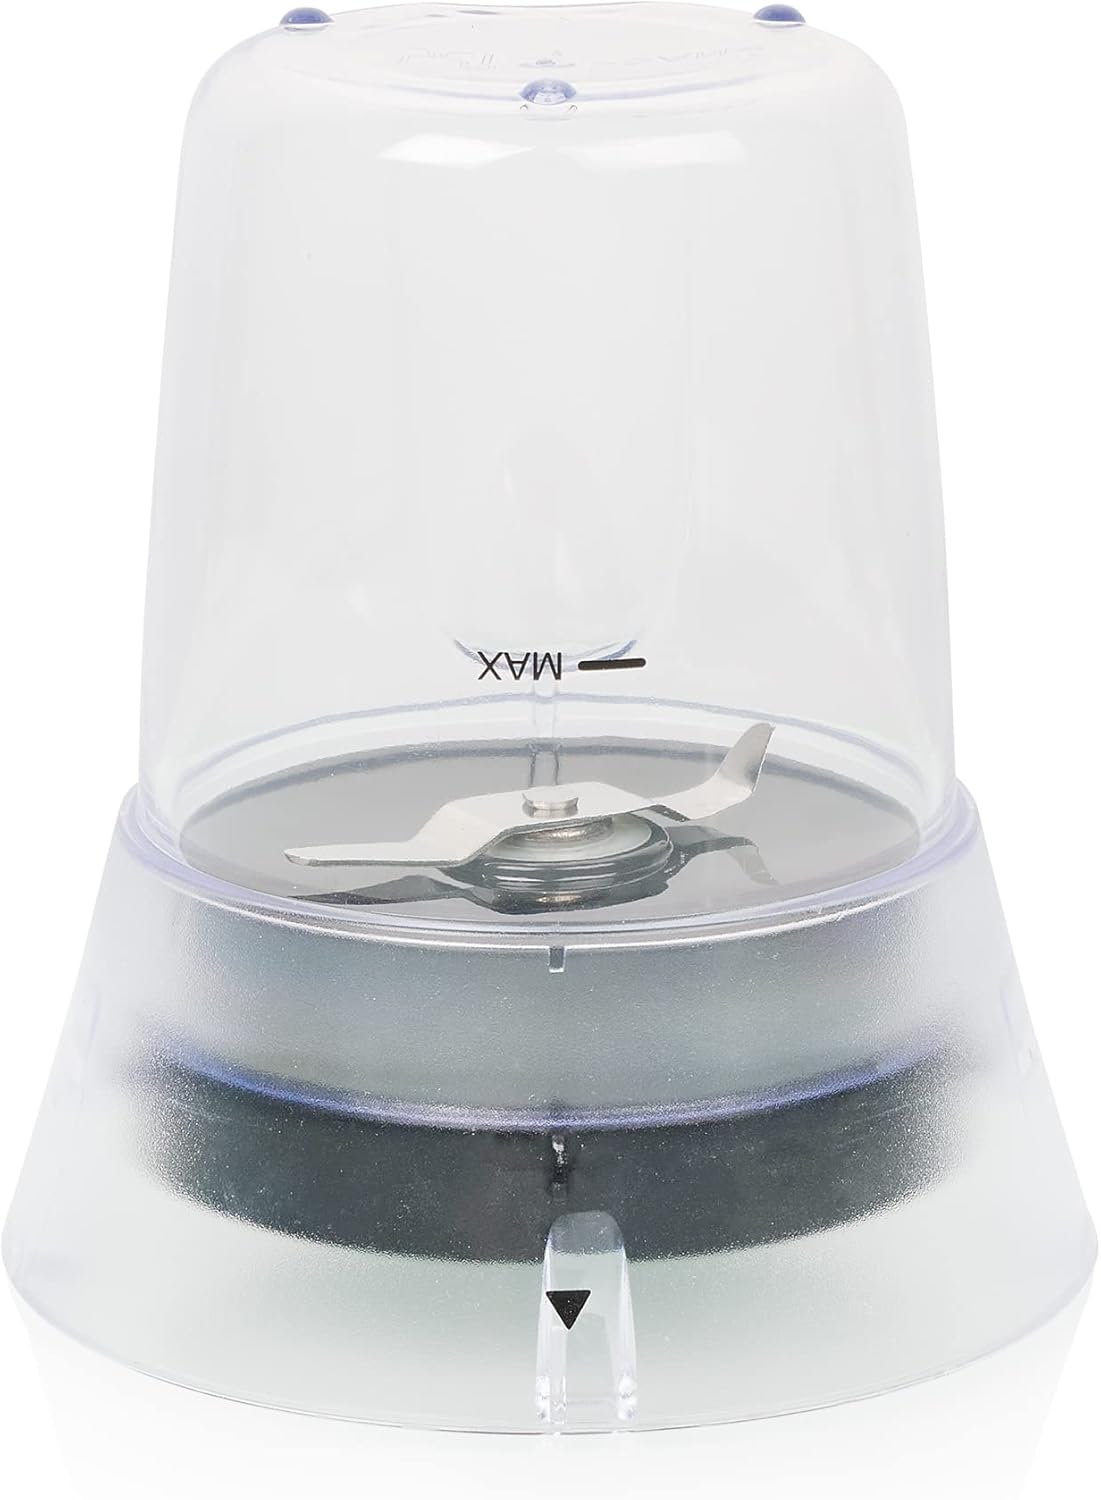
Figure 4.1: Chopper cup with blade.
3.4 Assembling the Citrus Juicer
- Place the motor base on a stable, flat surface.
- Attach the 1.2L food processor bowl onto the motor base, aligning the notches and twisting clockwise until it locks securely.
- Place the juicer attachment (Figure 5.1) onto the central shaft of the food processor bowl.
- Ensure the juicer cone is securely placed on the juicer attachment.

Figure 5: Citrus juicer assembly.
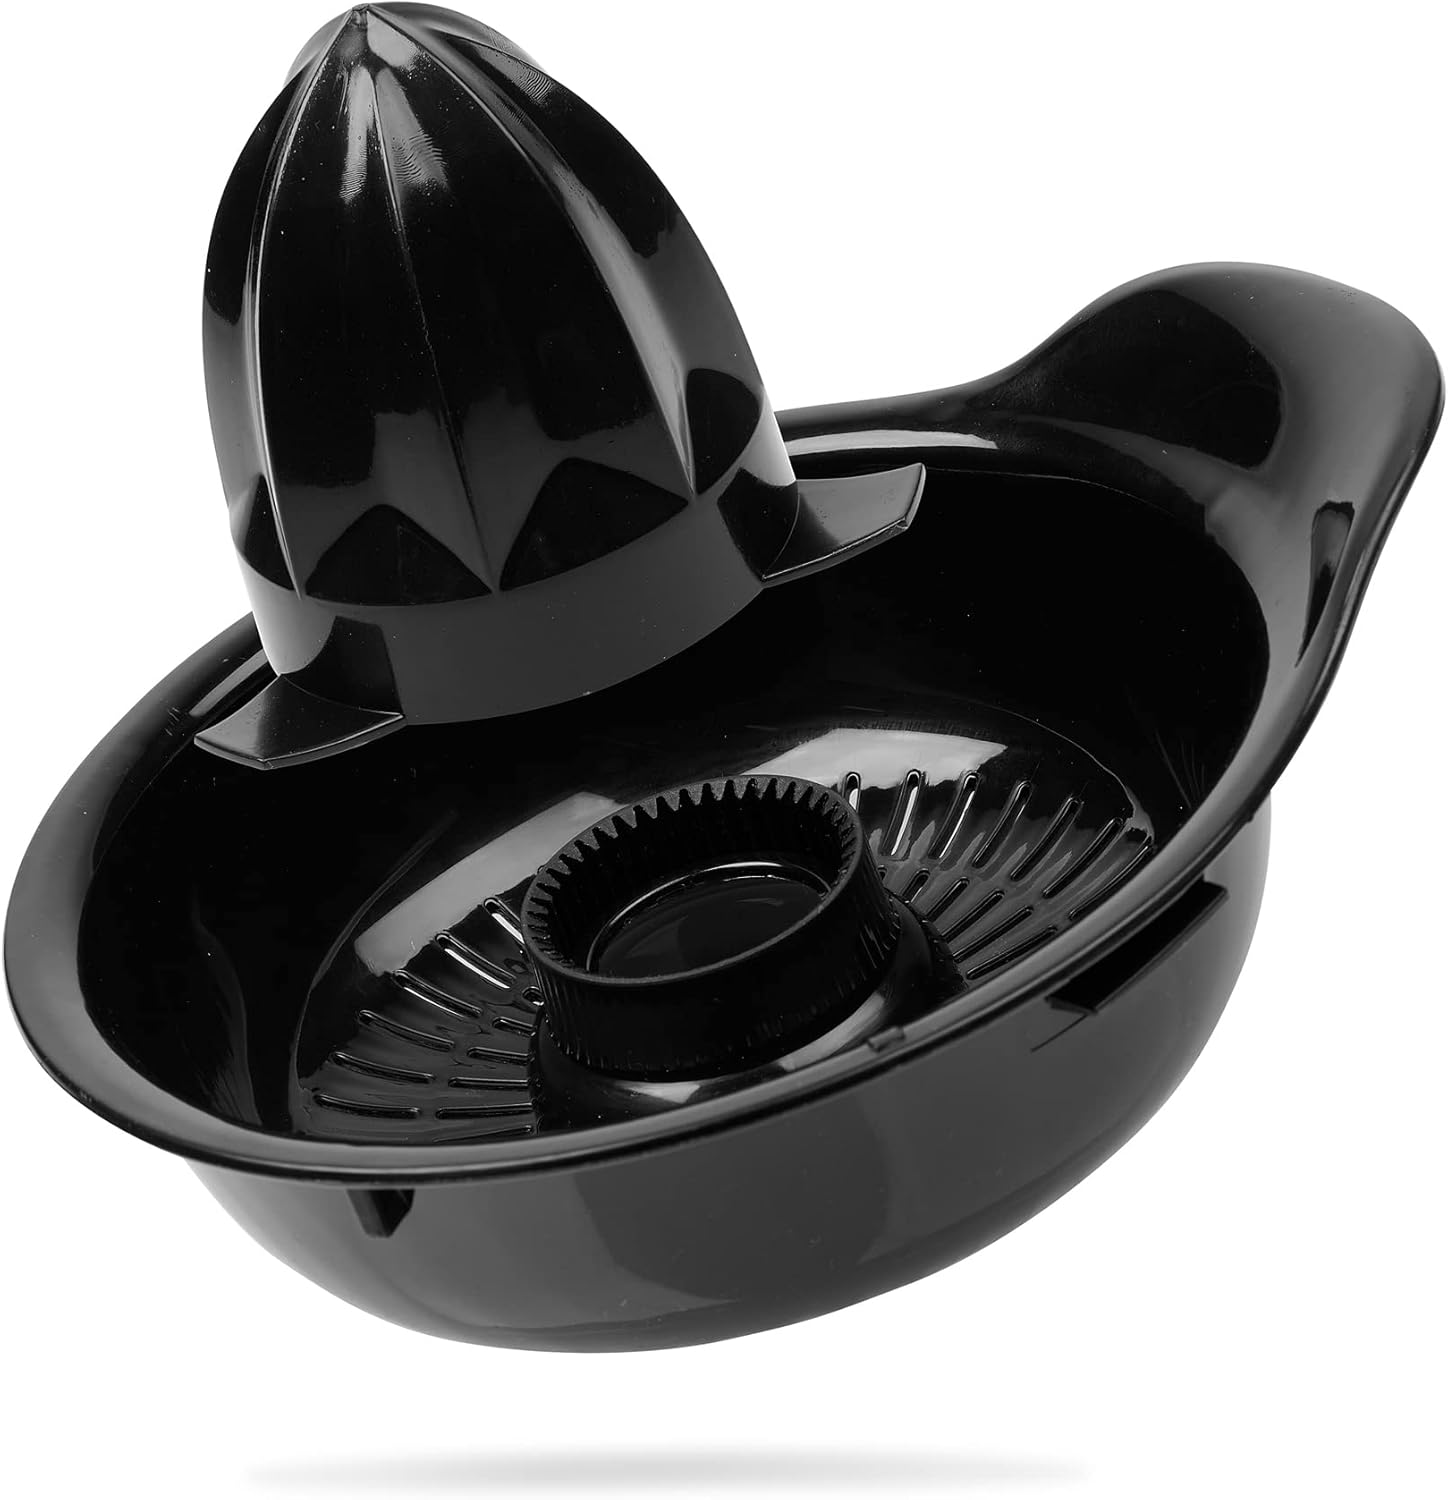
Figure 5.1: Citrus juicer attachment with cone.
4. Operating Instructions
Once the desired attachment is securely assembled, plug the appliance into a power outlet. The control dial on the front of the motor base allows you to select speeds and the pulse function.
- Speed 0: Off
- Speed 1: Low speed, suitable for softer ingredients, mixing, and light processing.
- Speed 2: High speed, suitable for harder ingredients, chopping, blending, and crushing ice.
- Pulse (P): Provides short bursts of maximum power. Ideal for controlled chopping, quick blending, or when you need short, powerful bursts of operation. Turn the dial to 'P' and hold; release to stop.
4.1 Using the Food Processor
- Assemble the food processor with the appropriate blade or disc (refer to Section 3.1).
- Add ingredients to the bowl. For slicing/grating, feed ingredients through the feeding tube using the pusher.
- Select the desired speed (1 or 2) or use the Pulse function.
- Process until desired consistency is achieved. Do not operate continuously for more than 1 minute. Allow the appliance to rest for 2 minutes between cycles.
- Once finished, turn the dial to '0', unplug the appliance, and carefully disassemble.
4.2 Using the Blender
- Assemble the blender jar onto the motor base (refer to Section 3.2).
- Add ingredients to the blender jar. Do not exceed the maximum fill line.
- Secure the lid.
- Select the desired speed (1 or 2) or use the Pulse function. For crushing ice, use the Pulse function or Speed 2.
- Blend until smooth. Do not operate continuously for more than 1 minute. Allow the appliance to rest for 2 minutes between cycles.
- Once finished, turn the dial to '0', unplug the appliance, and carefully remove the jar.
4.3 Using the Chopper
- Assemble the chopper cup with its blade (refer to Section 3.3).
- Add small quantities of ingredients to the chopper cup.
- Place the chopper cup onto the motor base.
- Use the Pulse function for controlled chopping, or Speed 1 for continuous operation.
- Process until desired consistency. Do not operate continuously for more than 30 seconds.
- Once finished, turn the dial to '0', unplug the appliance, and carefully remove the chopper cup.
4.4 Using the Citrus Juicer
- Assemble the citrus juicer attachment onto the food processor bowl (refer to Section 3.4).
- Cut citrus fruits (lemons, oranges, grapefruits) in half.
- Turn the dial to Speed 1.
- Press a fruit half firmly onto the rotating juicer cone. The juice will collect in the food processor bowl below.
- Once finished, turn the dial to '0', unplug the appliance, and carefully disassemble to pour out the juice.
5. Cleaning and Maintenance
Proper cleaning and maintenance will ensure the longevity and optimal performance of your Princess food processor.
- Always unplug the appliance before cleaning.
- Motor Base: Wipe the motor base with a damp cloth. Do not immerse it in water or any other liquid.
- Removable Parts: All removable parts (bowls, jars, lids, blades, discs, juicer attachments) can be washed in warm soapy water. Rinse thoroughly and dry immediately.
- Dishwasher Safe: Many removable parts are dishwasher safe. Place them on the top rack of your dishwasher for best results. Avoid using abrasive cleaners or scouring pads, as they may scratch the surfaces.
- Blade Care: Handle blades and discs with extreme caution as they are very sharp. Use a brush to clean them if necessary.
- Storage: After cleaning and drying, store the appliance and its accessories in a dry place, away from direct sunlight and out of reach of children. The power cord can be stored in the integrated cord storage compartment.
6. Troubleshooting
If you encounter any issues with your food processor, refer to the following common problems and solutions:
| Problem | Possible Cause | Solution |
|---|---|---|
| Appliance does not turn on. | Not plugged in; parts not assembled correctly; safety switch not engaged. | Ensure the appliance is securely plugged in. Check that the bowl/jar and lid are correctly locked into place. |
| Motor stops during operation. | Overheating protection activated; overloaded. | Unplug the appliance and let it cool down for at least 30 minutes. Reduce the amount of ingredients or cut them into smaller pieces. |
| Ingredients not processing evenly. | Too many ingredients; ingredients too large; incorrect speed. | Process in smaller batches. Cut ingredients into uniform, smaller pieces. Use the Pulse function for better control or adjust speed. |
| Loud noise or vibration. | Appliance not on a stable surface; parts not assembled correctly; foreign object. | Ensure the appliance is on a flat, stable surface. Check all parts are securely locked. Turn off and check for any foreign objects. |
If the problem persists after trying these solutions, please contact customer support.
7. Specifications
| Feature | Detail |
|---|---|
| Brand | Princess |
| Model Number | 01.221054.01.001 |
| Colour | Black |
| Power | 1000W |
| Food Processor Bowl Capacity | 1.2 litres |
| Blender Jar Capacity | 1.75 litres |
| Number of Speeds | 3 (including Pulse) |
| Product Dimensions | 20 x 25 x 43 cm |
| Item Weight | 3.5 kg |
| Special Features | Safety Lock, Integrated grinder, Shock Resistant, Cord Storage, Ice Crushing |
8. Warranty and Support
This Princess food processor is designed and manufactured to the highest quality standards. For information regarding warranty coverage, please refer to the warranty card included with your purchase or visit the official Princess website.
For technical support, spare parts, or any questions regarding the operation of your appliance, please contact Princess customer service. Contact details can typically be found on the manufacturer's website or in the packaging materials.
Online Resources: You may find additional support and product information by visiting the Princess Store on Amazon.
Related documents01.221054.01.001


Ask a question about this manual
Ask about setup, troubleshooting, compatibility, parts, safety, or missing instructions. Manuals+ will review the question and use this page’s manual context to help answer it.