
1. Introduction
This manual provides detailed instructions for the safe installation, operation, and maintenance of your Hunter 52 inch Low Profile Matte Silver Indoor Ceiling Fan with LED Light and Remote Control, Model CC5C17C36. Please read this manual thoroughly before beginning installation or operation to ensure proper function and safety.
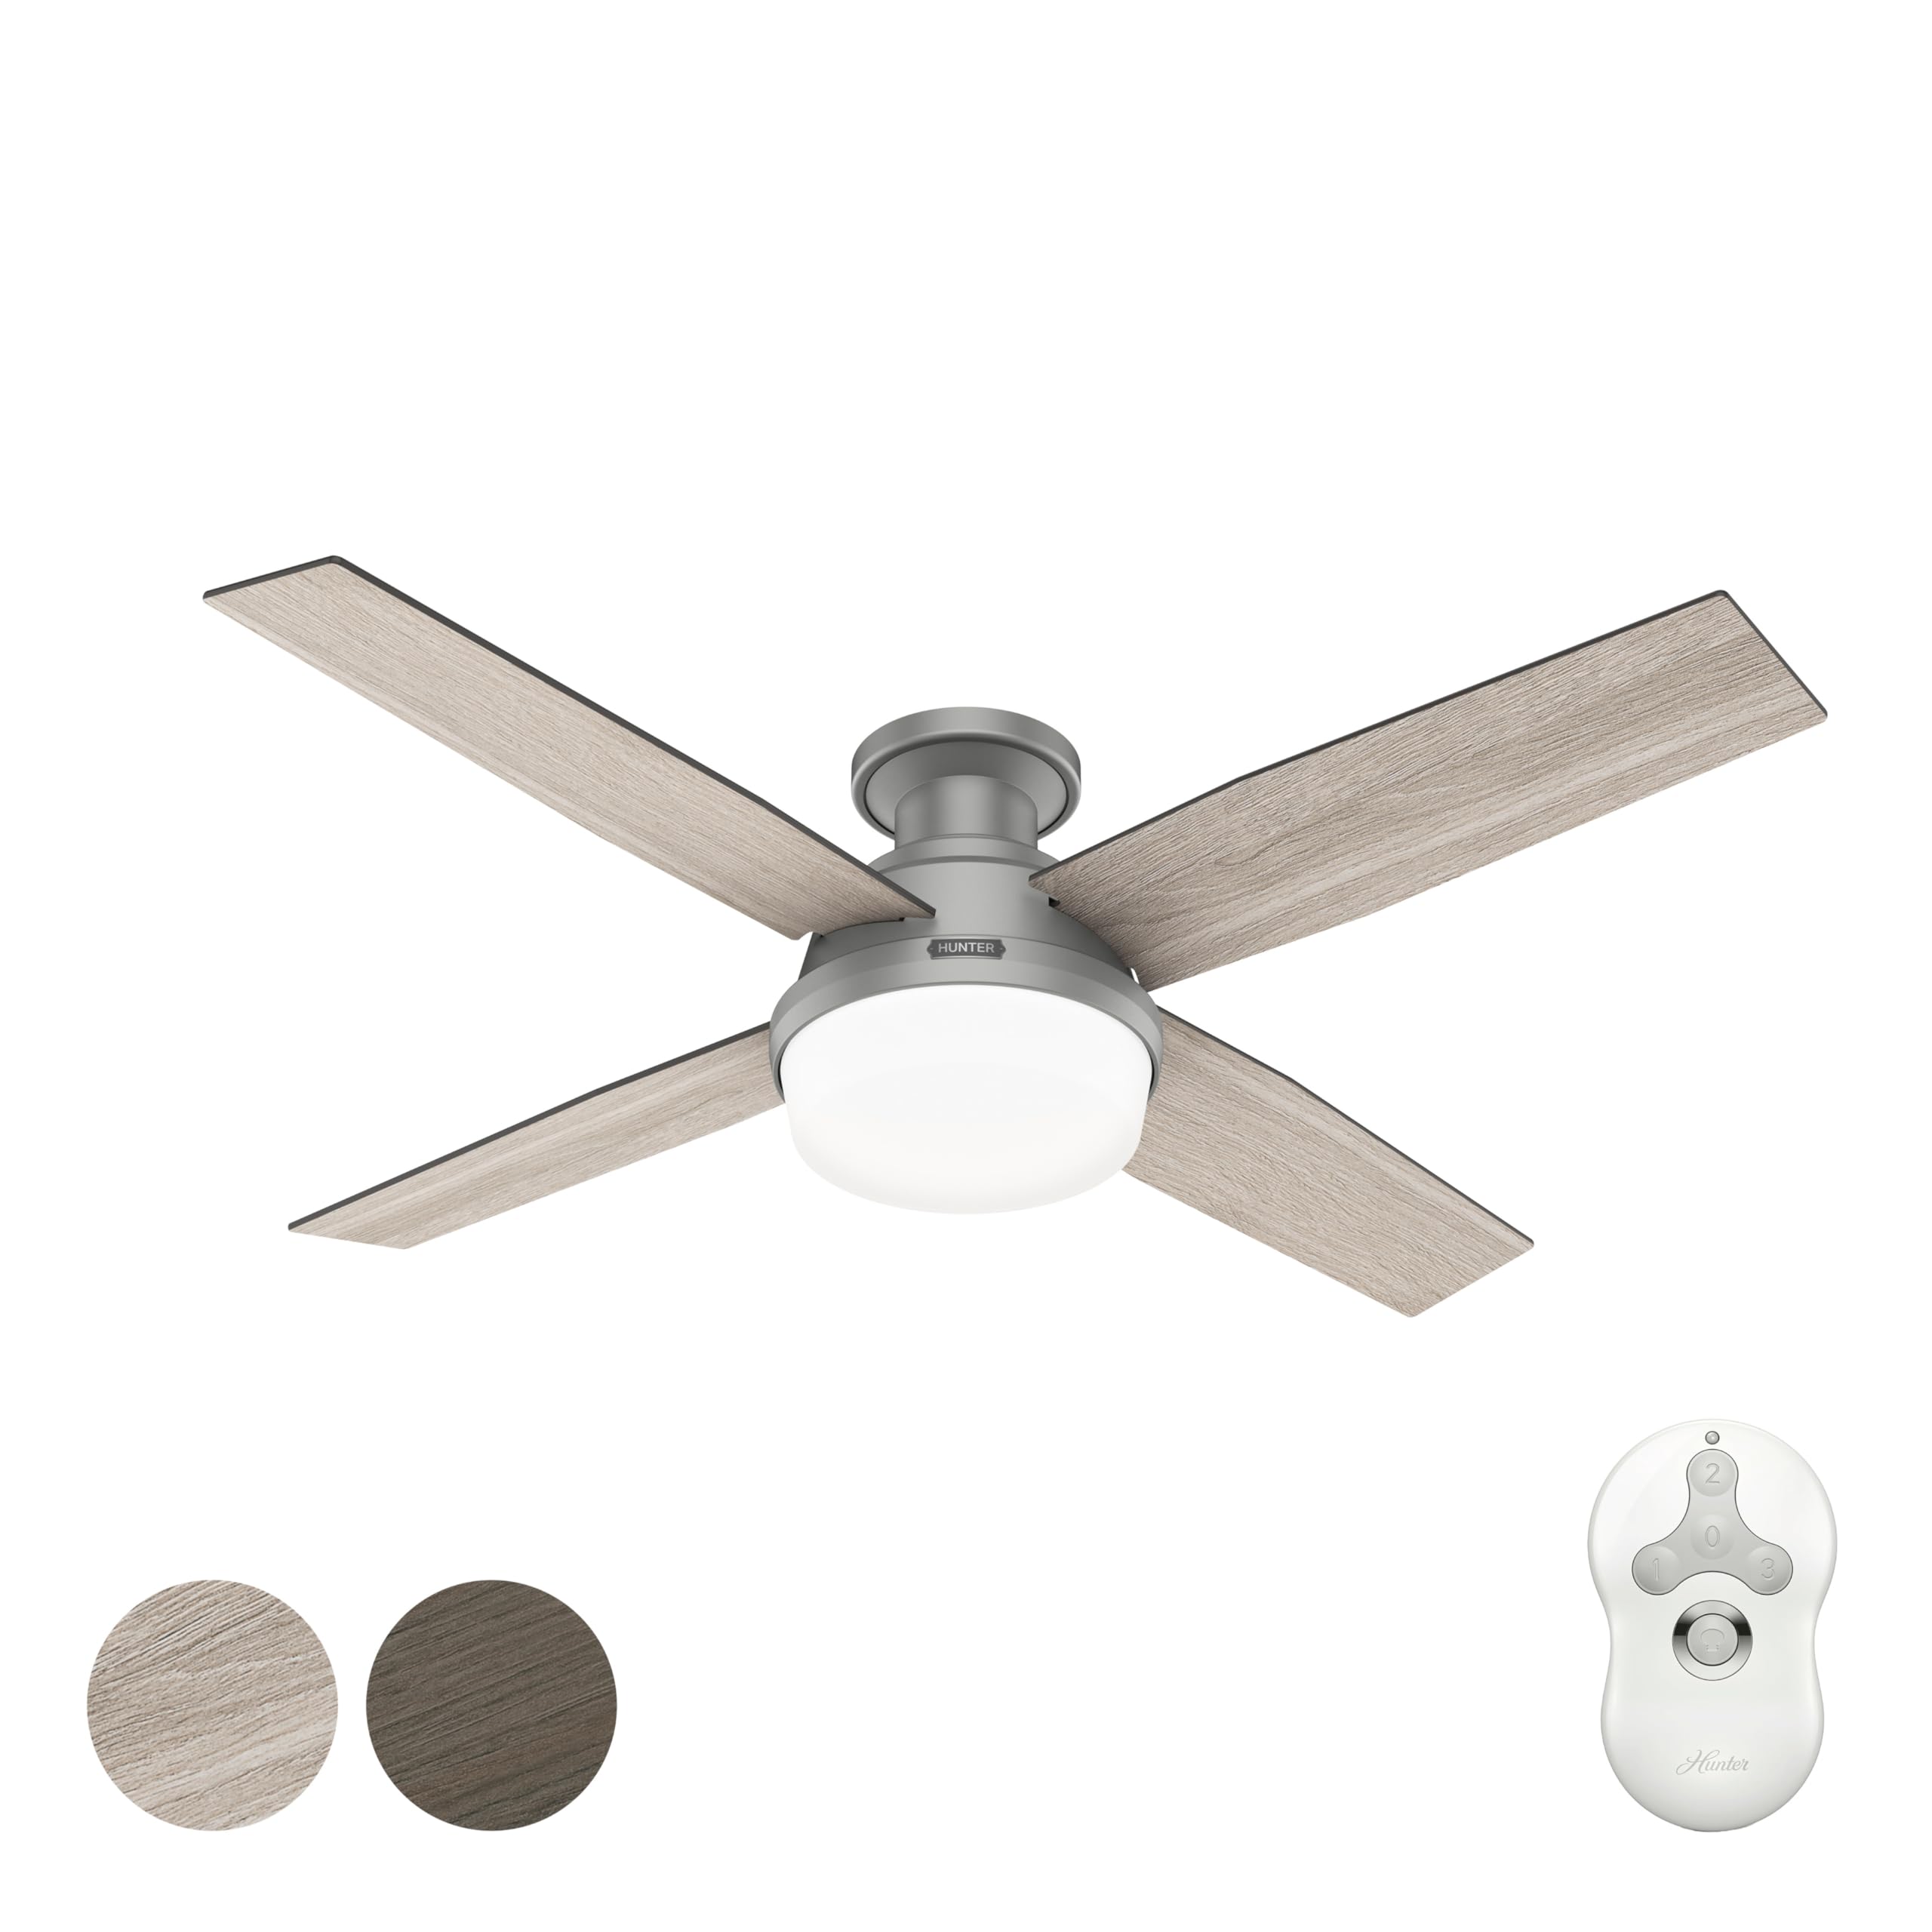
Image 1.1: The Hunter 52 inch Low Profile Ceiling Fan, featuring a matte silver finish and integrated LED light.
2. Safety Information
Always follow basic safety precautions when installing and operating this ceiling fan to reduce the risk of fire, electric shock, and personal injury.
- Electrical Safety: Ensure the power is turned off at the circuit breaker or fuse box before installation or servicing. All wiring must be in accordance with national and local electrical codes.
- Mounting: The fan must be mounted to a structurally sound ceiling joist or outlet box capable of supporting the fan's weight (minimum 35 lbs). Use only outlet boxes marked "Acceptable for Fan Support."
- Blade Clearance: Maintain a minimum clearance of 7 feet from the floor to the fan blades. Ensure blades do not strike any objects or walls.
- Remote Control: Keep the remote control out of reach of children. Do not mix old and new batteries.
- Cleaning: Disconnect power before cleaning. Use a soft, damp cloth. Do not use abrasive cleaners.
3. Package Contents
Verify that all components listed below are present in your package before beginning installation. If any parts are missing or damaged, contact customer support.
- Motor Assembly
- Fan Blades (4 included)
- Light Kit Assembly
- LED Bulbs (2 x 9-Watt, dimmable)
- Remote Control with Battery
- Mounting Hardware Kit
- Instruction Manual
4. Setup and Installation
This section outlines the general steps for installing your ceiling fan. For detailed diagrams and specific wiring instructions, refer to the separate installation guide provided with your product. Professional installation is recommended if you are unfamiliar with electrical wiring.
- Prepare the Installation Site: Turn off power at the circuit breaker. Secure the electrical box to the ceiling joist.
- Mount the Hanging Bracket: Attach the mounting bracket to the electrical box using the provided screws.
- Assemble the Fan Motor: Connect the fan motor to the hanging bracket.
- Wire the Fan: Connect the electrical wires from the ceiling to the fan's wiring according to the color-coded instructions. Ensure all connections are secure.
- Attach Fan Blades: Secure the four fan blades to the motor housing. Ensure they are firmly attached.
- Install the Light Kit: Connect the light kit wiring and attach the light kit assembly to the fan motor. Install the LED bulbs.
- Secure the Canopy: Raise the canopy to cover the wiring and mounting bracket, securing it in place.

Image 4.1: Fan dimensions for low profile mounting, indicating the fan's suitability for ceilings less than 9 feet high.

Image 4.2: A detailed view of the fan's motor housing and how the blades attach, highlighting the matte silver finish and light gray oak blade.
5. Operating Instructions
Your Hunter ceiling fan is operated using the included remote control. Ensure the remote has a working battery installed.

Image 5.1: The remote control for the Hunter ceiling fan, showing buttons for light dimming, fan speed adjustment, and blade direction change.
5.1 Fan Speed Control
The fan features a 3-speed WhisperWind reversible motor. Use the numbered buttons (1, 2, 3) on the remote control to adjust the fan speed. Press '0' to turn the fan off.
- Button 1: Low Speed
- Button 2: Medium Speed
- Button 3: High Speed
- Button 0: Fan Off
5.2 Light Control and Dimming
The integrated LED light kit provides dimmable lighting. Press the light button (usually a light bulb icon) to turn the light on or off. To dim the light, press and hold the light button until the desired brightness is achieved.
5.3 Reversible Motor Function
The fan's reversible motor allows for seasonal use. In warm weather, set the fan to rotate counter-clockwise to create a downdraft, providing a cooling effect. In cool weather, set the fan to rotate clockwise to create an updraft, circulating warm air near the ceiling. Use the direction button (often an arrow icon) on the remote to change the blade rotation direction.

Image 5.2: Detail of the fan blades, showing the light gray oak finish, one of the reversible blade options.

Image 5.3: Detail of the fan blades, showing the greyed walnut finish, the other reversible blade option.
6. Maintenance
Regular maintenance ensures optimal performance and extends the lifespan of your ceiling fan.
- Cleaning: To clean the fan, wipe with a soft, damp cloth. Do not use abrasive cleaners or solvents as they may damage the finish or electrical components. Ensure power is off before cleaning.
- Blade Cleaning: Dust the fan blades regularly to prevent dust buildup, which can affect fan balance and performance.
- Light Bulb Replacement: The fan uses two 9-Watt energy-efficient, dimmable LED bulbs (E26 base, A19 shape). While LEDs have a long lifespan, if replacement is needed, ensure power is off before changing bulbs.
- Tighten Fasteners: Periodically check all screws and fasteners on the fan and mounting hardware to ensure they are secure.
7. Troubleshooting
Refer to this section for common issues and their solutions. If the problem persists, contact customer support.
| Problem | Possible Cause | Solution |
|---|---|---|
| Fan does not start | No power to the fan; Loose wire connections; Remote control battery dead. | Check circuit breaker/fuse; Ensure all wiring connections are secure; Replace remote control battery. |
| Light does not work | Loose wire connection; Faulty LED bulb; Remote control battery dead. | Check light kit wiring; Replace LED bulbs; Replace remote control battery. |
| Fan wobbles | Loose blade screws; Unbalanced blades; Loose mounting bracket. | Tighten all blade screws; Use a balancing kit (not included) to balance blades; Ensure mounting bracket is securely fastened. |
| Noisy operation | Loose screws; Motor hum; Blades hitting an obstruction. | Check and tighten all screws; Ensure fan is properly installed and balanced; Verify no obstructions are near the blades. |
| Remote control not responding | Dead battery; Remote not paired (if applicable); Obstruction between remote and receiver. | Replace remote battery; Refer to remote pairing instructions (if provided separately); Ensure clear line of sight. |
8. Specifications
| Feature | Detail |
|---|---|
| Brand | Hunter |
| Model Name | CC5C17C36 |
| Color | Matte Silver |
| Product Dimensions | 52"D x 52"W x 12.27"H |
| Electric Fan Design | Ceiling Fan |
| Power Source | AC |
| Style | Modern |
| Room Type | Bedroom, Kitchen, Living Room, Office |
| Special Features | AC Motor, Dimmable, Reversible Motor, Variable Speed |
| Mounting Type | Flush Mount |
| Controller Type | Remote Control |
| Number of Speeds | 3 |
| Wattage | 39 watts |
| Number of Blades | 4 |
| Air Flow Capacity | 2854 Cubic Feet Per Minute |
| Voltage | 120 Volts |
| Indoor Outdoor Usage | Indoor |
| Material | Metal |
| Blade Material | Engineered Wood |
| Specification Met | ETL |
| Included Components | Bulb Included, Fan Blade included, Light Kit, Motor, Remote |
| Item Weight | 9.78 Pounds |
| Blade Length | 21 Inches |

Image 8.1: Energy Guide label, showing an estimated yearly energy cost of $11 and an airflow of 2,854 Cubic Feet Per Minute.
9. Warranty and Support
For specific warranty details and terms, please refer to the warranty card included with your product or visit the official Hunter Fan website. For technical assistance, replacement parts, or any other inquiries, please contact Hunter Fan customer support.
Manufacturer: Hunter Fan Company
Model Number: CC5C17C36