1. Introduction
This manual provides instructions for the VINABTY RC-912R RC-913R replacement remote control. This remote is designed to operate various Integra Network Audio/Video AV Stereo Receivers. It offers a direct replacement for your original remote, providing full functionality without the need for complex programming.
Compatible Integra AV Receiver Models:
- DRX-2, DRX-3, DRX-2.1, DRX-3.2
- DRX-4, DRX-5, DRX-7
- DRX-R1.1, DRC-R1.1, DRX-7.1, DRX-R1
- DRX-4.2, DRX-5.2, RC-911R
2. Setup
2.1 Battery Installation
The remote control requires two AAA batteries (not included) for operation. Follow these steps to install the batteries:
- Locate the battery compartment on the back of the remote control.
- Slide the battery compartment cover downwards to open it.
- Insert two AAA batteries, ensuring the positive (+) and negative (-) terminals align correctly with the markings inside the compartment.
- Slide the battery compartment cover back into place until it clicks securely.
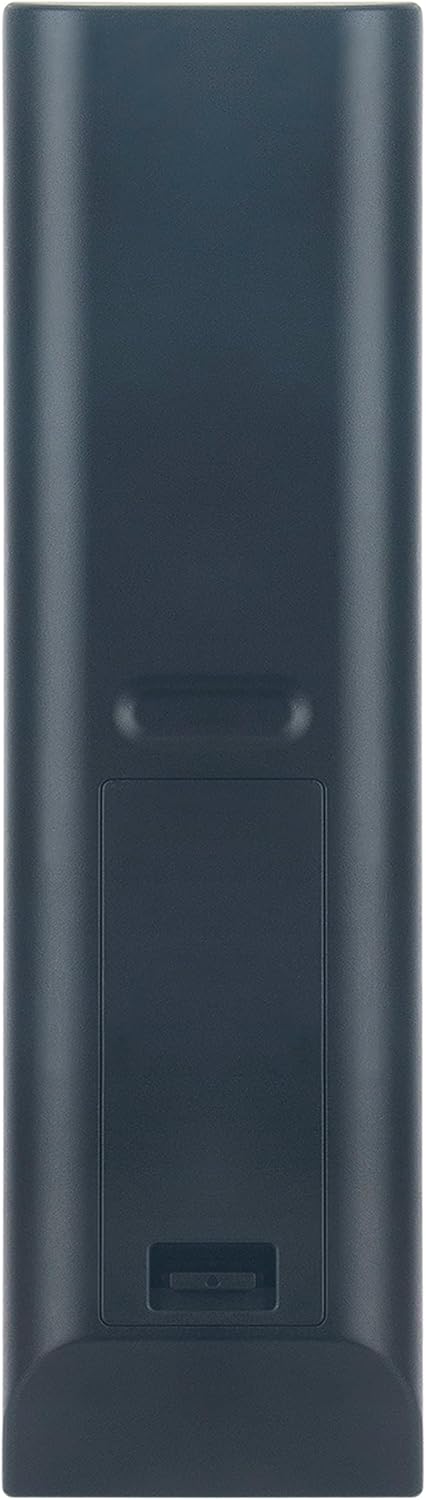
Figure 1: Back view of the remote control with battery compartment.
2.2 Initial Use
This remote control is a basic infrared (IR) replacement remote. No programming is required. Once batteries are installed, it is ready for immediate use with your compatible Integra AV Receiver.
3. Operating Instructions
Point the remote control directly towards your Integra AV Receiver. Ensure there are no obstructions between the remote and the receiver's IR sensor.
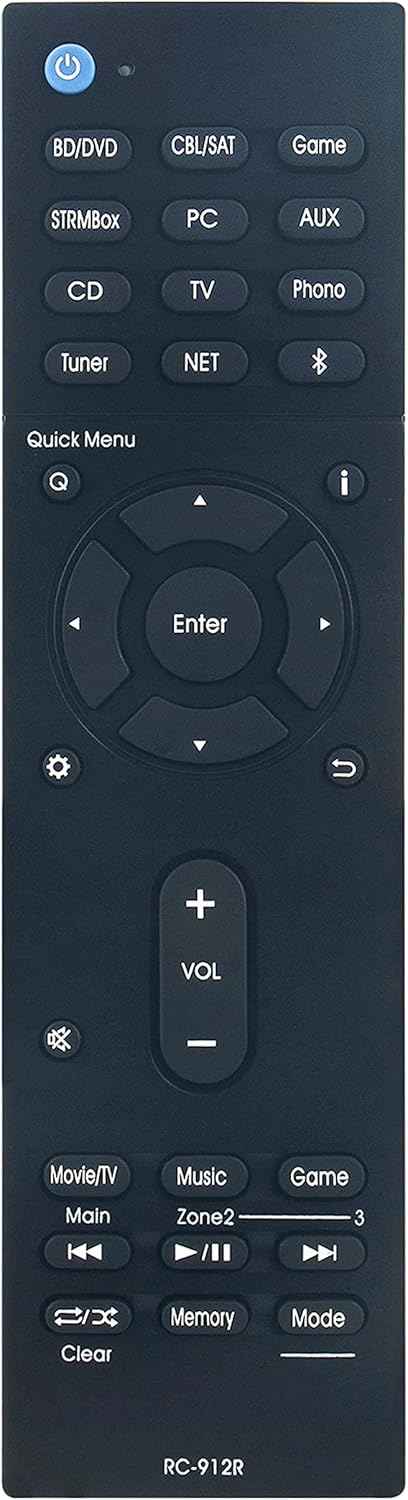
Figure 2: Front view of the remote control with button layout.
3.1 Basic Functions
- Power Button (U): Turns the receiver on or off.
- Input Selectors (BD/DVD, CBL/SAT, Game, STRMBox, PC, AUX, CD, TV, Phono, Tuner, NET, Bluetooth): Selects the desired audio/video input source.
- Volume Control (VOL +, VOL -): Adjusts the master volume level.
- Mute Button (🔇): Mutes or unmutes the audio output.
- Navigation Buttons (Up, Down, Left, Right, Enter): Used to navigate menus and confirm selections on your receiver's display.
- Quick Menu (Q): Accesses the quick menu for common settings.
- Return Button (↶): Returns to the previous menu or screen.
- Playback Controls (Movie/TV, Main, Music, Zone2, Game, Clear, Memory, Mode): Controls playback functions for connected devices and zone selection.
Refer to your Integra AV Receiver's user manual for detailed information on specific functions and menu navigation.
4. Maintenance
4.1 Battery Replacement
Replace the batteries when the remote control becomes unresponsive or its range decreases significantly. Always replace both AAA batteries at the same time with new ones. Do not mix old and new batteries, or different types of batteries.
4.2 Cleaning
To clean the remote control, wipe it gently with a soft, dry cloth. Do not use liquid cleaners, abrasive pads, or chemical solvents, as these can damage the remote's surface or internal components.
4.3 Storage
If the remote control will not be used for an extended period, remove the batteries to prevent leakage and potential damage to the device.
5. Troubleshooting
- Remote not responding:
- Check if the batteries are correctly installed with the correct polarity.
- Replace the batteries with fresh AAA batteries.
- Ensure there is a clear line of sight between the remote control and the IR sensor on your Integra AV Receiver. Remove any obstructions.
- Confirm that the remote is pointed directly at the receiver.
- Specific buttons not working:
- Clean the remote control surface, especially around the unresponsive buttons, to remove any dirt or debris that might be interfering.
- If only certain functions are not working, verify that your Integra AV Receiver is in the correct operating mode (e.g., TV input selected for TV controls).
6. Specifications
| Model Number | RC-912R RC-913R |
| Dimensions (L x W x H) | 6.9 x 2 x 0.7 inches (17.5 x 5.1 x 1.8 cm) |
| Item Weight | 2.89 ounces (81.9 g) |
| Battery Type | 2 x AAA (not included) |
| Compatible Devices | Integra Network Audio/Video AV Stereo Receivers |

Figure 3: Remote control dimensions.
7. Warranty and Support
Specific warranty information for this product is not provided in this manual. Please refer to the seller or your purchase documentation for details regarding warranty coverage and customer support. For technical assistance or further inquiries, contact the product vendor directly.


