1. Introduction
This manual provides essential information for the setup, operation, and maintenance of your JLab Go Cam USB HD Webcam. The Go Cam is designed to deliver high-definition video and clear audio for various communication needs, including video conferencing, live streaming, and online meetings.
Key features include:
- Full 1080p video resolution at 30 frames per second (FPS).
- 2.1 Megapixel sensor for clear image capture.
- Built-in omni-directional microphone for natural sound.
- Optimized for various lighting conditions.
- Plug-and-play compatibility with PC, Mac, and Chromebook devices.
2. Getting Started
2.1 Unpacking the Box
Verify that the following items are included in your package:
- JLab Go Cam USB HD Webcam
- Quick Start Guide
2.2 System Requirements
The JLab Go Cam is compatible with the following operating systems:
- Windows (PC)
- macOS (Mac)
- Chrome OS (Chromebook)
No additional software or drivers are typically required for basic functionality.
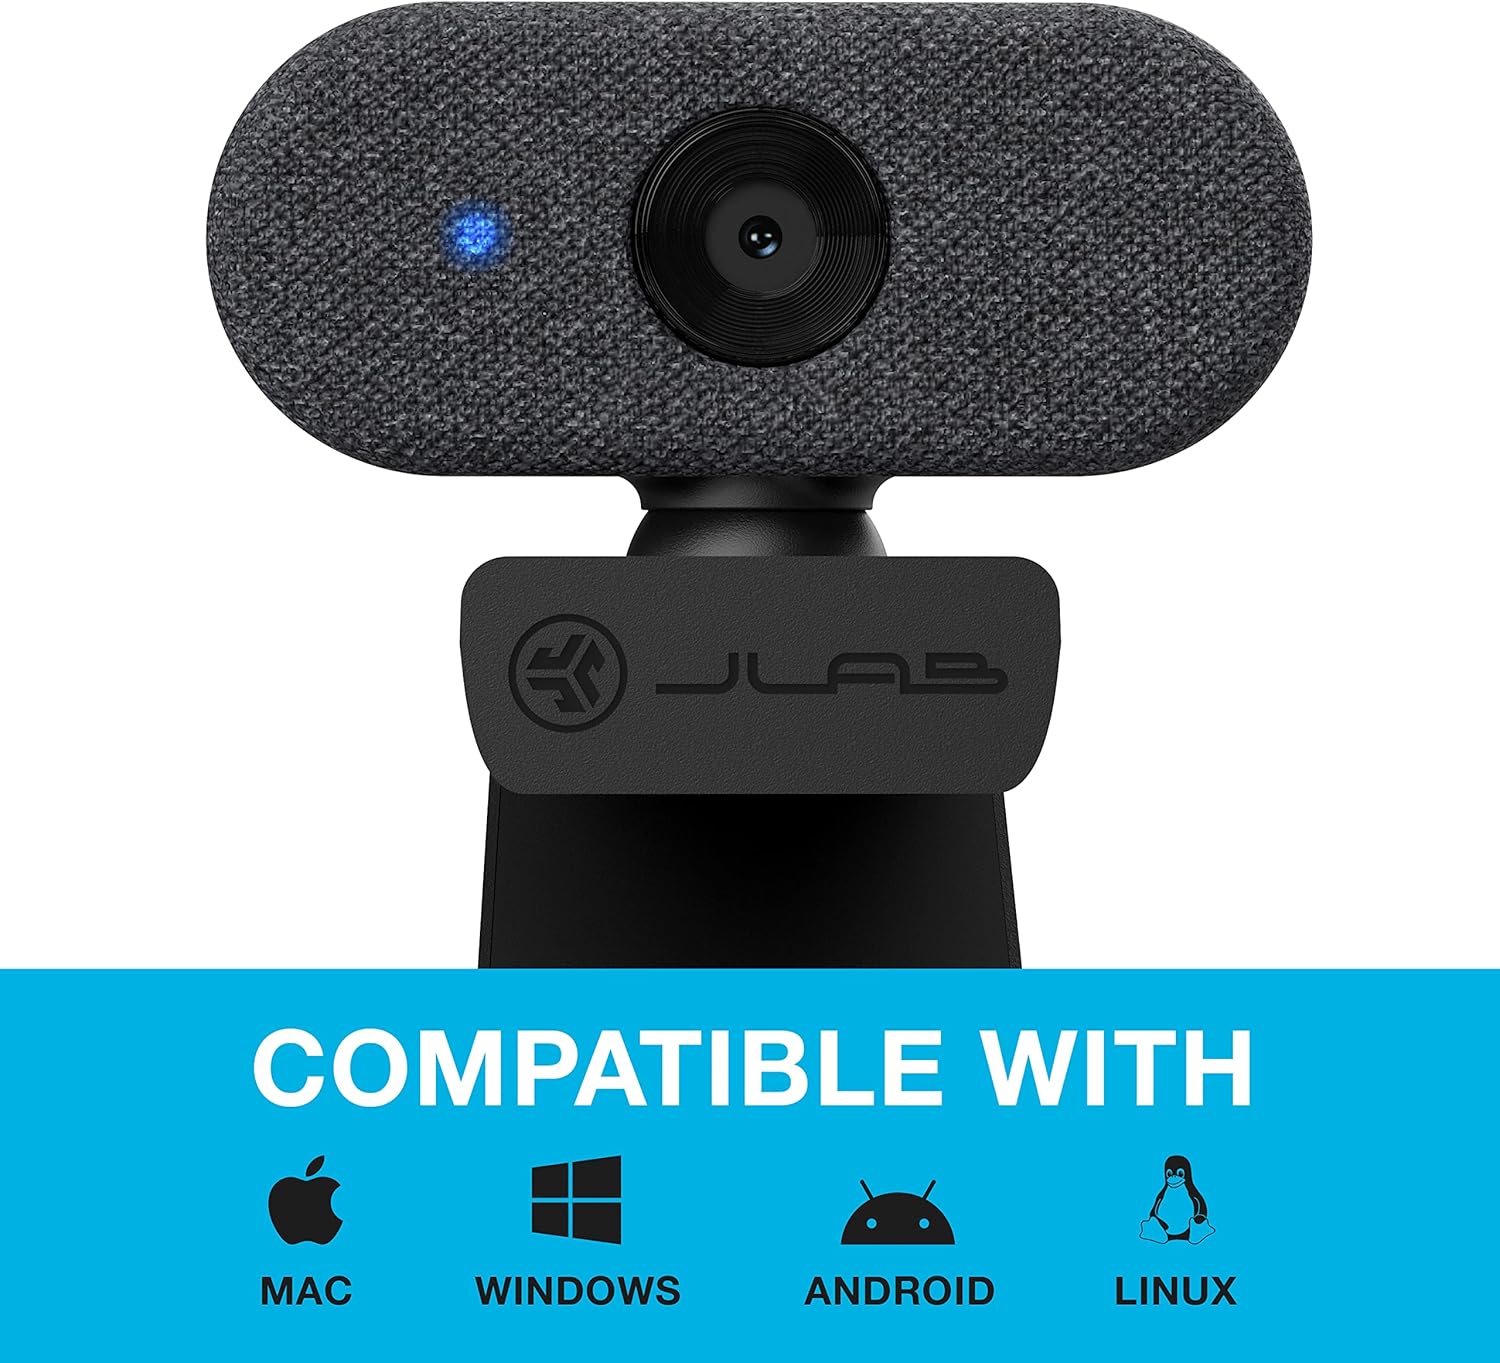
Image: The JLab Go Cam is compatible with Mac, Windows, Android, and Linux operating systems.
2.3 Physical Setup
The JLab Go Cam features a versatile clip-on design for easy mounting.
- Mounting on a Monitor/Laptop: Open the webcam's integrated clip and place it securely on top of your monitor or laptop screen. Adjust the angle to ensure the webcam is stable and facing you.
- Desktop Placement: The clip can also serve as a stand for placing the webcam on a flat surface, such as a desk.

Image: The JLab Go Cam webcam showing its adjustable clip for mounting.
3. Operation
3.1 Connecting the Webcam
The JLab Go Cam is a plug-and-play device. Simply connect the integrated USB cable from the webcam to an available USB port on your computer. The operating system should automatically detect and install the necessary drivers.
3.2 Using with Applications
Once connected, the webcam can be selected as your video and audio input device in most video conferencing, streaming, and recording applications (e.g., Zoom, Google Meet, Microsoft Teams, Skype, OBS Studio).
- Open your preferred application.
- Navigate to the application's settings or preferences, typically found under 'Audio & Video' or 'Devices'.
- Select 'JLab Go Cam' as your camera device.
- Select 'JLab Go Cam' or a similar entry as your microphone device.
- A blue indicator light on the webcam will illuminate when the camera is active and in use.
3.3 Video and Audio Quality
The Go Cam provides 1080p Full HD video at 30 frames per second, ensuring clear and detailed visuals. The built-in omni-directional microphone captures sound from all directions, making conversations sound natural.

Image: The JLab Go Cam provides high-definition video for clear communication.

Image: The omni-directional microphone ensures clear audio capture.
3.4 Low Light Performance
The webcam is designed to perform effectively in various lighting conditions, including low-light environments, to maintain image clarity.

Image: The JLab Go Cam adapts to different lighting conditions.
4. Maintenance
To ensure the longevity and optimal performance of your JLab Go Cam, follow these simple maintenance guidelines:
- Cleaning the Lens: Gently wipe the camera lens with a soft, lint-free cloth. Avoid abrasive materials or harsh cleaning chemicals.
- Cleaning the Body: Use a dry or slightly damp cloth to clean the webcam's exterior.
- Storage: When not in use, store the webcam in a clean, dry place away from extreme temperatures.
- Cable Care: Avoid bending or twisting the USB cable excessively to prevent damage.
5. Troubleshooting
If you encounter issues with your JLab Go Cam, refer to the following troubleshooting steps:
5.1 Webcam Not Detected or No Image/Sound
- Check USB Connection: Ensure the webcam's USB cable is securely plugged into a functioning USB port on your computer. Try a different USB port.
- Restart Computer: Sometimes a simple restart can resolve detection issues.
- Verify Application Settings: Confirm that 'JLab Go Cam' is selected as both the video and audio input device within your video conferencing or recording application's settings.
- Check Device Manager (Windows) / System Information (Mac): Verify that the webcam is recognized by your operating system.
5.2 Poor Image Quality (Dark, Pixelated, or Unclear)
- Lighting Conditions: Ensure adequate lighting in your environment. Position yourself facing a light source rather than having a bright light behind you.
- Clean Lens: Gently clean the webcam lens with a soft, lint-free cloth.
- Application Resolution: Check if your application's video settings are configured for 1080p resolution.
- No Dedicated Software: Please note that the JLab Go Cam does not come with proprietary software for advanced image adjustments (e.g., brightness, contrast, white balance). Adjustments may need to be made through your operating system's camera settings or the specific application you are using.
5.3 Poor Audio Quality
- Microphone Selection: Ensure 'JLab Go Cam' is selected as the microphone input in your application's audio settings.
- Microphone Volume: Check the microphone input level in your computer's sound settings and within the application.
- Environmental Noise: Minimize background noise for clearer audio.
5.4 Blue Indicator Light
The blue light on the front of the webcam indicates that the camera is actively in use by an application.
6. Specifications
| Brand | JLab |
| Model Number | WGOCAMRBLK124 |
| Video Capture Resolution | 1080p (Full HD) |
| Frames Per Second (FPS) | 30 FPS |
| Megapixels | 2.1 Megapixels |
| Microphone Type | Omni-Directional |
| Connectivity Technology | USB |
| Special Feature | Low Light Performance |
| Item Weight | 4.2 ounces |
| Product Dimensions | 1.9 x 2.75 x 1.9 inches |
7. Warranty and Support
7.1 Warranty Information
The JLab Go Cam USB HD Webcam comes with a JLab Two-Year Warranty. Please refer to the official JLab website or your purchase documentation for full warranty terms and conditions.
7.2 Customer Support
For further assistance, technical support, or warranty claims, please visit the official JLab support website or contact their customer service department. Contact information can typically be found on the JLab website or in the Quick Start Guide included with your product.


