1. Introduction
Thank you for purchasing the BEPER P101COS001 Electric Pressure Cooker and Multicooker. This appliance is designed to simplify your cooking process with its versatile functions, including pressure cooking, slow cooking, steaming, and more. With 15 preset programs and a 6-liter capacity, it offers convenience and efficiency for preparing a wide variety of meals. Please read this manual thoroughly before first use to ensure safe and optimal operation.

Image 1: Front view of the BEPER P101COS001 Electric Pressure Cooker. The appliance features a brushed stainless steel exterior with a black lid and control panel.
2. Important Safety Instructions
When using electrical appliances, basic safety precautions should always be followed to reduce the risk of fire, electric shock, and injury to persons. Read all instructions carefully.
- Do not touch hot surfaces. Use handles or knobs.
- To protect against electrical shock, do not immerse the cord, plugs, or the main unit in water or other liquid.
- Close supervision is necessary when any appliance is used by or near children.
- Unplug from outlet when not in use and before cleaning. Allow to cool before putting on or taking off parts.
- Do not operate any appliance with a damaged cord or plug, or after the appliance malfunctions or has been damaged in any manner.
- Do not use outdoors.
- Do not let the cord hang over the edge of a table or counter, or touch hot surfaces.
- Do not place on or near a hot gas or electric burner, or in a heated oven.
- Extreme caution must be used when moving an appliance containing hot oil or other hot liquids.
- Always attach plug to appliance first, then plug cord into the wall outlet. To disconnect, turn any control to 'off', then remove plug from wall outlet.
- Do not use the appliance for other than intended use.
- This appliance cooks under pressure. Improper use may result in scalding injury. Make certain unit is properly closed before operating.
- Never force open the pressure cooker. Make sure the internal pressure is completely released before opening.
- Do not fill the unit over 2/3 full. When cooking foods that expand during cooking, such as rice or dried vegetables, do not fill the unit over 1/2 full.
- Always check the pressure release valve and float valve for clogging before use.
3. Product Components
The BEPER P101COS001 Electric Pressure Cooker comes with the following components:
- Main Unit with Control Panel
- Removable Inner Pot (6-liter capacity)
- Lid with Sealing Ring and Pressure Release Valve
- Steaming Rack
- Measuring Cup
- Spatula

Image 2: Exploded view showing the lid, steaming rack, inner pot, and main unit of the pressure cooker.
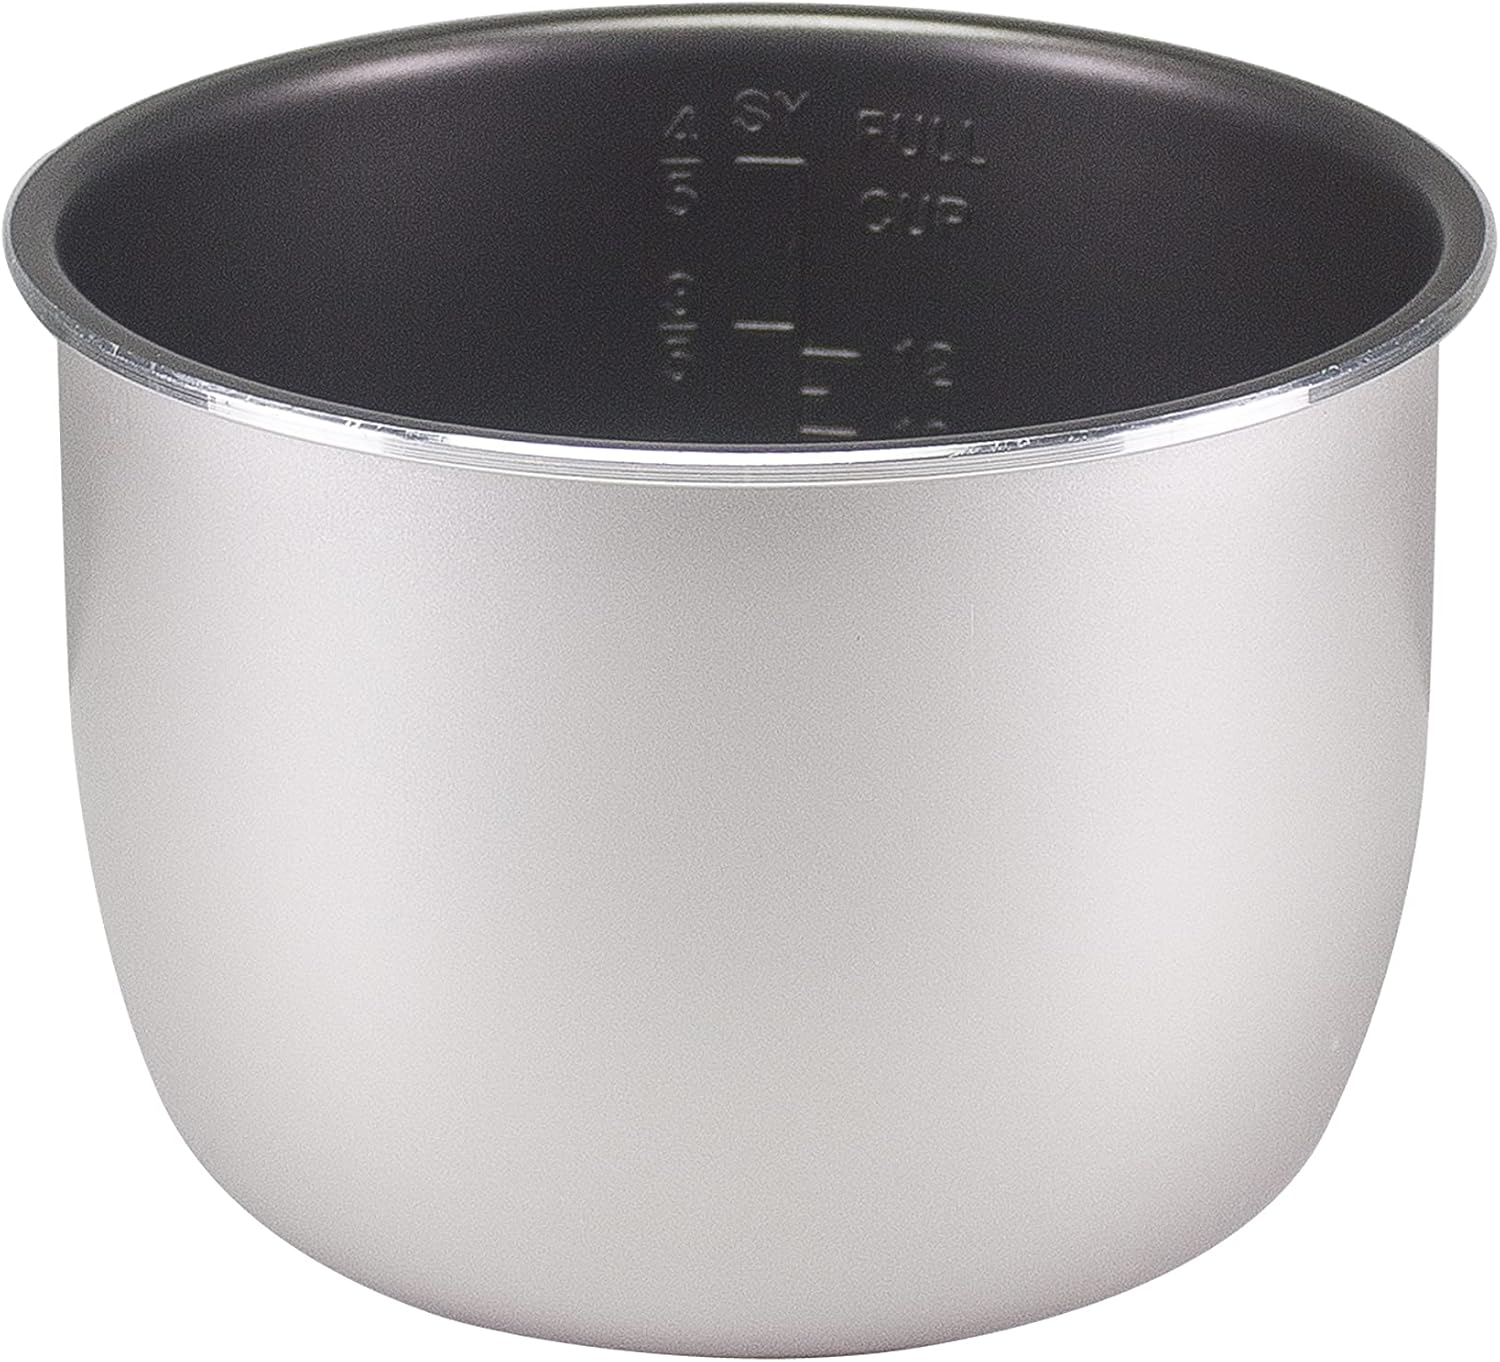
Image 3: Close-up of the removable 6-liter inner pot, featuring measurement markings on the interior.

Image 4: Included accessories: a white plastic spatula, a clear plastic measuring cup with volume markings, and a stainless steel steaming rack.
4. Setup and First Use
4.1 Unpacking
- Remove all packaging materials, stickers, and labels from the appliance.
- Check that all components listed in Section 3 are present and undamaged.
4.2 Initial Cleaning
- Wash the inner pot, lid, sealing ring, steaming rack, measuring cup, and spatula with warm, soapy water. Rinse thoroughly and dry completely.
- Wipe the exterior of the main unit with a damp cloth. Never immerse the main unit in water.
4.3 Assembly
- Place the inner pot into the main unit. Ensure it sits properly and is level.
- Insert the sealing ring into the lid, ensuring it is seated correctly and securely.
- Place the lid onto the main unit, aligning the arrow on the lid with the unlock symbol on the main unit. Rotate the lid clockwise until the arrow aligns with the lock symbol. You should hear a click.
- Ensure the pressure release valve is set to the 'Sealing' position for pressure cooking.
5. Operating Instructions
5.1 Control Panel Overview
The intelligent control panel features an LED display and intuitive buttons for program selection and adjustments.

Image 5: Close-up of the control panel, showing the digital display, program buttons, and adjustment controls.
- LED Display: Shows cooking time, pressure level, and program status.
- Program Buttons: Select from 15 preset cooking functions (e.g., Soup, Rice, Meat, Steam).
- Pressure Button: Adjusts pressure level (Low, Normal, High) for certain programs.
- Adjust Button: Used to modify cooking time or other settings.
- Manual Button: Allows for custom cooking settings.
- Timer Button: Sets the delayed start function (up to 24 hours).
- '+' / '-' Buttons: Adjust time or other values.
- Cancel Button: Stops the current cooking program or clears settings.
- Keep Warm Button: Activates or deactivates the keep warm function.
5.2 Basic Operation Steps
- Prepare Ingredients: Place your ingredients and the required amount of liquid into the inner pot. Do not exceed the MAX fill line (2/3 full for most foods, 1/2 full for expanding foods).
- Secure the Lid: Place and lock the lid as described in Section 4.3. Ensure the pressure release valve is in the 'Sealing' position.
- Select a Program: Plug in the appliance. The LED display will show '00:00'. Press the desired program button (e.g., 'Rice', 'Soup', 'Meat Stew').
- Adjust Settings (Optional):
- Some programs allow adjustment of cooking time using the '+' and '-' buttons after selecting the program.
- For pressure cooking programs, you may be able to adjust the pressure level (Low, Normal, High) using the 'Pressure' button.
- Start Cooking: The appliance will automatically start cooking after a few seconds if no further adjustments are made. The display will show a preheating indicator, then count down the cooking time once pressure is reached.
- Delayed Start (Timer): To use the 24-hour timer, select a program, then press the 'Timer' button. Use '+' and '-' to set the desired delay time before cooking begins. Press the program button again to confirm.
- Keep Warm: After cooking is complete, the appliance will automatically switch to 'Keep Warm' mode. Press 'Keep Warm' to cancel this function or to activate it manually.
- Cancel: Press the 'Cancel' button at any time to stop the current operation.
5.3 Pressure Release
Once cooking is complete, pressure must be released before opening the lid.
- Natural Release: Allow the pressure to dissipate naturally. This is recommended for foamy foods or large cuts of meat. The float valve will drop when pressure is fully released.
- Quick Release: Carefully turn the pressure release valve to the 'Venting' position. Steam will rapidly escape. Keep hands and face away from the steam. Once the float valve drops, pressure is released.
Only open the lid when the float valve has dropped completely.
5.4 Cooking Programs
The BEPER P101COS001 offers 15 preset programs for various cooking needs:

Image 6: Visual representation of the 15 preset cooking programs available on the BEPER P101COS001.
- Soup: For preparing various soups and broths.
- Multigrain: Ideal for cooking different types of grains.
- Poultry: Optimized for cooking chicken, turkey, and other poultry.
- Meat: Suitable for beef, pork, and other red meats.
- Stew: Perfect for hearty stews and casseroles.
- Slow Cook: For slow-cooked dishes, allowing flavors to meld over time.
- Bean: Specifically designed for cooking beans and legumes.
- Sauté: For browning ingredients before pressure cooking or for stir-frying.
- Rice: For perfectly cooked rice.
- Cake: For baking cakes and desserts.
- Oatmeal: For preparing creamy oatmeal.
- Steam: For steaming vegetables, fish, and other foods using the steaming rack.
- Egg: For cooking eggs to your desired consistency.
- Yogurt: For making homemade yogurt.
- Keep Warm: Maintains food at a serving temperature after cooking.
6. Maintenance and Cleaning
Regular cleaning ensures the longevity and proper functioning of your pressure cooker.
- Always unplug the appliance and allow it to cool completely before cleaning.
- Inner Pot: The non-stick inner pot can be washed with warm, soapy water and a soft sponge. Avoid abrasive cleaners or scouring pads that could damage the non-stick coating. It is dishwasher safe.
- Lid: Wash the lid, sealing ring, and pressure release valve assembly with warm, soapy water. Ensure all food particles are removed from the valve mechanisms. The sealing ring should be removed and cleaned separately, then reinserted correctly.
- Main Unit: Wipe the exterior of the main unit with a damp cloth. Never immerse the main unit in water or any other liquid.
- Accessories: The steaming rack, measuring cup, and spatula can be washed with warm, soapy water or placed in the dishwasher.
- Storage: Store the clean and dry pressure cooker with the lid inverted on the inner pot to prevent odors and prolong the life of the sealing ring.
7. Troubleshooting
If you encounter issues with your BEPER P101COS001, refer to the following common problems and solutions:
| Problem | Possible Cause | Solution |
|---|---|---|
| Pressure not building | Lid not properly closed; Sealing ring not installed correctly; Pressure release valve in 'Venting' position; Insufficient liquid. | Ensure lid is locked; Check sealing ring position; Turn valve to 'Sealing'; Add more liquid (at least 1 cup). |
| Lid cannot be opened after cooking | Internal pressure has not been fully released. | Ensure float valve has dropped completely. If not, perform quick release or wait for natural release. |
| Food is undercooked | Insufficient cooking time; Incorrect program selected. | Increase cooking time or select a more appropriate program. Ensure enough liquid was used. |
| Error code on display | Specific internal malfunction. | Refer to the specific error code in the full user manual (if available) or contact customer support. Unplug and replug the unit. |
If the problem persists after attempting these solutions, please contact BEPER customer support.
8. Specifications
Technical details for the BEPER P101COS001 Electric Pressure Cooker:
- Model Number: P101COS001
- Brand: BEPER
- Product Name: Multi-pressure Cooker
- Capacity: 6 Liters
- Power: 1200 Watts
- Material: Steel (Inner Pot), Metallic (Finish)
- Color: Black
- Dimensions (L x W x H): 33 cm x 28 cm x 38 cm (Product); 50 cm x 50 cm x 28 cm (Packaging)
- Item Weight: 5.44 Kilograms
- Control Method: Touch
- Special Feature: Easy to Use
- Safety Systems: 10 (including leak control, pressure, temperature, anti-overheating)
- Timer: 24-hour delay timer

Image 7: Graphic highlighting key features: 1200W power, 6L capacity, touch panel, 15 programs, 10 safety systems, and 24-hour timer.
9. Warranty and Support
This BEPER product is covered by a manufacturer's warranty. For specific warranty terms and conditions, please refer to the warranty card included with your purchase or visit the official BEPER website. For technical support, troubleshooting assistance, or spare parts, please contact BEPER customer service through their official channels.
For more information and recipes, you may visit the BEPER brand store: BEPER Brand Store


