
ZBAITU C80
ZBAITU C80 10W Optical Diode Laser Module Instruction Manual
Model: C80 | Brand: ZBAITU
1. Introduction
This manual provides essential information for the safe and effective use of your ZBAITU C80 10W Optical Diode Laser Module. The C80 module features a 10W optical output, enabling precise engraving and cutting on a wide range of materials. It includes an integrated air assist system to enhance cutting performance and maintain lens cleanliness, and offers broad compatibility with various laser engraving machines.
2. Safety Information
WARNING: Laser radiation can cause eye damage and skin burns. Always wear appropriate laser safety goggles during operation.
- Eye Protection: Always wear certified laser safety goggles that block the specific wavelength of your laser module. The C80 module includes a protective shield, but additional goggles are recommended.
- Ventilation: Operate the laser module in a well-ventilated area or use an exhaust system to remove smoke and fumes generated during engraving and cutting.
- Supervision: Never leave the laser module operating unattended.
- Flammable Materials: Do not operate the laser near flammable liquids, gases, or materials.
- Children and Pets: Keep children and pets away from the operating area.
- Emergency Stop: Familiarize yourself with the emergency stop procedure of your engraving machine.

Image: The laser module features an eye protection design. Always use additional safety goggles.
3. Package Contents
Verify that all components are present in your package:
- ZBAITU C80 Laser Module (10W Optical Output)
- Adapter Cables (for various machine compatibility)
- Dovetail Slider (for mounting)
- Fixed Focus Plate
- User Manual (this document)
4. Setup
4.1 Mounting the Laser Module
The ZBAITU C80 laser module is designed for wide compatibility. Use the provided dovetail slider and adapter cables to mount it onto your existing laser engraving machine. Ensure the module is securely fastened to prevent movement during operation.

Image: Installation guide for compatibility with various laser engraver brands (e.g., xT*ol, ATOMST*CK, SCULPF*N).

Image: The module offers wide compatibility with many laser engraving machines.
4.2 Electrical Connection
Connect the laser module to your engraving machine using the appropriate adapter cable. The module requires a 12V input voltage. Ensure correct polarity and secure connections.
- DC 12V: Power input.
- GND: Ground connection.
- 5V PWM: Pulse Width Modulation signal for laser power control.

Image: Wiring diagram for the laser module, indicating 5V PWM, DC 12V, and GND connections.
4.3 Focus Setting
Accurate focus is crucial for optimal engraving and cutting results. Use the provided fixed focus plate to set the correct focal distance between the laser lens and the material surface. The C80 module is designed for a concentrated laser energy beam, resulting in finer details.

Image: Focus setting reference diagram and a power test showing 11.49W output.

Image: Comparison of laser beam characteristics, highlighting the C80's thinner, more concentrated beam for precise work.
5. Operating Instructions
5.1 Material Compatibility
The ZBAITU C80 laser module can engrave and cut a wide variety of materials, including but not limited to:
- Wood (Basswood, Hardwood, Plywood, Pine board)
- Acrylic (Clear, Black)
- Leather
- Metal (Coated Metal, Stainless Steel for engraving)
- Glass
- Paper (Kraft paper, Cardboard)
- Ceramic
- Stone
- Bamboo
- Plastic
- Food

Image: Examples of various materials that can be engraved or cut with the laser module.

Image: More examples of materials and DIY creations possible with the laser module.
5.2 Engraving Parameters Reference
The following table provides recommended starting parameters for engraving various materials. Adjust settings based on desired depth and material characteristics.

Image: Engraving parameter reference table for various materials.
5.3 Cutting Parameters Reference
The following table provides recommended starting parameters for cutting various materials. Adjust settings based on material thickness and desired cut quality.

Image: Cutting parameter reference table for various materials and thicknesses.
6. Maintenance
6.1 Lens Cleaning
The integrated air assist system helps to reduce smoke and debris accumulation on the laser lens, extending its lifespan and maintaining optimal performance. Periodically inspect the lens for any residue. If cleaning is necessary, use a soft, lint-free cloth and a specialized lens cleaning solution. Avoid touching the lens directly with bare hands.
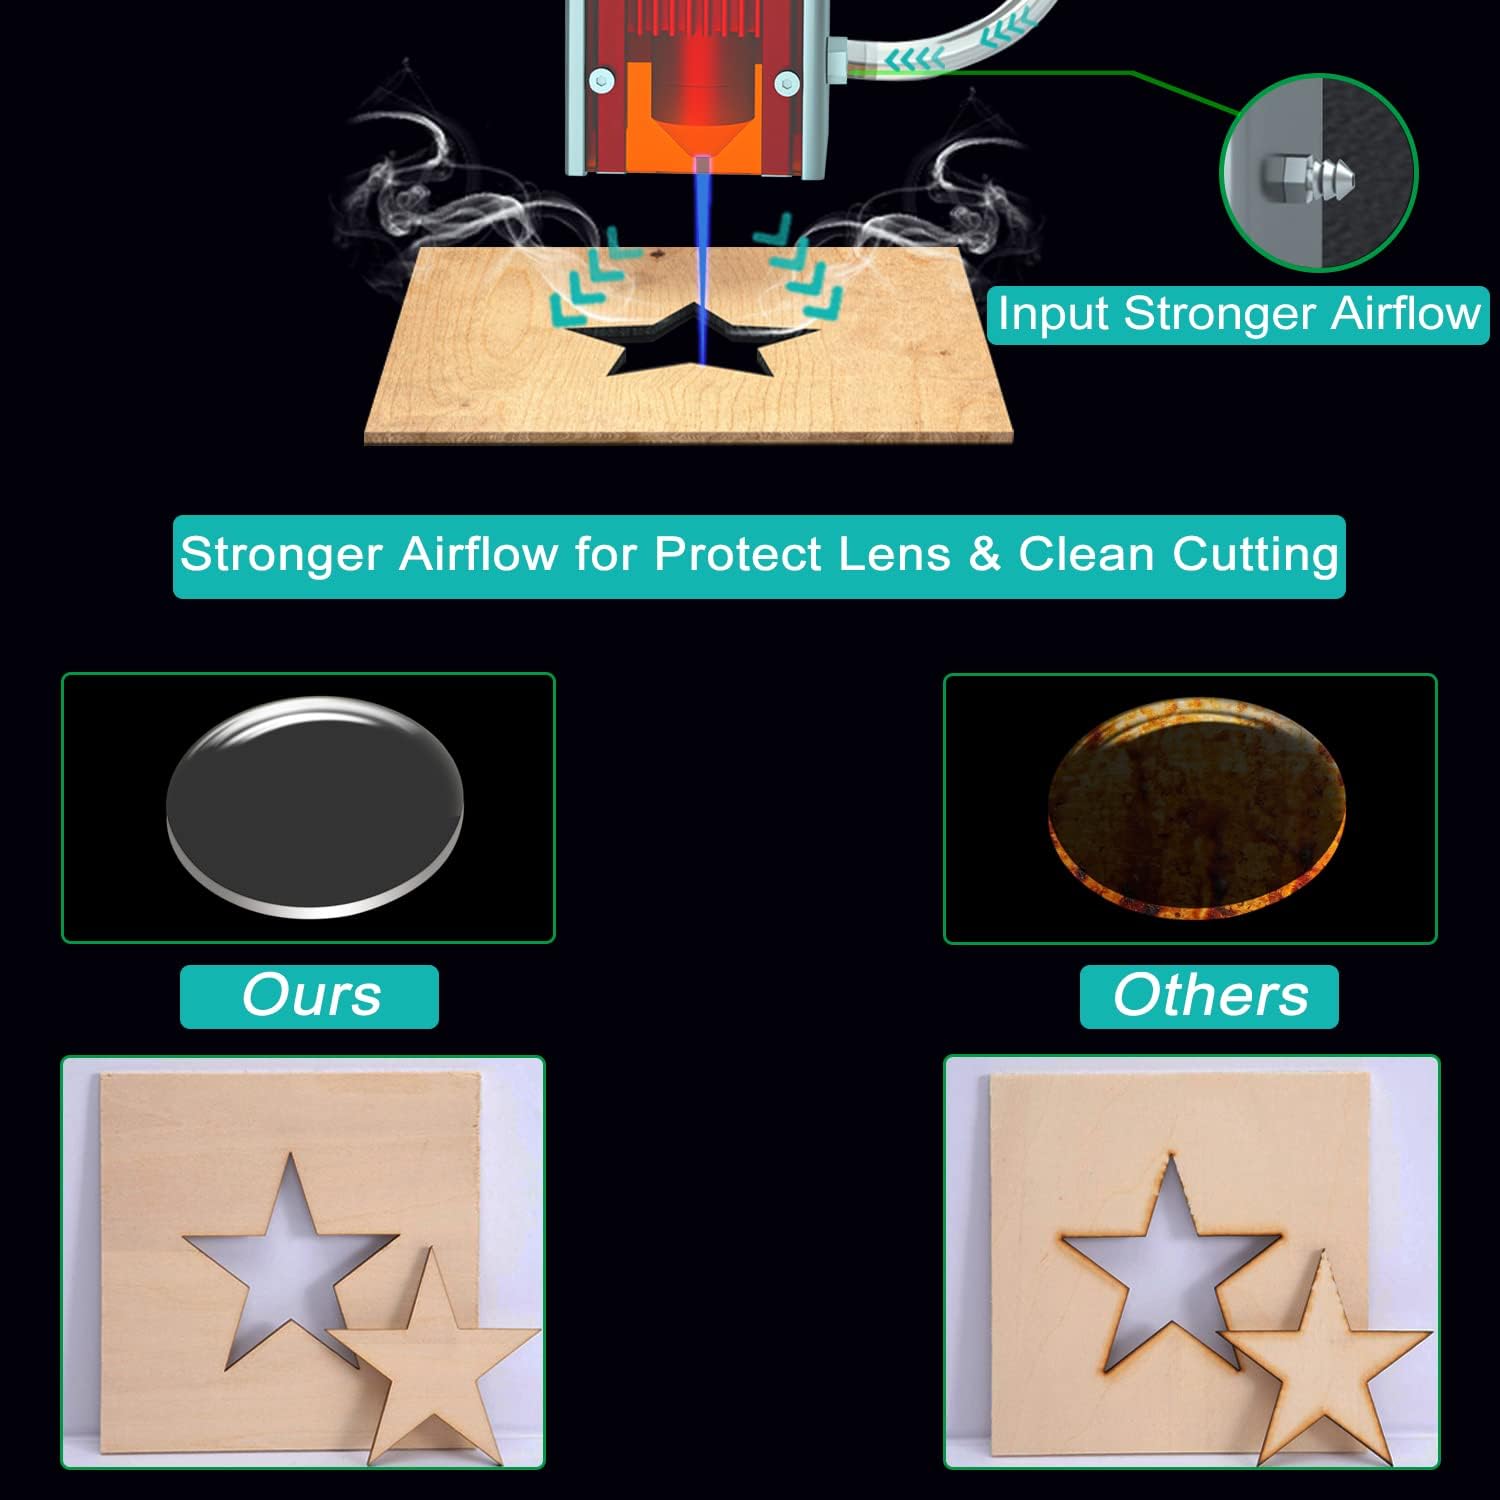
Image: Illustration of how stronger airflow protects the lens and ensures clean cutting, comparing a clean lens to a contaminated one.

Image: Close-up of the air assist feature on the laser module.
6.2 General Cleaning
Keep the exterior of the laser module clean and free from dust and debris. Use a dry cloth for general cleaning. Do not use abrasive cleaners or solvents.
7. Troubleshooting
- Poor Engraving/Cutting Quality:
- Check if the laser is properly focused.
- Verify that the power and speed settings are appropriate for the material (refer to parameter tables).
- Ensure the material surface is clean and flat.
- Clean the laser lens if it appears dirty.
- Laser Not Firing:
- Check all electrical connections (12V power, GND, 5V PWM).
- Ensure the engraving machine's software is correctly configured to control the laser.
- Verify the laser module is receiving power.
- Excessive Smoke/Fumes:
- Ensure proper ventilation or exhaust system is in use.
- Check if the air assist system is functioning correctly.
- Reduce laser power or increase speed if material is burning excessively.
8. Specifications
| Feature | Specification |
|---|---|
| Brand | ZBAITU |
| Model Number | C80 |
| Optical Output Power | 10W |
| Product Dimensions | 3.99 x 3.99 x 11.99 cm |
| Product Weight | 812 g |
| Housing Material | Acrylic |
| Input Voltage | 12V |
| Compatibility | Most laser engraving machines with 12V input |
9. Warranty and Support
ZBAITU is committed to providing sincere pre-sales and after-sales service. If you have any questions, concerns, or require technical assistance regarding your C80 laser module, please contact ZBAITU customer support through your purchase platform or the official ZBAITU website.
Related documentsC80


Ask a question about this manual
Ask about setup, troubleshooting, compatibility, parts, safety, or missing instructions. Manuals+ will review the question and use this page’s manual context to help answer it.