
Deogos Solar Pendant Lights
Deogos Solar Pendant Light Instruction Manual
Model: Solar Pendant Lights
1. Introduction
The Deogos Solar Pendant Light is designed to provide efficient and versatile lighting for both indoor and outdoor environments. This manual provides comprehensive instructions for setup, operation, and maintenance to ensure optimal performance and longevity of your solar light.
2. What's in the Box
- Solar Pendant Light (1 unit)
- Solar Panel (1 unit)
- Remote Control (1 unit)
- 16.5ft/5M Wire (pre-attached to solar panel)
- Mounting Screws and Wall Plugs

Deogos Solar Pendant Light components including light fixture, solar panel, and remote control.
3. Specifications
| Feature | Detail |
|---|---|
| Brand | Deogos |
| Model Name | Solar Pendant Light |
| Light Source Type | LED (180 PCS SMD2835, 0.2W, 4000K-6000K) |
| Brightness | 1000 Lumen |
| Solar Panel | 6V/5W |
| Battery | 4400mAh |
| Output | 7W (Fully charging) |
| Remote Control Distance | 3-5m under the light |
| Waterproof Level | IP65 |
| Material | Aluminum, Acrylonitrile Butadiene Styrene |
| Product Dimensions | 8.3"L x 7.1"W x 4"H |
| Item Weight | 2 Pounds |
| Installation Type | Ceiling Mounting |
| Special Feature | Motion Sensor, Water Resistant |
| Control Method | Remote |
| Room Type | Indoors and Outdoors like Shed, Gazebo, Balcony, Garage, Barn, Home, Garden, Yard, Patio, Porch |
4. Setup and Installation
4.1 Unpacking and Component Check
Carefully unpack all components and ensure all items listed in the "What's in the Box" section are present and undamaged.
4.2 Choosing a Location
Select a location for the solar panel that receives direct sunlight for at least 6-8 hours daily to ensure optimal charging. The light fixture can be installed indoors or outdoors, connected by the 16.5ft/5M wire to the solar panel.

The solar panel and light fixture are connected by a long wire, allowing flexible placement.
4.3 Mounting the Solar Panel
Use the provided screws and wall plugs to securely mount the solar panel in your chosen location. The panel features an adjustable bracket to angle it towards the sun for maximum exposure.

The solar panel can be mounted on a wall or roof and adjusted for optimal sun exposure.
Demonstration of mounting the solar panel on a roof for optimal sunlight.
4.4 Mounting the Light Fixture
Hang the light fixture using the integrated hook or other suitable mounting hardware in your desired location. Ensure the wire from the solar panel can reach the light fixture without tension.
Overview of the solar pendant light's features and installation, including remote control operation.
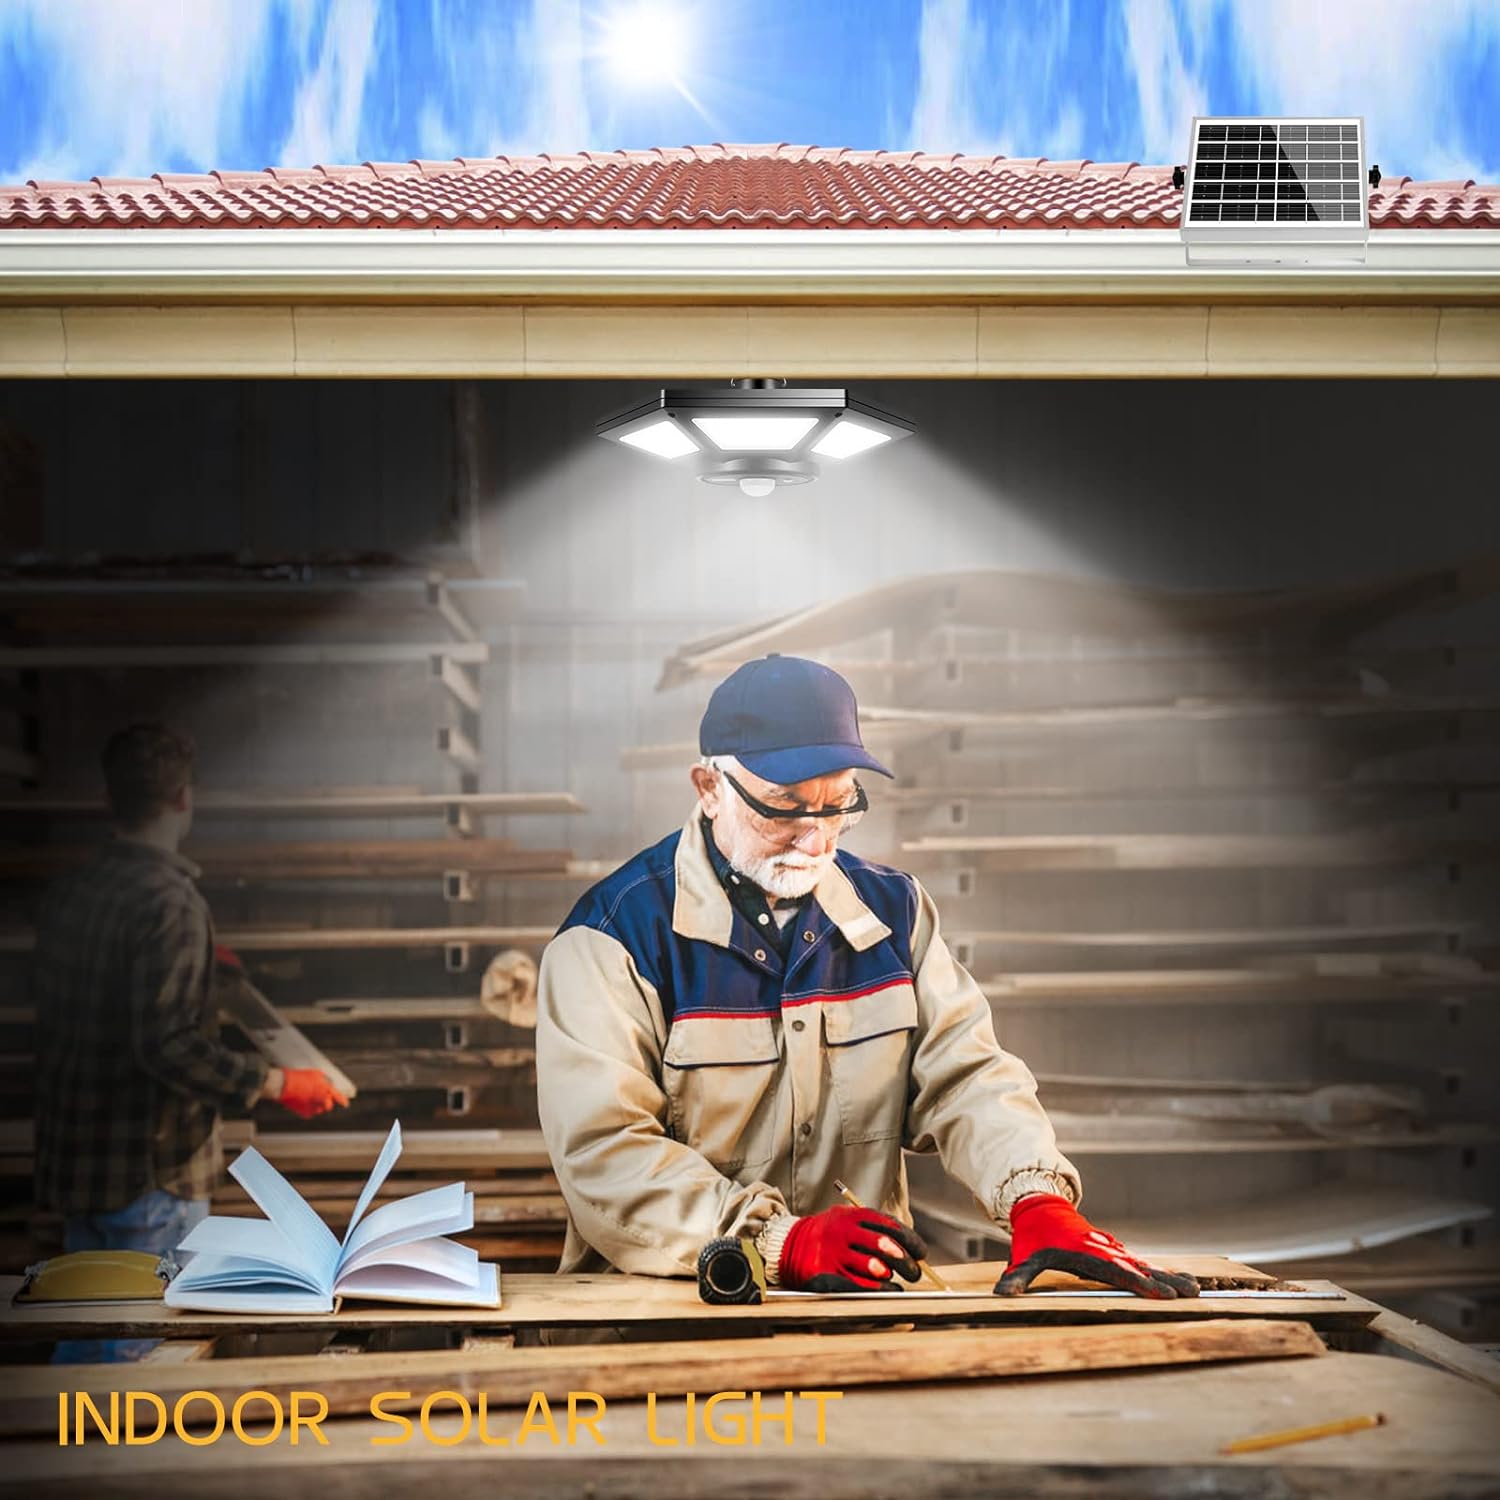
Examples of the solar pendant light installed in different indoor and outdoor settings like garages, patios, and sheds.
5. Operating Instructions
5.1 Remote Control Functions
The included remote control allows for convenient operation of the solar pendant light. Ensure the remote is pointed towards the light fixture for effective communication.
- ON/OFF: Turns the light on or off.
- Brightness Adjustment (+/-): Adjusts the light intensity (25%, 50%, 75%, 100%).
- Mode Selection (1-5): Selects one of the five lighting modes.
- Timer Settings (2H, 4H, 6H): Sets the light to stay on for a specified duration.
The remote control allows for four levels of brightness adjustment: 25%, 50%, 75%, and 100%.

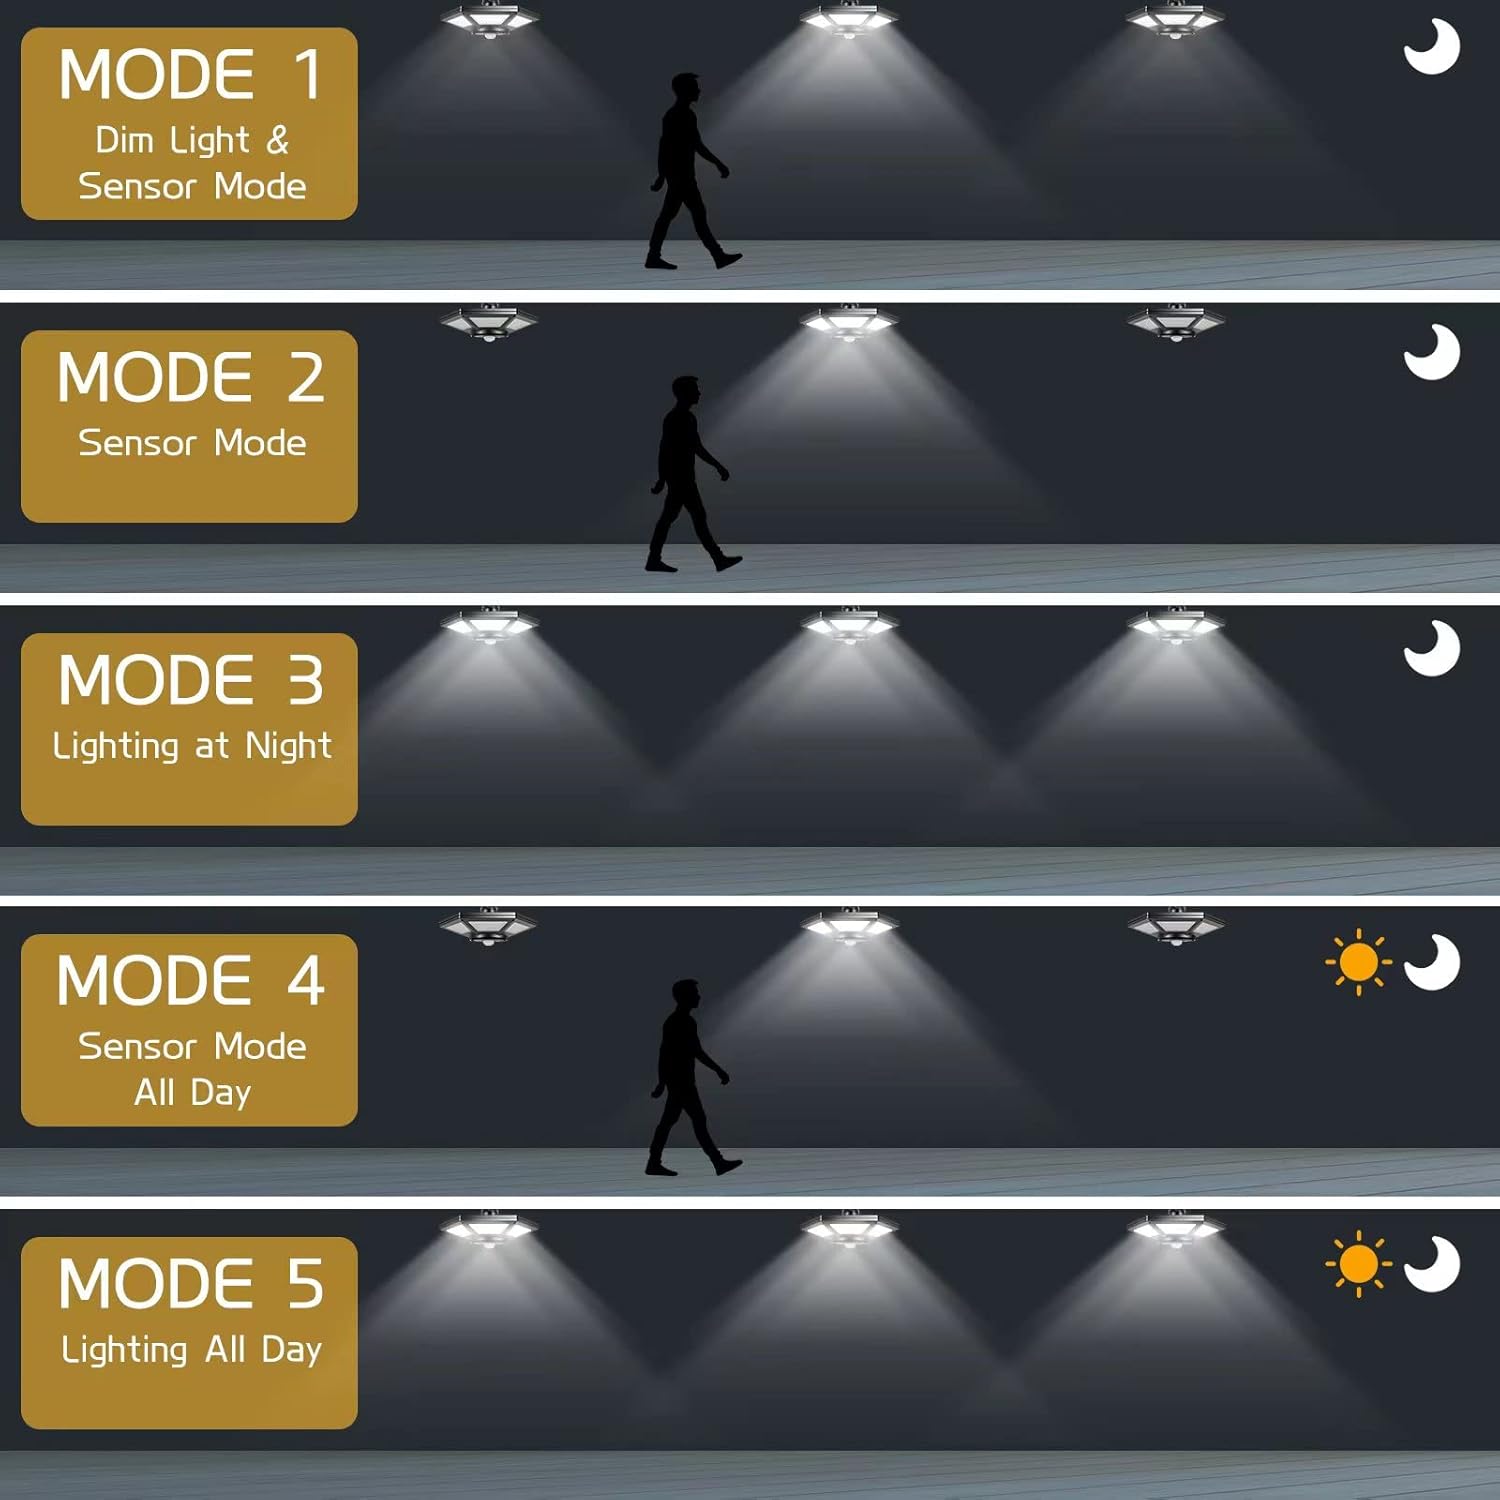
Visual representation of the five distinct lighting modes available for the solar pendant light.
5.2 Lighting Modes
The light offers 5 distinct lighting modes to suit various needs:
- Mode 1 (Night Only): Dim light to full bright when motion detected at night.
- Mode 2 (Night Only): Off to full bright when motion detected at night.
- Mode 3 (Night Only): Constant lighting at night.
- Mode 4 (Full Day): Off to full bright when motion detected all day.
- Mode 5 (Full Day): Constant lighting all day.
Note: For testing modes 1, 2, and 3, ensure the solar panel is covered or the light is in a dark room, as these modes only activate at night.
6. Maintenance
- Regularly clean the solar panel surface with a soft, damp cloth to remove dust, dirt, or debris. A clean panel ensures efficient charging.
- Inspect the wiring and connections periodically for any signs of wear or damage.
- Ensure the light fixture and solar panel are securely mounted, especially after severe weather conditions.
7. Troubleshooting
| Problem | Possible Cause | Solution |
|---|---|---|
| Light does not turn on. | Insufficient solar charge. | Ensure solar panel receives 6-8 hours of direct sunlight daily. Clean the solar panel. |
| Light flickers or is dim. | Low battery charge or dirty solar panel. | Allow more charging time. Clean the solar panel. |
| Motion sensor not working. | Incorrect mode selected or obstruction. | Verify correct motion sensor mode (Mode 1, 2, or 4). Ensure sensor is not obstructed. |
| Remote control not responding. | Remote battery low or obstruction. | Replace remote control batteries. Ensure direct line of sight to the light fixture. |
8. Warranty and Support
Deogos products are manufactured with high-quality materials and undergo strict quality control. For any concerns, issues, or problems with your product, please contact Deogos US customer service. We are always online to assist you.
For further assistance, please visit the Deogos Store on Amazon.
Ask a question about this manual
Ask about setup, troubleshooting, compatibility, parts, safety, or missing instructions. Manuals+ will review the question and use this page’s manual context to help answer it.