
VANBAR D500
VANBAR Trail Camera D500 User Manual
Model: D500
For Wildlife Monitoring, Hunting, and Home Security
1. Introduction
The VANBAR D500 Trail Camera is a high-performance digital camera designed for outdoor use, ideal for capturing wildlife, monitoring property, or for hunting applications. It features advanced imaging capabilities, motion detection, and robust weather resistance to ensure reliable operation in various environments. This manual provides detailed instructions for setting up, operating, and maintaining your camera.

Image 1.1: Overview of the VANBAR D500 Trail Camera and its key features.
2. What's in the Box
- VANBAR D500 Wildlife Camera
- 64GB Micro SD Card (pre-inserted)
- User Manual
- Screw Set for mounting
- Adjustable Bracket
- Hex Key
- Mounting Strap
- USB Cable
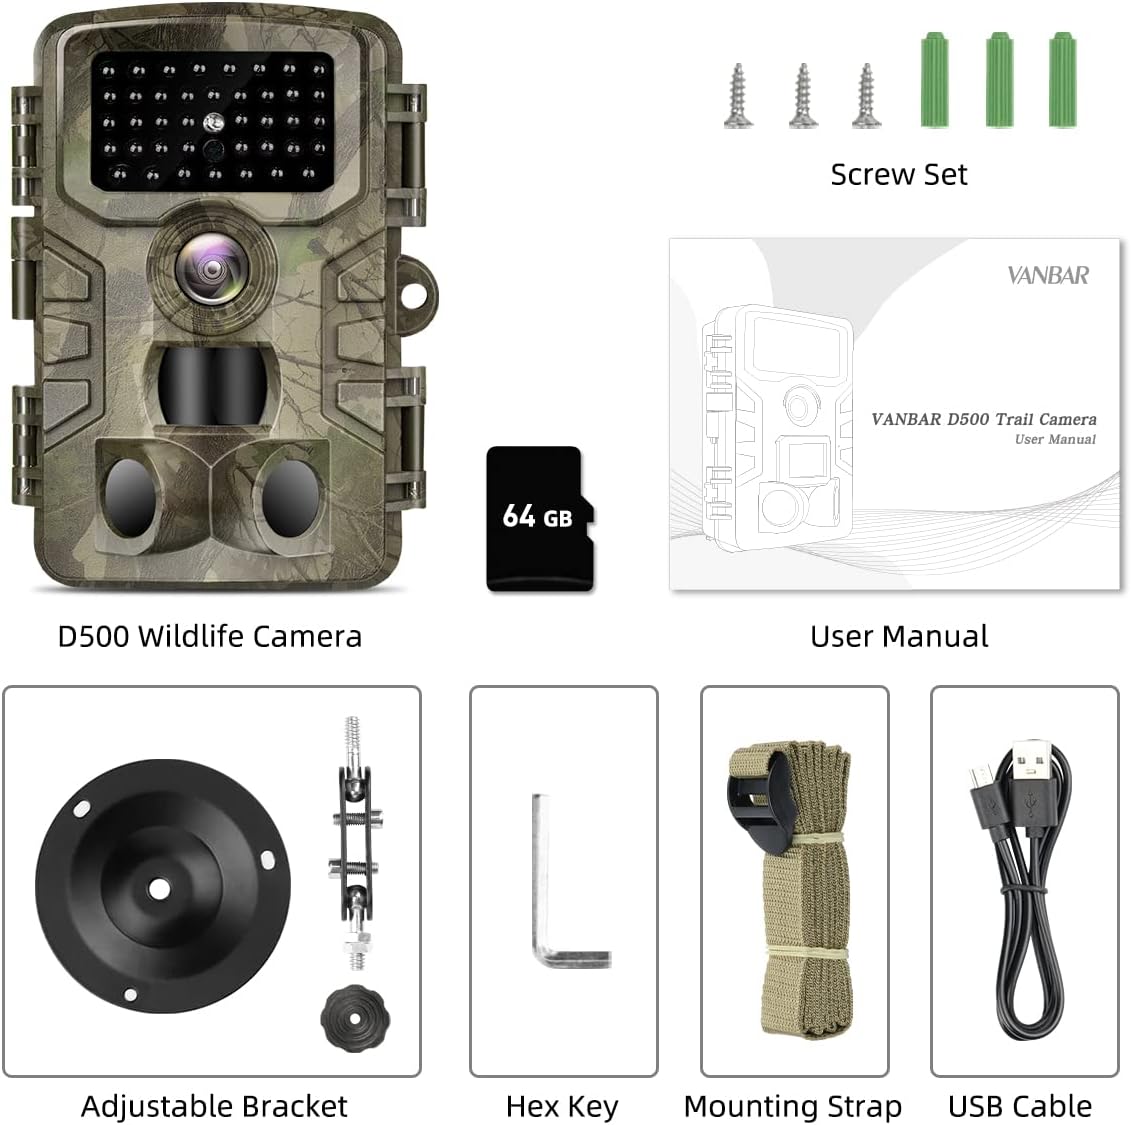
Image 2.1: All components included with your VANBAR D500 Trail Camera.
3. Product Overview
Familiarize yourself with the main components of your VANBAR D500 Trail Camera:

Image 3.1: Front and internal view of the camera with labeled parts.
- IR LED: Infrared LEDs for night vision.
- Cam Lens: Main camera lens for capturing images and videos.
- PIR Sensors: Passive Infrared sensors for motion detection (one 60° central, two 30° side sensors).
- Lock Catch: Secures the camera housing.
- 2.0" LCD Screen: For viewing settings, playback, and live preview.
- Operation Panel: Buttons for navigation and control (MENU, REPLAY, SHOT, OK, navigation arrows).
- Speaker: For audio playback.
- USB Port: For connecting to a computer.
- TF Slot: For inserting the Micro SD card.
- ON/TEST/OFF Switch: Power and mode selection switch.
- DC In: Port for external power supply (not included).
- Battery Compartment: Holds 8 AA batteries (not included).
4. Setup
Follow these steps for initial setup of your trail camera:
- Install Batteries: Open the camera housing. Insert 8 AA batteries (not included) into the battery compartment, ensuring correct polarity.
- Insert Micro SD Card: The 64GB Micro SD card is pre-inserted. If removed, re-insert it into the TF slot until it clicks.
- Switch to TEST Mode: Move the ON/TEST/OFF switch to the 'TEST' position. The LCD screen will turn on.
- Format SD Card: Press the 'MENU' button. Navigate to 'Format' and select 'Yes' to format the Micro SD card. This prepares the card for optimal performance and clears any previous data.
- Set Date and Time: In the 'MENU' settings, navigate to 'Set Clock' to adjust the date and time. This ensures accurate timestamps on your recordings.
- Configure Settings: Adjust other settings such as 'Mode' (Photo, Video, Photo+Video), 'Video Length', 'Photo Size', 'PIR Interval', and 'PIR Level' according to your needs.
- Switch to ON Mode: Once all settings are configured, move the ON/TEST/OFF switch to the 'ON' position. The screen will turn off, and the camera will enter active monitoring mode.

Image 4.1: Visual guide for quick setup of the D500 Trail Camera.
5. Operating the Camera
5.1 Capture Modes
The camera supports three capture modes: Photo, Video, and Photo+Video. Select your desired mode from the 'Mode' setting in the menu.
- Photo Mode: Captures still images at up to 32MP resolution.
- Video Mode: Records video clips at up to 1520P resolution.
- Photo+Video Mode: Captures a still image followed by a video clip when triggered.

Image 5.1: High-resolution capture capabilities of the D500 camera.
5.2 Motion Activation and Trigger Speed
The camera utilizes 3 PIR sensors for a 120° wide detection range. With a rapid 0.2-second trigger speed, it ensures that fast-moving subjects are captured effectively.

Image 5.2: The camera's fast trigger speed captures dynamic moments.
5.3 Night Vision
Equipped with 40pcs non-glow IR LEDs, the camera provides clear black-and-white images and videos at night without disturbing wildlife. The 120° wide-angle detection range is maintained in low-light conditions.

Image 5.3: Advanced night vision capabilities for clear nocturnal recordings.
5.4 Loop Recording
The loop recording feature automatically overwrites the oldest files when the memory card is full, ensuring continuous operation without manual intervention. You can set specific files to be protected from deletion.
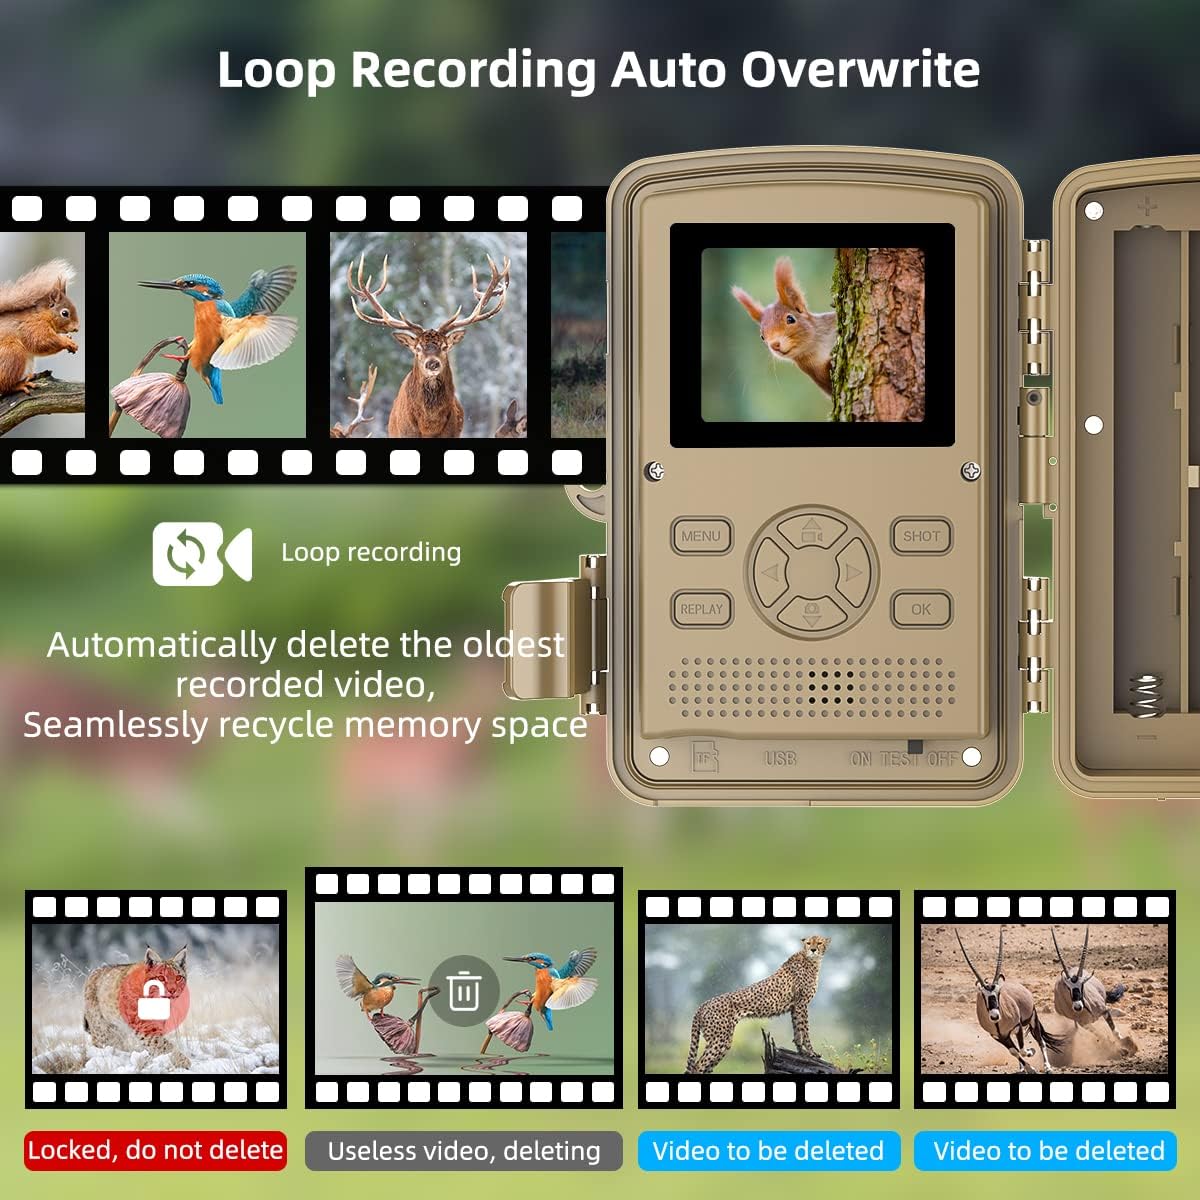
Image 5.4: Explanation of the loop recording and auto-overwrite function.
5.5 Applications
The VANBAR D500 Trail Camera is versatile and can be used for various purposes:
- Wildlife Monitoring: Observe animal behavior in their natural habitat.
- Hunting: Scout game trails and identify animal patterns.
- Home Security: Monitor your property for unauthorized activity.
- Farm Surveillance: Keep an eye on livestock or deter trespassers.
- Plant Monitoring: Document the growth process of plants over time using time-lapse.

Image 5.5: Diverse applications of the VANBAR D500 Trail Camera.

Image 5.6: Additional monitoring applications including plant growth and property surveillance.
6. Maintenance
Proper maintenance ensures the longevity and optimal performance of your camera:
- Water and Dust Proof: The camera has an IP66 rating, making it highly resistant to water and dust. It is suitable for outdoor use in various weather conditions, operating effectively between -20°C to 70°C (-4°F to 158°F).
- Cleaning: Use a soft, dry cloth to clean the camera lens and body. Avoid abrasive cleaners or solvents.
- Battery Life: The camera offers a long standby time of 8-10 months. Replace batteries when the low battery indicator appears on the screen.
- SD Card Care: Regularly back up important data from the SD card to a computer and format the card periodically to maintain performance.
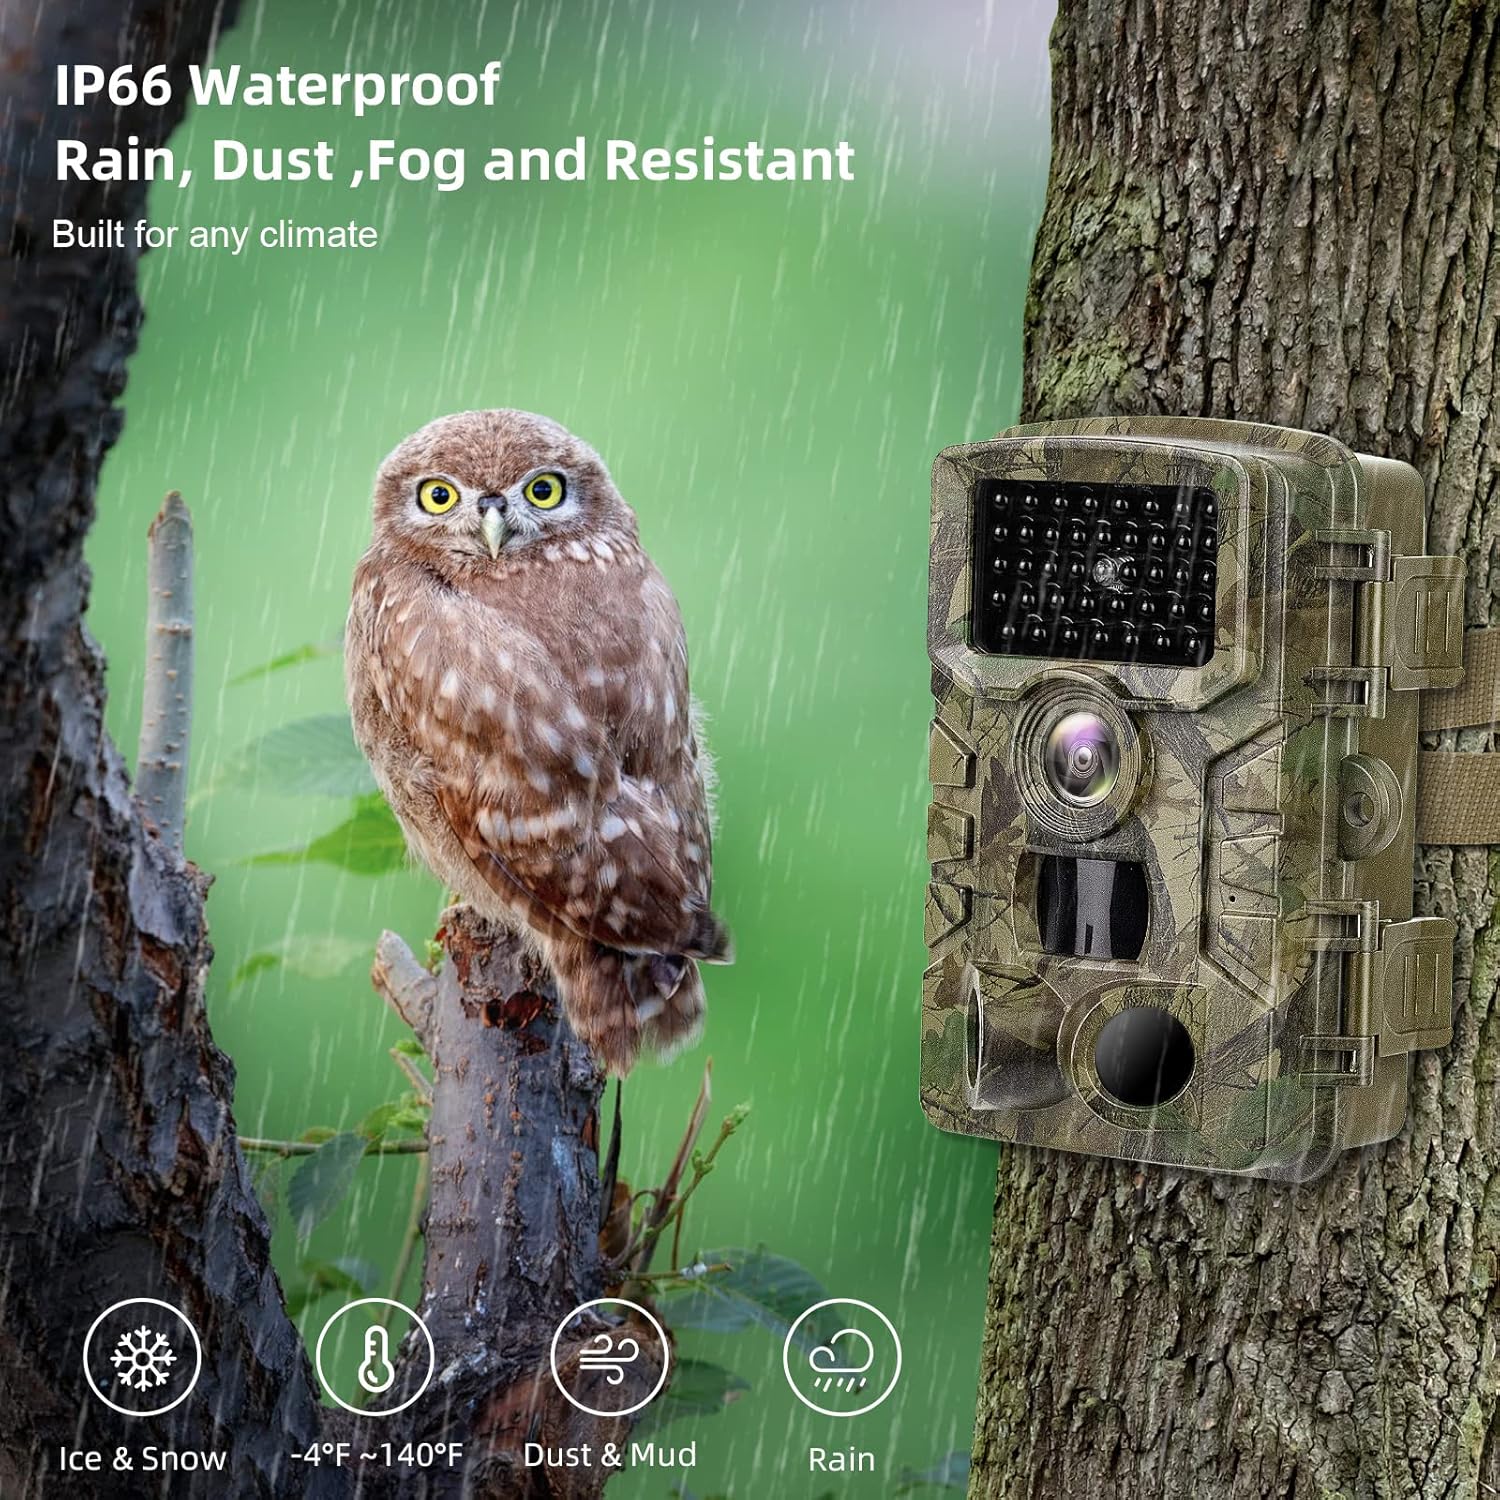
Image 6.1: The camera's IP66 waterproof and dustproof design for all-weather use.
7. Troubleshooting
If you encounter issues with your camera, refer to the following common problems and solutions:
| Problem | Possible Cause | Solution |
|---|---|---|
| Camera not powering on | Low or dead batteries; incorrect battery polarity; switch not in ON/TEST position. | Replace batteries; ensure correct polarity; set switch to ON or TEST. |
| No images/videos captured | SD card full or corrupted; incorrect mode setting; PIR sensitivity too low; camera not in ON mode. | Format or replace SD card; select appropriate mode (Photo/Video/Photo+Video); increase PIR sensitivity; ensure camera is in ON mode. |
| Poor image/video quality | Dirty lens; low light conditions (for color images); subject too far or too close. | Clean the lens; ensure adequate lighting or rely on night vision; adjust camera placement. |
| Excessive false triggers | PIR sensitivity too high; camera facing moving branches or heat sources. | Decrease PIR sensitivity; reposition camera to avoid false triggers. |
8. Specifications
| Feature | Detail |
|---|---|
| Resolution (Photo) | 32MP |
| Resolution (Video) | 1520P |
| PIR Sensors | 3 (120° wide detecting range) |
| Trigger Speed | 0.2 seconds |
| Detection Range | 80-100ft (approx. 24-30m) |
| IR LEDs | 40pcs Non-Glow Infrared LEDs |
| Waterproof Rating | IP66 |
| Operating Temperature | -20°C ~ 70°C (-4°F ~ 158°F) |
| Display | 2.0 inch LCD |
| Storage | Supports up to 512GB Micro SD card (64GB included) |
| Power Supply | 8 AA Batteries (not included) |
| Standby Time | 8-10 months |
| Capture Modes | Photo, Video, Photo+Video |
| Special Features | Time stamp, Operation hours, Time lapse, Loop recording |
9. Warranty and Support
VANBAR products are designed for durability and performance. For warranty information and technical support, please refer to the contact details provided on the product packaging or the official VANBAR website. Keep your purchase receipt as proof of purchase for warranty claims.
Ask a question about this manual
Ask about setup, troubleshooting, compatibility, parts, safety, or missing instructions. Manuals+ will review the question and use this page’s manual context to help answer it.