
1. Introduction
This manual provides detailed instructions for the setup, operation, and maintenance of your Elikliv Autofocus Digital Coin Microscope EM3K-AF. Please read this manual thoroughly before using the device to ensure proper function and longevity.
2. What's in the Box
Carefully unpack all components and verify that you have received the following items:
- 1x EM3K-AF Auto-Focus Digital Microscope
- 1x Metal Base with 10 inch Stand
- 1x Controller
- 1x HDMI Cable
- 1x 16GB Micro SD Card
- 1x Light Barrier
- 2x USB Cable
3. Setup Instructions
Follow these steps to assemble and prepare your microscope for use.
3.1 Assembling the Stand and Microscope
- Attach the vertical pillar to the metal base using the provided screws. Ensure it is securely fastened.
- Slide the microscope unit onto the vertical pillar. Use the adjustment knob to set the desired height.
- Connect the flexible gooseneck LED lights to the designated ports on the microscope unit or base, positioning them to illuminate your working area.
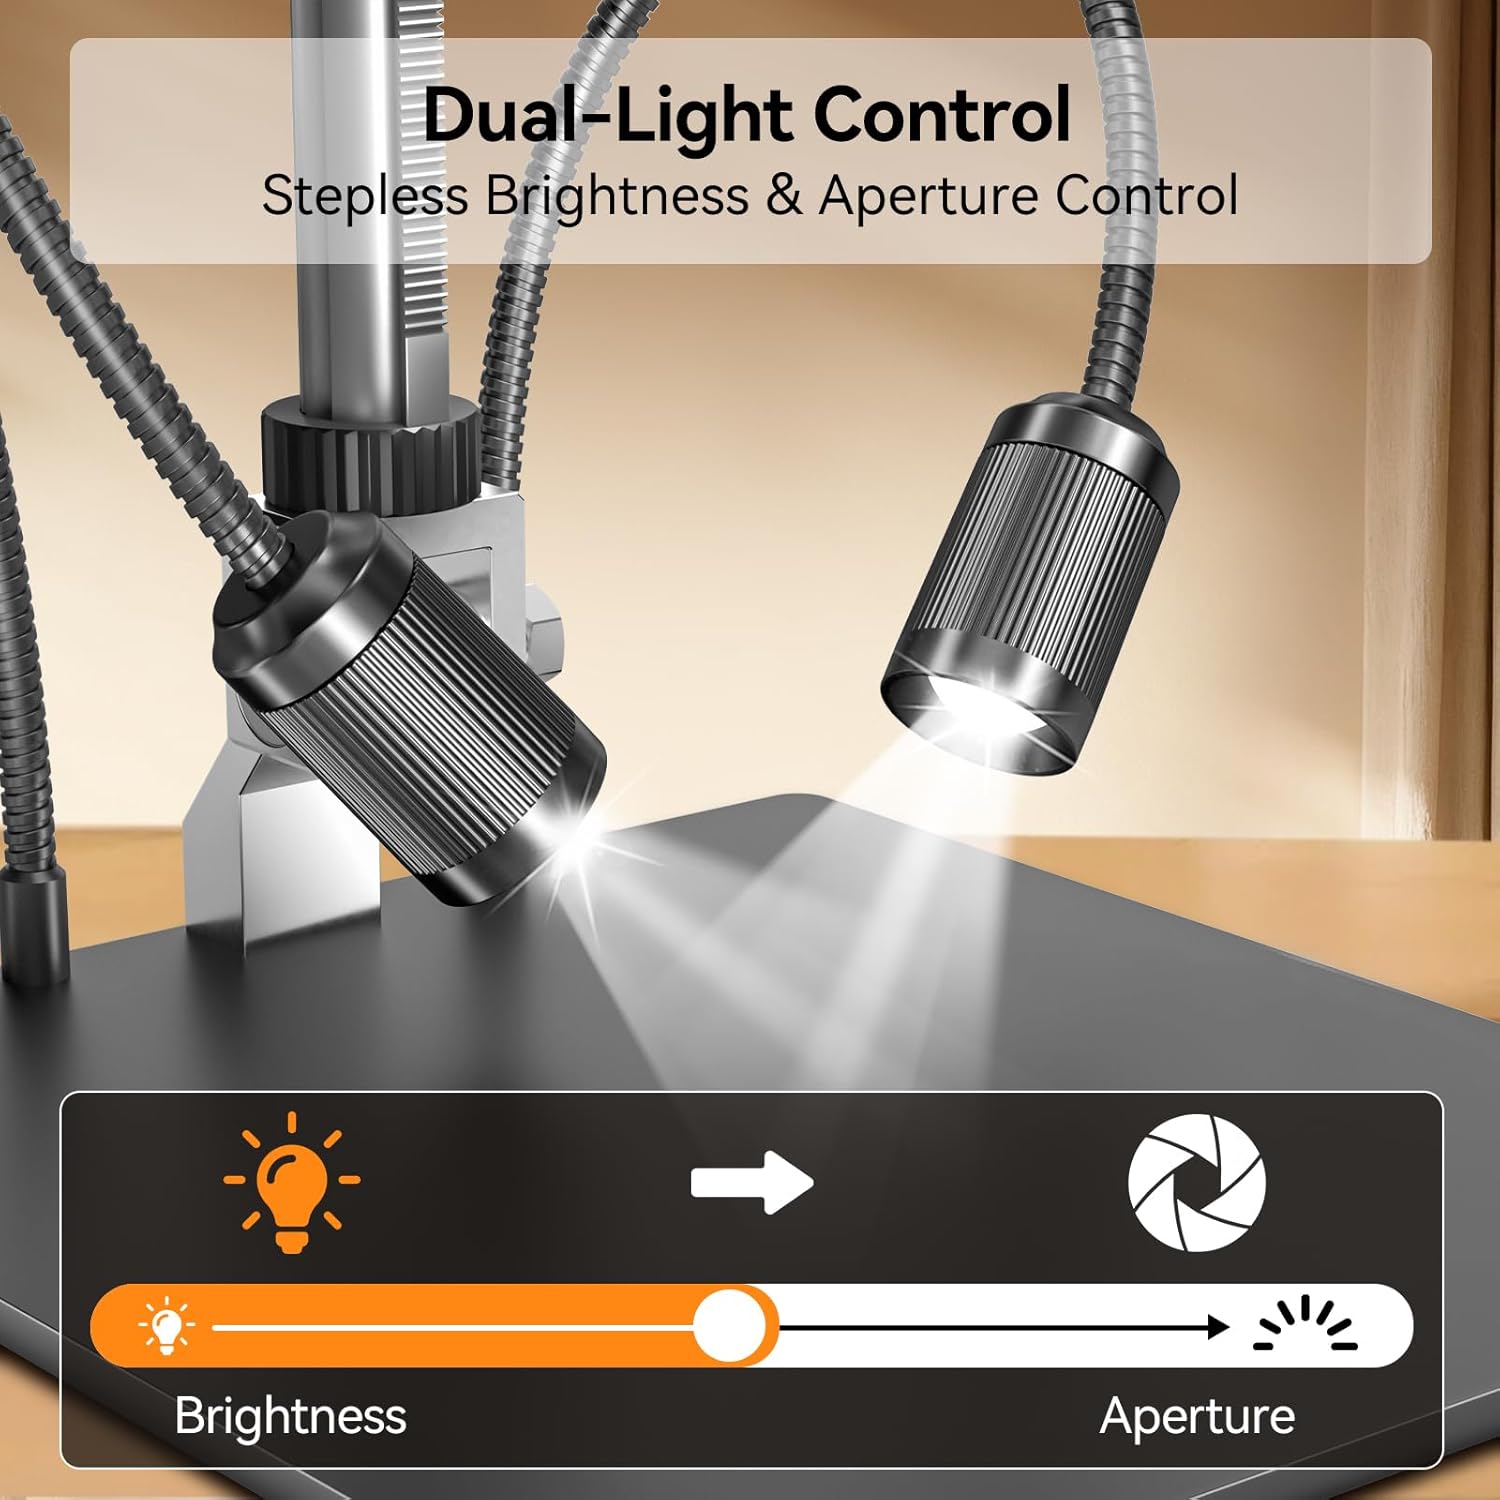
Figure 3.1: Fully assembled Elikliv EM3K-AF Digital Microscope.
3.2 Power Connection and SD Card Insertion
- Connect the power adapter to the microscope and a suitable power outlet.
- Insert the provided 16GB Micro SD card into the designated slot on the microscope unit. Ensure it is inserted correctly until it clicks into place. This card is essential for storing captured images and videos.
4. Operating Instructions
This section details how to operate your Elikliv EM3K-AF microscope.
4.1 Power On/Off
Press the POWER button located on the front panel of the display to turn the microscope on or off. The screen will illuminate upon startup.
4.2 Autofocus (AF) and Manual Focus (MF)
The EM3K-AF features an advanced autofocus system. By default, the microscope will automatically adjust focus to keep your subject clear. If manual adjustment is preferred, you can switch to manual focus mode.

Figure 4.2: Comparison of autofocus and manual focus modes.
Video 4.2: Demonstration of the Elikliv Autofocus EM3K-AF microscope's capabilities for coin and soldering inspection.
4.3 Magnification Adjustment
Adjust the height of the microscope unit on the stand to change the optical magnification. Further digital magnification can be controlled using the + and - buttons on the microscope unit or the remote control.
4.4 Dual-Control Lighting System
The microscope is equipped with two flexible gooseneck LED lights. These lights offer independent control over brightness and aperture to optimize illumination and reduce glare on your subject.

Figure 4.4: Adjusting the dual LED lights for optimal viewing.
4.5 Display and External Output
The microscope features a 7-inch IPS screen for direct viewing. For larger displays or recording, you can connect the microscope via HDMI to a monitor or TV, or via USB to a computer. The device supports simultaneous output to multiple screens.
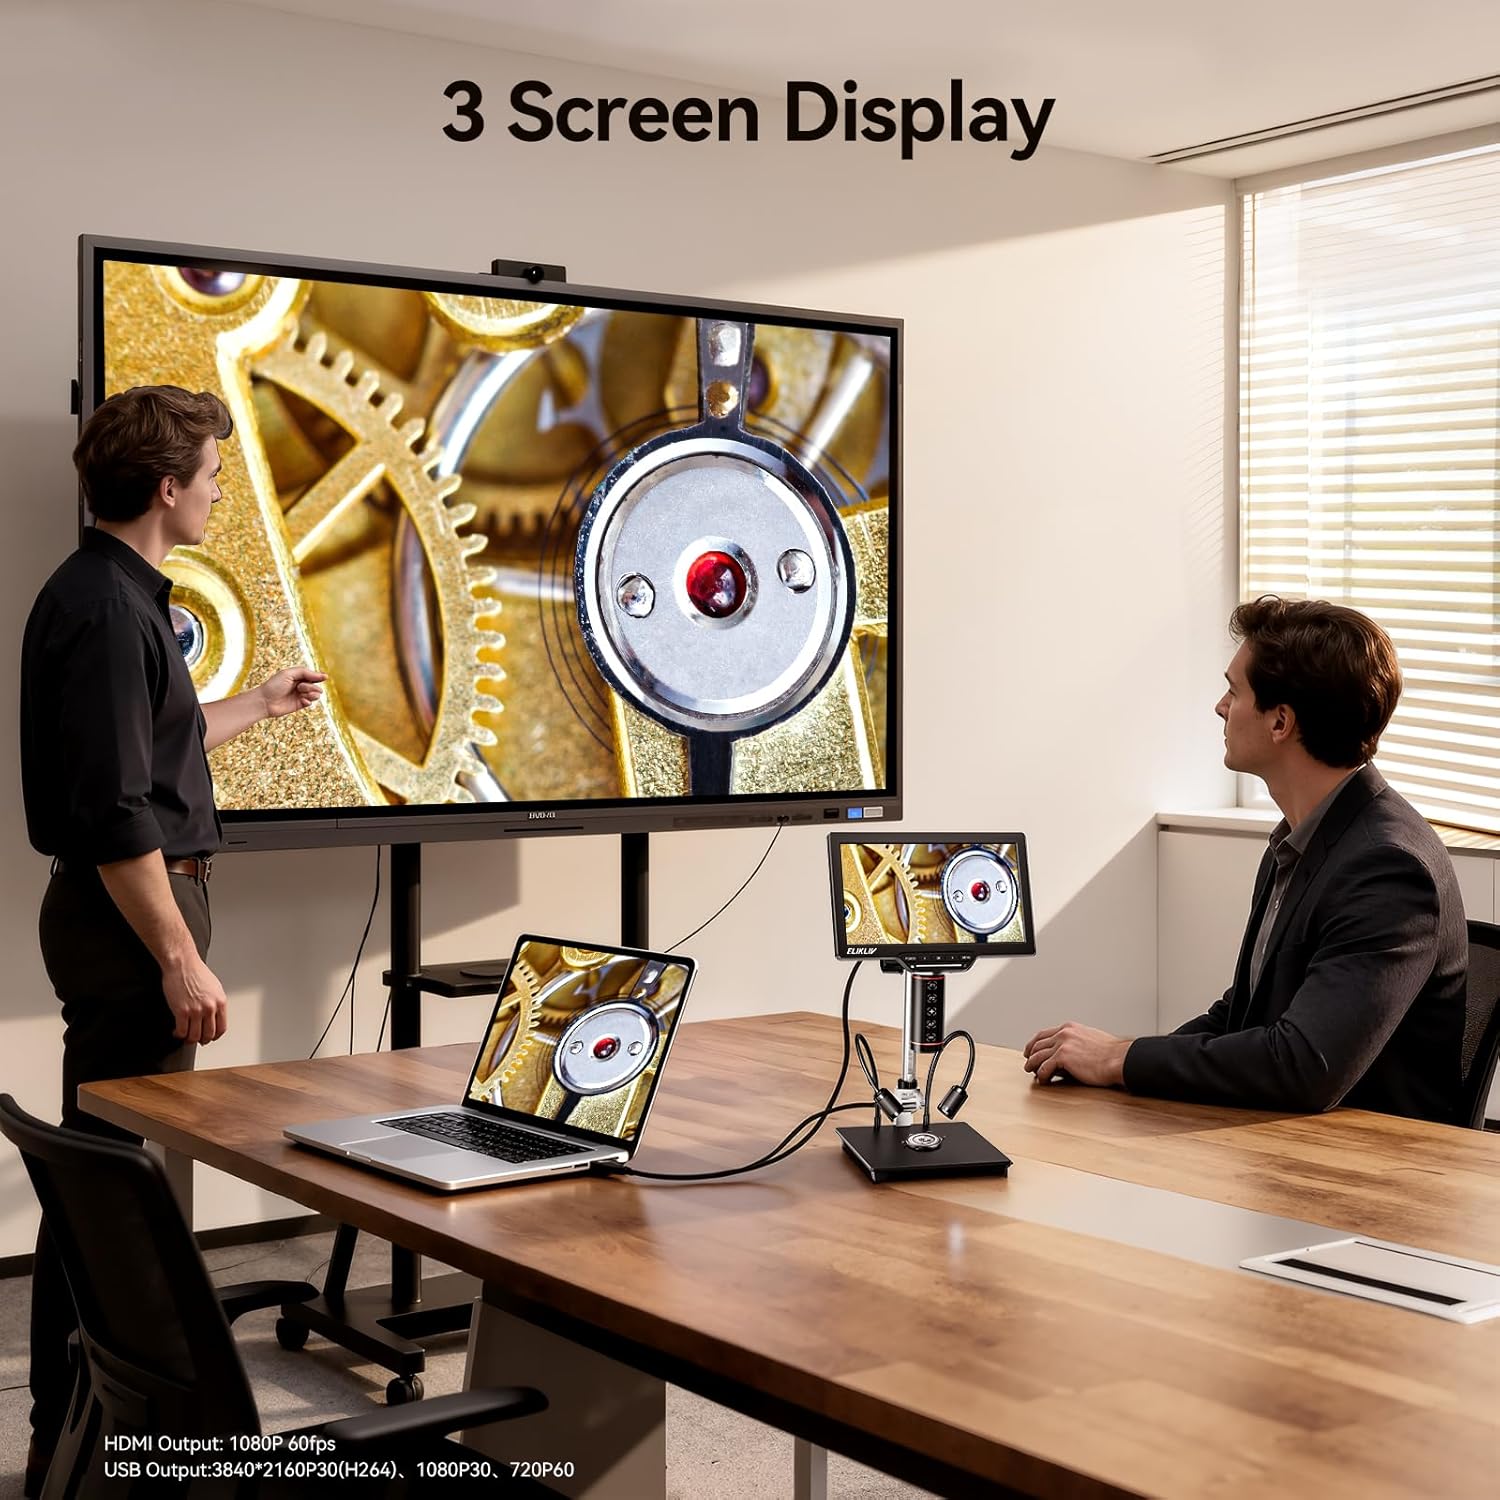
Figure 4.5: Using the microscope with multiple external displays.
4.6 Capturing Images and Videos
Use the included remote control to capture photos and record videos without touching the microscope, minimizing vibrations. All captures are saved to the 16GB Micro SD card.

Figure 4.6: Remote control for hands-free operation.
4.7 DIY Crosshair Grid
The microscope allows you to create custom grid lines or crosshairs on the screen. This feature is useful for precise measurements, alignment, and grading tasks.
5. Maintenance
Proper maintenance ensures the longevity and optimal performance of your microscope.
- Cleaning: Use a soft, dry cloth to clean the exterior of the microscope and screen. For the lens, use a specialized lens cleaning cloth and solution. Avoid abrasive materials or harsh chemicals.
- Storage: When not in use, store the microscope in a clean, dry environment, away from direct sunlight and extreme temperatures.
- SD Card: Regularly back up data from the Micro SD card and format it periodically to maintain performance.
6. Troubleshooting
If you encounter issues, refer to the following common problems and solutions:
| Problem | Possible Cause | Solution |
|---|---|---|
| Microscope does not power on | Power cable not connected; Power outlet issue; Faulty adapter. | Check power connections; Try a different outlet; Contact support if adapter is faulty. |
| Image is blurry or out of focus | Autofocus not engaged; Manual focus needed; Incorrect working distance. | Ensure autofocus is active; Switch to manual focus and adjust; Adjust microscope height. |
| No image on external display | HDMI/USB cable not connected properly; Incorrect input selected on external display. | Verify cable connections; Select correct input source on monitor/TV. |
| Cannot capture images/videos | SD card full or not inserted; SD card error; Remote control battery low. | Check SD card insertion and available space; Format SD card; Replace remote control battery. |
7. Specifications
| Feature | Detail |
|---|---|
| Model Name | EM3K-AF |
| Light Source Type | LED |
| Material | Metal |
| Product Dimensions | 10"L x 3"W x 10"H |
| Magnification Maximum | 2000x |
| Item Weight | 2.5 Pounds |
| Voltage | 5 Volts |
| Compatible Devices | Laptop, Personal Computer, Television |
| Power Source | AC |
| Built-In Media | 1x 16GB Micro SD Card |
8. Warranty and Support
The Elikliv Autofocus Digital Coin Microscope EM3K-AF comes with a 1-Year Warranty from the date of purchase. This warranty covers manufacturing defects and ensures repair or replacement of faulty components under normal use conditions.
For technical support, warranty claims, or any questions regarding your product, please refer to the contact information provided with your purchase documentation or visit the official Elikliv website.
