
1. Introduction
This user manual provides detailed instructions for the installation, operation, and maintenance of the Dilwe LCD8SU Intelligent Power Color Screen Instrument. This display is designed for mountain lithium battery modification accessories, providing essential information such as driving speed, mileage, riding time, power assisted gear, engine power, temperature, battery voltage, and charging status.
Please read this manual thoroughly before using the product to ensure proper function and longevity.
2. Product Overview
The Dilwe LCD8SU display unit is a comprehensive instrument designed to enhance your electric bicycle experience by providing real-time data. It features a color screen for clear visibility and intuitive controls.


3. Specifications
| Feature | Description |
|---|---|
| Model | LCD8SU |
| Brand | Dilwe |
| Material | ABS, Metal, Electronic Components, Silicone |
| Gross Weight | 230g / 8.1oz |
| Wire Type | Five wires |
| Interface | Connector |
| General Voltage | 24V, 36V, 48V |
| Meter Connector Wire Length | Approx. 20cm / 7.9in (manual error) |
| Meter Switch Wire Length | Approx. 25cm / 9.8in (manual error) |
| Display Type | LCD Color Screen |
| Sensor Type | Speed Sensor |
| Mounting Type | Handlebar Mount, Stem Mount |
| Human Interface Input | Buttons |
Note: Pay attention to the use of products that are consistent with communication protocol (No. 1 communication protocol).
4. Package Contents
Upon opening the package, please verify that all the following components are included:
- 1 x Meter (Including Switch and Cable)
- 1 x Bracket
- 2 x Screw
- 4 x Silicone Ring
- 1 x Instruction Manual (this document)
5. Setup and Installation
Follow these steps to properly install your Dilwe LCD8SU display unit:
- Prepare the Handlebar: Ensure the handlebar area where you intend to mount the display is clean and free from obstructions.
- Attach the Bracket: Place the bracket onto the handlebar. Use the provided screws to secure the bracket firmly. The silicone rings can be used to adjust the fit and prevent slippage.
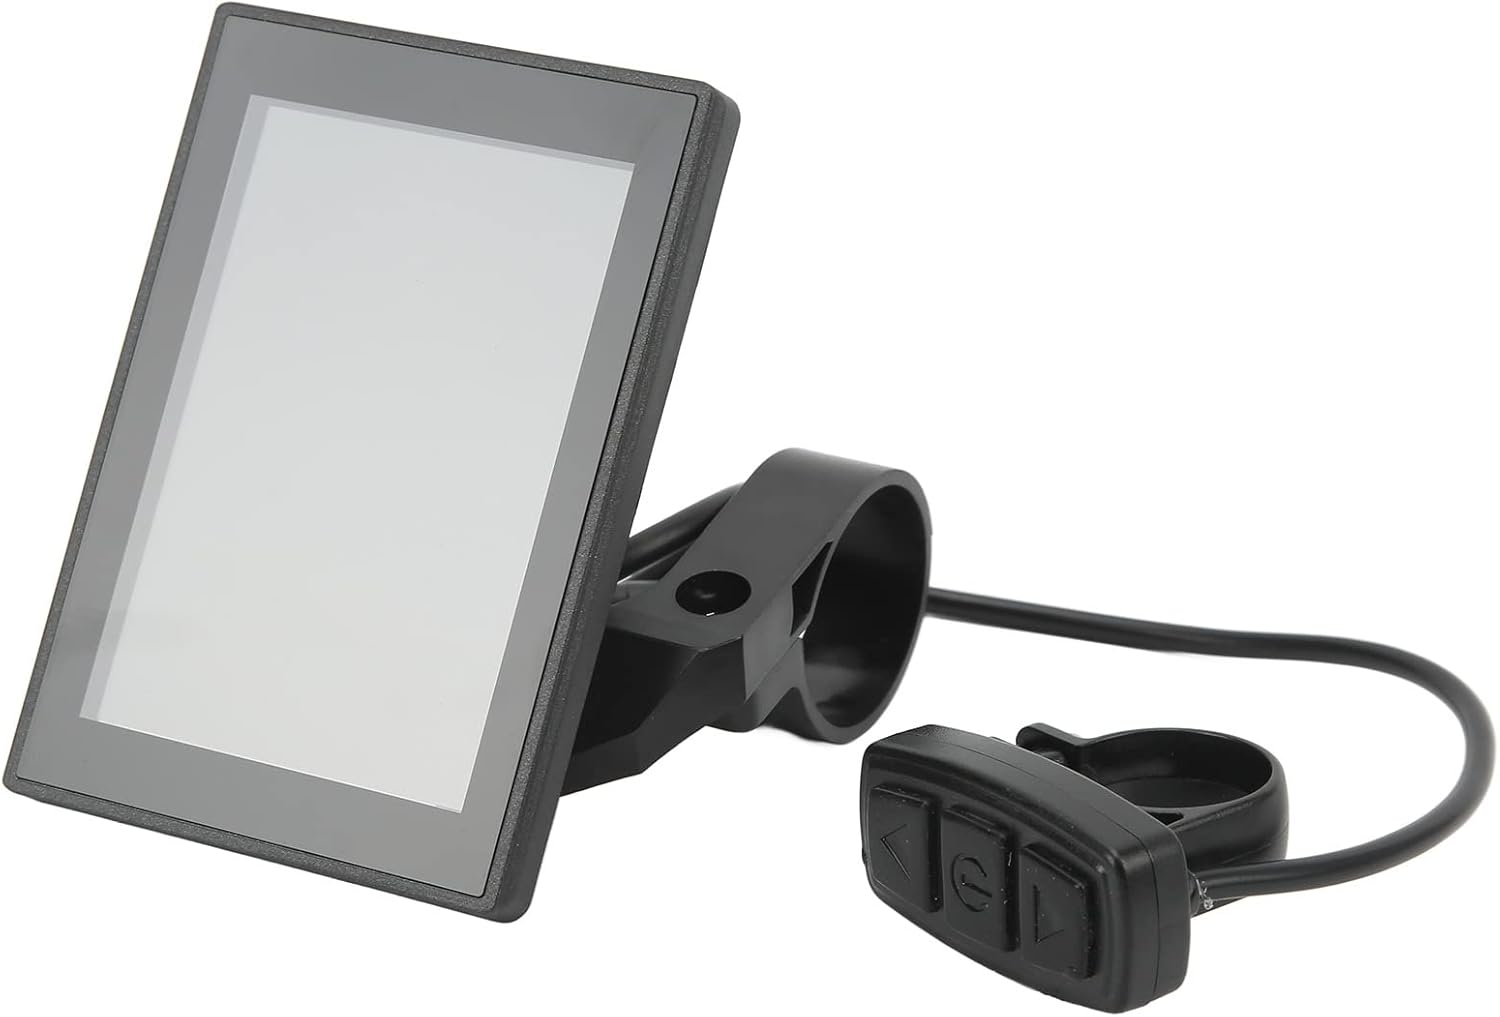
Figure 5.1: Side view illustrating the display unit and its integrated control buttons, ready for mounting. - Mount the Display: Slide the LCD8SU display unit onto the secured bracket. Ensure it clicks into place or is fastened according to the bracket design.
- Connect the Wiring: Connect the display's wire to the appropriate connector on your electric bicycle's power system. Ensure the connection is secure and matches the No. 1 communication protocol.

Figure 5.2: Illustration of the waterproof (WP) and SM connectors, highlighting their pin configuration and cable lengths for proper connection. The display features a 5-pin male WP (Waterproof) connector with a cable length of approximately 21cm, and a 5-pin male SM connector with a cable length of approximately 180cm. Choose the appropriate connector for your system.
- Secure Cables: Route and secure all cables to prevent them from interfering with steering or moving parts. Use cable ties if necessary.
- Initial Power On: After connecting to the power supply, the display should power on. If it does not, refer to the Troubleshooting section.
6. Operating Instructions
The LCD8SU display provides various functions and data points. Here's how to operate it:
6.1. Basic Operation
- Power On/Off: Press and hold the power button (usually the middle button) to turn the display on or off.
- Mode Switching: Use the up and down arrow buttons to cycle through different display modes or adjust settings.
- Data Display: The main screen will show real-time data such as speed (KM/H), battery voltage (V), temperature (°C), riding time (TIM), one-way mileage (DST), and motor power (MOT POW).

6.2. Setting Parameters
Specific settings like wheel diameter, speed limit, and battery voltage can typically be adjusted through a settings menu. Consult your electric bicycle's main controller manual for detailed instructions on accessing and modifying these parameters, as the display acts as an interface.
Note: Incorrect parameter settings can affect performance and safety. If unsure, consult a qualified technician.
7. Maintenance
To ensure the longevity and optimal performance of your LCD8SU display, follow these maintenance guidelines:
- Cleaning: Wipe the display screen and body with a soft, damp cloth. Avoid using abrasive cleaners or solvents that could damage the screen or casing.
- Water Exposure: While the connectors are waterproof, avoid submerging the display unit in water. If it gets wet, dry it thoroughly before use.
- Temperature: Store and operate the display within recommended temperature ranges. Extreme temperatures can affect LCD performance and battery life.
- Connections: Periodically check all cable connections to ensure they are secure and free from corrosion.
- Physical Damage: Protect the display from impacts and drops. The screen is a sensitive component.
8. Troubleshooting
If you encounter issues with your LCD8SU display, refer to the following common problems and solutions:
| Problem | Possible Cause | Solution |
|---|---|---|
| Display does not power on. | No power supply; loose connection; incorrect communication protocol. | Check battery connection. Ensure all cables are securely connected. Verify communication protocol (No. 1). |
| Display shows incorrect speed/mileage. | Incorrect wheel diameter setting; faulty speed sensor. | Access settings to verify and correct wheel diameter. Check speed sensor connection and function. |
| Buttons are unresponsive. | Dirt/debris under buttons; internal malfunction. | Clean around buttons. If problem persists, contact support. |
| Screen is dim or flickering. | Low battery voltage; environmental factors (extreme cold/heat). | Charge battery. Move to a moderate temperature environment. |
If the problem persists after attempting these solutions, please contact Dilwe customer support for further assistance.
9. Warranty and Support
Dilwe products are manufactured with quality and reliability in mind. For information regarding warranty coverage and technical support, please refer to the warranty card included with your purchase or visit the official Dilwe website.
For direct support, you may contact the seller or manufacturer through the platform where the product was purchased. Please have your product model (LCD8SU) and purchase details ready when contacting support.
Dilwe Store: Visit the Dilwe Store on Amazon