
SAMCOM FPCN10A
SAMCOM FPCN10A Two-Way Radio Instruction Manual
Model: FPCN10A
Introduction
This manual provides detailed instructions for the proper use and maintenance of your SAMCOM FPCN10A two-way radios. Please read this manual thoroughly before operating the device to ensure optimal performance and safety.
Package Contents
Verify that all items listed below are included in your package:
- SAMCOM FPCN10A Radios (6 units)
- 3000mAh Lithium Polymer Batteries (6 units)
- Long Antennas (6 units)
- 2 Pin K-type Earpieces (6 units)
- Belt Clips (6 units)
- 6-Way Multi-Unit Charger Station (1 unit)
- AC Adapter for Charger (1 unit)

Figure 1: Contents of the SAMCOM FPCN10A package.
Product Overview
The SAMCOM FPCN10A is a professional-grade two-way radio designed for reliable communication. It features a durable construction, a 3000mAh rechargeable battery, and a multi-unit charger for convenience.

Figure 2: SAMCOM FPCN10A radios in the 6-way multi-unit charger.
Radio Display
The FPCN10A features a hidden LCD screen that displays essential information such as the current channel, battery level, and signal strength. This design enhances security for business use.

Figure 3: FPCN10A hidden display showing channel and battery status.
Setup
1. Battery Installation
- Align the 3000mAh Lithium Polymer battery with the battery compartment on the back of the radio.
- Gently slide the battery into place until it clicks securely.
- Ensure the battery is firmly attached to prevent accidental disconnection.
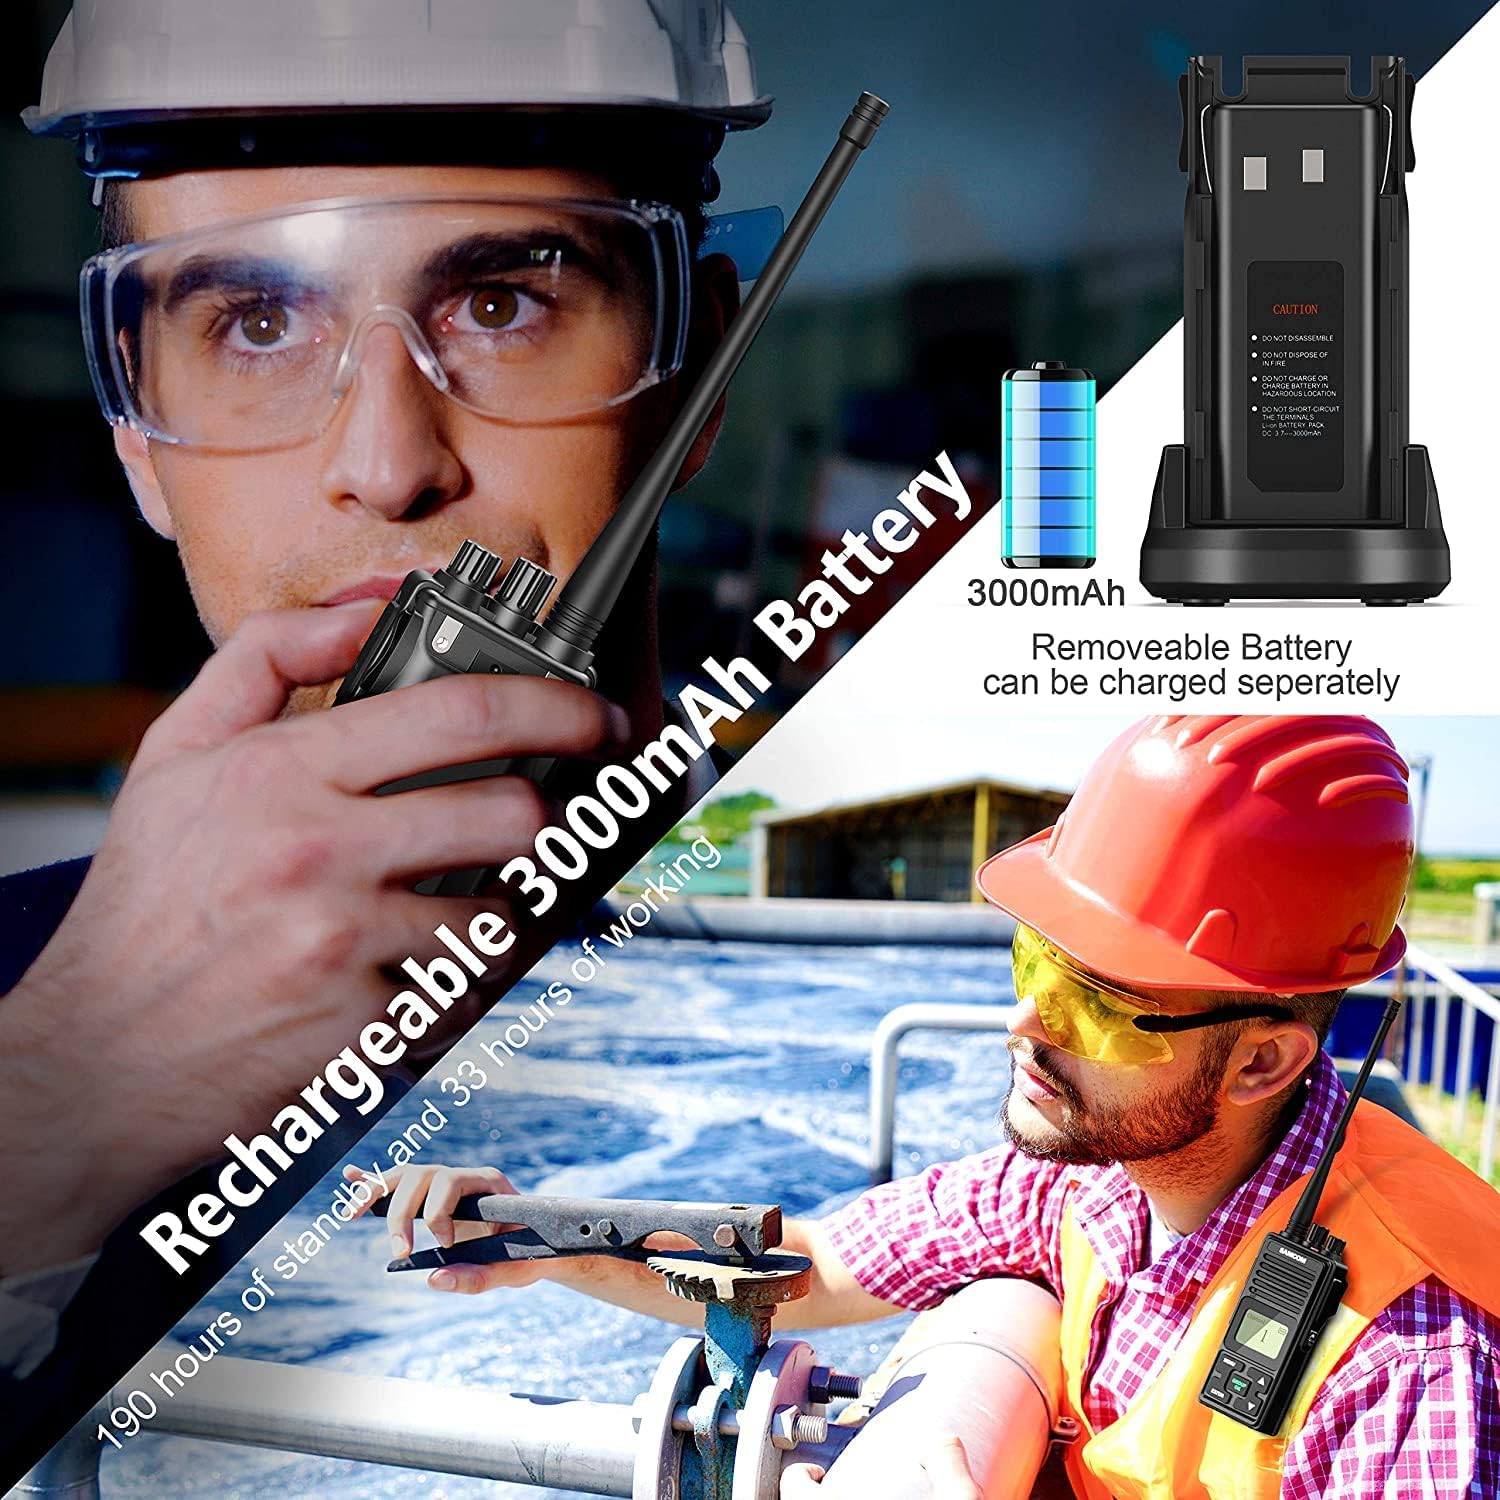
Figure 4: Installing the 3000mAh battery.
2. Antenna Attachment
- Screw the long antenna clockwise into the connector on the top of the radio until it is finger-tight. Do not overtighten.
3. Charging the Radios
The FPCN10A radios come with a 6-way multi-unit charger station, allowing you to charge up to six radios or batteries simultaneously.
- Connect the AC adapter to the 6-way multi-unit charger station and plug it into a standard power outlet.
- Place the radios (with batteries installed) or individual batteries into the charging slots.
- A red light indicates that the radio or battery is charging.
- A green light indicates that the radio or battery is fully charged.
- Charging time is approximately 4-5 hours for a full charge.

Figure 5: Charging indicator lights on the multi-unit charger.
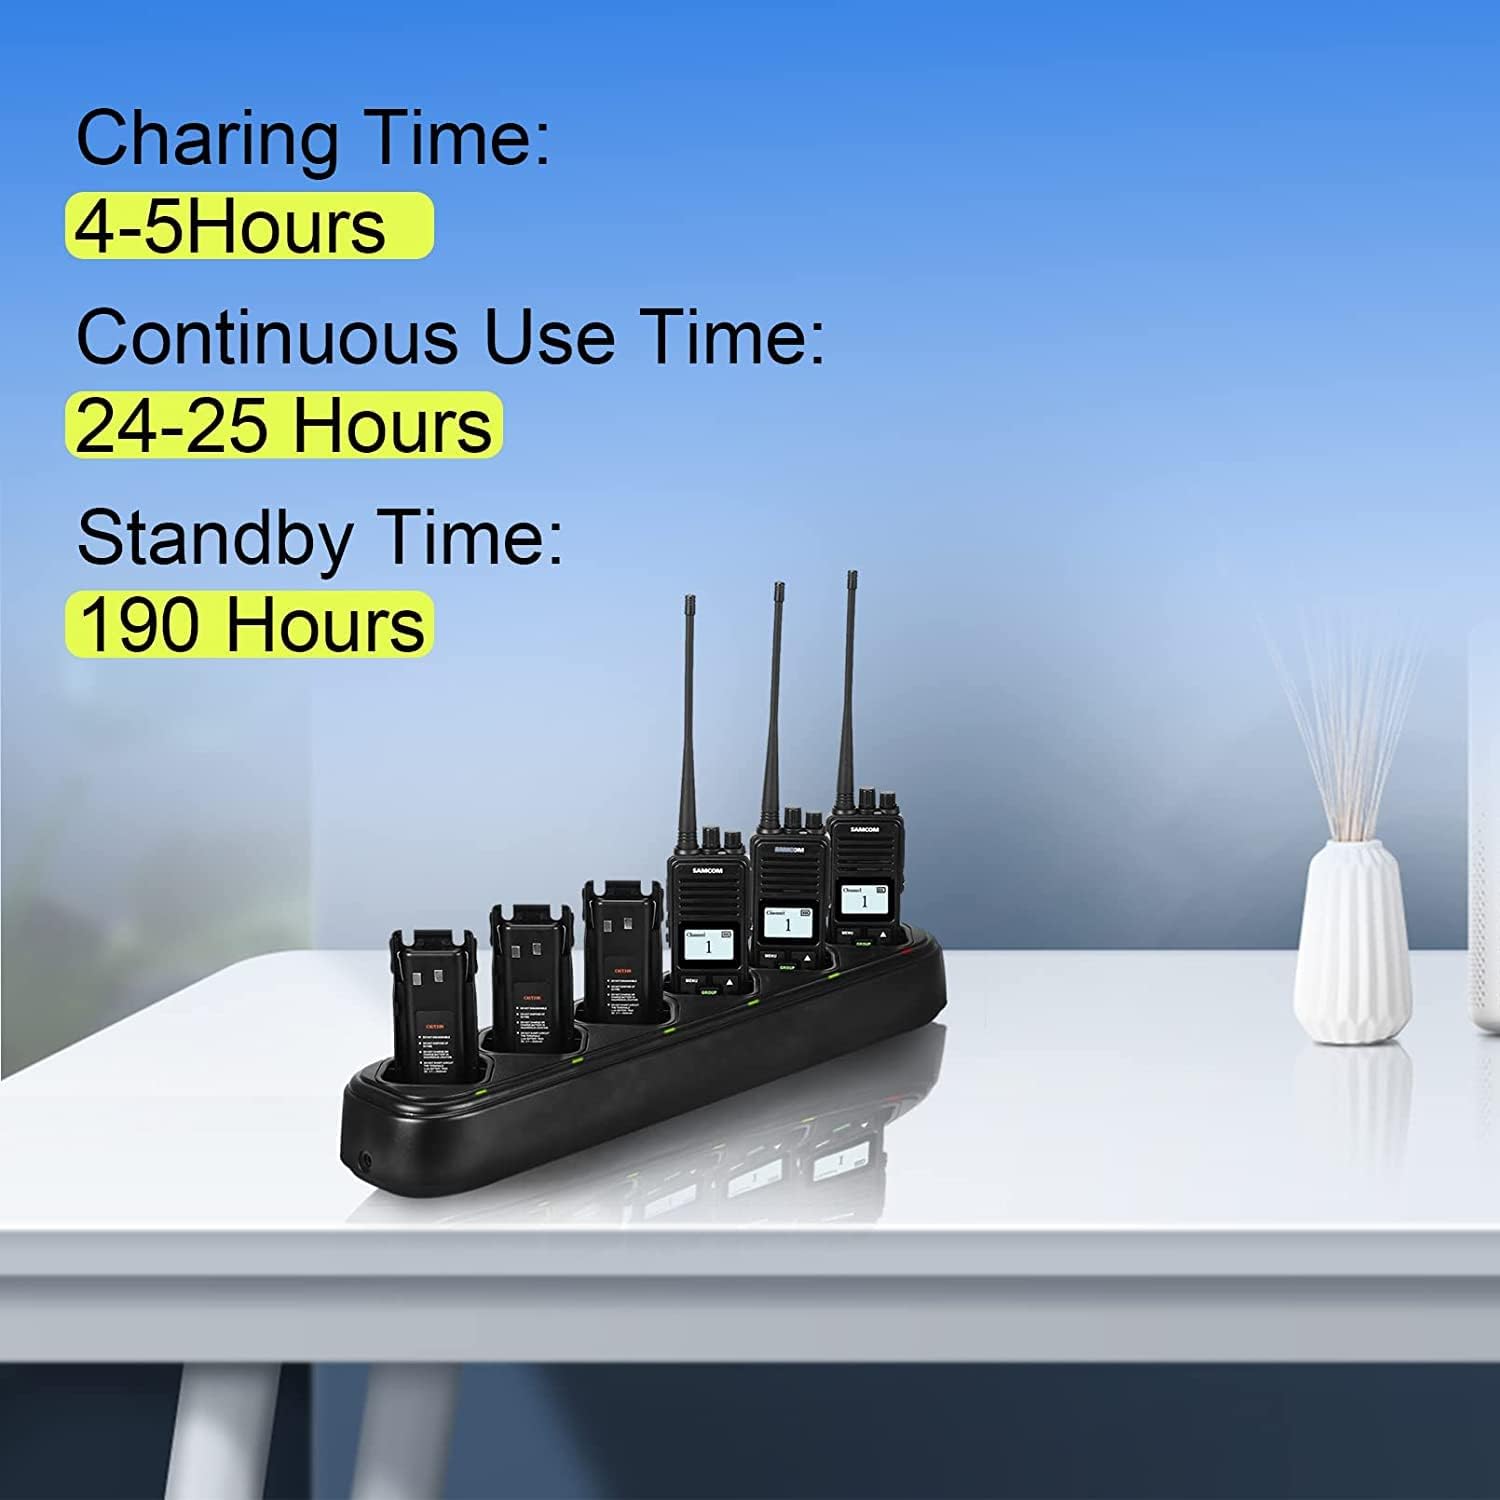
Figure 6: Battery performance overview.
Charger Protection Features
The multi-unit charger is equipped with several safety features:
- Over-current Protection: Prevents damage from excessive current.
- Over-voltage Protection: Safeguards against voltage spikes.
- Over-time Protection: Prevents overcharging by limiting charging duration.
- Short Circuit Protection: Protects against electrical shorts.

Figure 7: Charger protection features.
Basic Operation
1. Power On/Off
Rotate the Power/Volume Knob (located on the top of the radio) clockwise to turn the radio on. Continue rotating to increase the volume. Rotate counter-clockwise to decrease volume and turn the radio off.
2. Channel Selection
Use the Channel Selector Knob (located next to the Power/Volume knob) to select one of the 20 available channels. The selected channel will be displayed on the hidden LCD screen.
3. Transmitting and Receiving (PTT)
- To transmit, press and hold the Push-to-Talk (PTT) button on the side of the radio. Speak clearly into the microphone.
- Release the PTT button to receive.
- Ensure you are on the same channel as the other party to communicate.
4. GROUP Function
The GROUP button allows for one-to-many communication. Pressing this button enables you to broadcast messages to multiple team members simultaneously, ensuring efficient information relay and reducing miscommunication.
5. Hands-Free Operation (VOX)
When using the included earpiece, the radio supports hands-free operation (VOX). This feature allows you to transmit by speaking into the earpiece microphone without pressing the PTT button. Refer to the programmable software for VOX sensitivity adjustments.

Figure 8: Radio display and battery life indicators.
Advanced Features
The SAMCOM FPCN10A radios are programmable, allowing customization to suit specific business needs and compatibility with other brands. Programming software and downloads are available on the manufacturer's website: sanconsales.com.
- Frequency Range: UHF 406.1MHz-470MHz
- 20 Preset Channels: Configurable for various operational groups.
- Battery Saver Mode: Extends battery life during periods of inactivity.
Maintenance
Battery Care
- To maximize battery lifespan, avoid fully discharging the battery frequently.
- Store batteries in a cool, dry place when not in use.
- If a battery is not used for an extended period, charge it periodically to maintain its capacity.
Cleaning
- Clean the radio's exterior with a soft, damp cloth. Do not use harsh chemicals or abrasive cleaners.
- Ensure the charging contacts on both the radio and the charger are clean and free of debris for efficient charging.
Troubleshooting
| Problem | Possible Cause | Solution |
|---|---|---|
| Radio does not power on | Battery is not installed correctly or is discharged. | Ensure battery is securely installed. Charge the battery fully. |
| Cannot transmit or receive | Incorrect channel selected; out of range; antenna loose. | Verify both radios are on the same channel. Move closer to the other radio. Check antenna connection. |
| Poor audio quality | Low battery; interference; radio too far apart. | Charge battery. Move away from sources of interference. Reduce distance between radios. |
| Charger indicator light not working | AC adapter not connected; faulty charging slot. | Ensure AC adapter is properly connected to the charger and power outlet. Try a different charging slot. |
Specifications
| Feature | Detail |
|---|---|
| Model Number | FPCN10A |
| Brand | SAMCOM |
| Frequency Range | UHF 406.1MHz-470MHz |
| Number of Channels | 20 |
| Battery Capacity | 3000mAh Lithium Polymer |
| Charging Time | Approximately 4-5 hours |
| Continuous Use Time | Up to 24-25 hours |
| Standby Time | Up to 190 hours |
| Talking Range Maximum | 5 Miles (under optimal conditions) |
| Water Resistance Level | Water Resistant |
| Item Weight (per radio) | Approx. 0.7 lbs (radio with battery and antenna) |
| Product Dimensions (per radio) | 1.8 x 1.1 x 11 inches (with antenna) |
| FCC ID | 2AIOQ-FPCN10A |
Warranty and Support
SAMCOM provides a 1-Year Warranty for the FPCN10A radios and offers Lifetime Technical Support.
For technical assistance, warranty claims, or further inquiries, please contact SAMCOM customer support through their official website or the retailer where the product was purchased.
Manufacturer: Sancon Inc
Official Website for support and programming software: sanconsales.com
Related documentsFPCN10A


Ask a question about this manual
Ask about setup, troubleshooting, compatibility, parts, safety, or missing instructions. Manuals+ will review the question and use this page’s manual context to help answer it.