
1. Introduction
This manual provides essential information for setting up, operating, and maintaining your Cooler Master MM311 Wireless Gaming Mouse. The MM311 is designed for versatile performance, featuring a 10,000 DPI optical sensor, durable PTFE feet, and 2.4 GHz wireless connectivity, all within a lightweight design.
2. Product Overview
The Cooler Master MM311 Wireless Gaming Mouse combines essential features for an optimized user experience. Its lightweight construction and advanced sensor technology ensure precise and responsive control.
Key Features:
- 2.4 GHz Wireless Connectivity: Provides fast and stable transmission with an extended connection range.
- Lightweight, Ambidextrous Design: Optimized for right-handed users with two side buttons, featuring a lightweight shell without external holes, weighing 77g with an AA battery.
- Long Battery Life: Operates for extended periods on a single AA battery.
- Gaming Grade Optical Sensor: Adjustable up to 10,000 DPI for enhanced tracking and precision.
- Upgraded Mouse Feet: Made with PTFE material for low friction, high durability, and smooth, responsive gliding.
- Customization: Compatible with MasterPlus+ software for remapping controls, tuning macros, and more.
Visual Guide:
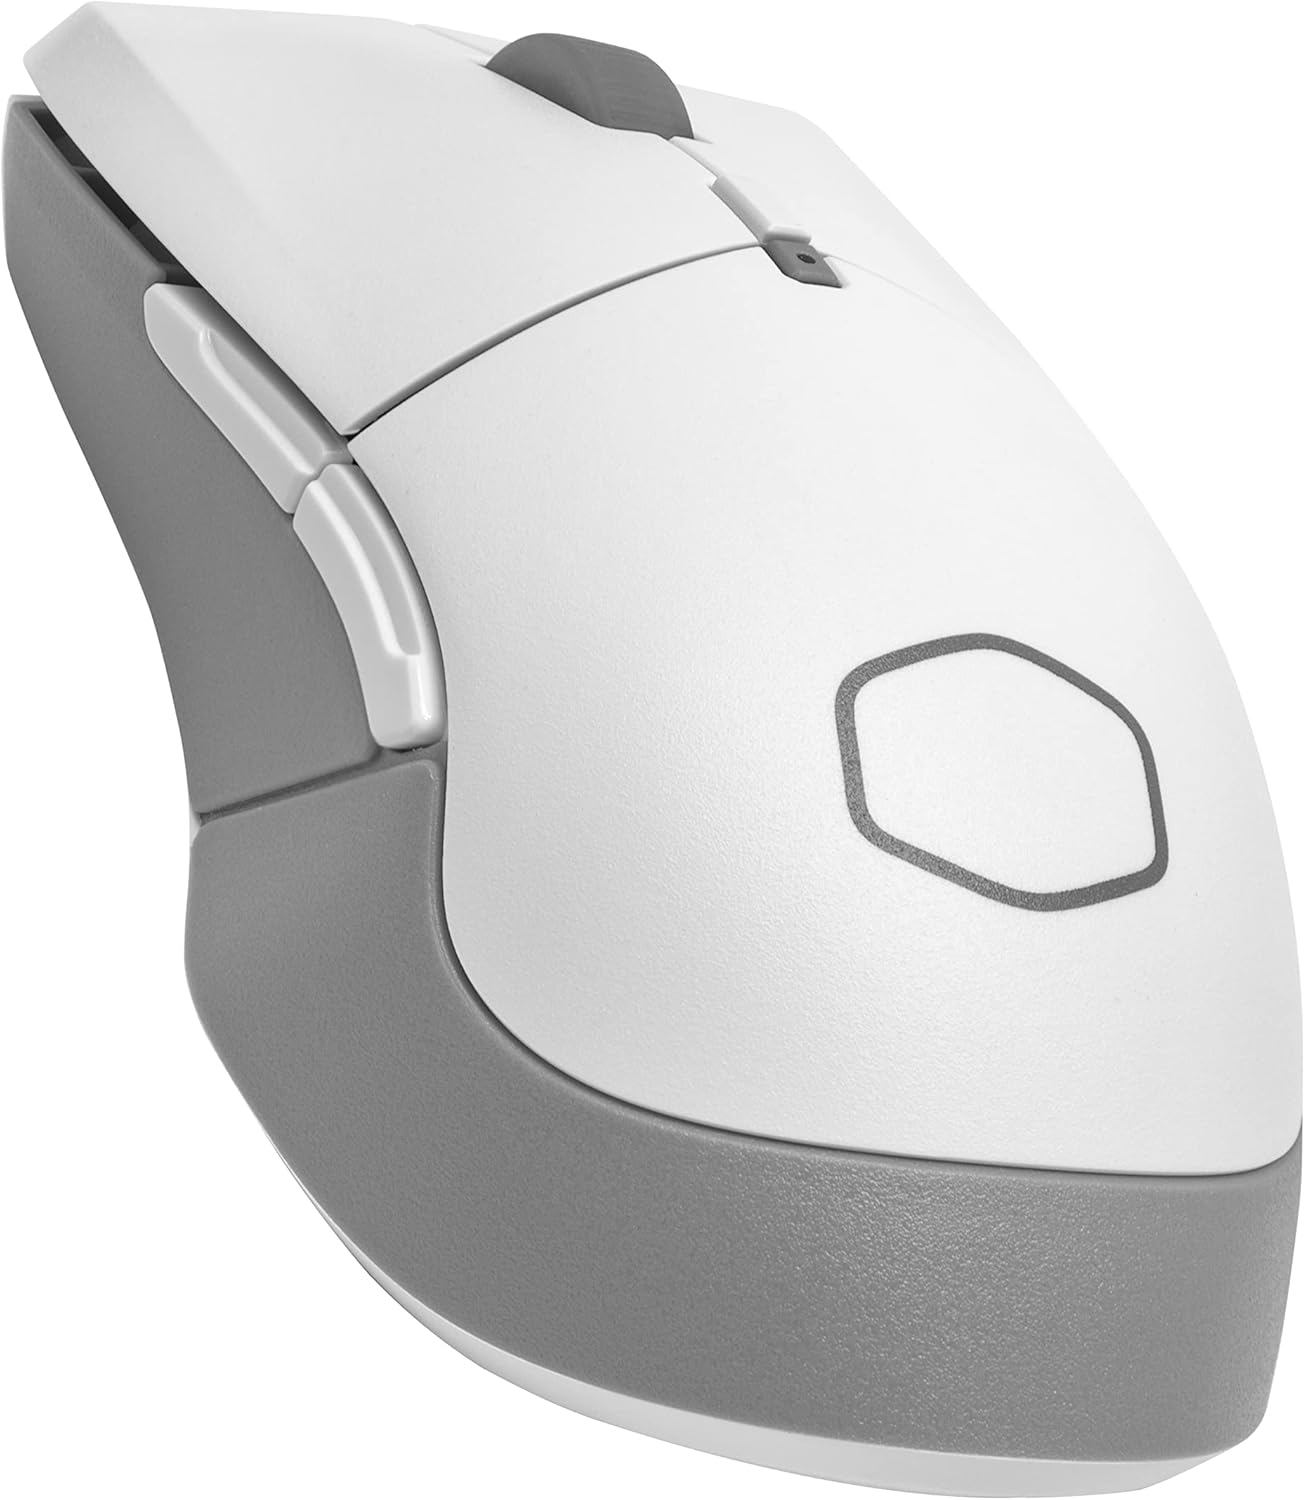
This image displays the overall design of the MM311 mouse, highlighting its ergonomic shape and button layout.

This image emphasizes the lightweight and ambidextrous design of the mouse, optimized for comfortable handling.

This image illustrates the 2.4 GHz wireless connectivity feature, showing the mouse and its USB dongle for stable transmission.

This image provides a close-up of the gaming-grade optical sensor, capable of up to 10,000 DPI for precise tracking.

This image highlights the new and improved PTFE mouse feet, designed for smooth gliding and high durability.

This image shows the MasterPlus+ software interface, demonstrating the options available for customizing mouse settings, including button remapping and macro tuning.
Official Product Video:
This video provides an overview of the MM311 and MM310 mice, highlighting their lightweight design and performance capabilities.
3. Setup
3.1. Battery Installation
- Gently remove the top cover of the mouse.
- Insert one AA battery into the designated compartment, ensuring correct polarity.
- Replace the top cover until it clicks securely into place.

This image illustrates where to install the AA battery and where the USB dongle is stored within the mouse for portability.
3.2. Wireless Connection (2.4 GHz)
- Locate the USB dongle stored inside the mouse (refer to Figure 7).
- Plug the USB dongle into an available USB port on your computer.
- Turn on the mouse using the switch on the bottom. The mouse should automatically connect.
3.3. Bluetooth Connection
- Turn on the mouse and switch it to Bluetooth mode using the selector on the bottom of the mouse.
- On your computer, navigate to Bluetooth settings and search for new devices.
- Select


