
1. Product Overview
The XTRONS Car Stereo is an advanced in-car entertainment and navigation system designed for select Volkswagen models. Featuring an Android 13 operating system, an Octa Core processor, 8GB RAM, and 256GB ROM, it offers a responsive and powerful user experience. The 9-inch IPS touchscreen supports 4K video playback and includes built-in DSP for enhanced audio quality, Wireless CarPlay, and Android Auto for seamless smartphone integration.
- Operating System: Android 13
- Processor: Qualcomm Snapdragon 665 Octa Core
- Memory: 8GB RAM + 256GB ROM
- Display: 9-inch IPS Touchscreen (1024 x 600 resolution) with 4K Video Playback support
- Audio: Built-in DSP (Digital Sound Processor)
- Connectivity: Wireless CarPlay & Android Auto, Bluetooth, Wi-Fi
- Output: Built-in HDMI Output
2. Compatibility
This car stereo is compatible with various Volkswagen, SKODA, and SEAT models and years. Please verify your vehicle's center console shape and existing sound system before installation.
Applicable Models & Years:
- For Volkswagen: Amarok (2010-2015), Beetle (2011-2015), Bora (2005-2015), Caddy (2004-2015), EOS (2006-2015), Golf MK5/V5/A5/1K (2003-2009), Golf MK6/VI6/A6/5K (2008-2013), Golf Plus (2004-2013), Jetta V/A5/1K (2005-2009), Jetta Vl/A6/1B (2010-2015), Passat B6/3C (2005-2010), Passat B7/3C (2010-2014), Passat CC (2008-2011), Polo MK5/6R (2009-2014), Scirocco Mk3 (2008-2011), Magotan (2007-2013), Sharan (2010-2014), Touran (2003-2014), Tiguan (2007-2013), T5 Multivan (2010-2013), T5 Transporter (2010-2013), T5 Caravelle (2010-2015), Vento (2009-2015)
- For SKODA: Fabia (2007-2014), Fabia Combi (2008-2014), Roomster (2006-2015), Octavia (2007-2012), Yeti (2009-2015), Superb (2008-2015)
- For SEAT: Alhambra (2010-2015), Altea (2004-2015), Altea XL (2007-2015), Leon Mk2 (2005-2012), Toledo (2004-2015)
Important Compatibility Notes:
- The 4G function DOES NOT work in the Americas area (US, Canada, etc.) though there is a SIM slot inside the unit.
- This unit does NOT support your car's Dynaudio or Fender sound system.
- For VW T5 vehicles, check if the center console is square-shaped. If it is, this unit is NOT compatible.
- For SKODA vehicles, compare your center console with the provided image. If it matches, this unit is NOT compatible.

Image: Compatibility notes for various vehicle models and sound systems.
3. Package Contents
Verify that all the following items are included in your package:
- 2 × ISO Wiring Harness
- 1 × RCA Cable
- 2 × USB Cable
- 1 × GPS Antenna
- 1 × Original USB Cable
- 1 × 4G+ Antenna
- 1 × 4G- Antenna
- 1 × Camera Cable
- 1 × CANbus Cable
- 1 × Radio Antenna Cable
- 1 × CANbus Box
- 1 × Filter
- 2 × User Manual (English/German)

Image: All included accessories for the XTRONS Car Stereo.
4. Installation Guide
Follow these steps for proper installation of your XTRONS Car Stereo. Professional installation is recommended if you are unsure about any steps.
4.1 Removing the Old Radio
Carefully remove the trim around your existing car radio using a plastic pry tool. Unscrew the mounting screws and gently pull out the old radio. Disconnect all wiring harnesses and antenna cables from the back of the old unit.
Video: Demonstrates the process of removing the original car radio from a Volkswagen vehicle, including detaching trim and disconnecting wiring.
4.2 Power-On Test & Canbus Connection
Before fully installing the new unit, perform a power-on test. Connect the compatible power cord and CANbus (if required for your vehicle model) to the new head unit. Turn on your vehicle's ignition to check if the unit powers on correctly. If it fails to power on, contact the after-sales team.
Video: Shows how to perform a power-on test, connect the CANbus, and verify basic functionality of the car stereo.
4.3 Rearview Camera Wiring
If installing a rearview camera, connect the camera's video output to the 'CAM IN' port on the head unit. The camera's power cable should be connected to the vehicle's reverse light power source (12V) and the trigger wire on the head unit's power harness. Ensure all connections are secure and insulated.
Video: Detailed guide on wiring a reversing camera to the car stereo, including connecting video and trigger cables.
4.4 Connecting Other Components
Connect the RCA cables, USB cables, GPS antenna, and radio antenna cable to their respective ports on the back of the head unit. Ensure all connections are firm. If your vehicle requires an original reversing camera adapter (e.g., AK/VW/ISOMQB or XTRONS ICE/SS/VWCAN01), connect it as per the instructions.
Image: Cables that may be required for specific vehicle configurations, particularly for retaining original camera functions.
4.5 Final Installation
Once all connections are made and tested, carefully slide the head unit into the dashboard opening. Secure it with the mounting screws and reattach any trim pieces. Ensure no wires are pinched during this process.
5. Operating the Car Stereo
This section provides an overview of the main features and how to operate your XTRONS Car Stereo.
5.1 User Interface & Customization
The unit features a smart and intuitive user interface with Day/Night mode for optimal visibility. You can customize the layout and add your favorite apps for quick access.

Image: Overview of the customizable user interface with various widgets and modes.
5.2 Smartphone Integration (CarPlay, Android Auto, Screen Mirroring)
Seamlessly integrate your smartphone with the car stereo using Wireless CarPlay or Android Auto. You can also mirror your phone's screen wirelessly.
- Wireless CarPlay: Connect your iPhone wirelessly via Bluetooth to access GPS, calls, music, and Siri.
- Android Auto: Connect your Android phone wirelessly or via USB cable to use GPS, calls, music, and Google Assistant.
- Screen Mirroring: Wirelessly display your smartphone's content directly on the car stereo screen.
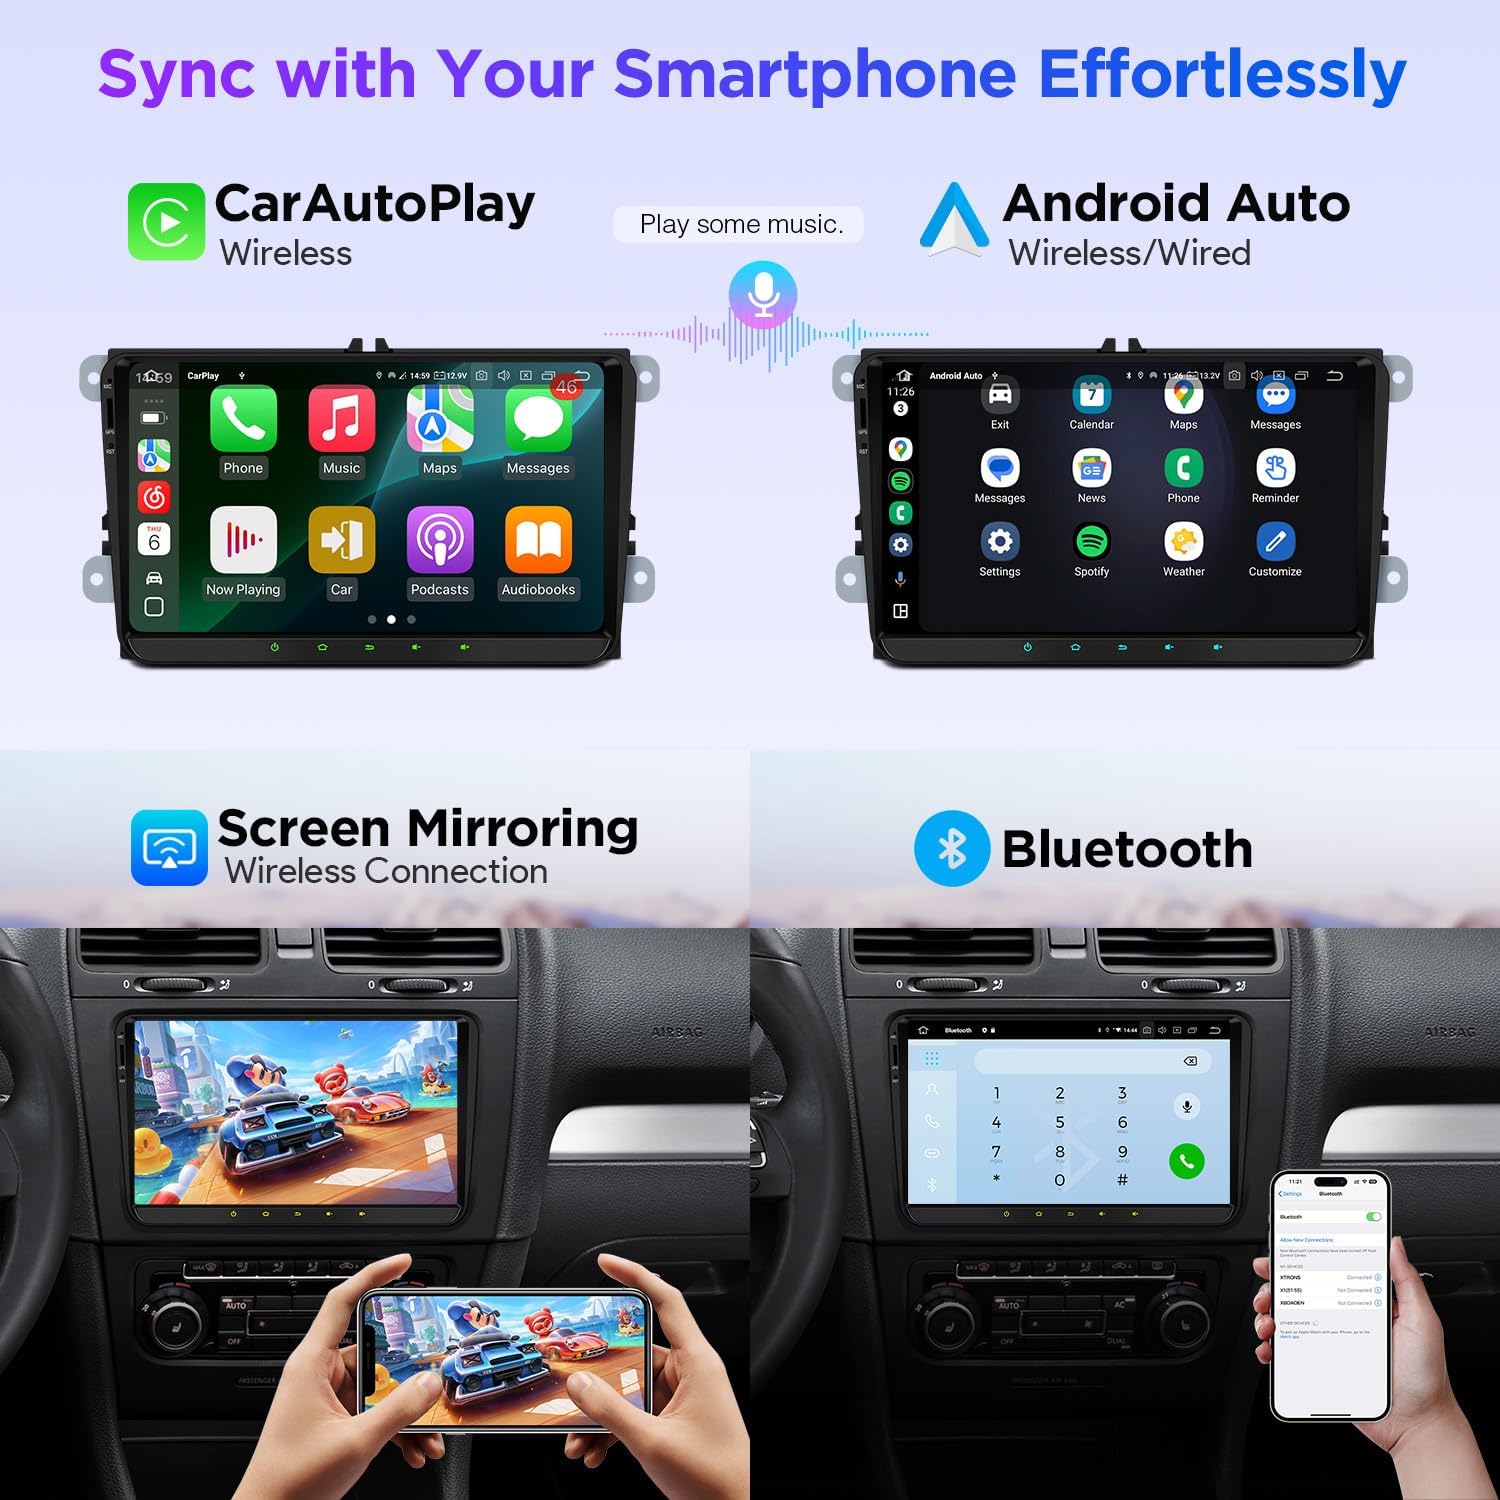
Image: Demonstrates various smartphone integration features including CarPlay, Android Auto, and screen mirroring.
5.3 Audio Settings (DSP, Equalizer)
The built-in DSP allows for studio-quality sound. Adjust the equalizer, delay, volume, and frequency settings to customize your audio experience.

Image: Detailed view of the Digital Sound Processor (DSP) and equalizer settings.
5.4 Radio & Media Playback
Access FM/AM radio stations. The 9-inch backlit digital multi-touch screen supports 4K video playback, allowing you to enjoy high-fidelity content.

Image: Illustration of the HDMI output feature for sharing content with external displays.
5.5 Navigation
The unit supports GPS navigation. Note that no pre-installed maps are included, so you will need to download your preferred navigation software.
5.6 Connectivity (Wi-Fi, Bluetooth)
Connect to the internet via Wi-Fi or your phone's hotspot. Bluetooth connectivity allows for hands-free calling and audio streaming.
5.7 Steering Wheel Control
The unit is compatible with your vehicle's original steering wheel controls. Refer to the system settings to configure and learn the controls for seamless operation.
5.8 Optional Accessories
Enhance your car stereo's functionality with optional accessories:
- OBD Function: For real-time vehicle data and diagnostics.
- TPMS Function: For tire pressure monitoring.
- Front / Reversing Camera: For improved visibility and safety.
- External DVR: For recording driving footage.
6. Specifications
| Display Size | 9 Inches |
| Resolution | 1024 x 600 |
| Screen Type | IPS Touchscreen |
| Operating System | Android 13 |
| Processor | Qualcomm Snapdragon 665 Octa Core |
| RAM | 8GB |
| ROM | 256GB |
| Connectivity Technology | Bluetooth, Wi-Fi |
| Special Features | Bluetooth, Touchscreen, Wireless CarPlay, Android Auto, HDMI Output, DSP |
| Audio Output Mode | Stereo |
| Voice Command | Microphone, Touchscreen |
| Map Type | No Pre-installed Map |
| Mounting Type | Panel Mount |
7. Troubleshooting
If you encounter any issues during installation or operation, refer to the following common problems and solutions:
- Unit Not Turning On: Ensure all power connections are secure and the CANbus is correctly connected (if applicable). Perform the power-on test as described in the installation guide.
- Camera Display Issues (Snow/9-grid display): This can often be fixed via format settings. Long-press the screen for 5 seconds to access image format settings and select AHD720P25. Alternatively, navigate via: Settings > Factory Settings (Password) > Camera > RVC Channel Config > AHD. Contact support if the issue persists.
- Steering Wheel Controls Not Working: Ensure the CANbus is correctly connected and configured. Access the steering wheel learning function in the unit's settings to program the controls.
- No Sound: Check all speaker wiring connections. Verify audio settings in the DSP/Equalizer menu.
- Bluetooth Connection Issues: Ensure Bluetooth is enabled on both the car stereo and your smartphone. Try unpairing and re-pairing the devices.
8. Warranty & Support
Your XTRONS Car Stereo comes with a 1-year warranty.
For any technical assistance, installation queries, or warranty claims, please contact XTRONS customer support. Provide your product model (B0B7X2FM3Y) and a detailed description of the issue for faster service.


