
Andoer 2.7K Digital Camera Compact Video Camcorder
Andoer 2.7K Digital Camera 48MP User Manual
Model: 2.7K Digital Camera Compact Video Camcorder
Introduction
This manual provides essential instructions for the safe and effective operation of your Andoer 2.7K Digital Camera. Please read this manual thoroughly before using the camera and retain it for future reference.
The Andoer 2.7K Digital Camera is a compact device designed for capturing high-resolution photos and videos. It features a 48MP image sensor, 2.7K video recording capabilities, a 2.88-inch IPS screen, 16X digital zoom, and various functions such as anti-shake, face detection, and a built-in LED fill light.
Package Contents
Verify that all items listed below are included in your package:
- 1 x Andoer 2.7K Digital Camera
- 2 x Lithium Batteries (3.7V 700mAh)
- 1 x USB Charge Cable
- 1 x Wrist Strap
- 1 x Carry Bag
- 1 x User Manual (English)

Figure 1: Contents of the camera package.
Camera Overview

Figure 2: Front and rear view of the camera with included batteries.
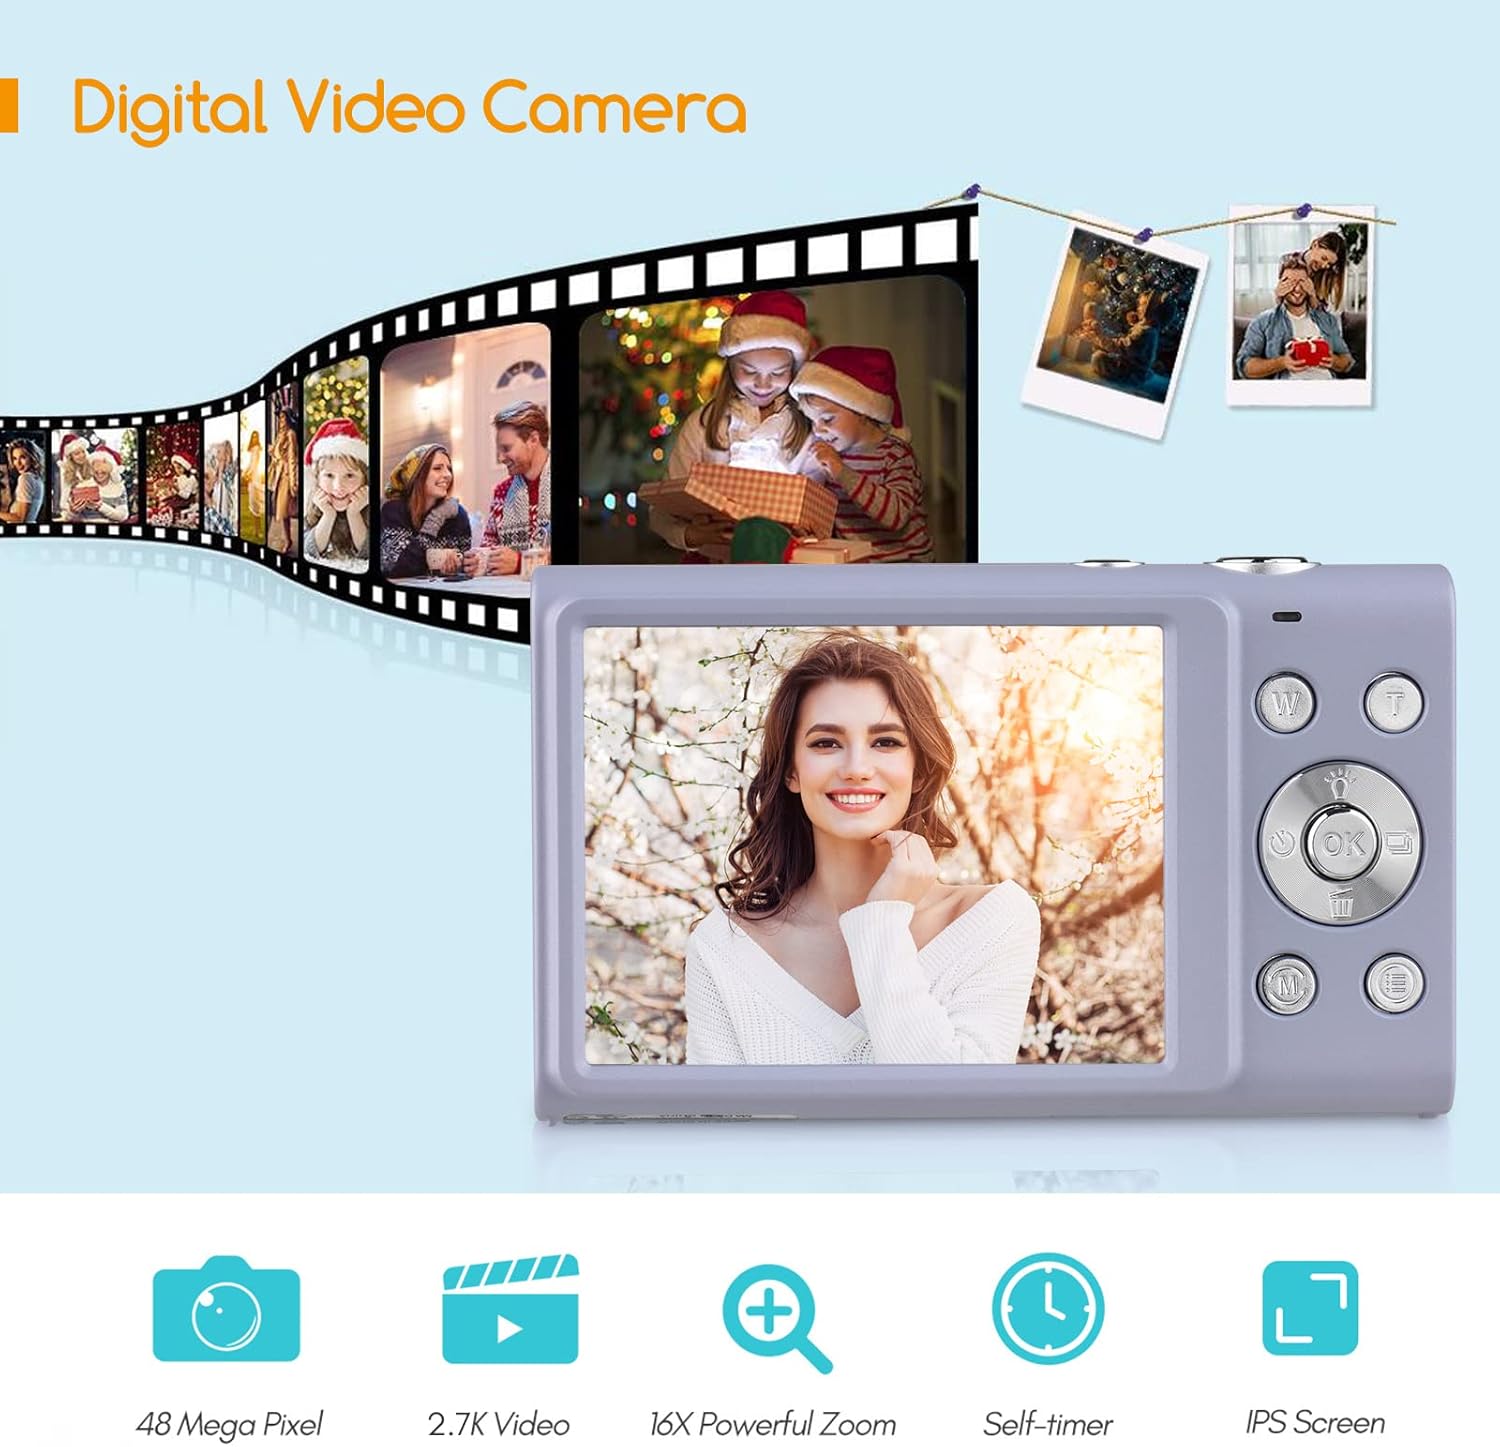
Figure 3: Camera features highlighted.
Setup
1. Battery Installation
- Open the battery compartment cover located on the bottom of the camera.
- Insert a fully charged lithium battery (3.7V 700mAh) into the compartment, ensuring correct polarity.
- Close the battery compartment cover securely.
2. Charging the Battery
- Connect the camera to a power source (e.g., computer USB port or USB wall adapter) using the provided USB charge cable.
- The charging indicator light will illuminate. It will turn off or change color once charging is complete.
- A full charge typically takes approximately 2-3 hours.
3. Memory Card Installation
The camera requires an external Class-10 memory card (up to 128GB, not included) for storing photos and videos.
- Locate the memory card slot on the side of the camera.
- Insert the memory card with the metal contacts facing the front of the camera until it clicks into place.
- To remove, gently press the card until it springs out.
4. Attaching the Wrist Strap
Thread the wrist strap through the strap eyelet on the side of the camera to prevent accidental drops.
5. Tripod Mounting
The camera features a universal 1/4" screw hole on the bottom, allowing it to be mounted on a tripod for stable shots.

Figure 4: Universal 1/4" screw hole for tripod attachment.
Operating Instructions
1. Power On/Off
- Press and hold the Power button (usually marked with a circle and a line) to turn the camera on or off.
- The camera has an auto power-off feature (1min/3min/5min) to conserve battery life. This can be adjusted in the settings.
2. Taking Photos
- Turn on the camera. The screen will display the live view.
- Frame your shot using the 2.88-inch IPS screen.
- Press the Shutter button (typically on top of the camera) halfway down to focus. The camera features auto-focus.
- Press the Shutter button fully down to capture the photo.
Photo Modes and Features:
- Resolution: Supports up to 48MP. Adjust in settings.
- Digital Zoom: Use the W/T (Wide/Telephoto) buttons to zoom in or out (up to 16X digital zoom).
- Anti-Shake: Digital image stabilization helps reduce blur from camera movement.
- Face Detection & Smile Capture: The camera can detect faces and automatically capture a photo when a smile is detected.
- Self-Timer: Options for Off, 2 sec, 5 sec, 10 sec delays.
- Continuous Shooting: Capture a rapid sequence of photos.
- Built-in LED Fill Light: Activate for additional illumination in low-light conditions.

Figure 5: Demonstrations of Self-Timer, Continuous Shooting, LED Fill Light, and Face Detection.

Figure 6: Example of 16X Digital Zoom in use.

Figure 7: Face Detection and Smile Capture in action.
3. Recording Videos
- Switch the camera to video mode (if applicable, usually via a mode button or menu option).
- Press the Record button (often marked with a red dot) to start recording.
- Press the Record button again to stop recording.
Video Features:
- Resolution: Supports 2.7K (2688x1520), 1080P (1920x1080), 720P (1280x720), VGA (640x480).
- Digital Zoom: Available during video recording.

Figure 8: Camera's 2.7K video and 48MP photo capabilities.
4. Playback
- Press the Playback button (often marked with a triangle icon) to enter playback mode.
- Use the navigation buttons to browse through your photos and videos.
- Press the Playback button again or the Shutter button to exit playback mode.
5. Connecting to a Computer
- Turn off the camera.
- Connect the camera to your computer using the provided USB cable.
- The camera will appear as a removable disk drive on your computer.
- You can then transfer photos and videos to your computer.
- Supported Operating Systems: Windows XP/ Vista/ 7/ 8/ 10, Mac 10.2 and above.
Maintenance
- Cleaning: Use a soft, dry cloth to clean the camera body. For the lens and screen, use a specialized lens cleaning cloth and solution. Avoid harsh chemicals.
- Battery Care: Store batteries in a cool, dry place. Do not expose them to extreme temperatures. If not using the camera for an extended period, remove the battery.
- Storage: When not in use, store the camera in its carry bag in a dry, dust-free environment.
- Water Resistance: This camera is not water resistant. Avoid exposure to water or high humidity.
Troubleshooting
| Problem | Possible Cause | Solution |
|---|---|---|
| Camera does not turn on. | Battery is depleted or incorrectly inserted. | Charge the battery or re-insert it correctly. Ensure the battery compartment is closed. |
| Cannot take photos/videos. | Memory card is full, not inserted, or corrupted. | Insert a memory card, delete unnecessary files, or format the card (this will erase all data). |
| Images are blurry. | Camera shake, dirty lens, or out of focus. | Hold the camera steady, clean the lens, ensure auto-focus is engaged (half-press shutter). Use anti-shake feature. |
| Flash not working. | Flash is disabled or battery is low. | Check flash settings. Ensure battery is sufficiently charged. |
| Camera freezes. | Software glitch. | Remove and re-insert the battery to reset the camera. |
Specifications
| Feature | Detail |
|---|---|
| Image Sensor | CMOS Sensor |
| Picture Resolution | 48MP, 44MP, 36MP, 24MP, 20MP, 16MP, 12MP, 10MP |
| Video Resolution | 2.7K (2688x1520), 1080P (1920x1080), 720P (1280x720), VGA (640x480) |
| Display | 2.88 Inch IPS Screen |
| Digital Zoom | 16X |
| Aperture | F/3.2 |
| Focal Length | f=7.36mm |
| File Format | JPG / AVI |
| Exposure | EV-3 to EV+3 |
| Self-Timer | Off / 2 sec / 5 sec / 10 sec |
| Auto Power Off | 1min / 3min / 5min |
| Special Features | Anti-Shake, Face Detect, Smile Capture, Built-in LED Fill Light, Continuous Photography |
| Storage | Supports Class-10 external memory card up to 128GB (not included) |
| Power Supply | 1 x Lithium battery (3.7V 700mAh) |
| Item Size | 9.4 * 5.6 * 1.9cm / 3.7 * 2.2 * 0.7in |
| Item Weight | 115g / 4.1oz (with battery) |
| Operating System Requirement | Windows XP/ Vista/ 7/ 8/ 10, Mac 10.2 |
Warranty and Support
For warranty information, please refer to the documentation provided at the time of purchase or contact your retailer. Andoer products typically come with a standard manufacturer's warranty covering defects in materials and workmanship.
If you encounter any issues not covered in the troubleshooting section, or require further assistance, please contact Andoer customer support through their official website or the contact information provided with your product.
Ask a question about this manual
Ask about setup, troubleshooting, compatibility, parts, safety, or missing instructions. Manuals+ will review the question and use this page’s manual context to help answer it.