1. Introduction
This manual provides essential instructions for the installation, operation, and maintenance of your Hikvision DS-7108HQHI-K1(C)(S) Professional Recording Equipment. Please read this manual thoroughly before using the device to ensure proper and safe operation. Keep this manual for future reference.
2. Safety Instructions
- Ensure the power supply voltage is within the specified range.
- Do not expose the device to rain or moisture to prevent fire or electric shock.
- Avoid placing the device in direct sunlight or near heat sources.
- Do not block ventilation openings. Ensure adequate airflow around the device.
- Use only accessories specified by the manufacturer.
- Refer all servicing to qualified service personnel.
3. Package Contents
Verify that all items are present and in good condition upon unpacking. If any item is missing or damaged, contact your dealer immediately.
- Hikvision DS-7108HQHI-K1(C)(S) Recording Equipment
- Power Adapter
- USB Mouse
- Screws for HDD Installation (if applicable)
- Quick Start Guide
4. Product Overview
The Hikvision DS-7108HQHI-K1(C)(S) is a professional recording device designed for surveillance systems. It features multiple video input channels and various output ports for display and network connectivity.
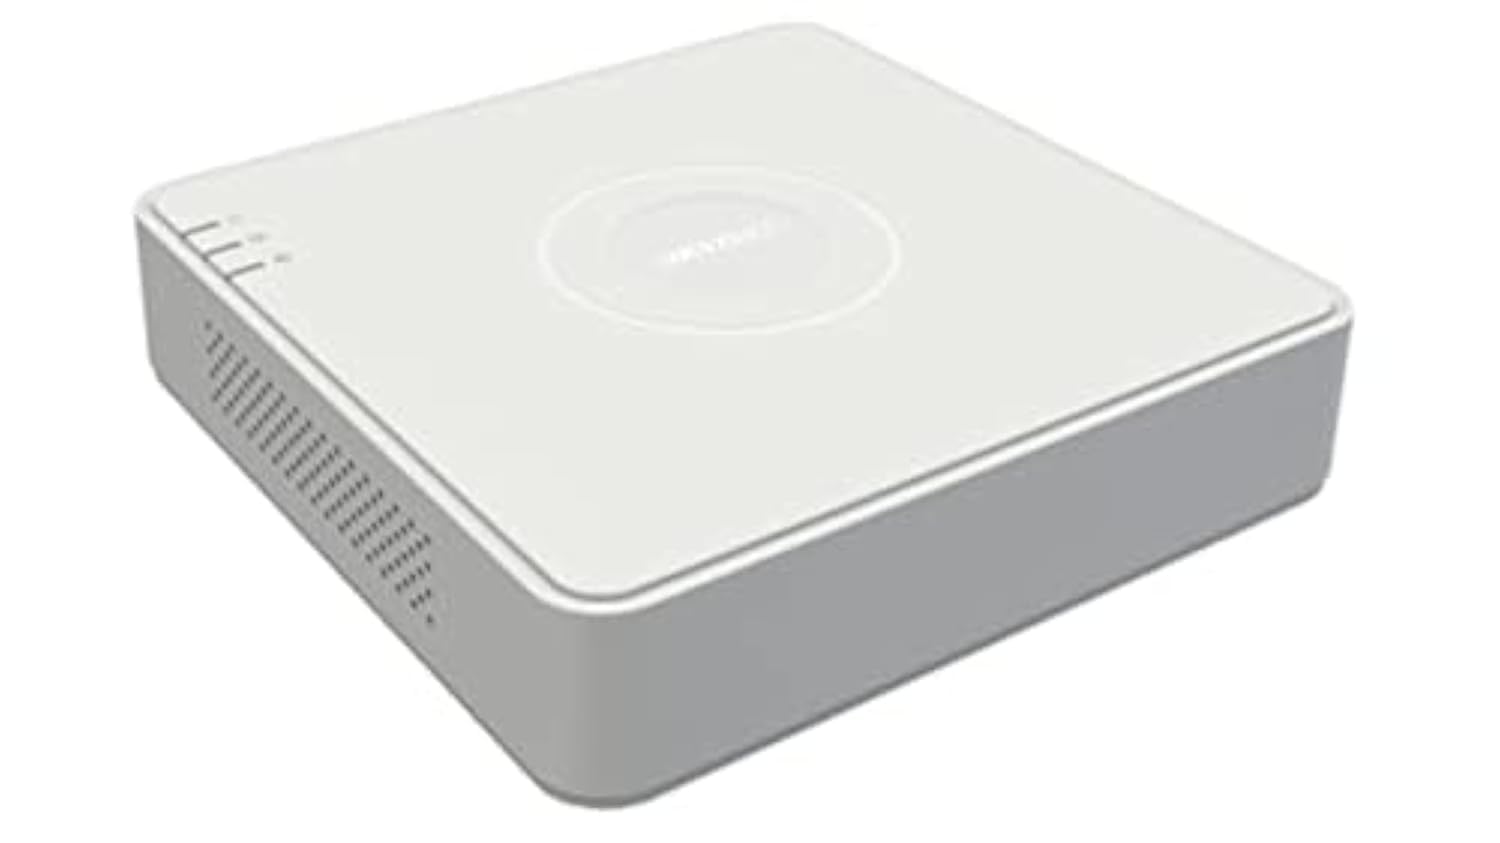
Figure 1: Rear panel of the DS-7108HQHI-K1(C)(S) recording equipment. This image displays the array of BNC video input connectors, a VGA output port, an HDMI output port, audio input and output jacks, a LAN port for network connection, two USB ports for peripherals, and the DC 12V power input.
4.1 Rear Panel Interfaces
- Video Input (BNC): Connect surveillance cameras. This model supports 8 channels.
- VGA Output: Connect to a VGA monitor for video display.
- HDMI Output: Connect to an HDMI monitor or TV for high-definition video display.
- Audio In/Out (RCA): Connect external audio devices.
- LAN Port (RJ45): Connect to your network for remote access and internet connectivity.
- USB Ports: Connect a USB mouse for control or a USB flash drive for data backup. This model has 1 USB port.
- DC 12V Power Input: Connect the provided power adapter.
5. Setup
5.1 Hardware Installation
- Connect Cameras: Attach your surveillance cameras to the BNC video input ports.
- Connect Monitor: Connect a monitor to either the VGA or HDMI output port.
- Connect Mouse: Plug the USB mouse into one of the USB ports.
- Connect Network (Optional): Connect an Ethernet cable from the LAN port to your router or network switch.
- Connect Power: Plug the power adapter into the DC 12V power input and then into a power outlet. The device will power on automatically.
5.2 Initial Configuration
Upon first power-on, the device will guide you through an initial setup wizard. Follow the on-screen prompts to set up language, date/time, network settings, and administrator password.
6. Operating Instructions
6.1 Live View
After logging in, the device will display the live view of all connected cameras. You can switch between single-channel view and multi-channel view using the on-screen controls or mouse.
6.2 Recording Configuration
Access the "Record" menu to configure recording schedules, motion detection settings, and other recording parameters for each camera. Ensure a hard drive is installed and initialized for recording.
6.3 Playback
Navigate to the "Playback" menu to review recorded footage. You can search by date, time, and event type. Use the playback controls to fast forward, rewind, and pause.
6.4 Remote Access
For remote viewing, ensure the device is connected to the internet. Configure network settings (e.g., port forwarding, P2P cloud service) as per the detailed user manual or Hikvision's online resources. Download the Hik-Connect app or use client software on your computer.
7. Maintenance
- Cleaning: Regularly clean the exterior of the device with a soft, dry cloth. Do not use liquid or aerosol cleaners.
- Firmware Updates: Check the official Hikvision website periodically for firmware updates. Updating firmware can improve performance and add new features. Follow the instructions provided with the firmware update carefully.
- Hard Drive Management: If a hard drive is installed, monitor its health and capacity through the device's menu. Consider setting up automatic overwriting of old footage if continuous recording is desired.
- Environmental Conditions: Ensure the device operates within its specified temperature and humidity ranges to prolong its lifespan.
8. Troubleshooting
- No Video Output:
- Check all video cable connections (VGA/HDMI) to the monitor and the recording equipment.
- Ensure the monitor is powered on and set to the correct input source.
- Verify cameras are powered and connected correctly.
- No Network Connection:
- Check the Ethernet cable connection to the LAN port and your router.
- Verify network settings (IP address, gateway, DNS) in the device's configuration menu.
- Ensure your router is functioning correctly.
- Cannot Record:
- Ensure a hard drive is installed and properly initialized.
- Check recording schedules and motion detection settings.
- Verify the hard drive has sufficient free space.
- Forgot Password:
Refer to Hikvision's official support resources for password reset procedures, which often involve a security code or a reset tool.
9. Specifications
| Feature | Detail |
|---|---|
| Brand | Hikvision |
| Model Number | DS-7108HQHI-K1(C)(S) |
| Number of Channels | 8 |
| Connectivity Technology | VGA |
| Total USB Ports | 1 |
| Manufacturer | Hikvision |
10. Warranty Information
This product is covered by a limited warranty provided by Hikvision. For detailed warranty terms and conditions, please refer to the warranty card included with your product or visit the official Hikvision website. Keep your purchase receipt as proof of purchase for warranty claims.
11. Customer Support
For technical assistance, troubleshooting, or further inquiries, please contact Hikvision customer support. You can find contact information, FAQs, and additional resources on the official Hikvision website:
Website: www.hikvision.com
Please have your product model number (DS-7108HQHI-K1(C)(S)) and serial number ready when contacting support.


