
1. Introduction and Overview
Thank you for choosing the HEIMAN 10-Year Battery Smoke Alarm. This device is designed to provide early warning of smoke and fire, helping to protect your home and family. Featuring advanced photoelectric sensing technology and a long-life 10-year battery, this alarm offers reliable and continuous protection without the need for frequent battery replacements. Its wireless interconnection capability allows multiple alarms to communicate, ensuring that when one alarm detects smoke, all interconnected alarms sound, providing comprehensive coverage throughout your property.
This product conforms to EN14604 standards, ensuring high quality and safety performance.
2. Safety Information
Important Safety Warnings:
- Do not paint the smoke alarm. Paint can clog the sensing chambers and prevent the alarm from operating correctly.
- Do not install the alarm in areas with high humidity, extreme temperatures, or excessive dust/dirt, as this may lead to false alarms or malfunction.
- Regularly test your smoke alarm as instructed in this manual to ensure proper operation.
- Never ignore a smoke alarm. Investigate the cause of any alarm immediately.
- This smoke alarm is designed for residential use. It is not intended for industrial or commercial applications.
3. Package Contents
Please check the package contents to ensure all items are present:
- HEIMAN 10-Year Battery Smoke Alarm(s) (Quantity as per pack size)
- Mounting Bracket(s)
- Mounting Screws and Wall Plugs
- User Manual

Image: Front view of the product retail box, showing five smoke alarms depicted on the packaging.
4. Product Features
- Smart Interconnected Design: Wireless interconnection allows all alarms to sound when one detects smoke, providing early warning throughout your home.
- High-Accuracy Photoelectric Sensor: Quickly detects hazardous smoke, providing a rapid response to potential fire threats.
- 10-Year Battery Life: Equipped with a long-lasting battery, eliminating the need for frequent battery changes and ensuring continuous protection.
- Loud 85 dB Alarm: Emits a powerful audible alert to ensure you are woken up and alerted to danger.
- LED Indicator: Provides visual status updates for normal operation, alarm, and low battery.
- Test/Silence Button: Allows for easy testing of the alarm's functionality and silencing of nuisance alarms.
- EN14604 Certified: Conforms to European safety standards for smoke alarms.
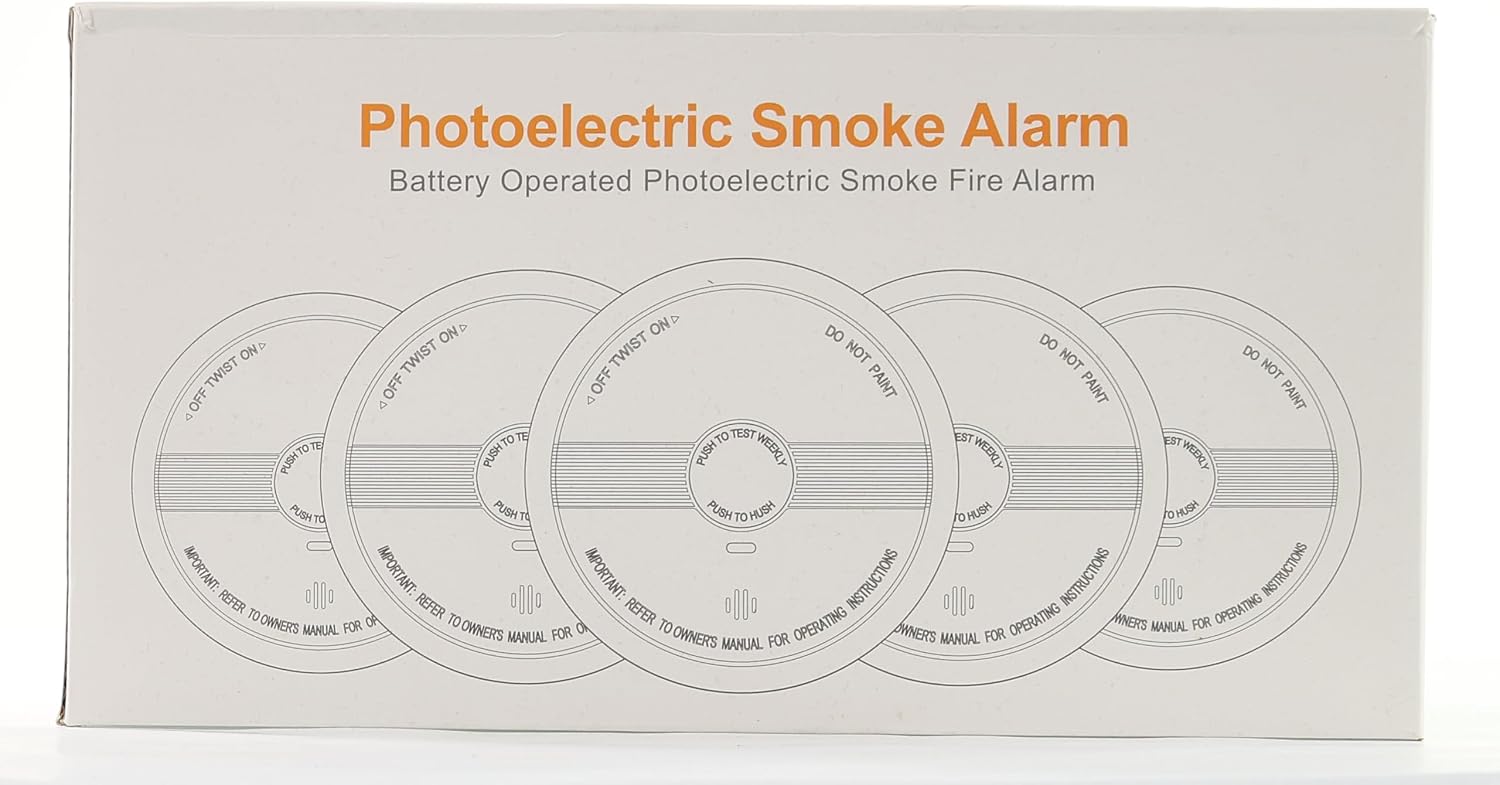
Image: A close-up of the smoke alarm's front, highlighting its 10-year battery life and efficient design.

Image: An exploded diagram illustrating the internal components of the smoke alarm, including the battery, circuit board, and photoelectric sensor.
5. Setup and Installation
Follow these steps to set up and install your HEIMAN Smoke Alarm:
- Activate Battery: Locate the small plastic isolator strip on the back of the alarm. Gently pull this strip out to activate the internal 10-year battery. Ensure the strip is fully removed. Note: Some users have reported difficulty removing this strip; if it breaks, you may need to carefully open the battery compartment to remove the remaining piece.
- Choose Location: Select a suitable location for installation. Smoke alarms should be installed on the ceiling in the center of a room or hallway. For multi-story homes, install at least one alarm on each level, including basements. Avoid installing near windows, doors, or air vents where drafts might interfere with smoke detection.
- Mounting:
- Screw Mounting: Use the provided mounting bracket as a template to mark two drill holes on the ceiling or wall. Drill the holes, insert the wall plugs, and then screw the mounting bracket firmly into place.
- Adhesive Mounting (Optional): If using adhesive pads (not included), ensure the surface is clean and dry. Attach the adhesive pad to the back of the alarm or mounting bracket, then firmly press the alarm onto the desired surface.
- Attach Alarm: Align the smoke alarm with the mounting bracket and twist clockwise until it clicks securely into place.
- Test Alarm: After installation, press the Test/Silence button on the front of the alarm to ensure it is functioning correctly. The alarm should sound loudly.

Image: A clear front view of the HEIMAN smoke alarm, ready for installation.

Image: A cutaway diagram of a house illustrating optimal placement of interconnected smoke alarms on different floors and areas.
6. Interconnection Instructions
The HEIMAN smoke alarms can be wirelessly interconnected, allowing all alarms in the group to sound simultaneously when one detects smoke. A maximum of 40 wireless smoke alarms can be interconnected.
- Locate DIP Switches: On the back of each smoke alarm, you will find a set of small DIP switches. These switches are used to set the interconnection ID.
- Set Interconnection ID: For alarms to form an interconnected group, they must have their DIP switches set to the exact same ID. There are 16 possible ID groups. Use a small tool (like a pen tip or toothpick) to adjust the switches.
- Verify Interconnection: After setting the IDs for all alarms, test each alarm individually. When one alarm is tested and sounds, all other alarms in the same interconnected group should also sound within a few seconds. If they do not, recheck the DIP switch settings for consistency.
Only alarms with the same ID can make up an interconnection group. Wireless technology allows for a transmission range of over 150 meters (492 ft) in open air, which will be reduced by walls and obstacles indoors.
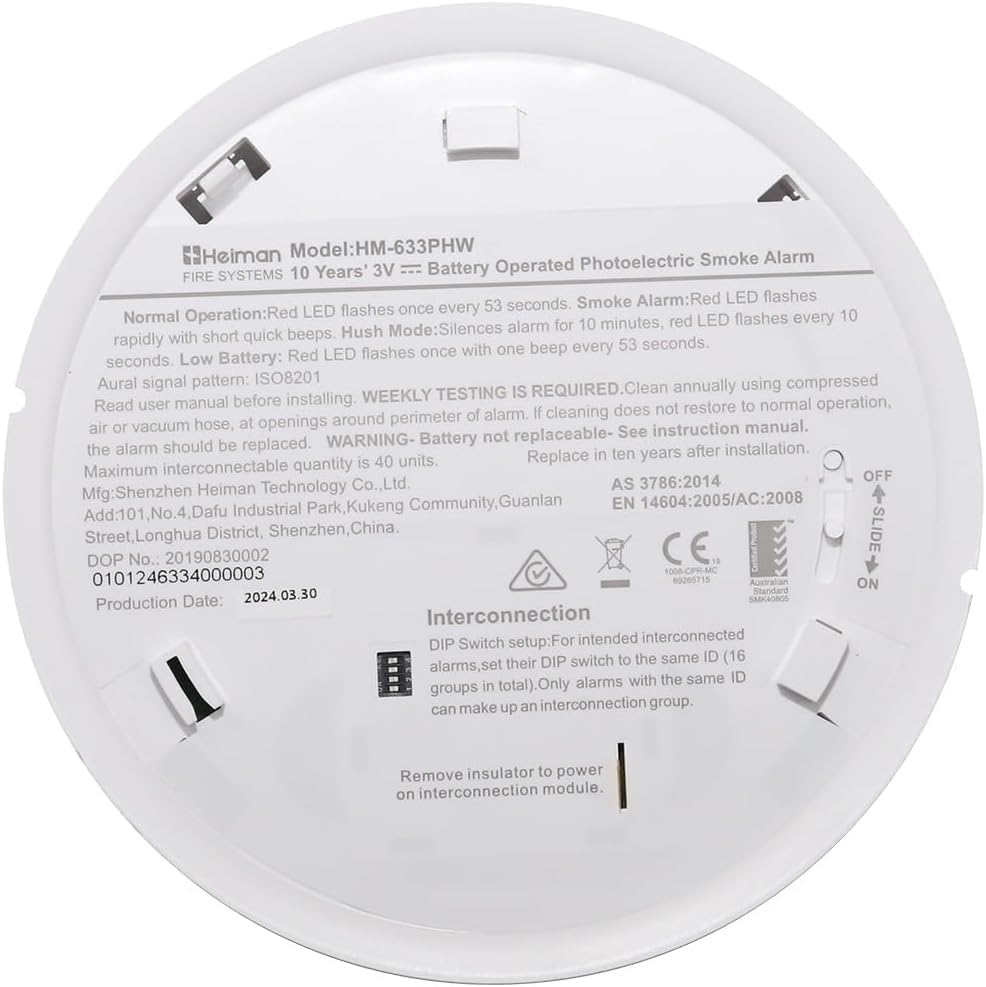
Image: The back of the smoke alarm, clearly showing the DIP switches used for setting the interconnection ID.

Image: A visual representation of multiple smoke alarms wirelessly connected, indicating their ability to communicate with each other.
7. Operating Instructions
The HEIMAN Smoke Alarm is designed for simple operation:
- Normal Operation: The red LED indicator will flash once every 53 seconds, indicating that the alarm is functioning correctly.
- Alarm Condition: When smoke is detected, the alarm will sound a loud, continuous siren (over 85 dB) and the red LED will flash rapidly. If interconnected, all alarms in the group will also sound.
- Test Function: Press and hold the Test/Silence button on the front of the alarm. The alarm will sound, and the red LED will flash, confirming that the alarm's circuitry, battery, and horn are working. Release the button to stop the test. Test weekly.
- Silence Function (Hush Mode): In case of a nuisance alarm (e.g., from cooking fumes), press the Test/Silence button. This will silence the alarm for approximately 10 minutes. The red LED will flash every 10 seconds during this period. After 10 minutes, the alarm will automatically reset to normal operation. If smoke is still present, the alarm will sound again.
- Low Battery Warning: The alarm is equipped with a 10-year sealed battery. When the battery is nearing the end of its life, the alarm will chirp once every 53 seconds, and the red LED will flash simultaneously. This indicates that the alarm needs to be replaced.
8. Maintenance
Proper maintenance ensures the longevity and reliability of your smoke alarm:
- Weekly Testing: Test your smoke alarm at least once a week by pressing the Test/Silence button.
- Cleaning: Clean your smoke alarm at least once a month. Use a soft brush attachment on your vacuum cleaner to remove any dust or debris from the alarm's cover and vents. Do not use cleaning solvents or spray chemicals on the alarm.
- Battery Replacement: This smoke alarm features a sealed 10-year battery that is not user-replaceable. When the low battery warning sounds (a chirp every 53 seconds), the entire smoke alarm unit must be replaced.
9. Troubleshooting
If your smoke alarm is not functioning as expected, refer to the following common issues and solutions:
| Problem | Possible Cause | Solution |
|---|---|---|
| Alarm chirps every 53 seconds | Low battery warning | Replace the entire smoke alarm unit. The battery is sealed and not replaceable. |
| Alarm sounds frequently without smoke | Nuisance alarm (cooking fumes, steam, dust) | Press the Test/Silence button to temporarily silence the alarm. Clean the alarm regularly to remove dust. Ensure proper ventilation in cooking areas. |
| Alarm does not sound during test | Battery not activated or faulty unit | Ensure the battery isolator strip has been fully removed. If the problem persists, the unit may be faulty and needs replacement. |
| Interconnected alarms do not all sound | DIP switch ID mismatch or range issue | Verify that all interconnected alarms have their DIP switches set to the exact same ID. Ensure alarms are within wireless transmission range. |
| Red LED not flashing | Battery not activated or unit malfunction | Ensure the battery isolator strip is removed. If the LED still does not flash every 53 seconds, replace the unit. |
10. Specifications
| Feature | Specification |
|---|---|
| Model Number | 2SA-633 (HM-633PHW) |
| Sensor Type | Photoelectric |
| Power Source | 10-Year Sealed Lithium Battery (non-replaceable) |
| Alarm Loudness | >85 dB at 3 meters |
| Operating Voltage | 3V (CR123A/CR17335 lithium battery) |
| Operating Temperature | 0°C to +50°C |
| Operating Humidity | Up to 95% relative humidity (non-condensing) |
| Interconnection | Wireless, up to 40 units |
| Wireless Range | Approx. 150m (open air) |
| Dimensions | Ø149.5 mm x H46 mm |
| Certification | EN14604 |
| Material | ABS |

Image: Technical drawing displaying the dimensions of the smoke alarm and its EN14604 certification.
11. Warranty and Support
The HEIMAN 10-Year Battery Smoke Alarm is designed for long-term reliability, backed by its 10-year sealed battery life. This battery life serves as an indicator of the product's expected operational lifespan.
For technical support, inquiries, or assistance, please contact HEIMAN customer service:
- Hotline: +86-755-84193920, +86-755-84193951
- E-Mail: service@heiman.com.cn
- Website: www.heimantech.com
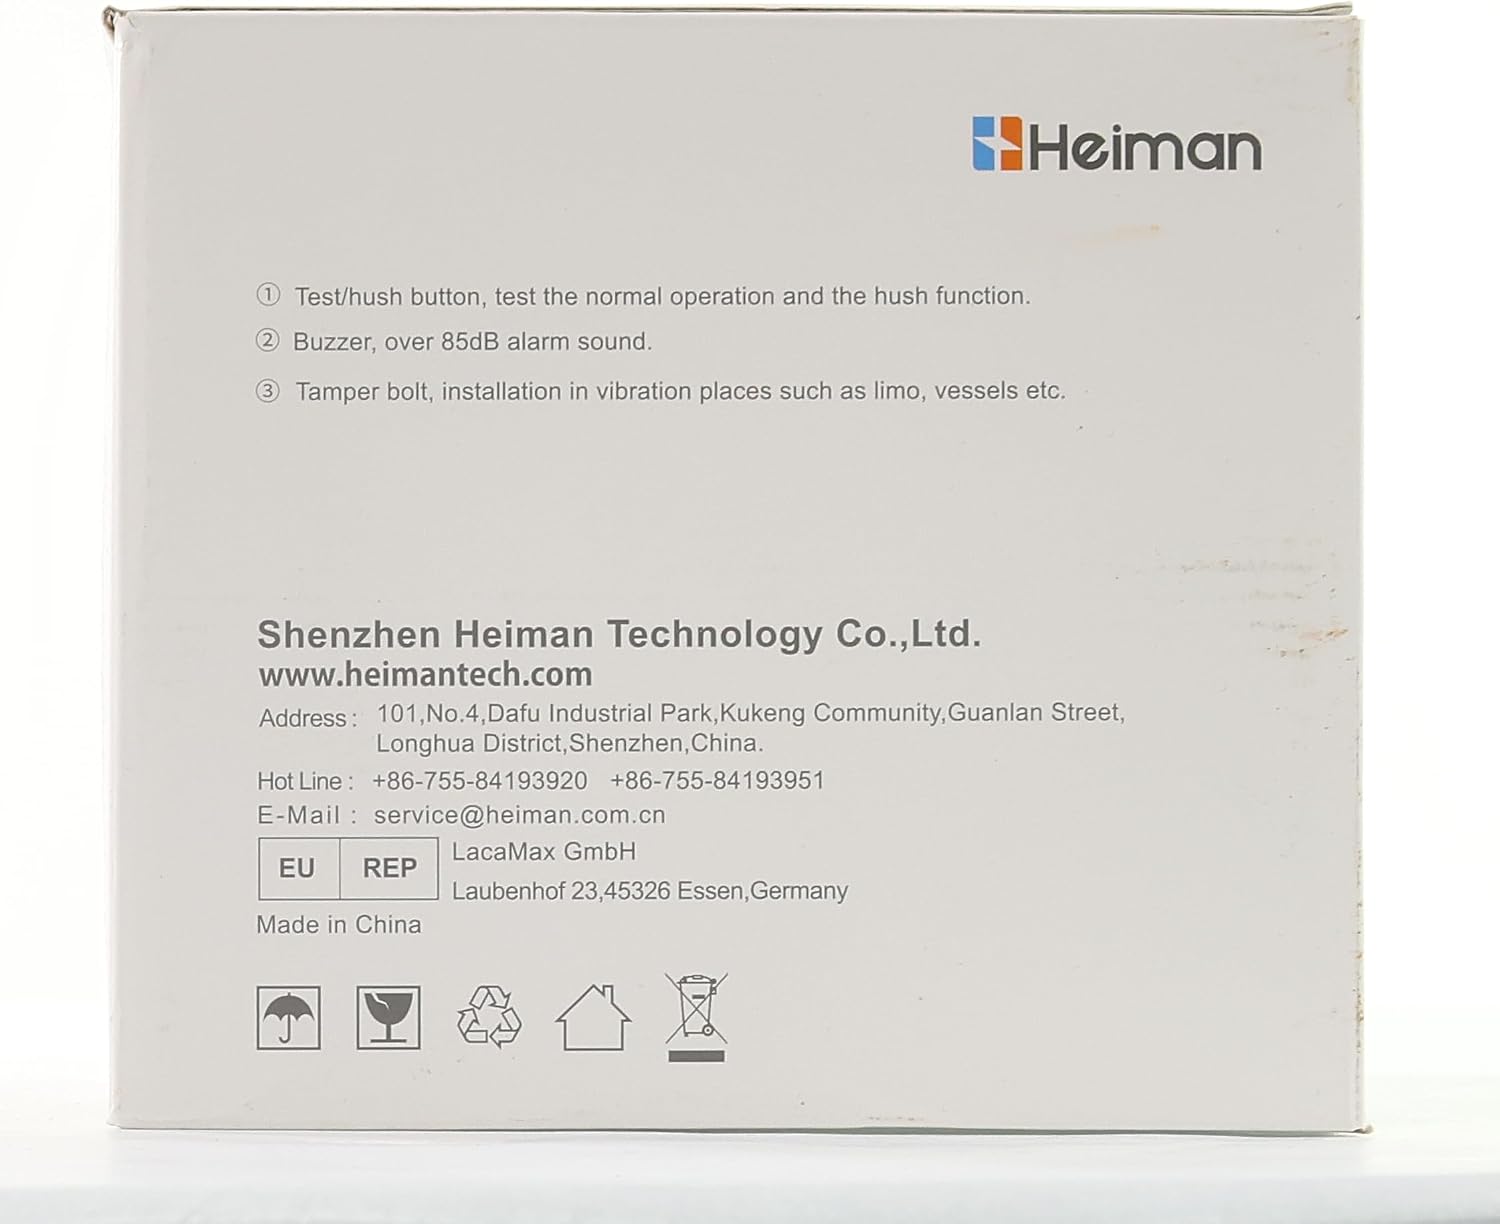
Image: The back panel of the product packaging, displaying manufacturer contact details and certifications.