
1. Product Overview
The Cooler Master MasterAccessory Vertical GPU Card Holder Kit V3 Black is designed to provide a vertical mounting solution for your graphics card, enhancing both aesthetics and functionality within your PC case. This kit includes a premium PCIe 4.0 x16 riser cable, ensuring high-speed data transfer and compatibility with PCIe 3.0, 4.0, and 5.0 motherboards and GPUs.
Key features include:
- PCIe 4.0 Riser Cable: Works seamlessly with PCIe 4.0 and 5.0 motherboards and GPUs, delivering fast, reliable performance in gaming or creative tasks.
- Fits Standard ATX Cases: Designed to handle modern 3-slot GPUs while fitting seamlessly into most traditional 7-slot ATX cases.
- Removable M-ATX Bracket: Bracket can be removed to fit seamlessly into most traditional 4-slot Micro-ATX cases. Note: May block rear fan in some cases.
- Toolless, Adjustable: Easily adjusts up to 65mm horizontally and 30mm toward the side panel—no tools needed.
- Flexible Installation: Allows the GPU to be installed after the holder is secured in your preferred position.
- Reinforced with Premium Steel: Built with SGCC steel for 42% more durability, offering strong, reliable support that reduces the risk of sagging or bending.
- UV-Resistant ABS Casing: Protects cable connections from damage caused by rough handling and everyday wear.

Image: The Cooler Master Vertical GPU Holder Kit V3, showcasing its black finish and robust design with the PCIe riser cable attached.

Image: Close-up view of the holder's construction, highlighting the reinforced premium steel for enhanced durability and support.
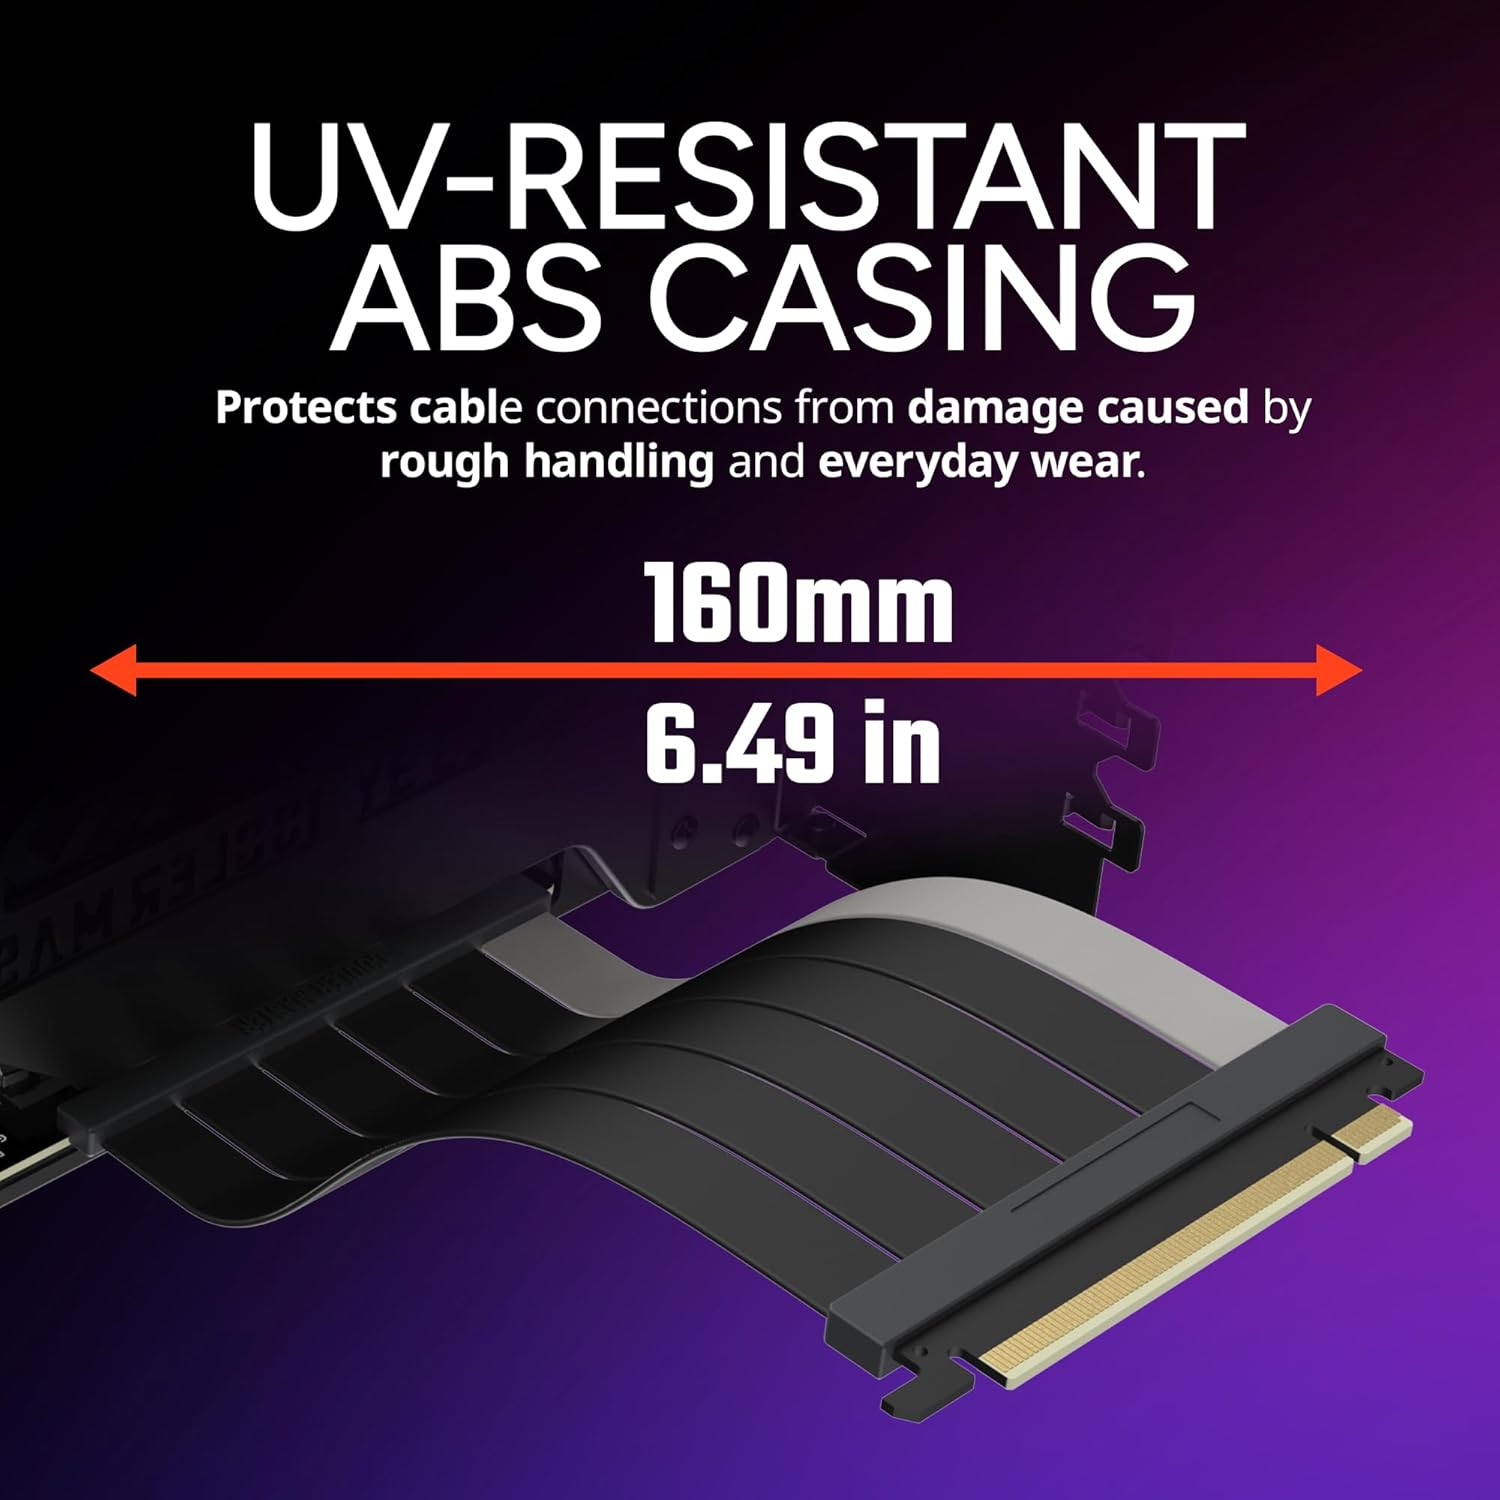
Image: The PCIe riser cable featuring UV-resistant ABS casing, designed to protect connections and indicating a length of 160mm (6.49 inches).
2. Package Contents
Verify that all components are present in the package:
- Vertical GPU Card Holder Kit V3 (Black)
- PCIe 4.0 x16 Riser Cable (165mm)
- Mounting Screws (typically pre-attached or included for case mounting)
3. Setup and Installation
Before beginning installation, ensure your PC is powered off and unplugged from the wall outlet. It is recommended to wear an anti-static wrist strap to prevent damage to components.
3.1 Compatibility Check
- This kit is compatible with most E-ATX, ATX, and Micro-ATX cases.
- Ensure your case has at least 7 available PCIe expansion slots for standard ATX installation.
- For Micro-ATX cases, the removable bracket may be necessary. Be aware that removing this bracket might block a rear fan in some configurations.
- Verify that your GPU and CPU cooler combination allows sufficient clearance for vertical mounting.
3.2 Installation Steps
- Prepare Your Case: Remove the existing PCIe slot covers from your PC case where the vertical GPU holder will be installed. For ATX cases, this typically involves removing all 7 expansion slot covers. For Micro-ATX cases, you may need to remove the dedicated M-ATX bracket from the holder first (refer to image below).

Image: Illustration of the removable M-ATX bracket, which can be detached to accommodate smaller Micro-ATX cases.
- Mount the Holder: Position the vertical GPU holder inside your case, aligning its mounting holes with the screw holes on your case's PCIe expansion slot area. Secure the holder using the provided screws.

Image: The vertical GPU holder installed in a standard ATX case, showing how it occupies the PCIe expansion slots.
- Connect the Riser Cable: Connect the PCIe 4.0 riser cable to your motherboard's primary PCIe x16 slot. Ensure it is fully seated.

Image: Close-up of the PCIe 4.0 riser cable, highlighting its connection points for the motherboard and GPU.
- Install the GPU: Once the holder is securely mounted and the riser cable is connected to the motherboard, install your graphics card into the PCIe slot on the vertical GPU holder. Secure the GPU to the holder using its retention mechanism.
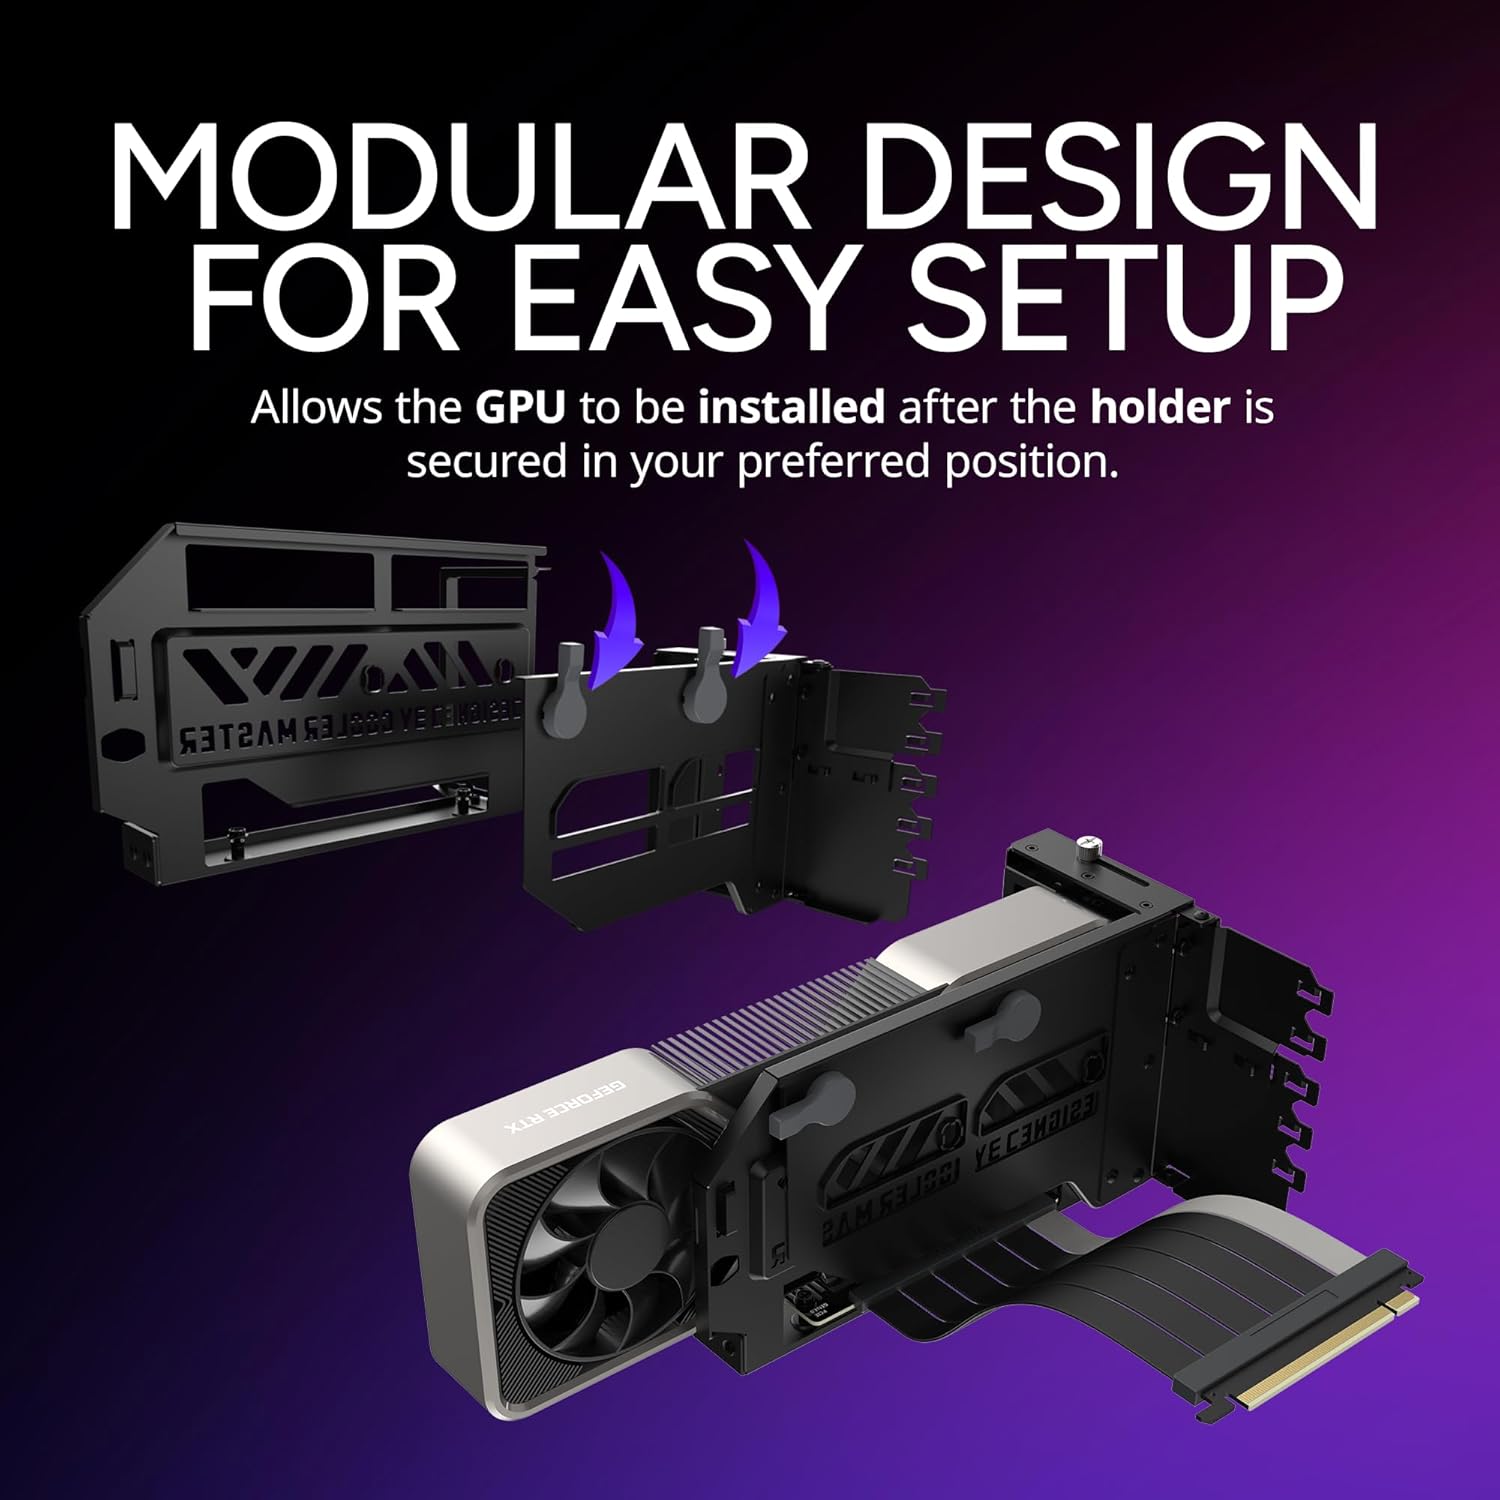
Image: Depiction of the modular design, illustrating how the GPU can be easily installed into the holder after the holder is secured in the case.
- Adjust Position (Toolless): The holder allows for toolless adjustment. You can slide the GPU assembly up to 65mm horizontally (forward/backward) and 30mm towards the side panel to achieve optimal fit and aesthetics.

Image: Diagram showing the toolless adjustment capabilities of the holder, allowing for horizontal (65mm) and side panel (30mm) movement.
- Connect Power and Display Cables: Connect the necessary PCIe power cables to your graphics card. Route your display cables (HDMI, DisplayPort) from the GPU to your monitor.
4. Operating Instructions
Once the Cooler Master Vertical GPU Holder Kit V3 is installed and your graphics card is securely mounted and connected, its operation is integrated with your PC's normal function. The holder itself is a passive component.
- Ensure all connections (motherboard, GPU, power, display) are firm before powering on your PC.
- After powering on, verify that your graphics card is detected by the system and functions correctly.
- Monitor GPU temperatures, especially in new configurations, to ensure adequate airflow. Adjust fan curves or case fan placement if necessary.
5. Maintenance
Regular maintenance helps ensure the longevity and optimal performance of your vertical GPU holder and associated components.
- Cleaning: Periodically clean the holder and riser cable to prevent dust buildup. Use compressed air or a soft, dry cloth. Ensure the PC is powered off and unplugged before cleaning.
- Connection Check: Every few months, gently check that the riser cable is securely seated in both the motherboard and GPU, and that the GPU is firmly attached to the holder.
- Physical Inspection: Inspect the holder and cable for any signs of wear, damage, or bending. The SGCC steel construction is designed for durability, but physical impacts can still cause damage.
6. Troubleshooting
If you encounter issues after installing the vertical GPU holder, consider the following troubleshooting steps:
- No Display/GPU Not Detected:
- Ensure the PCIe riser cable is fully seated in both the motherboard's PCIe x16 slot and the GPU's PCIe slot.
- Verify that all necessary PCIe power cables are connected to your graphics card.
- Check your motherboard's BIOS/UEFI settings. Some motherboards may require setting the PCIe slot to a specific generation (e.g., PCIe Gen3 or Gen4) manually, especially if experiencing instability with Gen4.
- Test the GPU directly in the motherboard's PCIe slot (without the riser cable) to rule out a GPU or motherboard issue.
- System Instability/Stuttering:
- This can sometimes occur with PCIe riser cables if there's a compatibility issue or signal degradation. Try setting your motherboard's PCIe slot speed to Gen3 in the BIOS/UEFI. While the cable supports PCIe 4.0, some system configurations may be more stable at Gen3.
- Ensure your motherboard BIOS is up to date.
- Physical Fitment Issues:
- If the GPU is too close to the side panel or other components, utilize the toolless adjustment feature to move the holder horizontally (up to 65mm) or towards the motherboard (up to 30mm).
- For Micro-ATX cases, confirm the M-ATX bracket has been removed if necessary.
- Ensure your CPU cooler does not interfere with the vertically mounted GPU.
- GPU Sagging:
- While the holder is reinforced, extremely heavy GPUs or specific case designs might still exhibit minor sag. Ensure all mounting screws are tightened. Consider additional GPU support brackets if persistent.
7. Specifications
| Feature | Detail |
|---|---|
| Model Name | Vertical GPU Card Holder Kit V3 Black |
| Model Number | MCAU000RKFVK03 |
| Brand | Cooler Master |
| Color | Black |
| Material | Alloy Steel |
| PCIe Version | PCIe 4.0 x16 (compatible with PCIe 3.0 and 5.0) |
| Riser Cable Length | 165mm |
| Adjustability (Horizontal) | Up to 65mm |
| Adjustability (Towards Side Panel) | Up to 30mm |
| Compatible Case Types | E-ATX, ATX, Micro-ATX (with removable bracket) |
| Product Dimensions | 9.8 x 5.83 x 5.58 inches |
| Item Weight | 2.54 Pounds (1.15 Kilograms) |
8. Warranty and Support
Cooler Master products are backed by a manufacturer's warranty. For specific warranty terms and conditions, please refer to the official Cooler Master website or the warranty card included with your product.
For technical support, troubleshooting assistance, or to inquire about replacement parts, please contact Cooler Master customer service through their official website:
You can also refer to the official user manual available as a PDF document:


