
1. Product Overview
The IDIMEX Tequila Shoe Cabinet is a functional and stylish furniture piece designed for shoe storage. Featuring a Mexican-style design, it is constructed from solid pine wood with a gray and brown stained finish, allowing the natural wood grain to remain visible. It includes two large tilt-out compartments, each equipped with an internal divider, providing storage for approximately 8 pairs of shoes up to size 44. Decorative black lacquered steel handles and nails complement its rustic aesthetic.

Figure 1: Front view of the IDIMEX Tequila Shoe Cabinet in its closed position, showcasing its two tilt-out compartments and decorative handles.

Figure 2: The shoe cabinet integrated into a hallway or entryway setting, demonstrating its compact design and aesthetic appeal.
2. Safety Information
Warning: Assembly is required for this product. Please follow the included assembly instructions carefully to prevent personal injury or damage to the product. Ensure all components are securely fastened before use. Do not allow children to climb on or play with the cabinet. For stability, it is recommended to secure the cabinet to a wall, especially in households with children or pets. Wall mounting hardware may not be included and should be chosen based on your wall type.
3. Package Contents
Before beginning assembly, verify that all parts are present and undamaged. The package typically includes:
- Shoe cabinet components (disassembled)
- Assembly hardware (screws, dowels, etc.)
- Assembly instructions manual
Note: Decorative items shown in product images are not included.
4. Setup and Assembly
The IDIMEX Tequila Shoe Cabinet is delivered in disassembled parts and requires assembly. A detailed assembly manual is included in the package to guide you through the process. Follow the step-by-step instructions provided in the manual for easy and correct assembly.
- Unpack all components and lay them out on a clean, soft surface to prevent scratches.
- Identify each part using the diagrams in the assembly manual.
- Assemble the main frame of the cabinet according to the instructions.
- Attach the tilt-out compartments and their internal dividers.
- Install the decorative handles and any other hardware.
- Once assembled, place the cabinet in its desired location. Consider securing it to a wall for added stability.

Figure 3: Diagram showing the overall dimensions of the shoe cabinet: 95 cm (Height) x 73 cm (Width) x 26 cm (Depth).

Figure 4: Top view of the cabinet, highlighting the solid pine wood construction and finish.
5. Operating Instructions
The IDIMEX Tequila Shoe Cabinet is designed for straightforward use.
- Opening Compartments: Gently pull the decorative handle on each compartment to tilt it open. The compartments are designed to tilt forward, providing easy access to your shoes.
- Storing Shoes: Place shoes into the internal dividers within each tilt-out compartment. Each compartment can hold approximately 4 pairs of shoes, totaling 8 pairs for the entire cabinet. Ensure shoes are clean and dry before storage.
- Closing Compartments: Push the compartment back into the cabinet until it is fully closed and flush with the cabinet front.

Figure 5: The upper compartment tilted open, showing shoes stored within the internal divider.

Figure 6: Both tilt-out compartments are open, illustrating the full storage capacity and design.
6. Maintenance
To ensure the longevity and appearance of your IDIMEX Tequila Shoe Cabinet, follow these maintenance guidelines:
- Cleaning: Wipe the cabinet surfaces with a soft, damp cloth. Avoid using harsh chemicals, abrasive cleaners, or excessive moisture, as these can damage the wood finish.
- Dusting: Regularly dust the cabinet with a dry, soft cloth to prevent dust buildup.
- Spills: Immediately wipe up any spills to prevent staining or water damage to the wood.
- Sunlight Exposure: Avoid prolonged exposure to direct sunlight, which can cause fading or discoloration of the wood finish.
- Hardware: Periodically check all screws and fittings to ensure they are tight. Tighten if necessary.
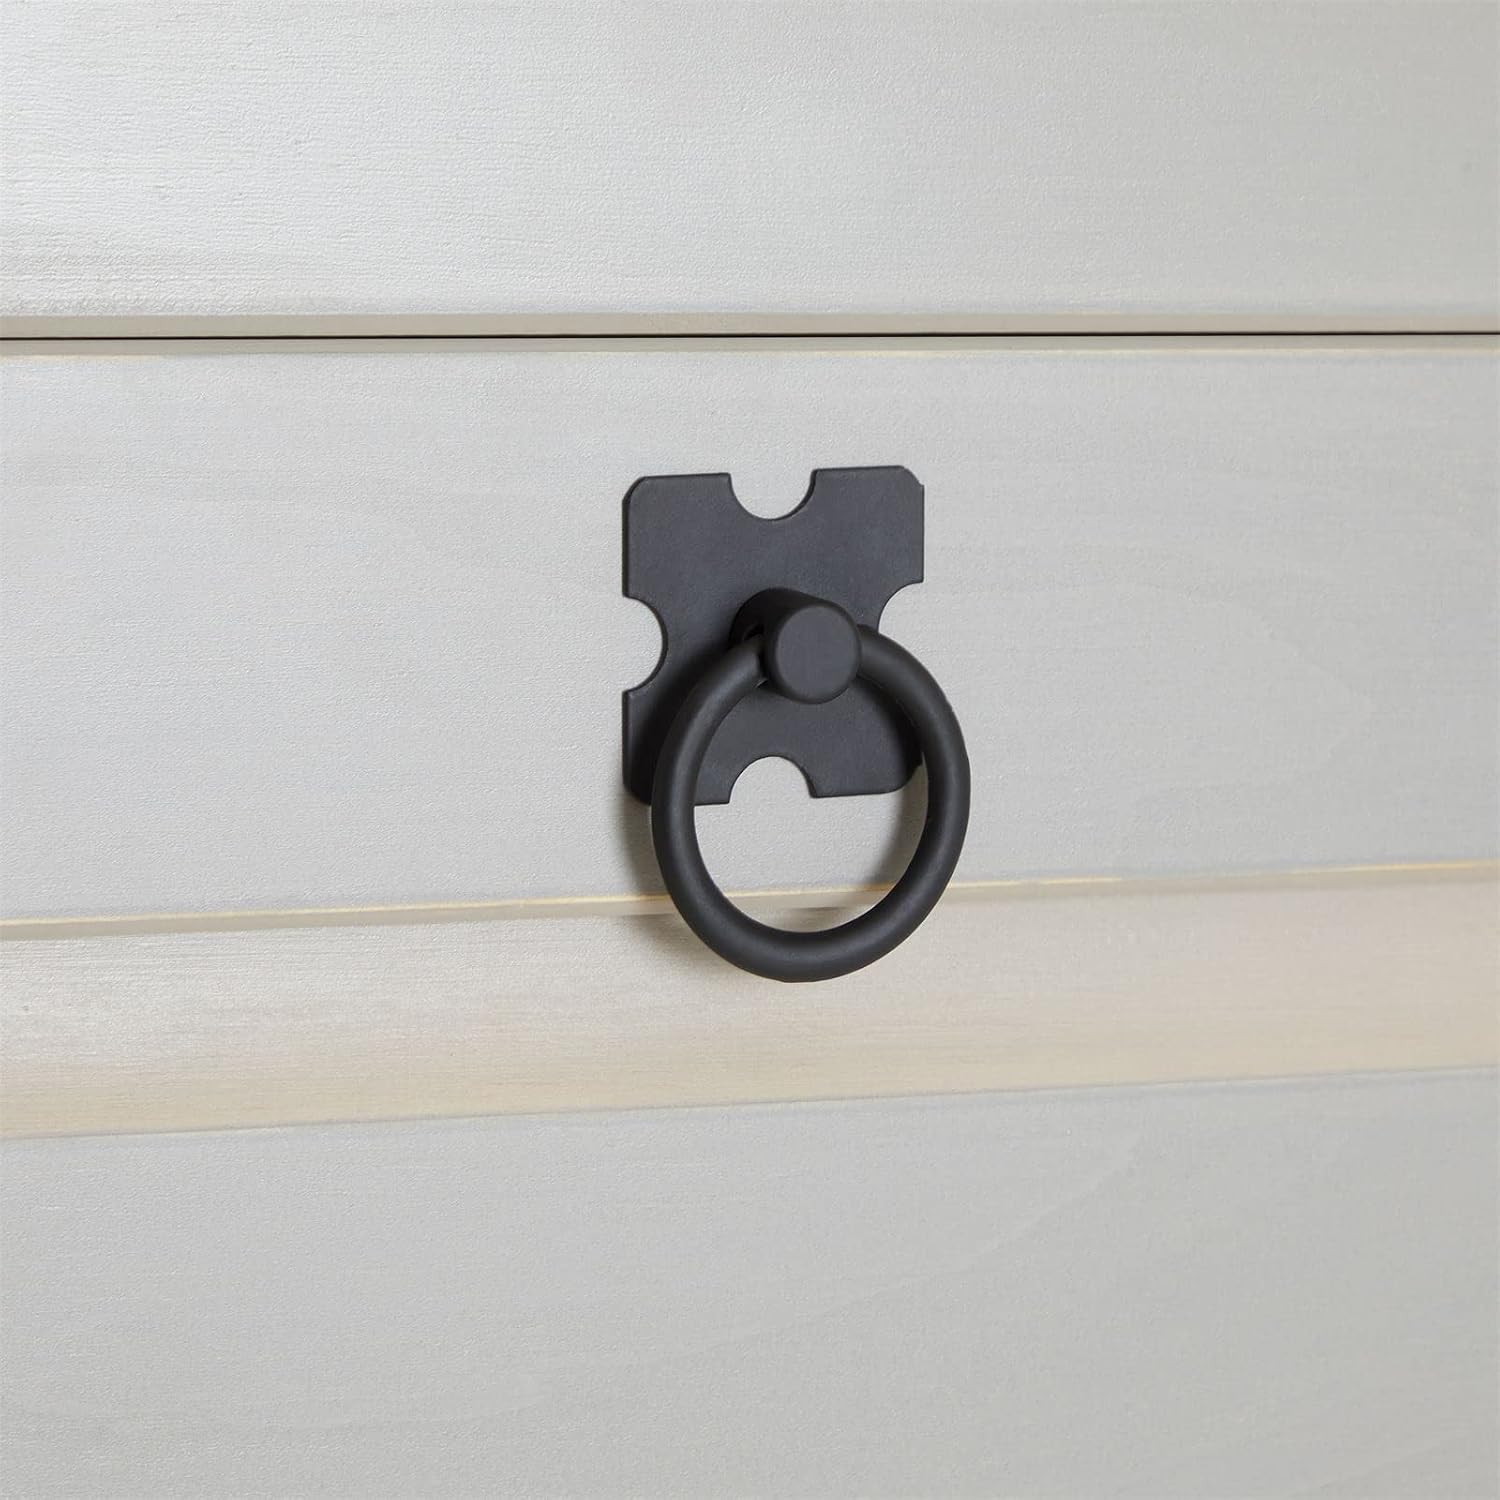
Figure 7: Detail of the black lacquered steel handle, which should be kept clean and checked for tightness.

Figure 8: Close-up of the cabinet's base, showing the craftsmanship and finish.
7. Troubleshooting
This section addresses common issues you might encounter with your shoe cabinet.
- Compartments not closing properly: Check for any obstructions (e.g., shoes too large, items caught) preventing the compartment from closing fully. Ensure all assembly screws are tight and the cabinet is level.
- Cabinet feels wobbly: Verify that all assembly hardware is securely tightened. If the issue persists, ensure the cabinet is placed on a flat, even surface. Wall mounting is highly recommended for increased stability.
- Scratches or minor damage: For minor scratches on the wood, a wood repair kit or furniture marker matching the finish can be used. Consult a professional for significant damage.
8. Specifications
| Feature | Specification |
|---|---|
| Model Number | 81323 |
| Dimensions (H x W x D) | 95 cm x 73 cm x 26 cm (37.4 x 28.7 x 10.2 inches) |
| Weight | 14.93 kg (32.9 lbs) |
| Material | Solid Pine Wood, Metal (handles) |
| Color | Gray/Brown stained finish |
| Number of Compartments | 2 (tilt-out) |
| Shoe Capacity | Approx. 8 pairs |
| Max. Shoe Size | EU 44 (US Men's 10.5 / US Women's 12) |
| Assembly Required | Yes |
| Installation Type | Freestanding (wall mounting recommended) |
9. Warranty and Support
For warranty information, please refer to the documentation provided with your purchase or contact the retailer. For product support, assembly assistance, or to report missing/damaged parts, please contact IDIMEX customer service through their official website or the retailer where the product was purchased. Please have your model number (81323) and proof of purchase ready when contacting support.