
Introduction
Thank you for choosing the SUNAPEX 12V Solar Battery Charger. This portable and waterproof solar panel kit is designed to efficiently charge and maintain 12V rechargeable batteries, ensuring optimal performance and extended lifespan for your vehicles and outdoor equipment. Its built-in charge controller prevents overcharging, providing a safe and reliable power solution.
Safety Information
Please read all safety instructions carefully before using the product. Failure to follow these instructions may result in electric shock, fire, or serious injury.
- Ensure the solar panel is clean and free from obstructions for optimal performance.
- Do not attempt to open or modify the solar panel or its components.
- Keep the product away from open flames, excessive heat, and corrosive materials.
- Always connect the solar panel to a 12V battery. Connecting to other voltage batteries may cause damage.
- Ensure proper polarity when connecting the alligator clips to the battery terminals (red to positive, black to negative).
- The built-in controller prevents overcharging, but it is recommended to monitor the charging process.
Product Components
The SUNAPEX 12V Solar Battery Charger kit includes the following items:
- SUNAPEX 8W Solar Panel with built-in charge controller
- 12V Cigarette Lighter Plug Adapter
- Alligator Clips Adapter
- Suction Cups (4x) for mounting

Image: The SUNAPEX 8W solar panel, showing the panel itself, four suction cups for mounting, a 12V cigarette lighter plug, and a set of red and black alligator clips for direct battery connection.
Setup
Initial Setup and Placement
The SUNAPEX solar panel is designed for easy installation and portability. Follow these steps for optimal setup:
- Choose a Location: Place the solar panel in a location that receives maximum direct sunlight throughout the day. This can be on a car dashboard, window, or any flat surface.
- Secure the Panel: Use the provided suction cups to firmly attach the solar panel to a clean, smooth surface, such as a car windshield or window. Ensure it is stable and will not fall.
- Connect to Battery:
- Option 1 (Cigarette Lighter): Insert the 12V cigarette lighter plug into your vehicle's cigarette lighter socket. This is suitable for maintaining the battery while the vehicle is off.
- Option 2 (Alligator Clips): Connect the red alligator clip to the positive (+) terminal of your 12V battery and the black alligator clip to the negative (-) terminal. Ensure a secure connection.

Image: A person demonstrating the easy installation of the solar panel by attaching it to a car window using suction cups, with the cables connected to the car battery.
Operating Instructions
Charging Process and Indicators
Once the solar panel is properly connected and exposed to sunlight, it will begin charging your 12V battery. The built-in controller manages the charging process to prevent overcharging and battery drain.
- Sunlight Detection: The solar panel features a red indicator light that illuminates when sufficient sunlight is detected and the panel is generating power.
- Charging Status: A green indicator light will illuminate when the battery is actively being charged. When the battery reaches full capacity, the controller will automatically stop charging, and the green light may turn off or change behavior depending on the charge state. Charging will resume automatically if the battery voltage drops.
- Stable Output: The amorphous material of the solar panel allows it to provide a stable output even in cloudy or low-light conditions, ensuring continuous battery maintenance.

Image: A close-up view of the solar panel's edge, highlighting the red LED indicator for 'Sunlight Detected' and the green LED indicator for 'Charging'.
Battery Compatibility
The SUNAPEX solar battery charger is compatible with a wide range of 12V rechargeable battery types, including:
- Sealed Lead-Acid (SLA)
- Lithium (Li)
- LiFePO4
- GEL
- Absorbed Glass Mat (AGM)
- Flooded batteries
It is suitable for maintaining batteries in various applications such as cars, boats, RVs, trailers, motorcycles, lawnmowers, and other automotive or outdoor electronics.

Image: The solar panel connected to different types of 12V batteries, including GEL, Lithium, Flooded, SLD, and AGM, illustrating its broad compatibility.
Maintenance
The SUNAPEX solar panel is designed for durability and requires minimal maintenance. Follow these guidelines to ensure its longevity:
- Cleaning: Periodically wipe the surface of the solar panel with a soft, damp cloth to remove dust, dirt, or debris that may reduce efficiency. Do not use abrasive cleaners or harsh chemicals.
- Inspection: Regularly inspect the cables and connectors for any signs of wear, damage, or corrosion. Ensure connections remain secure.
- Storage: When not in use for extended periods, store the solar panel in a cool, dry place away from direct sunlight and extreme temperatures.
- Durability: The high-strength PV glass surface and sturdy ABS frame are built to withstand harsh weather conditions, including rain, wind, snow, and hail. The panel is fully sealed and waterproof (IP67 rated).
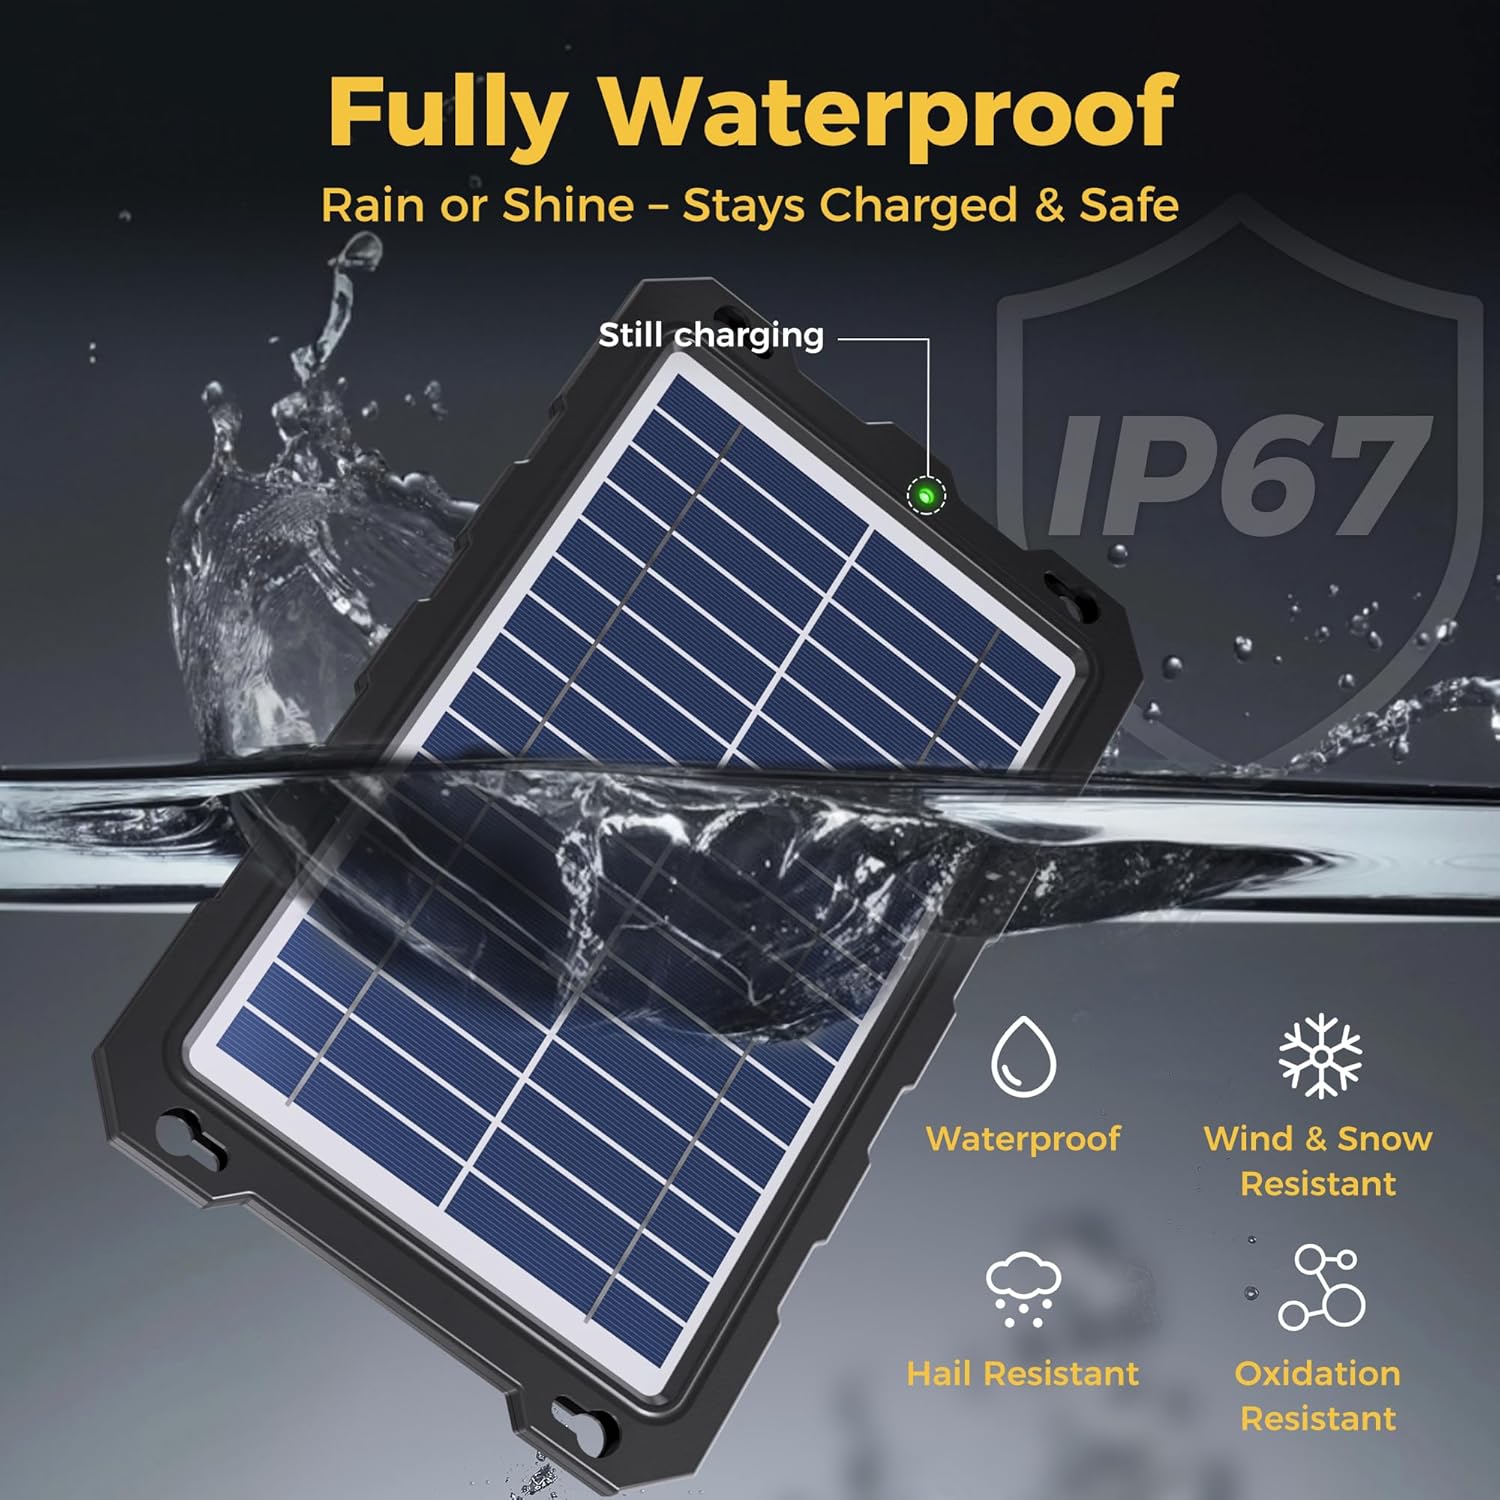
Image: The solar panel partially submerged in water, demonstrating its IP67 waterproof rating and ability to function in wet conditions.

Image: A person's foot stepping on the solar panel, illustrating its durable and anti-shatter construction.
Troubleshooting
If you encounter issues with your SUNAPEX solar battery charger, refer to the table below for common problems and solutions:
| Problem | Possible Cause | Solution |
|---|---|---|
| No indicator lights on. | No sunlight, poor connection, or faulty battery. | Ensure panel is in direct sunlight. Check all connections. Verify battery is 12V and not completely dead. |
| Red light on, but green light off. | Sunlight detected, but battery is fully charged or not connected properly. | This is normal if the battery is full. Check battery connections if you expect it to be charging. |
| Battery not charging effectively. | Insufficient sunlight, dirty panel, or incorrect battery type. | Relocate panel to direct sunlight. Clean the panel surface. Ensure battery is a compatible 12V type. |
| Panel appears damaged. | Physical impact or extreme conditions. | Discontinue use if physical damage is severe. Contact customer support for warranty information. |
Specifications
| Feature | Detail |
|---|---|
| Product Dimensions | 15 x 9 x 2 inches |
| Item Weight | 1.2 pounds |
| Manufacturer | SUNAPEX |
| Item Model Number | SOLAR PANEL |
| Brand | SUNAPEX |
| Color | Black, Red |
| Output Voltage | 12 Volts (DC) |
| Wattage | 8W |
| Waterproof Rating | IP67 |
| Certifications | UL, CE, FCC, IEC, RoHS |
Warranty and Support
SUNAPEX offers a one-year warranty for this solar panel kit, covering manufacturing defects and malfunctions under normal use. We are committed to providing reliable products and excellent customer service.
For technical assistance, warranty claims, or any inquiries, please do not hesitate to reach out to our customer service team. We provide lifetime technical support and aim for prompt responses to ensure your satisfaction.
Customer Service: Available 24/7 (Contact details typically found on product packaging or official website).