
1. Introduction
Thank you for purchasing the AFEXOA M9 Alarm Clock with Light. This device combines a wake-up light, alarm clock, white noise machine, and bedside lamp with a USB charging station. Please read this manual carefully to ensure proper use and to fully understand its features.
1.1 Package Contents
- AFEXOA M9 Alarm Clock with Light
- USB Power Cable
- Remote Control
- User Manual
2. Safety Instructions
- Do not expose the device to water or excessive humidity.
- Do not disassemble or attempt to repair the device yourself.
- Use only the provided power cable or a compatible 5V USB power adapter.
- Keep the device away from heat sources and direct sunlight.
- Clean the device with a soft, dry cloth. Do not use abrasive cleaners.
- Ensure proper ventilation around the device.
3. Product Features Overview
The AFEXOA M9 is a versatile device designed to enhance your sleep and wake-up experience. It integrates multiple functions into a single unit.
3.1 Key Features
- Sunrise Simulation: Gradually increasing light to simulate natural sunrise for a gentle wake-up.
- Multiple Alarm Modes: Daily, Weekday, and Weekend alarm settings.
- Snooze Function: Allows for additional sleep time after the alarm.
- Soothing Alarm Sounds: Six natural sounds to complement the wake-up light.
- Adjustable Light Colors: Seven color options (yellow, red, purple, blue, indigo, green, cyan) with touch control.
- Dimmable Nightlight: Five brightness levels (20%-100%) suitable for various activities.
- Sleep Aid Sounds: Ten white noise and natural sound options with adjustable volume.
- Auto-Off Timer: For sleep aid sounds (15m, 30m, 60m, 90m).
- USB Charging Station: Convenient port for charging mobile devices.
- Dimmable Display: 0-100% adjustable brightness for the time and temperature display.
- Temperature Display: Shows room temperature in Celsius or Fahrenheit.
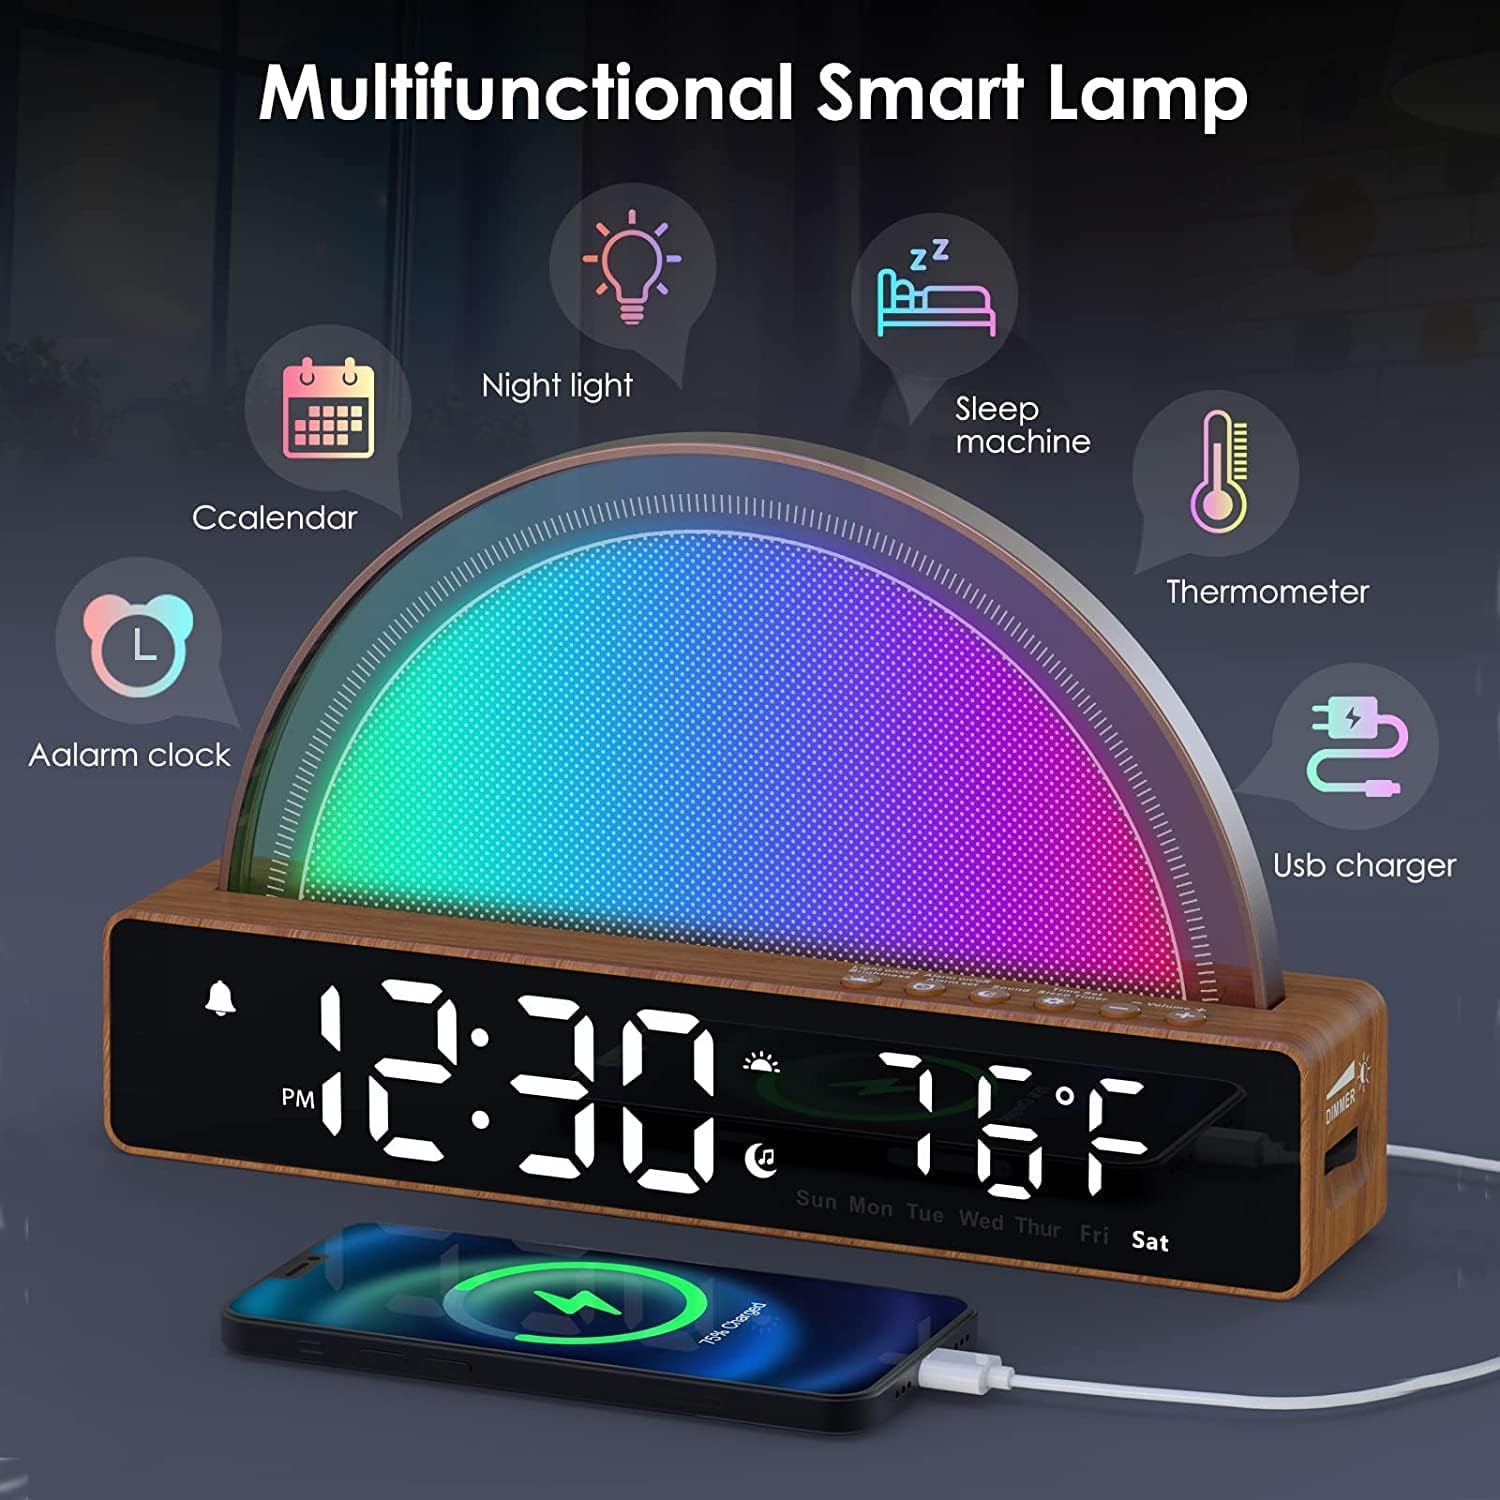
Image: Overview of the AFEXOA M9's multifunctional capabilities, including night light, sleep machine, thermometer, USB charger, calendar, and alarm clock.
4. Setup
4.1 Power Connection
- Connect the provided USB power cable to the DC 5V input port on the back of the alarm clock.
- Plug the other end of the USB cable into a compatible USB power adapter (not included) and then into a wall outlet.
- The display will light up, indicating the device is powered on.
4.2 Initial Time Setting
Upon first power-on or after a power interruption, you may need to set the current time. Refer to Section 5.1 for detailed time setting instructions.
5. Operating Instructions
5.1 Setting the Time
- Press and hold the "Time Set" button (usually indicated by a clock icon) for 3 seconds to enter time setting mode.
- Use the "+" and "-" buttons to adjust the hour. Press "Time Set" again to confirm and move to minutes.
- Use the "+" and "-" buttons to adjust the minutes. Press "Time Set" again to confirm and move to 12/24-hour format.
- Use the "+" and "-" buttons to select 12-hour or 24-hour format. Press "Time Set" to confirm.
- Continue to set the year, month, and day using the same method.
- Press "Time Set" one last time to exit the setting mode.
5.2 Setting Alarms
The device supports three alarm modes: Daily, Weekday, and Weekend.

Image: Illustration of the three alarm modes (Daily, Weekday, Weekend) and the snooze function, along with options for 6 alarm sounds and 1-5 volume levels.
- Press the "Alarm" button (usually indicated by an alarm clock icon) to select Alarm 1, Alarm 2, or Alarm 3.
- Press and hold the "Alarm" button for 3 seconds to enter the setting mode for the selected alarm.
- Use the "+" and "-" buttons to set the alarm hour, then press "Alarm" to confirm.
- Use the "+" and "-" buttons to set the alarm minutes, then press "Alarm" to confirm.
- Select the alarm sound (6 options available) and volume level (1-5) using the "+" and "-" buttons, confirming each with "Alarm".
- Choose the alarm mode: Daily (all 7 days), Weekday (Mon-Fri), or Weekend (Sat-Sun). Confirm with "Alarm".
- To activate/deactivate an alarm, short press the "Alarm" button until the alarm icon appears/disappears on the display.
5.3 Sunrise Simulation and Light Functions

Image: Depicts the sunrise alarm clock feature, showing the light gradually increasing from red to yellow, designed for natural wake-up for heavy sleepers and children.
- Sunrise Simulation: When an alarm is set, the light will gradually brighten from 5 to 60 minutes before the alarm time, simulating a sunrise. This function can be turned off if only alarm sounds are desired.
- Nightlight/Bedside Lamp: Touch the light panel or press the light button to turn on the light.
- Brightness Adjustment: For white light, there are 5 brightness levels (20%, 40%, 60%, 80%, 100%). Use the dimmer control or corresponding buttons to adjust.
- Color Changing Light: The light offers 7 color changes (yellow, red, purple, blue, indigo, green, cyan). Touch the light panel or use the remote control to cycle through colors or set to automatic color cycling.

Image: Shows the dimmable nightlight feature, illustrating 5 brightness levels from 20% to 100%, suitable for sleeping, relaxing, lighting, or breastfeeding.

Image: Demonstrates the multicolor adjustable light feature, showing various colors (yellow, orange, red, green, blue, indigo, purple, cyan) controlled by touch, with adjustable brightness from 20% to 100%.
5.4 Sleep Aid Sounds and Timer

Image: Illustrates the sleep aid function with an auto-off timer (15m, 30m, 60m, 90m) and various white noises and natural sounds (White Noise, Fire, Wind, Stream, Lullaby, Raining, Piano, Bird) with 10 volume levels.
- Press the "Sound" button (often indicated by a music note icon) to cycle through the 10 available white noise and natural sounds.
- Use the "+" and "-" buttons to adjust the volume level (1-10).
- To set an auto-off timer, press the "Timer" button (usually indicated by a clock with an arrow). Cycle through 15 minutes, 30 minutes, 60 minutes, or 90 minutes. The sound will automatically turn off after the selected duration.
- To turn off the sleep aid sound manually, press the "Sound" button until it is off, or press the "Timer" button until no timer is selected.
5.5 USB Charging Function
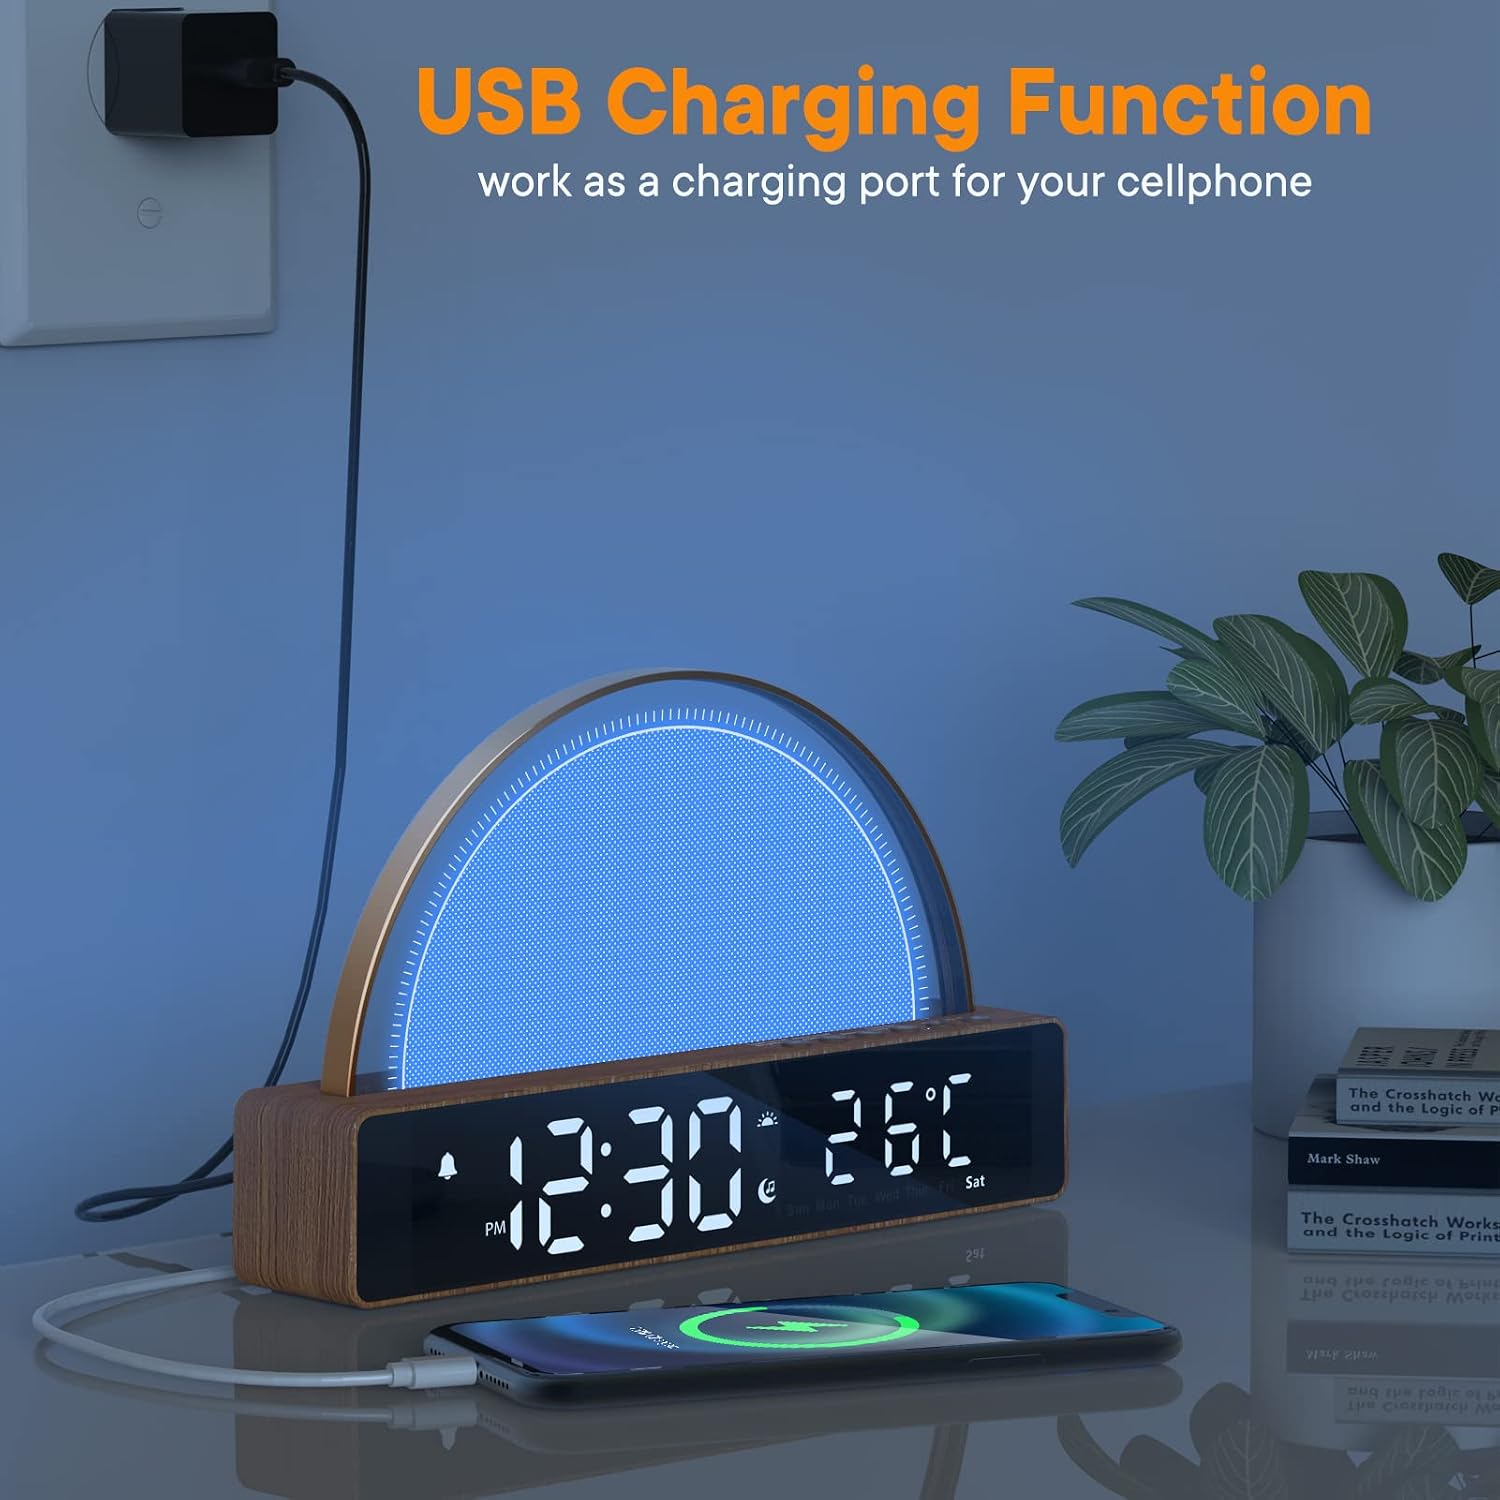
Image: Shows the USB charging function, with a smartphone connected to the alarm clock's USB port for charging.
The AFEXOA M9 features a USB output port on the side, allowing you to charge your mobile phone or other USB-powered devices. Simply connect your device's charging cable to the USB port on the alarm clock.
5.6 Display Brightness and Modes

Image: Illustrates the 0-100% dimmable display and four display modes: Alarm+Temperature (Celsius), Alarm+Date, Alarm+Temperature (Fahrenheit), and Alarm+Timer.
- Display Brightness: Use the "Dimmer" knob or dedicated buttons to adjust the display brightness from 0% (off) to 100%.
- Display Modes: The display can cycle through different information modes, such as:
- Time and Temperature (Celsius)
- Time and Date
- Time and Temperature (Fahrenheit)
- Time and Timer (if active)
6. Maintenance
- Cleaning: Wipe the device with a soft, dry, lint-free cloth. Do not use liquid cleaners, aerosols, or solvents.
- Storage: If storing the device for an extended period, disconnect it from power and store it in a cool, dry place.
- Avoid Impact: Protect the device from drops and impacts, which can damage internal components.
7. Troubleshooting
| Problem | Possible Solution |
|---|---|
| Device does not power on. | Ensure the USB power cable is securely connected to both the device and a working power outlet. Try a different USB adapter or outlet. |
| Alarm does not sound or light up. | Verify that the alarm is activated (alarm icon visible on display) and the alarm time is correctly set. Check alarm volume. |
| Light is not changing colors. | Ensure the device is in color-changing mode. Some modes may only display white light. |
| USB charging is not working. | Check if the device is properly powered. Ensure the charging cable for your mobile device is functional and correctly connected. |
| Display is too bright/dim. | Adjust the display brightness using the dimmer control or dedicated buttons. |
8. Specifications
| Parameter | Value |
|---|---|
| Model Number | M9 |
| Brand | AFEXOA |
| Power Source | Corded Electric |
| Input Voltage | 5 Volts |
| Wattage | 5 watts |
| Light Source Type | LED |
| Control Method | Touch |
| Item Weight | 460 Grams |
| Shade Material | Plastic |
| Connectivity Technology | USB |
| Indoor/Outdoor Usage | Indoor |

Image: Energy label for the AFEXOA M9, indicating energy efficiency class G and 5 kWh/1000h consumption.
For detailed product information, please refer to the EPREL database.
9. Warranty and Support
AFEXOA products are designed and manufactured to the highest quality standards. For warranty information or technical support, please contact your retailer or visit the official AFEXOA website. Keep your purchase receipt as proof of purchase.


