
EUGAD
EUGAD Bathroom Mirror Cabinet User Manual
Model: 60x20x75cm Wall-Mounted Cabinet
1. Introduction
Thank you for choosing the EUGAD Bathroom Mirror Cabinet. This manual provides essential information for the safe assembly, operation, and maintenance of your new cabinet. Please read it thoroughly before beginning assembly and keep it for future reference.
This wall-mounted cabinet features a sleek design with a mirror front, offering both storage and reflective utility. It is constructed from durable engineered wood with a protective veneer, designed for bathroom environments.
2. Safety Information
- Always follow assembly instructions carefully.
- Ensure all hardware is securely tightened before use. Periodically check and re-tighten if necessary.
- Do not overload the shelves. Adhere to the specified weight capacities.
- Mount the cabinet securely to a suitable wall structure. Consult a professional if unsure about wall type or mounting methods.
- Keep small parts and packaging materials away from children to prevent choking hazards.
- Avoid exposing the cabinet to excessive moisture or direct water spray to prolong its lifespan.
3. Product Specifications
| Feature | Detail |
|---|---|
| Brand | EUGAD |
| Model Name | Bathroom Mirror Cabinet |
| Dimensions (Depth x Width x Height) | 20 x 60 x 75 cm (7.9 x 23.6 x 29.5 inches) |
| Material | Engineered Wood (E1), Metal Hinges |
| Color | White and Light Oak |
| Adjustable Shelves | 2 shelves, 6 positions (7cm adjustment increments) |
| Mirror Dimensions (each) | 30 x 75 cm (11.8 x 29.5 inches) |
| Weight Capacity (Adjustable Shelves) | 5 kg (11 lbs) per level |
| Weight Capacity (Top/Bottom) | 10 kg (22 lbs) per level |
| Door Mechanism | Magnetic push-open system |
| Mounting Type | Wall-mounted |

Figure 1: Product Dimensions and Weight Capacities.
4. Setup and Assembly
Before starting assembly, ensure all parts are present and undamaged. Refer to the included assembly instructions for detailed, step-by-step guidance. A Phillips head screwdriver and a drill (for wall mounting) are typically required.
4.1. Unpacking and Part Identification
Carefully unpack all components. Lay them out on a clean, soft surface to prevent scratches. Identify each part using the provided parts list in your assembly manual. Hardware is typically organized in labeled bags.
4.2. Cabinet Body Assembly
Follow the numerical sequence in the assembly manual to connect the side panels, top, and bottom panels. Ensure all cam locks and dowels are properly aligned and secured.
4.3. Shelf Installation
Insert the shelf pins into the desired holes on the cabinet sides. The shelves are adjustable to 6 different positions, with 7cm (approximately 2.75 inches) between each position, allowing for flexible storage configurations. Place the adjustable shelves onto the pins.

Figure 2: Adjustable Shelf Mechanism.
4.4. Door and Mirror Attachment
Attach the metal hinges to the cabinet body and then to the mirror doors. Ensure the hinges are aligned correctly for smooth operation. The cabinet features a magnetic push-open system; install the magnetic catches as per the instructions.

Figure 3: Magnetic Push-Open System.

Figure 4: Hardware Details (Shelves, Hinges, Push-Open).
4.5. Wall Mounting
Choose a suitable location on a sturdy wall. Mark the drilling points accurately using the cabinet as a guide or template. Drill pilot holes and insert appropriate wall anchors (if necessary, depending on wall material). Secure the cabinet to the wall using the provided mounting hardware. Ensure it is level and firmly attached before placing items inside.
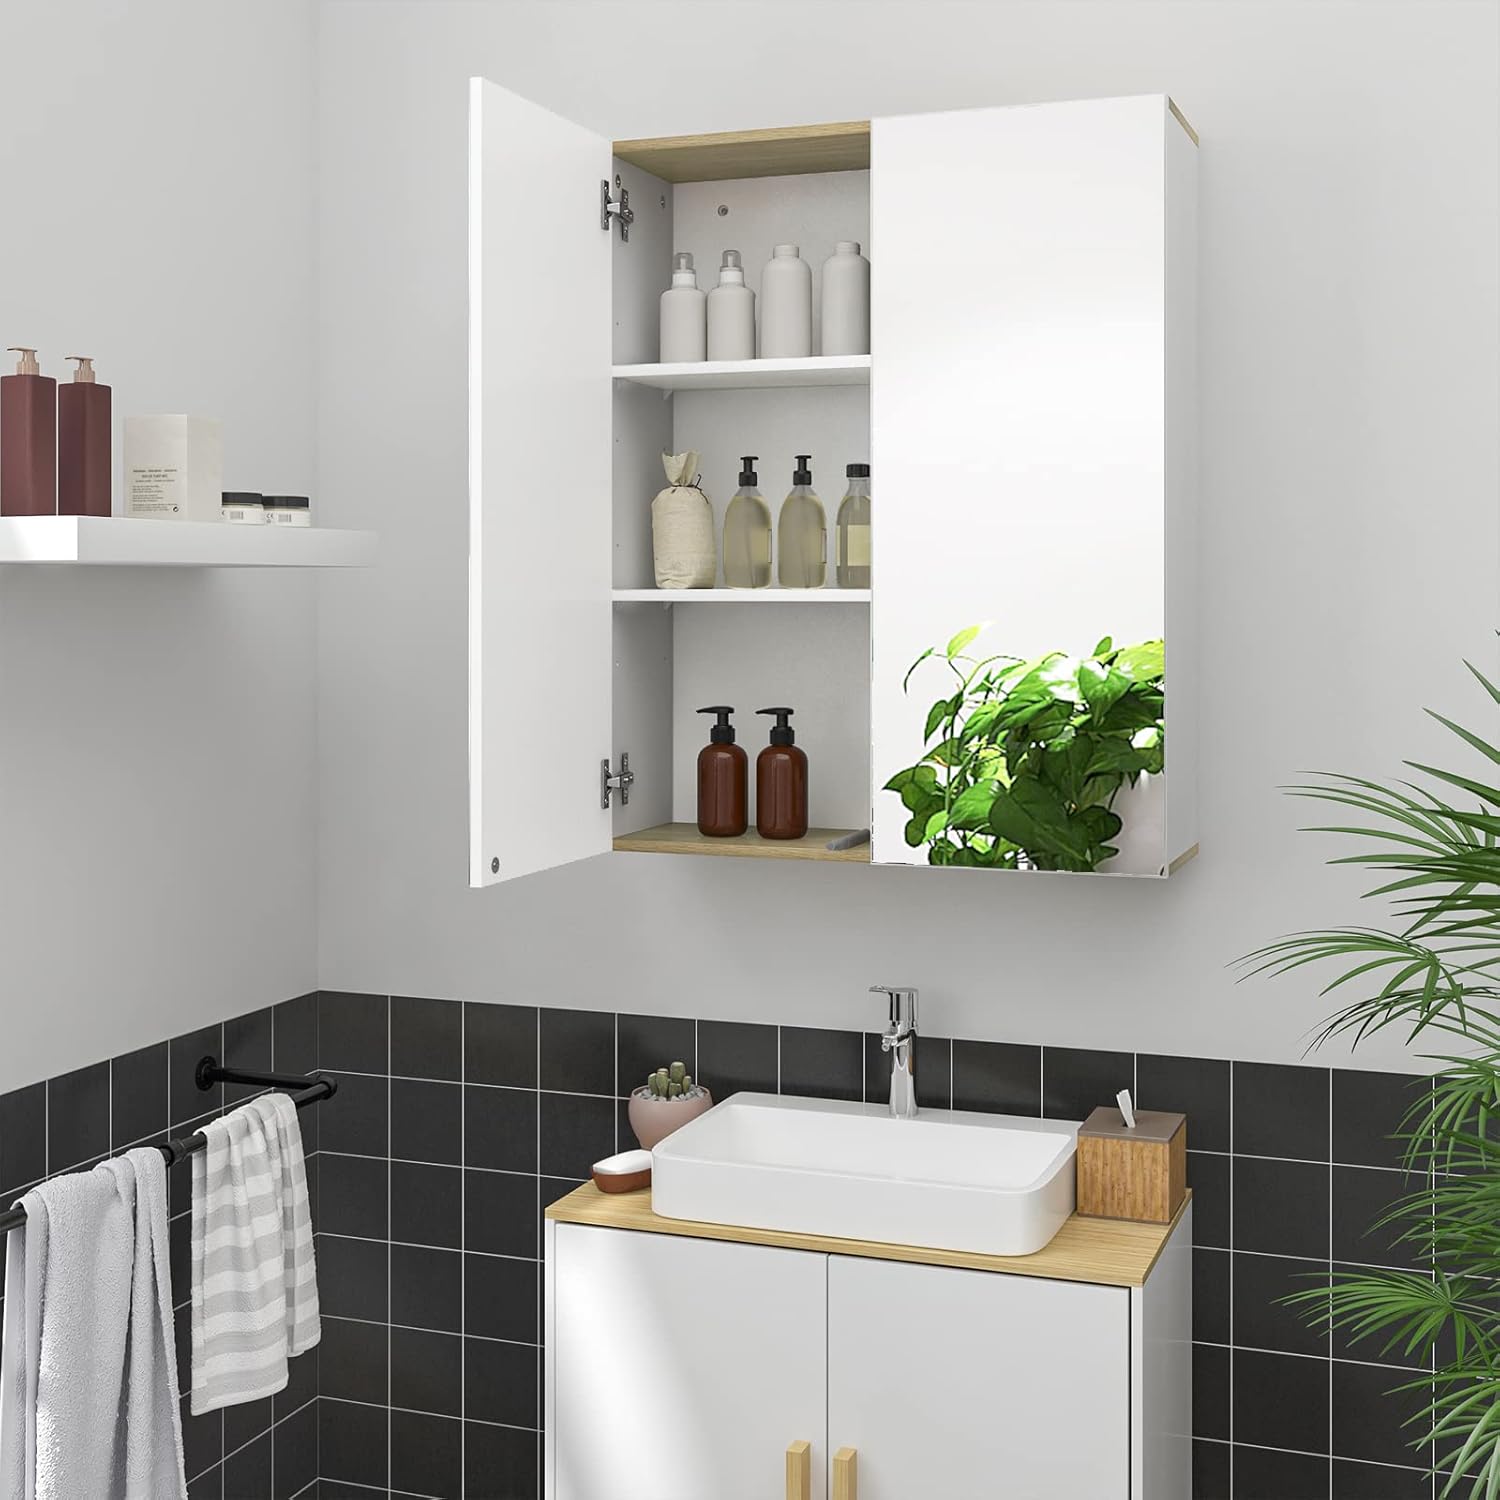
Figure 5: Cabinet Mounted in a Bathroom.
5. Operating Instructions
5.1. Opening and Closing Doors
To open the cabinet doors, gently press on the mirror surface. The magnetic push-open system will release the latch, allowing the doors to swing open. To close, simply push the doors back until the magnetic latch engages.
5.2. Utilizing Storage Space
The cabinet offers three internal compartments. The two adjustable shelves can be repositioned to accommodate items of various heights. Distribute weight evenly across the shelves and adhere to the maximum weight capacities (5 kg per adjustable shelf, 10 kg for top/bottom sections).

Figure 6: Cabinet Interior with Items.

Figure 7: Cabinet Interior (Empty).
5.3. Mirror Functionality
When the doors are closed, the cabinet functions as a full mirror, providing a clear reflection for daily routines. The mirror surface is integrated into the doors for a seamless appearance.

Figure 8: Cabinet as a Mirror.
6. Maintenance and Care
- Cleaning: Wipe the cabinet surfaces with a soft, damp cloth. For the mirror, use a standard glass cleaner. Avoid abrasive cleaners or harsh chemicals that could damage the finish or mirror coating.
- Moisture: While the cabinet is designed for bathroom environments, avoid prolonged exposure to standing water or excessive humidity. Wipe up any spills immediately.
- Hardware: Periodically check all screws and fittings to ensure they remain tight. Re-tighten if necessary to maintain stability and safety.
- Mirror Care: Handle the mirror doors with care to prevent scratches or cracks.
7. Troubleshooting
| Problem | Possible Cause | Solution |
|---|---|---|
| Doors do not close properly. | Misaligned hinges or magnetic catches. | Adjust hinge screws to align doors. Check if magnetic catches are installed correctly and are not obstructed. |
| Cabinet feels wobbly after mounting. | Loose wall mounting screws or inadequate wall anchors. | Ensure all wall mounting screws are fully tightened. Verify that appropriate wall anchors were used for your wall type. Consult a professional if unsure. |
| Shelves are not stable. | Shelf pins not fully inserted or missing. | Ensure all four shelf pins are securely inserted into the designated holes for each shelf. |
| Push-open system not working. | Magnetic catch misaligned or damaged. | Check the alignment of the magnetic catch and the metal plate on the door. Ensure no debris is obstructing the mechanism. |
8. Warranty and Support
Specific warranty information for this product is not provided in the available data. For any questions regarding assembly, missing parts, or product defects, please contact EUGAD customer support directly. Refer to your purchase documentation or the EUGAD official website for contact details.
Manufacturer: EUGAD
Country of Origin: China
Related documents


Ask a question about this manual
Ask about setup, troubleshooting, compatibility, parts, safety, or missing instructions. Manuals+ will review the question and use this page’s manual context to help answer it.