
Bellemave Queen Canopy Bed Frame
Bellemave Queen Canopy Bed Frame: Assembly and Care Manual
Model: Queen Canopy Bed Frame
Introduction
This manual provides detailed instructions for the assembly, operation, and maintenance of your Bellemave Queen Canopy Bed Frame. Please read all instructions carefully before beginning assembly and retain this manual for future reference.
Important Safety Information
WARNING: Always follow the assembly instructions carefully to prevent instability or collapse. Be cautious when handling the bed frame to avoid injury from sharp edges or pinch points.
- Ensure all bolts and screws are securely tightened before use.
- Do not allow children to climb on the bed frame during assembly or before it is fully secured.
- Regularly check all connections to ensure they remain tight.
- Do not exceed the recommended weight capacity (refer to specifications).
Package Contents
Your Bellemave Queen Canopy Bed Frame package includes all necessary parts and hardware for assembly. Please verify that all components are present and undamaged before proceeding. All parts are clearly labeled for easy identification.
No additional tools are required for assembly as all necessary tools are included.
Assembly Instructions
Follow these steps to assemble your Bellemave Queen Canopy Bed Frame. It is recommended that two people assemble the bed frame for ease and safety, though one person can complete the assembly.
Step 1: Unpack and Identify Components
Carefully unpack all components from the box. Lay them out on a clean, soft surface to prevent scratches. Identify each part using the labels provided.

Image: All components of the Bellemave Queen Canopy Bed Frame laid out before assembly, showing the metal frame pieces and canopy posts.
Step 2: Assemble the Base Frame
Connect the side rails and crossbars to form the main rectangular base of the bed frame. Ensure all connections are finger-tightened initially. The integrated structure is designed for stability.

Image: The base frame of the Bellemave Queen Canopy Bed Frame partially assembled, showing the headboard, footboard, and side rails connected.
Step 3: Install Slats and Anti-Noise Features
Place the metal slats across the frame. The frame incorporates an anti-noise plastic plug design to ensure a quiet sleeping environment. Ensure these plugs are properly seated in the grooves to prevent movement and noise.

Image: A close-up view illustrating the anti-noise plastic plug design, showing how it fits snugly into the frame's groove to prevent noise.
Additionally, the bed frame features an anti-scratch gasket design on the feet to protect your floors. Ensure these gaskets are correctly positioned.
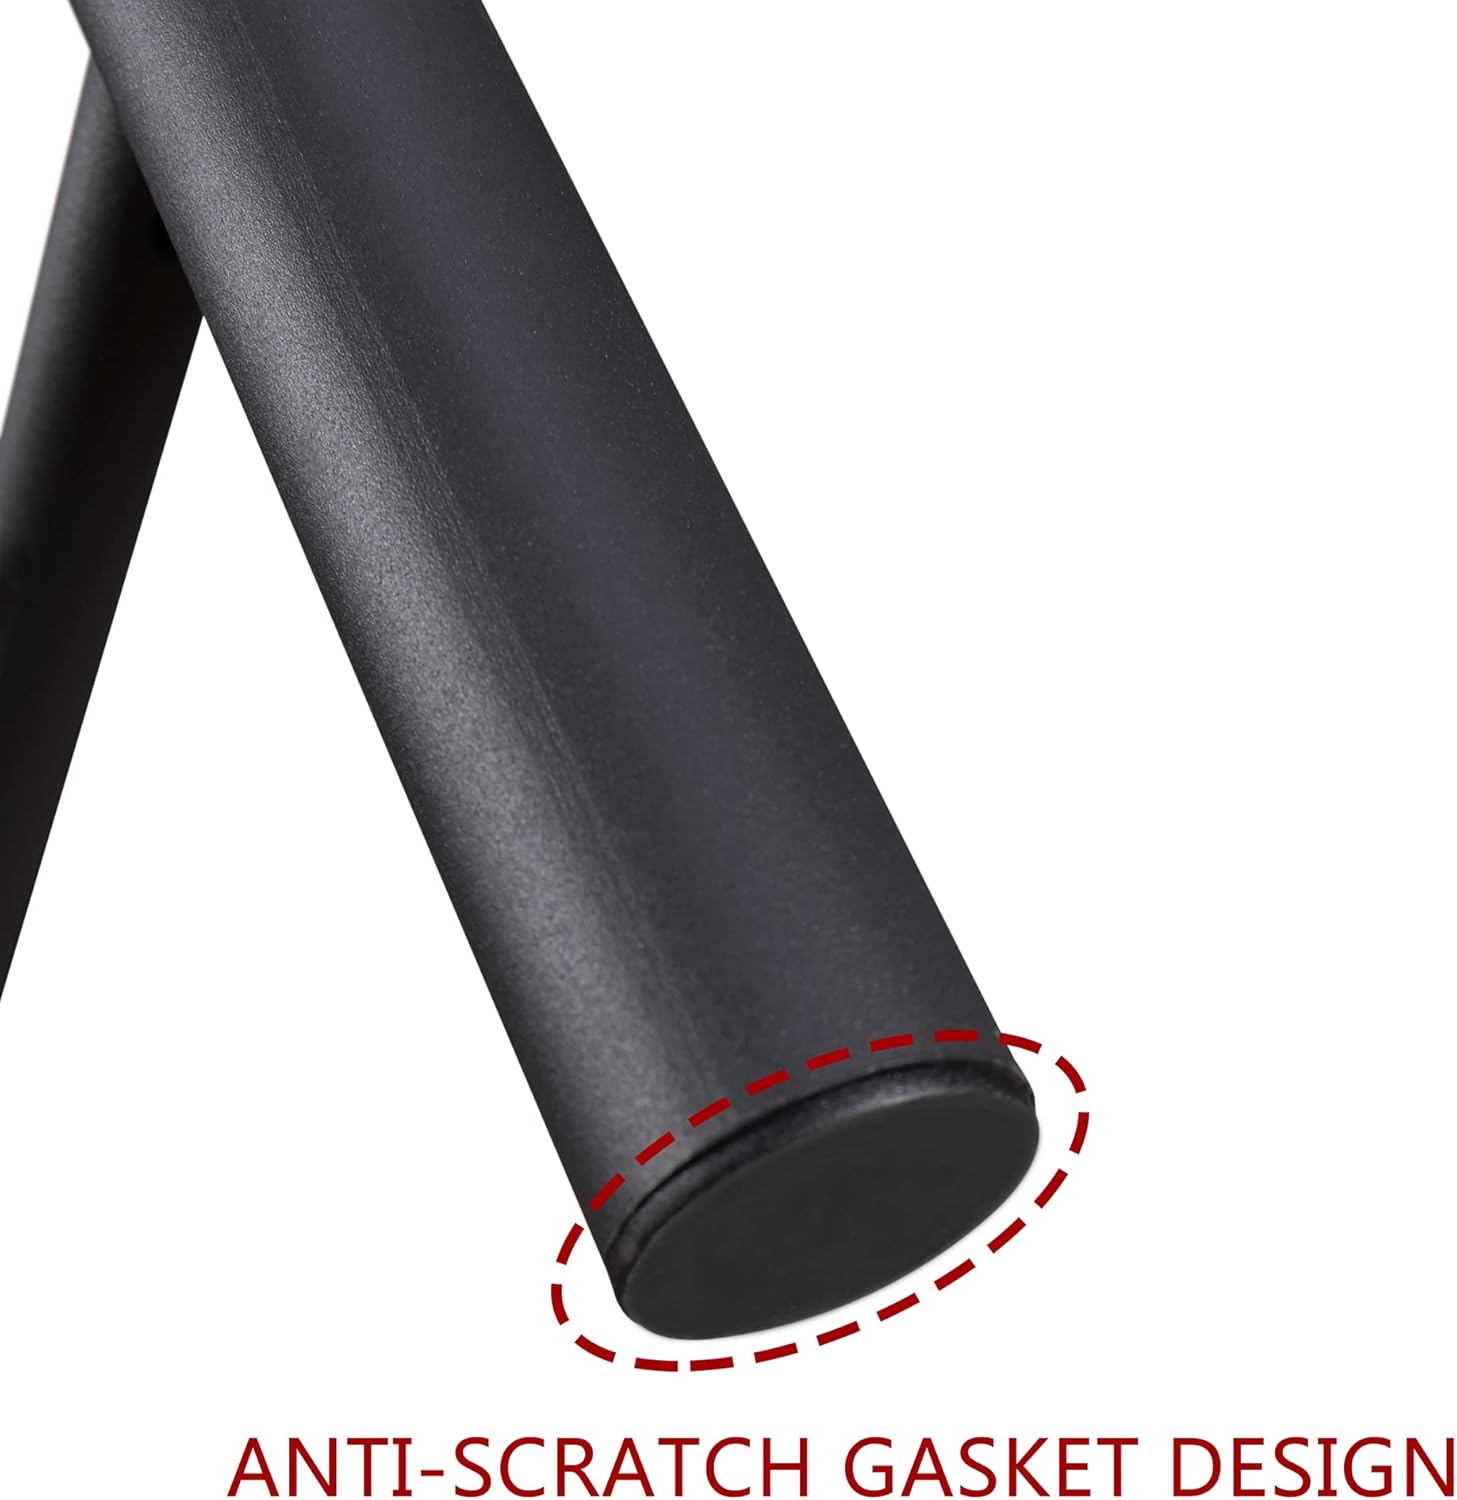
Image: A close-up view of the anti-scratch gasket design located at the bottom of a bed frame leg, designed to protect flooring.
Step 4: Attach Canopy Posts
Securely attach the four vertical canopy posts to the corners of the bed frame. Then, connect the horizontal canopy bars to complete the canopy structure. Once all parts are in place, fully tighten all bolts and screws using the provided tool.
Usage and Operation
Mattress Placement
This Bellemave bed frame is designed to be used without a box spring. Simply place your Queen-sized mattress directly onto the assembled metal slats. The sturdy metal frame provides ample support.
Canopy Decoration
The canopy structure allows for various decorative options. You can drape bed curtains, lace fabric, or string lights to personalize your sleeping space. Ensure any decorations are securely attached and do not interfere with the structural integrity or safety of the bed.

Image: The Bellemave Queen Canopy Bed Frame shown with decorative curtains and string lights, illustrating customization possibilities.
Care and Maintenance
- Cleaning: Wipe the metal frame with a soft, damp cloth. Avoid using harsh chemicals or abrasive cleaners, as these can damage the finish.
- Inspection: Periodically check all bolts and connections to ensure they remain tight. Re-tighten if necessary to maintain stability and prevent noise.
- Moving: When moving the bed frame, lift it rather than dragging it to prevent damage to the frame and your flooring.
Troubleshooting
| Problem | Possible Cause | Solution |
|---|---|---|
| Bed frame shakes or is unstable | Loose bolts or connections. Uneven floor surface. | Ensure all bolts are fully tightened. Check if the bed is on a level surface; use shims if necessary. |
| Squeaking or noise from the frame | Loose connections. Slats not properly seated. Anti-noise plugs dislodged. | Re-tighten all bolts. Verify that all metal slats are correctly positioned and the anti-noise plastic plugs are securely in place. |
| Difficulty assembling parts | Parts misaligned. Incorrect orientation. | Refer to the assembly diagrams and ensure parts are oriented correctly. Do not force components; gently adjust alignment. |
Product Specifications
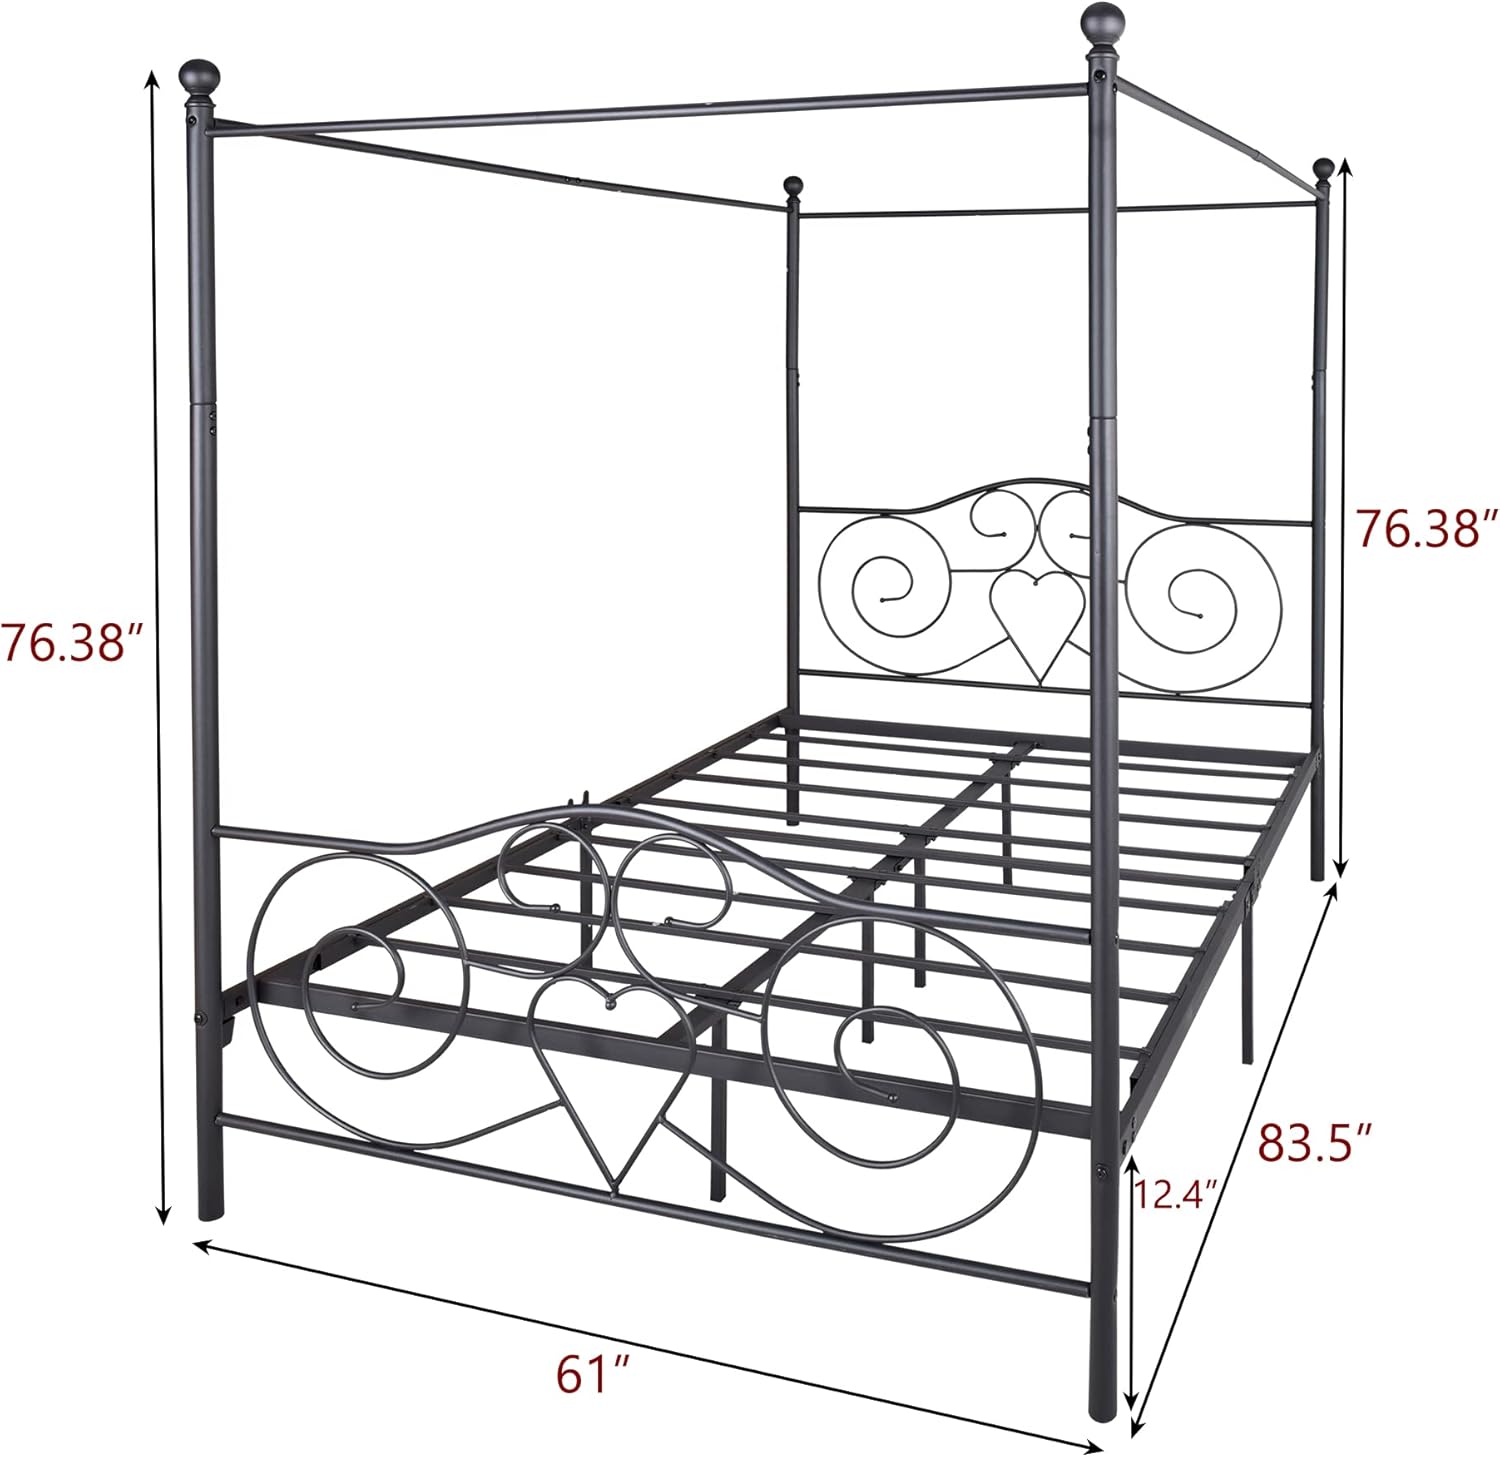
Image: A diagram showing the dimensions of the Bellemave Queen Canopy Bed Frame, including length, width, and height.
- Brand: Bellemave
- Model: Queen Canopy Bed Frame
- Size: Queen
- Product Dimensions: 83.5"L x 61"W x 76.35"H
- Material: Metal
- Color: Black Vintage Style
- Special Features: No Box Spring Needed, Under-bed Storage, Canopy Structure
- Included Components: Slat system
- Assembly Required: Yes
- Storage Options: 12" under-bed clearance
Warranty and Support
For warranty information or technical support regarding your Bellemave Queen Canopy Bed Frame, please contact the manufacturer directly. Refer to your purchase documentation for specific contact details or visit the official Bellemave website.
Related documentsQueen Canopy Bed Frame


Ask a question about this manual
Ask about setup, troubleshooting, compatibility, parts, safety, or missing instructions. Manuals+ will review the question and use this page’s manual context to help answer it.