
MFSTUDIO E02GR001
MFSTUDIO 4-Burner Propane Gas Grill User Manual
Model: E02GR001 | Brand: MFSTUDIO
1. Introduction
Thank you for choosing the MFSTUDIO 4-Burner Propane Gas Grill. This manual provides essential information for the safe assembly, operation, maintenance, and troubleshooting of your new grill. Please read it thoroughly before use and retain it for future reference.

Image: The MFSTUDIO 4-Burner Propane Gas Grill, showcasing its stainless steel finish, four main burners, and a side burner. The grill is positioned on a green lawn with a wooden fence in the background.
2. Safety Information
Always follow these safety guidelines to prevent injury or property damage.
- Outdoor Use Only: This grill is designed for outdoor use only. Do not operate indoors or in enclosed spaces.
- Propane Gas Only: Use only propane gas. Do not connect to a natural gas supply.
- Leak Test: Perform a leak test on all gas connections before first use and after any cylinder change.
- Clearance: Maintain a minimum distance of 10 feet from combustible materials.
- Supervision: Never leave a lit grill unattended.
- Children and Pets: Keep children and pets away from the grill at all times.
- Hot Surfaces: Grill surfaces become extremely hot. Use heat-resistant gloves and tools.
- Grease Fires: In case of a grease fire, turn off the gas supply and keep the lid closed until the fire extinguishes. Do not use water.
3. Parts List and Assembly
Before assembly, ensure all parts are present and undamaged. Refer to the included assembly diagram for visual guidance.
3.1. Included Components
- Grill Head Assembly (Main Burners, Cooking Grates, Warming Rack)
- Side Burner Assembly
- Left and Right Side Shelves
- Cabinet Base (with doors)
- Casters (4, 2 locking)
- Grease Tray and Grease Cup
- Propane Hose and Regulator
- Hardware Pack (screws, nuts, washers)
- User Manual (this document)
3.2. Assembly Instructions
Assembly typically requires two people and a magnetic screwdriver. Allow approximately 3 hours for complete assembly.
- Unpack all components and verify against the parts list.
- Attach the casters to the cabinet base, ensuring locking casters are on the front.
- Assemble the cabinet structure according to the diagrams, securing all panels.
- Mount the grill head assembly onto the cabinet base.
- Install the side burner and its associated shelf.
- Attach the remaining side shelf.
- Insert the porcelain-enameled cast iron cooking grates and warming rack.
- Install the grease tray and grease cup.
- Connect the propane hose and regulator to the grill's gas inlet. Ensure all connections are tight.
- Perform a leak test before connecting the propane tank.

Image: Close-up details of the grill, highlighting the built-in thermometer, heat-resistant lid handle, 12,000 BTU side burner, heat control knob, stainless steel main burners, integrated bottle opener, and bottom casters for mobility.
4. Operating Instructions
4.1. Connecting the Propane Tank
- Ensure all burner control knobs are in the "OFF" position.
- Connect the regulator to the propane tank valve. Hand-tighten only.
- Open the propane tank valve slowly.
- Perform a leak test using a soapy water solution on all connections. Bubbles indicate a leak.
4.2. Lighting the Main Burners
- Open the grill lid.
- Turn one main burner control knob to the "HIGH" position.
- Press and hold the igniter button (if applicable) or use a long match/lighter to ignite the burner.
- Once lit, turn on adjacent burners as needed.
- Close the lid to preheat the grill. The built-in thermometer will indicate the temperature.
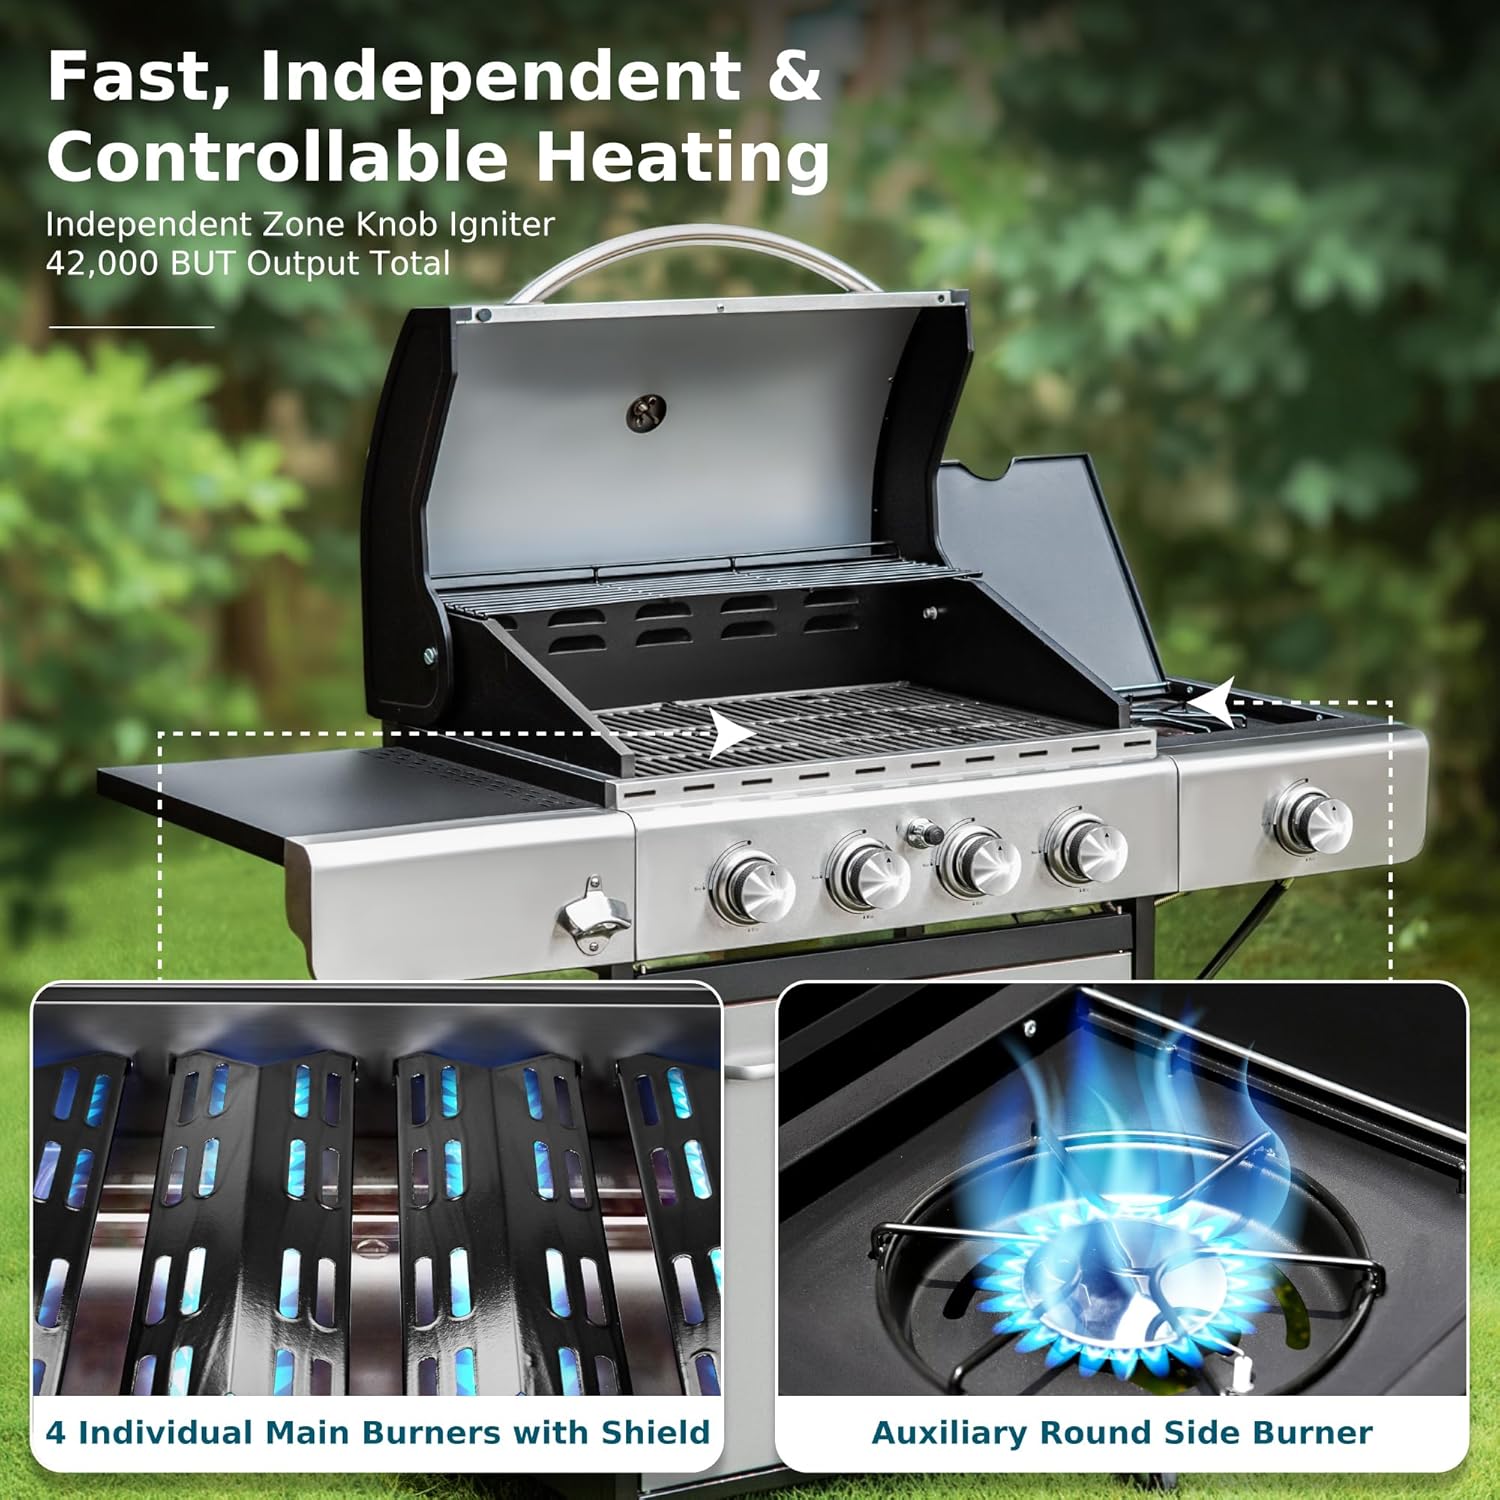
Image: Illustration of the grill's heating system, featuring four individual main burners with flame tamers and an auxiliary round side burner, demonstrating fast, independent, and controllable heating.
4.3. Lighting the Side Burner
- Open the side burner lid.
- Turn the side burner control knob to the "HIGH" position.
- Press and hold the igniter button or use a long match/lighter to ignite.
4.4. Temperature Control
Adjust burner control knobs to achieve desired cooking temperatures. The built-in thermometer provides an approximate internal temperature reading.

Image: A visual representation of the grill's large cooking area, indicating 400 sq. in. for main grilling and 145 sq. in. for the warming rack, capable of cooking a variety of foods simultaneously.
5. Maintenance and Care
5.1. Cleaning the Cooking Grates
After each use, once the grill has cooled, brush off food residue from the porcelain-enameled cast iron grates. For deeper cleaning, wash with warm soapy water and rinse thoroughly.
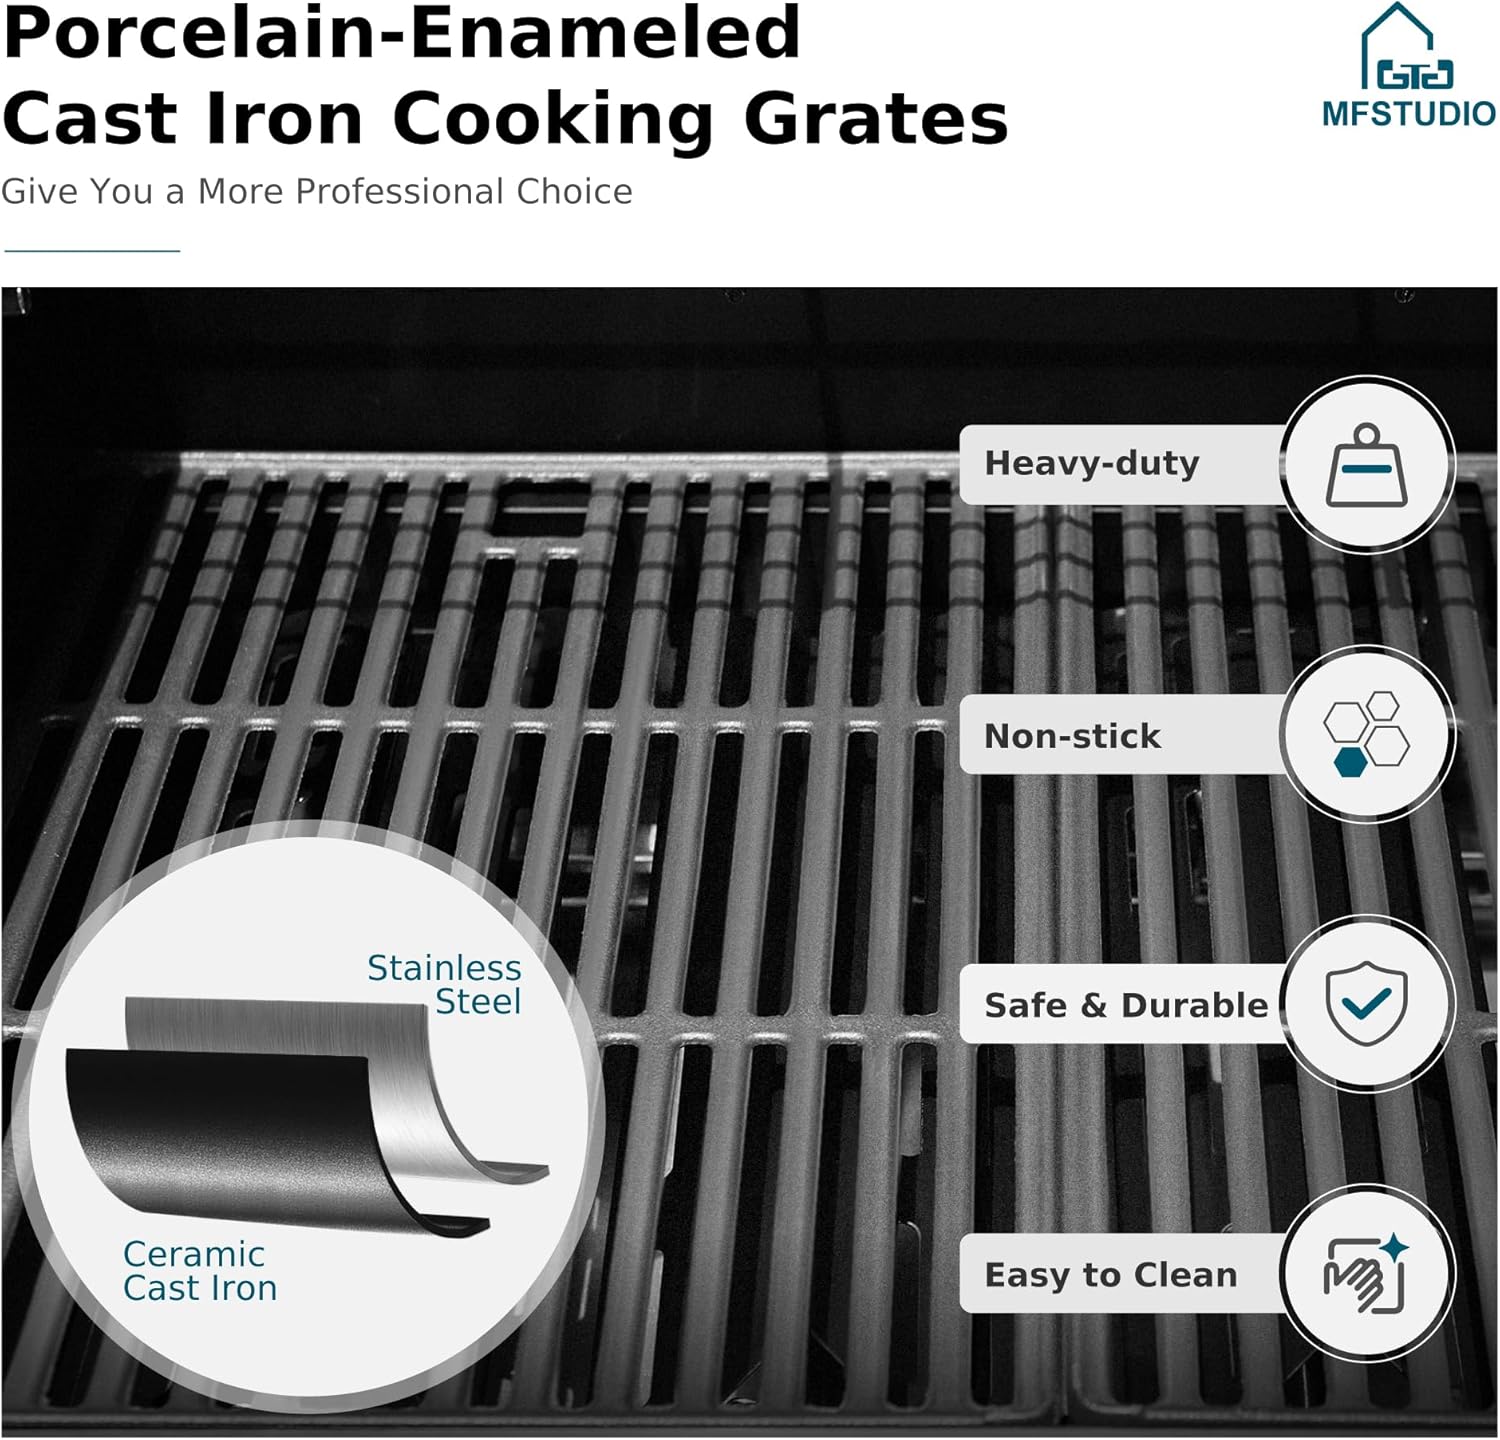
Image: Detailed view of the porcelain-enameled cast iron cooking grates, highlighting their non-stick properties, durability, and ease of cleaning.
5.2. Cleaning the Grease Tray
The full-size push-out grease tray should be emptied and cleaned regularly to prevent grease fires. Slide out the tray, dispose of accumulated grease, and wash with warm soapy water.

Image: Demonstrates the full-size push-out grease tray, designed for easy removal and cleaning, with an illustration of its oil drainage system.
5.3. Exterior Cleaning
Wipe down stainless steel surfaces with a soft cloth and a stainless steel cleaner. Avoid abrasive cleaners or pads that can scratch the finish.
5.4. Storage
When not in use, store the grill in a dry, protected area. If storing outdoors, use a weather-resistant grill cover to protect it from the elements.
6. Troubleshooting
| Problem | Possible Cause | Solution |
|---|---|---|
| Burner will not light | No gas flow; clogged burner port; faulty igniter. | Check propane tank connection and level. Clean burner ports. Check igniter electrode and wire. |
| Low flame or uneven heat | Low gas pressure; clogged burner ports; regulator issue. | Ensure tank valve is fully open. Clean burner ports. Reset regulator by turning off all gas, disconnecting, waiting 5 minutes, then reconnecting. |
| Grease fire | Excess grease accumulation. | Turn off gas supply. Keep lid closed. Do NOT use water. Clean grease tray regularly. |
| Rust on surfaces | Exposure to moisture; lack of proper cleaning/storage. | Clean and dry surfaces thoroughly after each use. Store in a dry area or use a grill cover. |
7. Specifications
| Feature | Detail |
|---|---|
| Model Name | 4 Burner Propane Grill |
| Model Number | E02GR001 |
| Product Dimensions (D x W x H) | 21.8"D x 51.4"W x 42.3"H |
| Item Weight | 80 Pounds |
| Fuel Type | Propane Gas (LPG) |
| Main Burner Count | 4 |
| Side Burner Count | 1 |
| Total Heating Output | 42,000 BTU (approx. 8,000 BTU per main burner, 10,000 BTU side burner) |
| Cooking Surface Area | 542 Square Inches (400 sq. in. main, 145 sq. in. warming rack) |
| Grates Material | Porcelain-Enameled Cast Iron |
| Frame Material | Stainless Steel |
| Special Features | Built-In Thermometer, Heat-Resistant Handle, Locking Caster, Removable Grease Tray, Warming Rack, Bottle Opener |

Image: Technical diagram illustrating the key dimensions of the MFSTUDIO 4-Burner Propane Gas Grill, including height, width, and depth measurements.
8. Warranty and Support
The MFSTUDIO 4-Burner Propane Gas Grill comes with a 1-Year Manufacturer Warranty. This warranty covers defects in materials and workmanship under normal use.
For product support, warranty claims, or assistance with assembly and operation, please contact MFSTUDIO customer service. Refer to the product packaging or the official MFSTUDIO website for contact details.
Please retain your proof of purchase for warranty validation.
Ask a question about this manual
Ask about setup, troubleshooting, compatibility, parts, safety, or missing instructions. Manuals+ will review the question and use this page’s manual context to help answer it.