
1. Introduction
Thank you for choosing the Einhell FREELEXO CAM 500 Robotic Lawnmower. This manual provides essential information for the safe and efficient operation, setup, and maintenance of your new robotic lawnmower. Please read it thoroughly before first use and keep it for future reference.
Key Features:
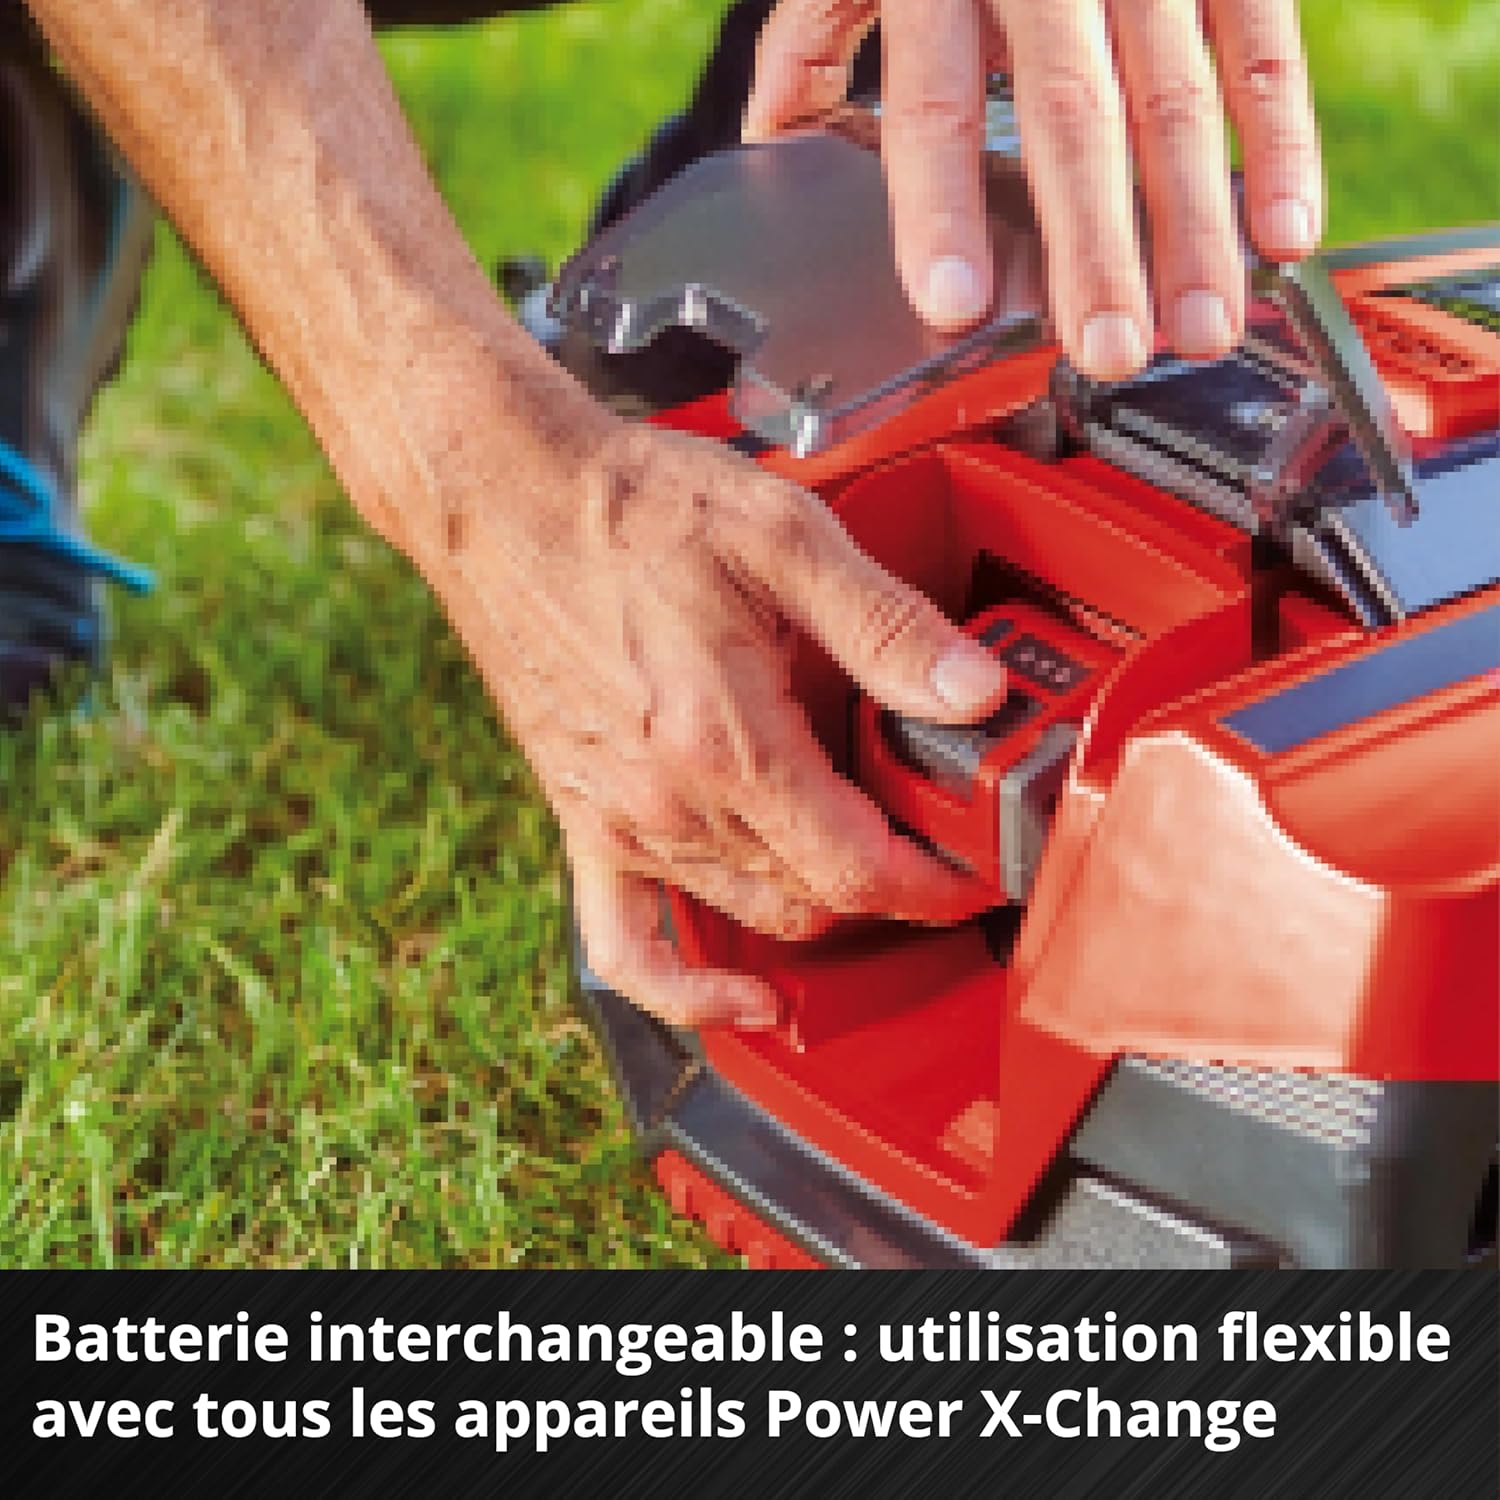
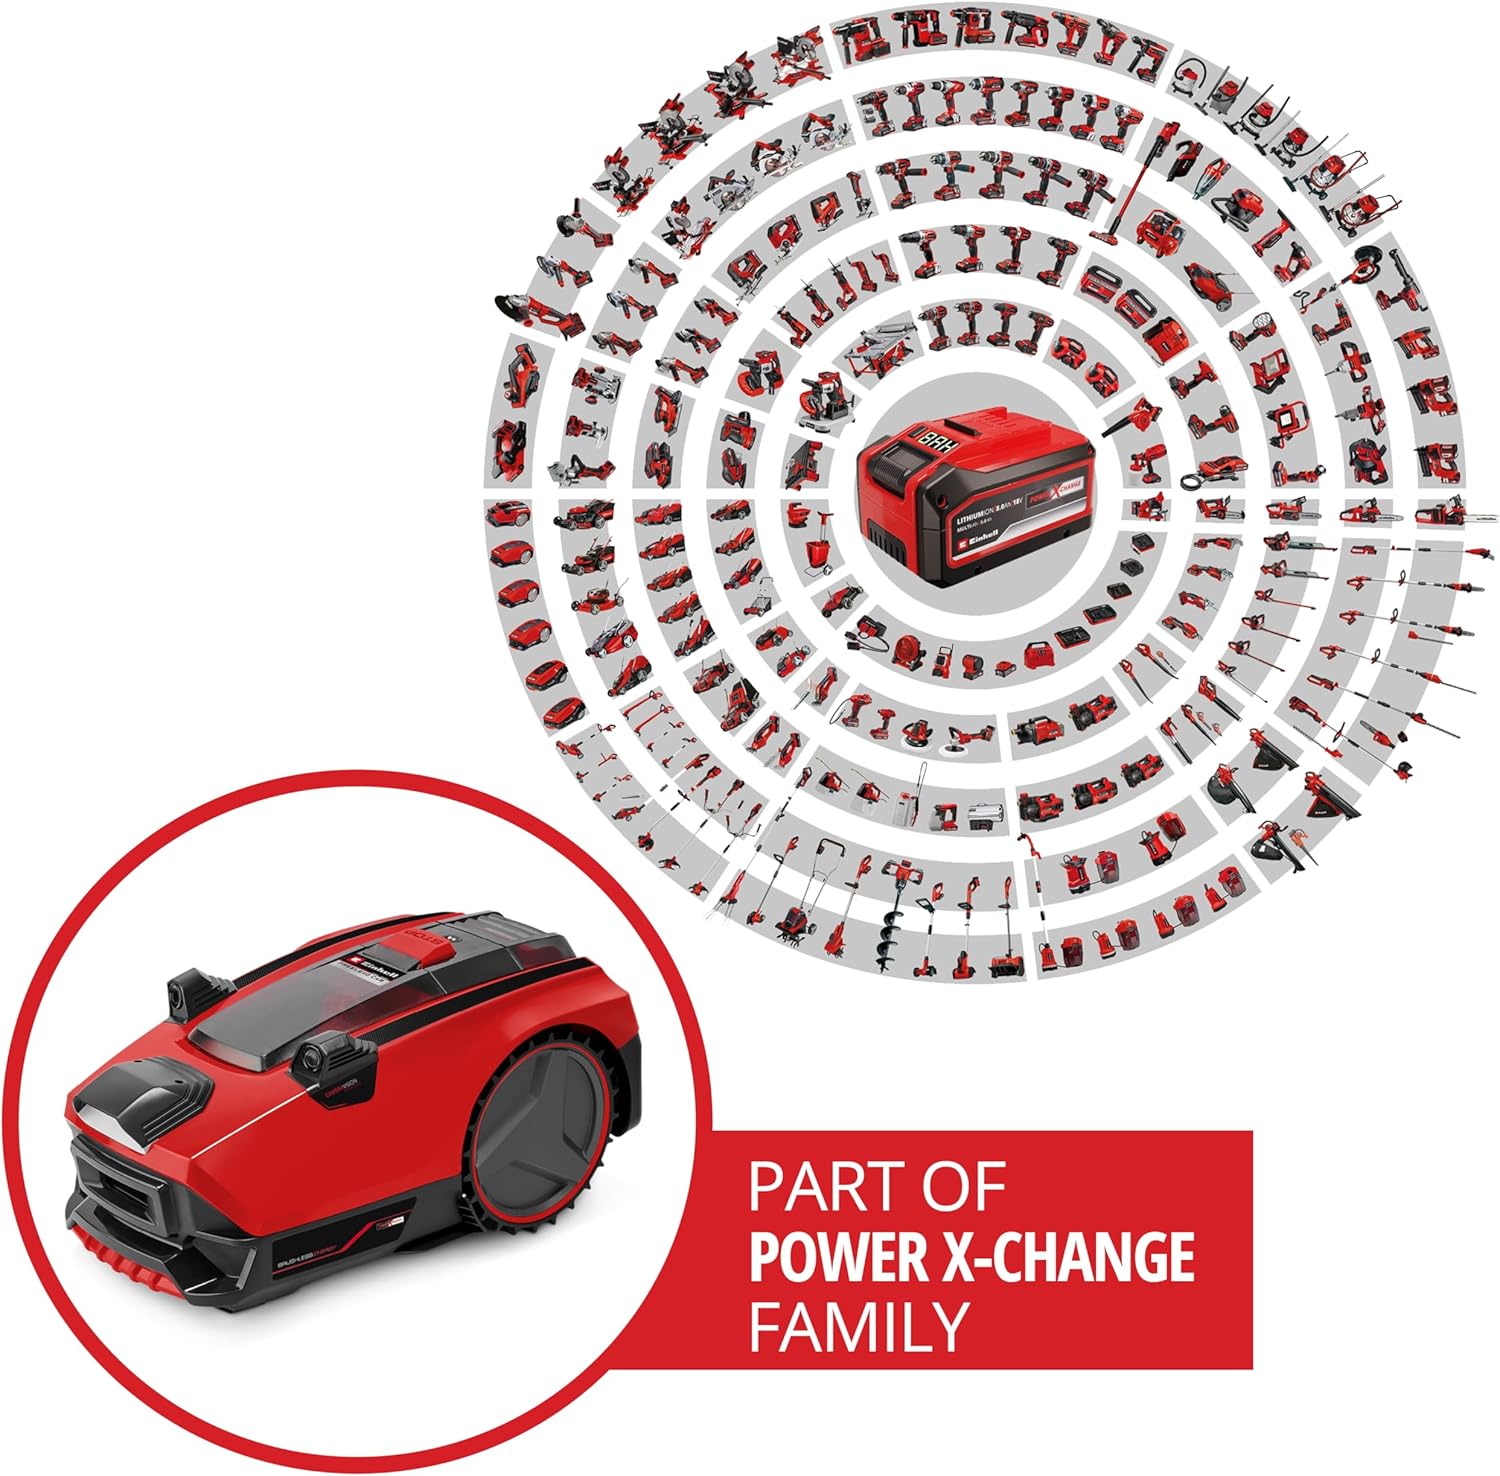
- Power X-Change System: Part of the Einhell Power X-Change family, offering flexible battery compatibility across various tools.
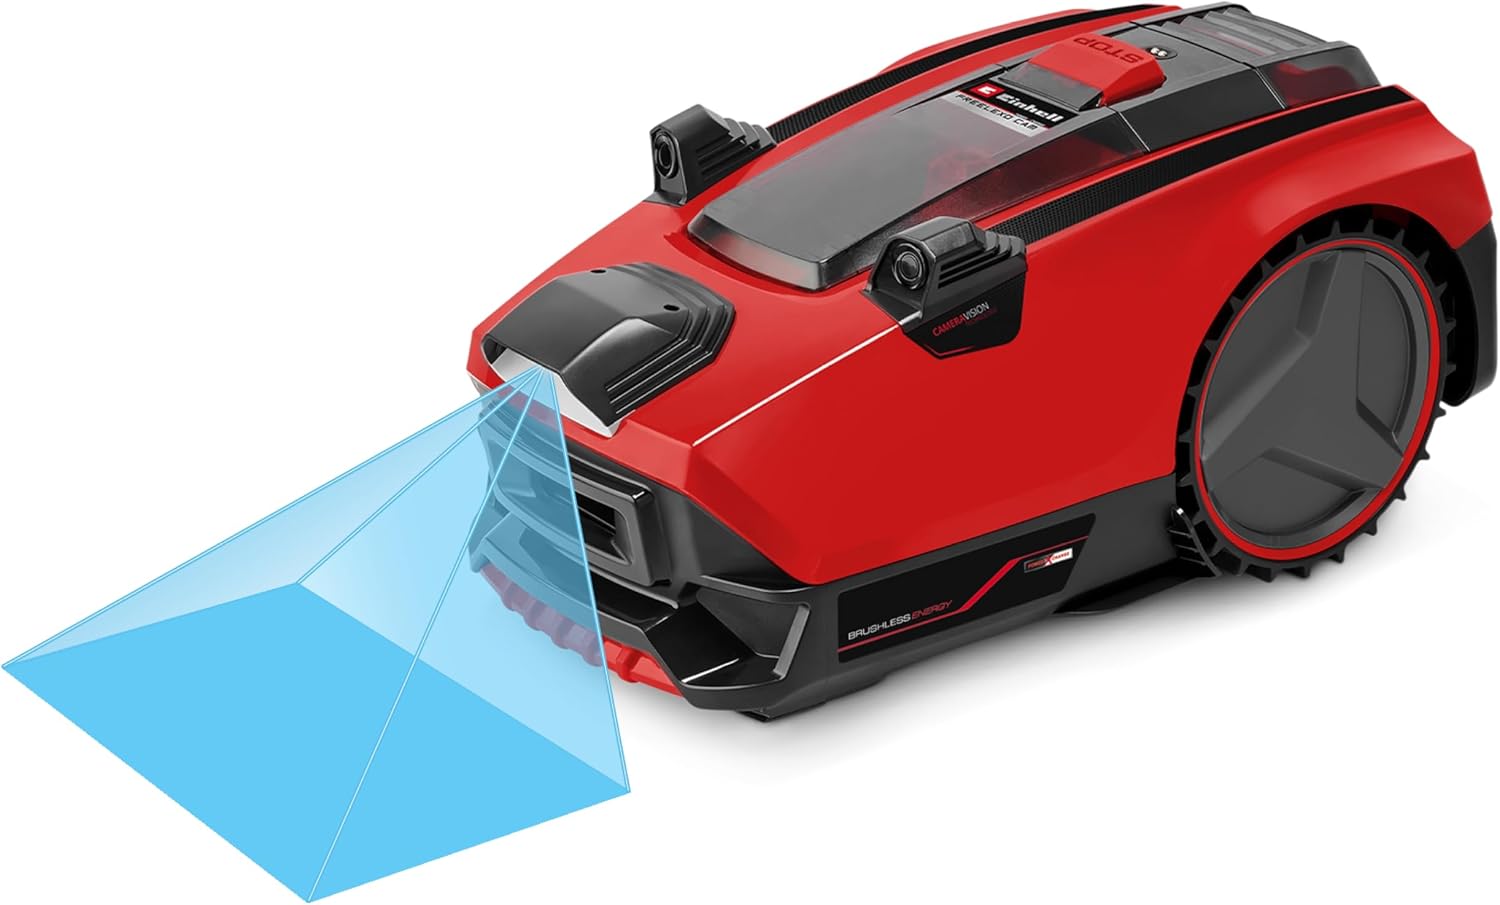
- Wire-Free Operation: Utilizes an integrated camera to automatically recognize mowing area boundaries based on colors and structures, eliminating the need for a perimeter wire.
- Smart Obstacle Detection: Integrated ultrasonic sensors detect physical obstacles like walls, hedges, and trees, while the camera identifies optical boundaries.
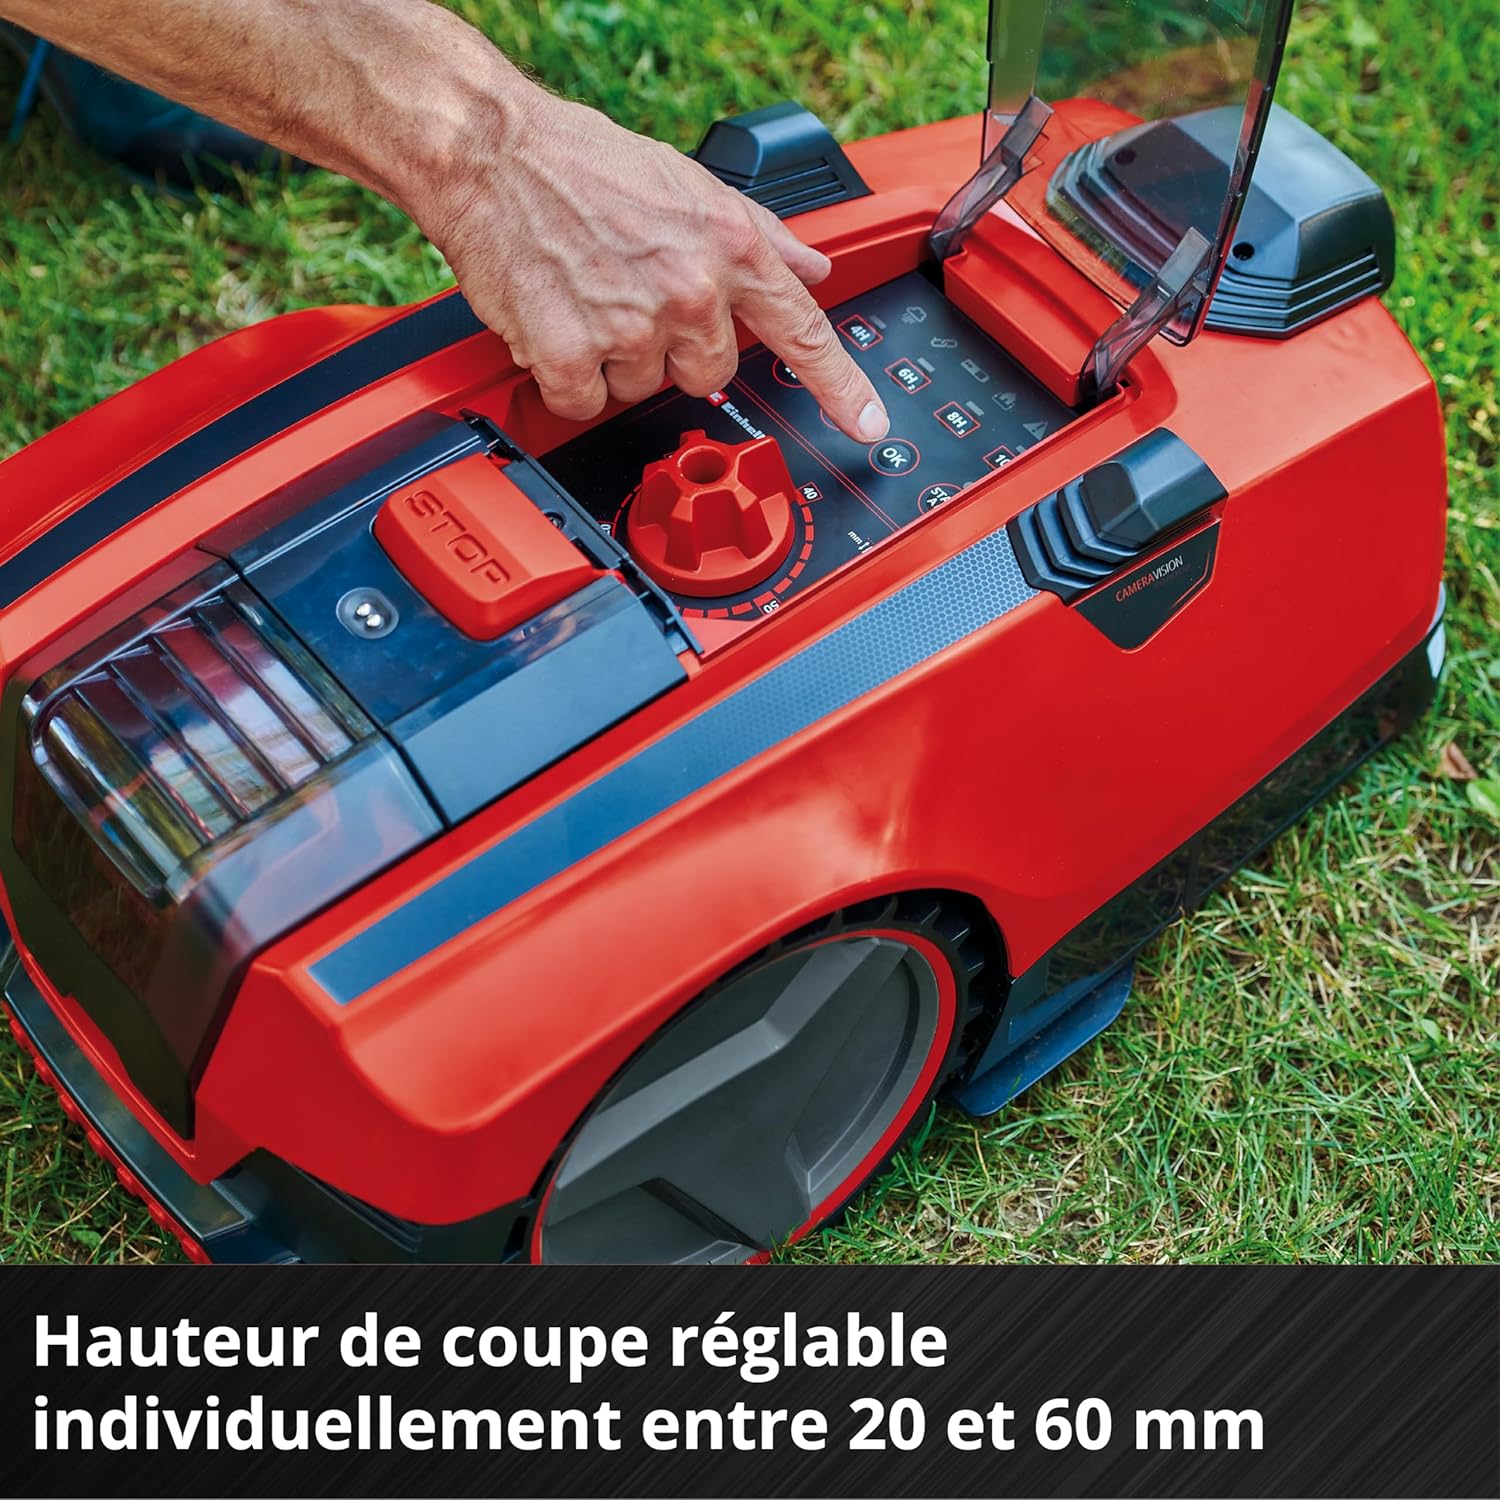
- Adjustable Cutting Height: Easily adjust the cutting height between 20 and 60 mm for a perfect lawn.
- Slope Capability: Capable of handling slopes up to 25%.
- Intuitive Control: Features an LED display and an intuitive button control panel for easy programming of mowing times.
- Theft Protection: Secured by a PIN code and a warning signal.
- Automatic Charging: Automatically returns to the charging station when needed.
- Rain Sensor: Integrated rain sensor for optimal operation.
2. Safety Instructions
Always prioritize safety when operating the robotic lawnmower. Failure to follow these instructions may result in injury or damage to the product.
- Read the entire manual before operating the device.
- Keep children and pets away from the mowing area when the robot is operating.
- Never attempt to lift or carry the robotic lawnmower while the blades are rotating.
- Ensure the mowing area is free of loose objects (stones, toys, wires) that could be thrown by the blades or damage the robot.
- Do not operate the robotic lawnmower in wet conditions or during heavy rain. The integrated rain sensor will prevent operation in such conditions.
- Use only original spare parts and accessories.
- The robotic lawnmower is protected against theft by a PIN code and a warning signal. Keep your PIN code secure and do not share it.
- Regularly inspect the blades for wear and damage. Replace them as necessary.
- Always turn off the robotic lawnmower and remove the battery before performing any maintenance or cleaning.
3. Package Contents
Carefully unpack the box and ensure all items are present and in good condition. If any items are missing or damaged, contact your retailer.
- Einhell FREELEXO CAM 500 Robotic Lawnmower
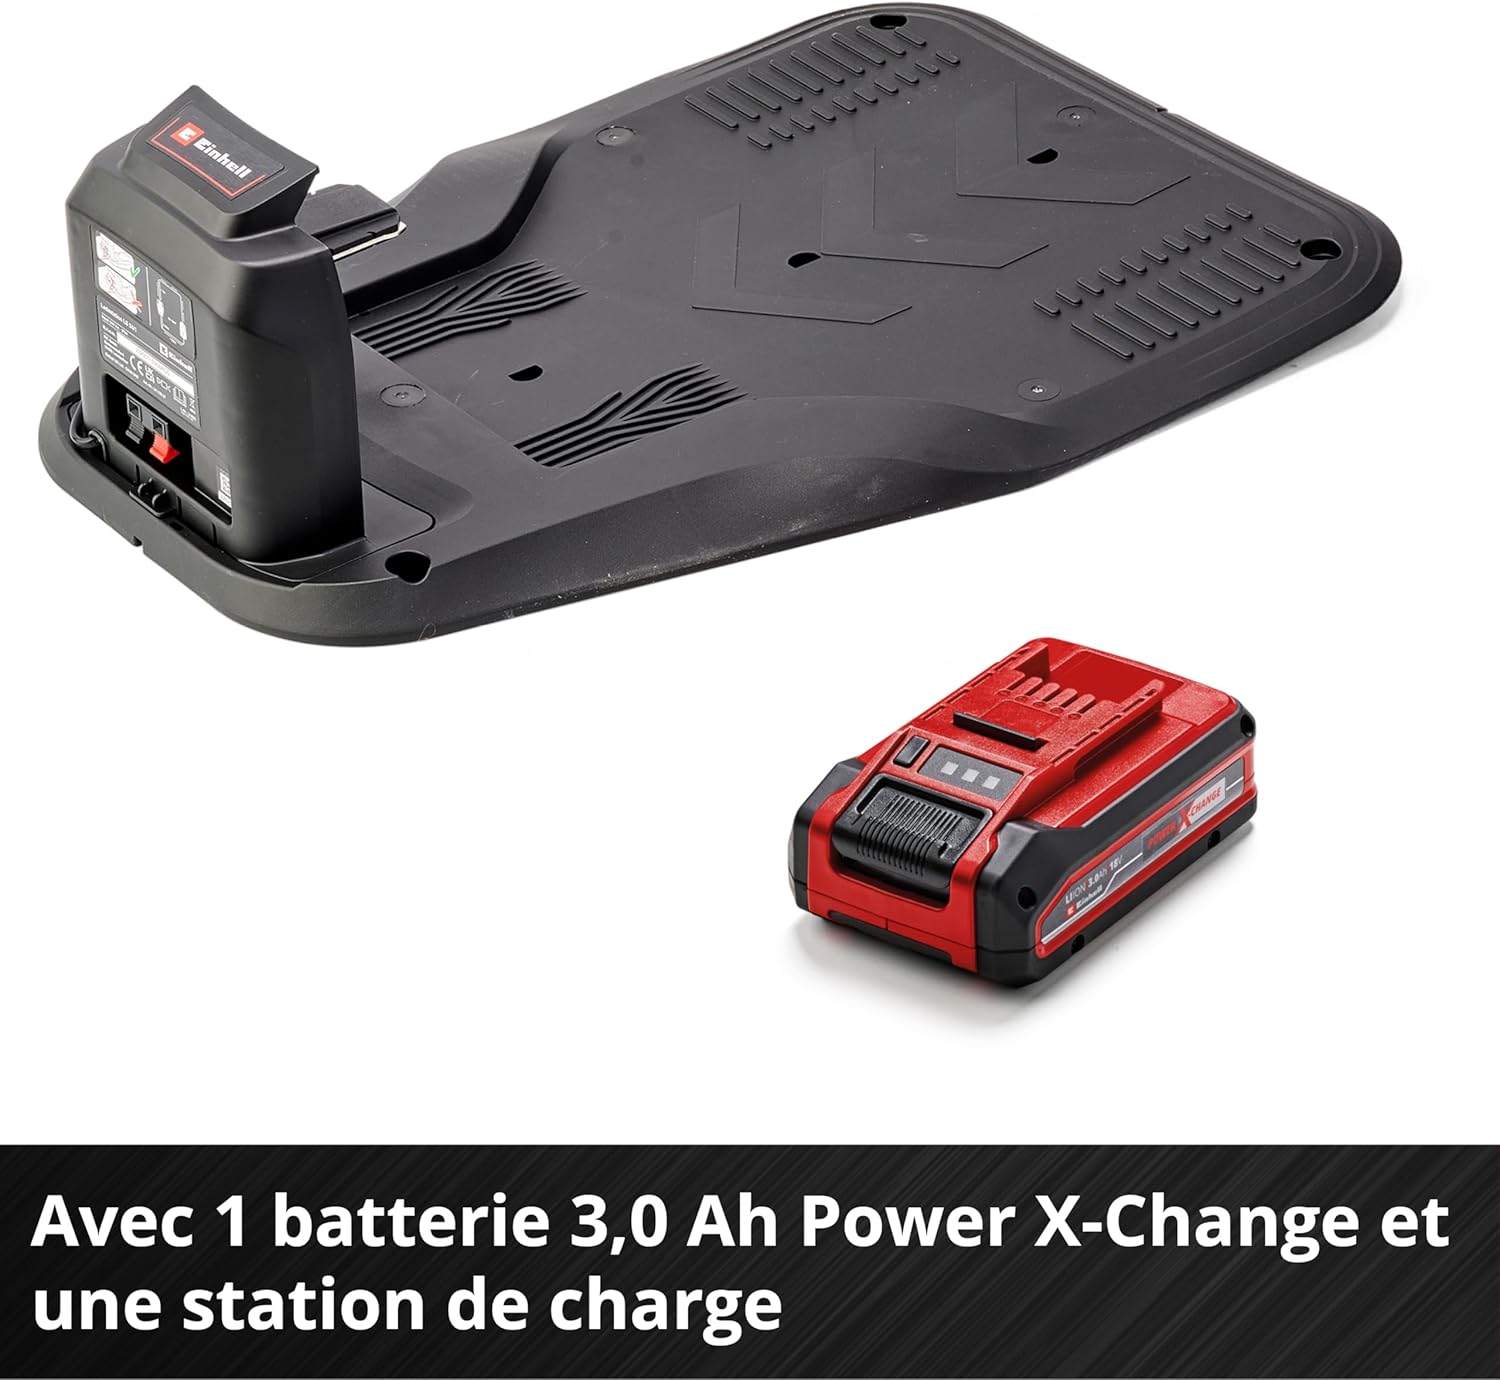
- 1 x 3.0 Ah Power X-Change Battery
- 1 x Charging Station
- 3 x Spare Blades
- 1 x 12m Guide Cable
- 1 x 5m Magnetic Tape
- 20 x Fixing Hooks
- 2 x Connection Clamps

4. Setup
Setting up your FREELEXO CAM 500 is straightforward due to its innovative camera-based navigation system.
4.1. Preparing the Mowing Area
- The FREELEXO CAM 500 does not require a perimeter wire. Its integrated camera recognizes the boundaries of the mowing area based on colors and structures (e.g., lawn edge, path, flower bed).
- Ensure clear distinctions between your lawn and adjacent areas for optimal performance.
- Physical obstacles like walls, hedges, and large trees are detected by ultrasonic sensors.
- For areas you wish to temporarily exclude from mowing (e.g., freshly planted trees, flower beds), use the included 5m magnetic tape as a virtual barrier. The robot's magnetic sensors will recognize this tape and avoid the delimited space.

4.2. Charging Station Placement
- Place the charging station on a flat, level surface in an area with good access to power and away from direct sunlight or heavy rain.
- Ensure there is enough clear space around the charging station for the robot to dock easily.
- Connect the charging station to a power outlet.
4.3. Initial Charging
- Insert the 3.0 Ah Power X-Change battery into the robotic lawnmower.
- Place the robotic lawnmower onto the charging station. The robot will automatically begin charging.
- Allow the battery to fully charge before the first operation.
5. Operating
Once set up, operating your FREELEXO CAM 500 is simple and convenient.
5.1. Programming Mowing Times
- Use the intuitive button control panel and LED display on the robot to program your desired mowing times.
- You can set specific days and hours for the robot to operate.

5.2. Adjusting Cutting Height
- The cutting height can be easily adjusted between 20 mm and 60 mm to suit your lawn's needs.
- Refer to the control panel or a dedicated adjustment knob (if present) for this setting.
5.3. Automatic Operation
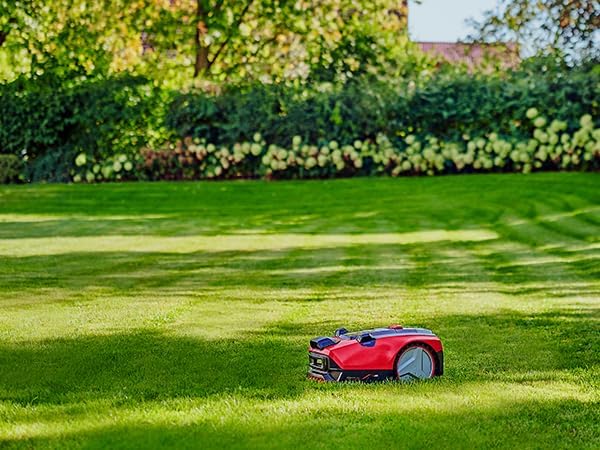
- The robot will automatically start mowing according to your programmed schedule.
- When the battery is low, the robot will automatically return to its charging station.
- The integrated rain sensor will pause mowing operations during rain and resume when conditions are suitable.
6. Maintenance
Regular maintenance ensures the longevity and optimal performance of your robotic lawnmower.
6.1. Blade Replacement
- The robotic lawnmower comes with 3 spare blades. Blades should be replaced regularly for a clean cut and to prevent damage to the lawn.
- Always turn off the robot and remove the battery before replacing blades.
- Use appropriate tools to carefully remove the old blades and install the new ones. Refer to the detailed diagrams in the full product manual for specific instructions.
6.2. Cleaning
- Regularly clean the underside of the robot to remove grass clippings and debris.
- Wipe the top surface and sensors with a damp cloth. Do not use high-pressure cleaners or harsh chemicals.
- Ensure the charging contacts on both the robot and the charging station are clean.
7. Troubleshooting
This section addresses common issues you might encounter with your robotic lawnmower.
7.1. Robot Not Mowing
- Check Battery: Ensure the battery is charged and properly inserted.
- Check Schedule: Verify that the mowing schedule is correctly set and the current time is within the programmed mowing period.
- Rain Sensor: If it's raining or the sensor is wet, the robot will not operate. Wait for dry conditions.
- PIN Code: Ensure the correct PIN code has been entered if prompted.
7.2. Robot Not Docking
- Charging Station Placement: Ensure the charging station is placed on a flat surface with clear access.
- Charging Contacts: Clean the charging contacts on both the robot and the station.
- Obstacles: Check for any obstacles blocking the robot's path to the charging station.
7.3. Poor Mowing Performance
- Blades: Worn or dull blades can lead to uneven cutting. Replace blades as needed.
- Cutting Height: Adjust the cutting height to suit your lawn type and desired length.
- Mowing Area: Ensure the mowing area is free of debris that could interfere with cutting.
7.4. Error Messages
If the robot displays an error message on its LED screen, consult the full product manual for a list of error codes and their corresponding solutions. Common errors might relate to lifted sensors, trapped situations, or battery issues.
8. Specifications
| Feature | Specification |
|---|---|
| Model Number | 3413991 |
| Dimensions (L x W x H) | 57 x 26.2 x 34 cm |
| Weight | 11.75 Kilograms |
| Battery Type | 1 Lithium-ion (included) |
| Power Source | Battery Powered |
| Material | Plastic |
| Color | Red |
| Cutting Width | 18 Centimeters |
| Recommended Area Coverage | Up to 500 m² |
| Max. Slope | 25% |
| Cutting Height Adjustment | 20 - 60 mm |
| Operation Mode | Automatic |
9. Warranty and Support
For warranty information, please refer to the warranty card included with your product or visit the official Einhell website. Keep your proof of purchase for warranty claims.
If you encounter any issues not covered in this manual or require technical assistance, please contact Einhell customer support:
- Einhell Official Website: www.einhell.com
- Refer to the contact section on the website for regional support numbers or email addresses.


